🚨 In a DIY emergency or rush?
Skip the details and jump straight to our 30-second cheat sheet for the most crucial info.
When a bathroom exhaust fan quits, the temptation is to assume “the fan is dead” and start shopping. I have done that. Then I found a tripped GFCI was the real culprit and my “broken” fan was innocent.
This guide is a simple triage. We start with the stuff that takes 30 seconds, then move toward the fan housing. Along the way, I will call out what is safe for most homeowners and what is a hard stop.

Safety first
- Water and electricity do not negotiate. If the fan is over a shower and the area is wet, wait until it is dry.
- Turn off the circuit at the breaker before opening the fan housing or touching any wiring.
- Use a real ladder (not a chair). Set it on a flat floor and keep your hips between the rails.
- Test before you touch. A non-contact voltage tester is helpful, but for real troubleshooting, use a two-lead voltage tester or multimeter.
- If you see scorched wires, melted plastic, or a burning smell, stop and call an electrician.
Start the triage
Step 0: Make sure it is actually off
Some newer fans are so quiet you can mistake “running” for “dead.” Before you go any further:
- Hold a small piece of tissue near the grille. If it sticks, the fan is likely moving air.
- Listen for a faint motor hum or feel for a slight vibration at the grille.
Step 1: Check the GFCI (if present)
Sometimes a bathroom fan is wired downstream of a GFCI receptacle, especially when the fan shares a bathroom receptacle circuit or was tied into the GFCI load side. If that GFCI trips, the fan can go dead.
- Press RESET on every GFCI receptacle in the bathroom.
- If you have a second bathroom nearby, check that one too.
- If it instantly trips again, you may have a wiring fault, moisture issue, or a bad device. That is a good time to call for help.
Step 2: Check the breaker
Look for a tripped breaker and reset it the right way: switch it fully OFF, then back ON. If it trips again, do not keep resetting. Something is shorting or overloaded.
Note: in newer panels you may have a GFCI breaker, an AFCI breaker, or a combo breaker (often with a TEST button). If it is tripped, reset it at the panel.
Step 3: Check the wall switch, timer, or humidity control
Basic toggle switches fail, but timers and humidity sensors tend to fail more often than basic toggles. If your fan is on a countdown timer, try turning the dial or pressing the button a few times.
- Two switches? Make sure you are not turning on the light while the fan switch stays off.
- One switch for both? Some fans are wired with the light and fan together. If the light works but the fan does not, that points to a fan-side problem, not a breaker.
- Humidity switch behavior: If it runs randomly or never runs, the control may be mis-set or failing.
Step 4: Confirm power at the fan (safer plug test first)
If GFCI, breaker, and switch all look good, the next question is simple: is power reaching the fan housing?
Here is the safer, faster method that works on a huge number of common bathroom fans (Broan, NuTone, and similar): many use a motor that plugs into a small 2-prong receptacle inside the housing. Testing that receptacle avoids probing live wire nuts.
Important: this is still a live voltage measurement. If you are not experienced measuring energized AC voltage with a meter, stop here and call a pro.
Tools: ladder, screwdriver, flashlight, and a multimeter or two-lead voltage tester.
- Turn the breaker OFF.
- Remove the grille (usually it pulls down and the spring clips squeeze inward).
- Find the motor plug. If your fan has a small cord that plugs into a receptacle inside the housing, you are in luck.
- Unplug the motor from the receptacle.
- Set your meter to AC volts (V~) on an appropriate range (or auto-range).
- Turn the breaker ON and turn the fan switch ON.
- Carefully measure voltage at the receptacle slots (hot to neutral). You are looking for roughly 110 to 125 VAC in most North American homes.
- If your model provides an accessible equipment ground reference, you can also check hot-to-ground as a secondary confirmation. Not every housing makes this easy from the receptacle, so do not force it.
- Turn the breaker OFF again before plugging anything back in or handling the motor.
If you have voltage at the receptacle: the wiring and switch are likely fine. The problem is usually inside the fan assembly (motor, internal thermal protection, a capacitor on some models, or a stuck wheel).
If you do not have a motor receptacle: some fans are hardwired. In that case, the next step is to check for power in the fan’s wiring compartment, but that is a higher-risk test. If you are not fully comfortable, this is a good stopping point for a pro.
If you do have a receptacle but it shows no voltage: the issue is upstream (switch, loose connection, failed control, damaged cable). That is often electrician territory unless you are very comfortable tracing circuits.

If it has power but will not run
Silent vs humming
- Dead silent with power present: suspect a failed motor, internal thermal fuse, or a bad connection at the motor plug.
- Hums but will not spin: the blower wheel may be stuck with dust, the motor bearings may be seized, or the motor’s start components are failing.
Check for a jam
With power off, try spinning the blower wheel by hand. It should rotate freely. If it is stiff or gritty, bearings are likely failing.
- Look for rubbing: a wheel can shift and scrape the housing. That can stall the motor.
- Check for heavy dust: caked dust can unbalance the wheel and overload the motor.
If it spins freely by hand but will not start under power, the motor is usually on its way out. Some fans use a capacitor, but many bathroom fan motors are simpler and are replaced as a unit.
If it runs but airflow is weak
Check the damper
Most bath fans have a little flap called a damper that opens when the fan runs and closes when it stops. If it is stuck shut, your fan can sound like it is working but the room stays steamy.
- With power off, look for the damper near the fan outlet (sometimes you can see it from below, sometimes not).
- Make sure insulation is not jammed against it.
- If the duct connection is loose, the damper can bind. Reseating the duct and taping it properly often fixes it.
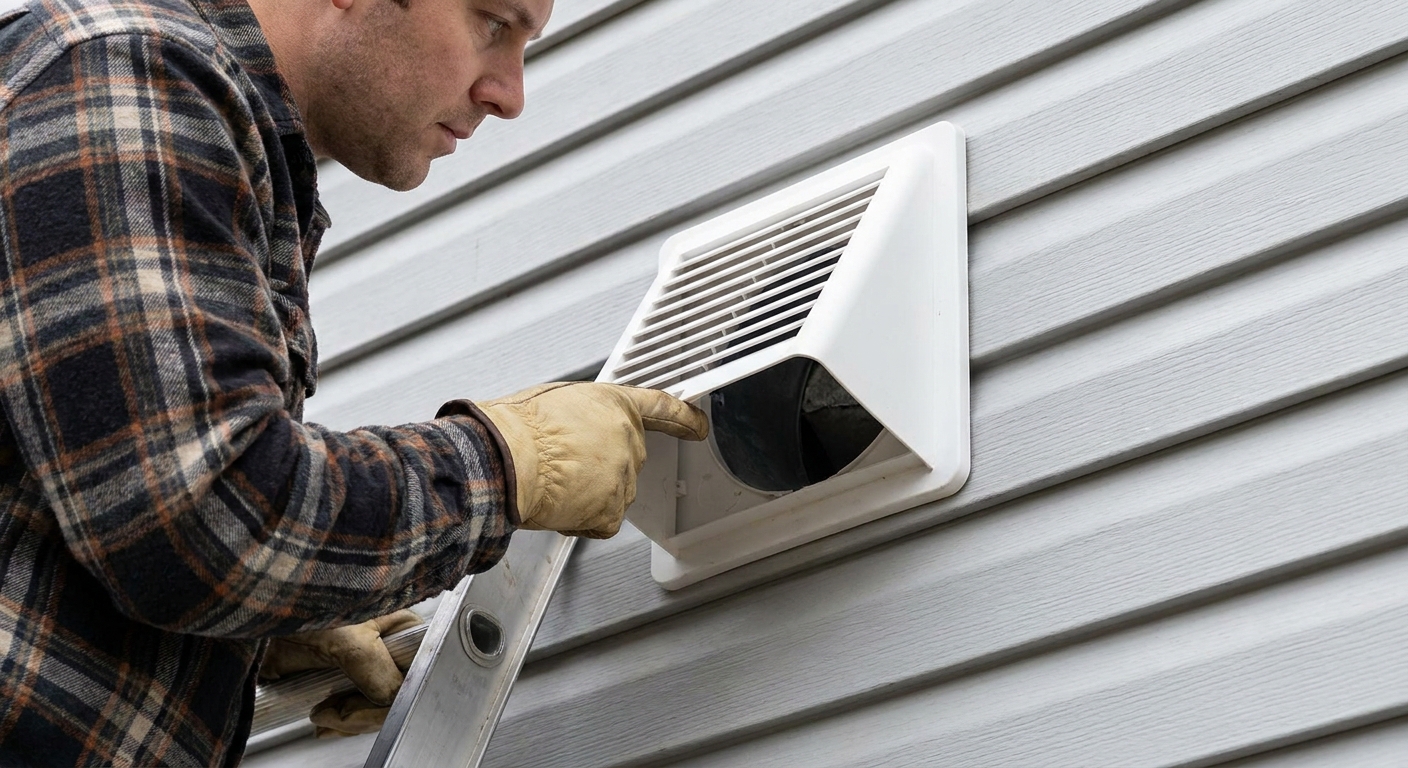
Check the duct and termination
If the fan is vented through an attic or soffit, blockages happen. I have pulled out a surprising amount of dust from short duct runs. Exterior hood flaps can also stick from lint buildup, and in cold climates they can occasionally freeze shut.
- Inspect the duct where you can access it (attic, basement, or the exterior termination).
- Make sure the exterior hood flap moves freely and is not clogged with lint.
- Look for crushed flex duct or long sagging sections that trap moisture.
Quick sanity check: the fan should exhaust outdoors , not into an attic. If you discover it dumping into the attic, that is a moisture and mold problem, and it is worth fixing correctly.
Clean the grille and blower wheel
Dust buildup can slow the wheel enough that the motor struggles, overheats, and eventually quits. Cleaning can bring a “weak” fan back to life and extend the next motor’s lifespan.
- Turn power off at the breaker.
- Wash the grille with warm soapy water and let it dry.
- Vacuum dust from the housing.
- If the blower wheel is accessible, brush and vacuum it carefully. Some units let you pull the whole motor and wheel assembly out with a couple screws.
When replacement is the better move
I love repairing things. But bathroom fans are one of those areas where time and parts cost can get away from you fast.
Consider replacing the fan or the motor assembly if:
- The unit is 15 to 20+ years old and noisy.
- The motor has seized bearings or smells burnt.
- You have power at the fan, cleaned it, verified the wheel spins freely, and it still will not run.
- Parts are hard to find or cost more than a modern, quieter fan upgrade.
Budget tip: Many brands sell a replacement motor and blower wheel assembly that swaps into the existing housing. If your housing is in good shape and the duct connection is solid, this can save a lot of drywall work.
When to call a pro
- Breaker, AFCI, or GFCI trips repeatedly when the fan is turned on.
- You are not comfortable measuring live voltage with a meter (that is a perfectly reasonable line to draw).
- You measure no voltage at the motor receptacle and you are not comfortable opening switches or tracing wiring.
- You have a hardwired fan and do not want to do live testing in the wiring compartment.
- Visible heat damage, melted wire nuts, or brittle insulation on conductors.
- The fan is tied into a complex setup (multi-location switches, smart controls, or shared circuits) and you need a confident diagnosis.
Quick troubleshooting flow
- Fan seems dead? Confirm it is actually off → reset GFCI(s) (if present) → reset breaker (including GFCI/AFCI breakers) → verify switch or timer works.
- Still dead? Pull grille and look for a motor plug.
- Motor plug present? Unplug motor → test the internal receptacle (switch on) only if you are comfortable measuring live AC voltage.
- Voltage missing? Upstream wiring or switch issue.
- Voltage present but will not run? Clean wheel → check for rubbing or seized bearings → likely motor replacement.
- Runs but weak airflow? Check damper → check duct and exterior hood → clean grille and wheel.
- Old, loud, or burnt? Replace motor assembly or whole fan.
The 30-Second Cheat Sheet
Essential takeaways for: Bathroom Exhaust Fan Not Working? Check Power, Switch, and Motor
Do this in order (fast triage)
- Reset bathroom GFCIs (if present): check the one in the room and any nearby bathroom. Some fans are on the GFCI load side.
- Reset the breaker : flip fully OFF, then ON. Also look for a GFCI or AFCI breaker with a TEST button.
- Check the control: switch, timer, or humidity control can fail.
- Confirm it is actually off: some fans are very quiet. Do a quick tissue test at the grille or listen closely for motor hum.
- Safer power check at the fan (switch ON): unplug the motor and test the built-in receptacle for about 110 to 125 VAC hot-to-neutral. Only open the wiring compartment if there is no receptacle and you are qualified.
If you have power at the fan
- Dead silent: likely failed motor, internal thermal protection, or a loose internal connection.
- Hums but will not spin: stuck wheel, heavy dust, rubbing, or seized bearings. Try spinning the wheel by hand with power OFF.
- Runs but weak airflow: stuck damper, crushed or blocked duct, clogged exterior hood flap (occasionally freezes shut in cold climates).
Safety non-negotiables
- Turn breaker OFF before opening the housing or touching wiring.
- Use a real ladder, not a chair.
- The motor plug receptacle test is safer than probing wire nuts, but it is still a live voltage test. If you are not comfortable using a meter on energized power, stop and call a pro.
- If you see burn marks or the breaker or GFCI trips repeatedly, stop and call a pro.
When to replace instead of chasing parts
- Fan is 15 to 20+ years old, loud, or smells burnt.
- You confirmed power at the fan, cleaned it, and it still will not run.
- A motor and blower wheel assembly swap is often the best budget fix if the housing is sound.
💡 Tip: Scroll up to read the full article for detailed, step-by-step instructions.
⬆️ Back to topAbout Marcus Vance
Content Creator @ Grit & Home
Marcus Vance is a lifelong DIY enthusiast and self-taught home renovator who has spent the last decade transforming a dilapidated 1970s ranch into his family's dream home. He specializes in budget-friendly carpentry, room-by-room renovations, and demystifying power tools for beginners. Through his writing, Marcus shares practical tutorials and hard-learned lessons to help homeowners tackle their own projects with confidence.