If your bathtub won’t hold water, you don’t automatically have a clog problem. Often it’s the stopper, and the fix is mechanical: something is jammed, loose, misadjusted, or worn out.
I’ve wrestled with all the common stopper styles over the years in my 1970s ranch. The good news is they’re simple once you identify what you have. Below you’ll find quick diagnostics, safe removal steps, and the repairs that actually hold up.
First: identify your stopper type
Stand over the drain and look for these telltales:
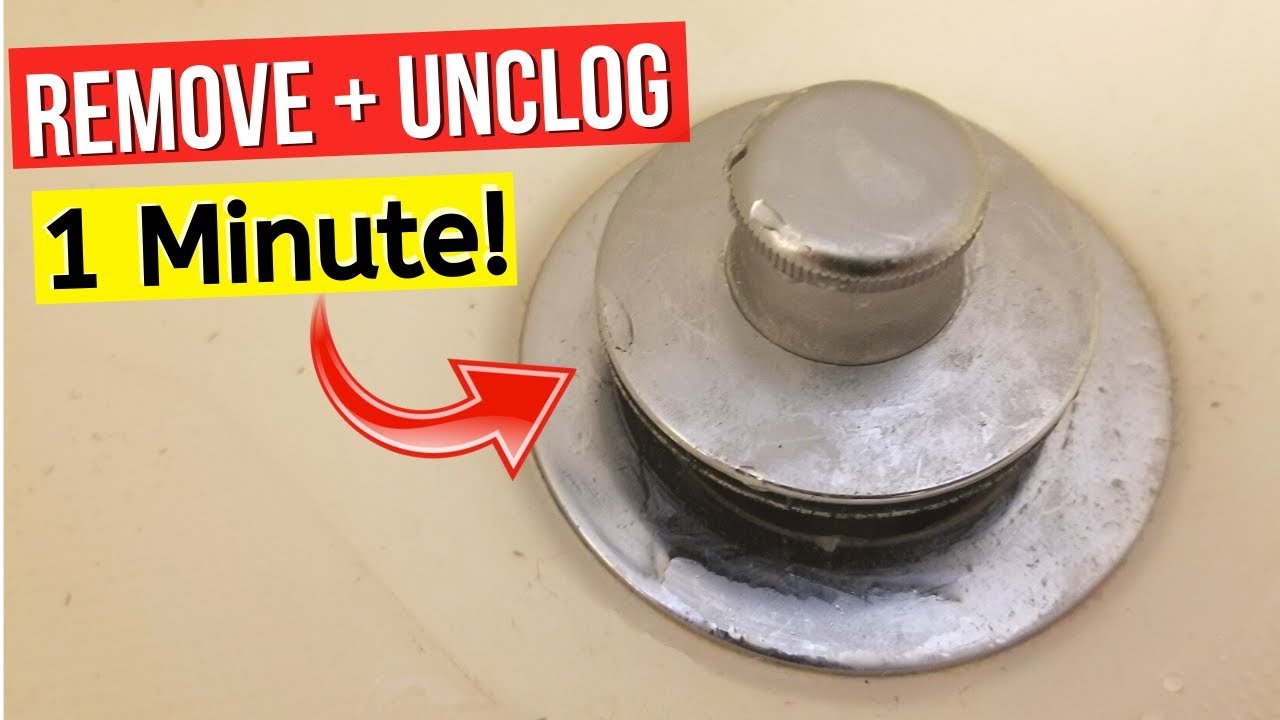
- Lift-and-turn: You lift the knob and twist to lock it open or closed. Often has a small set screw on the side of the knob. If you see a tiny hex screw, it’s almost always this style.
- Toe-touch: You press it down with your toe to close, press again to pop it open. This style uses an internal spring “click” action.
- Push-and-pull: You pull it up by hand to open and push it down by hand to close. It usually relies on friction, not a spring click.
- Trip-lever: There is a lever on the overflow plate (the cover on the tub’s end wall near the spout area, above the drain). Inside that overflow is a linkage that either moves a plunger inside the pipe, or lifts a stopper at the drain.
Quick test: stopper or something else
Before you start taking things apart, do one fast isolation test:
- Close the stopper and fill the tub 2 to 3 inches.
- Mark the waterline with a piece of tape.
- Wait 10 minutes.
If the level drops and your drain is otherwise draining normally, it is probably a stopper seal or linkage issue. If the tub drains slowly while you are filling it, you may have a partial clog too.
If you want to be extra sure, you can temporarily plug the drain with a test plug or a wet rag pressed into the drain opening. If it holds with the rag but not with the stopper, you have your answer.
Safety and tools
- Flat screwdriver
- Allen key set (for set screws)
- Pliers (preferably slip-joint)
- Old toothbrush or small nylon brush
- Plastic zip tie or drain hair tool
- Rags and a small bucket
- Silicone plumber’s grease (optional but helpful)
My rule: Put a towel in the bottom of the tub while you work. It prevents chips and stops tiny screws from bouncing straight into the drain.
You usually do not need to shut off the water for stopper work. You do need to keep small parts out of the drain.
Why a stopper gets stuck or won’t seal
Common causes
- Hair and soap scum jam around the stopper mechanism or drain crossbars.
- Mineral buildup on moving parts, especially in hard-water areas.
- Loose set screw or stripped threads so the knob spins but the stopper does not move correctly.
- Worn rubber seal or O-ring so water slowly leaks past.
- Misadjusted trip-lever linkage so the plunger or rocker does not fully seat (or fully lift).
- Corroded linkage that binds inside the overflow pipe.
If the tub drains slowly and won’t hold water, you might have both a clog and a stopper issue. But if it drains normally and still won’t hold, start with the stopper.
Fix 1: Lift-and-turn stopper
How to remove it
- Open the stopper (lift and turn to the open position).
- Look for a small set screw on the side of the knob. Loosen it a few turns with an Allen key.
- Unscrew the knob and lift it off.
- Many models have a cap or top post next. Unscrew that piece and then twist the stopper counterclockwise to unthread the whole body.
If it just spins: hold the stopper body gently with pliers wrapped in a rag, then try again. Avoid scratching the finish.
Variation you may see: some lift-and-turn knobs have no set screw and simply unthread. If you cannot find a set screw anywhere, try turning the knob itself counterclockwise.
Clean and restore movement
- Pull out hair from the stopper threads and the drain crossbars using a zip tie or hair tool.
- Scrub soap scum off the stopper with an old toothbrush.
- If mineral buildup is heavy, soak the stopper in warm vinegar for 20 to 30 minutes, then brush clean. Longer soaks can dull some finishes, so do not turn it into an overnight science project.
- Add a thin wipe of silicone plumber’s grease to the O-ring (if present) and the moving surfaces.
If it won’t hold water
- Inspect the rubber sealing surface or O-ring. If it is flattened, cracked, or missing, replace it.
- Make sure the stopper threads back in straight. Cross-threading can prevent a full seal.
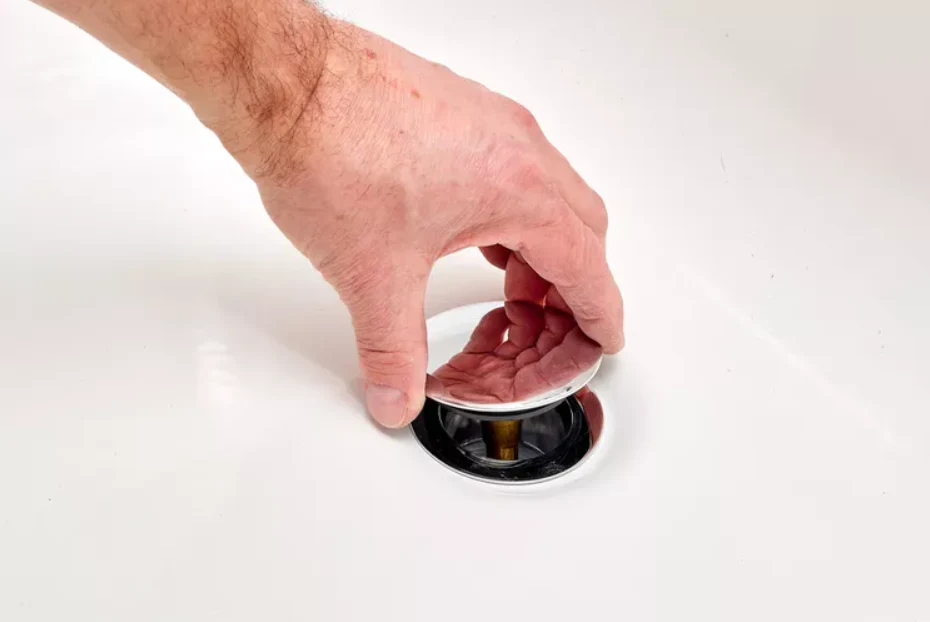
Fix 2: Toe-touch stopper
What you should feel: a springy click as it locks down and pops up.
How to remove it
- Put it in the open position (popped up).
- Try twisting the entire stopper counterclockwise by hand. Many toe-touch stoppers simply unthread.
- If the top cap unthreads but the base stays, remove the cap and look for a center screw holding the stopper body. Remove that screw and lift the body out.
If it is stuck from buildup, wrap a rag around it for grip and use pliers gently. Slow pressure beats aggressive twisting.
Make it click again
- Clean hair from the spring area and around the drain opening.
- Rinse, scrub, and remove soap scum. Toe-touch mechanisms hate gunk.
- Lightly grease the O-ring if present. Do not glob grease inside the drain.
If it closes but leaks
- Check the bottom rubber seal for nicks or hardening.
- Replace the stopper if the internal spring is weak or the seal is not available as a separate part. Many are inexpensive and faster to swap than to rebuild.
Fix 3: Push-and-pull stopper
What you should see: no toe-click. You move it by hand and it stays put from friction.
How to remove it
- Pull it up to the open position.
- Try turning the stopper counterclockwise to unthread it. Some models unthread as one piece.
- If it will not unthread, look for a small set screw on the knob or a center screw under a removable cap.
If yours feels frozen, treat it like a toe-touch: rag for grip, gentle pliers, and patience.
If it won’t stay up or won’t seal
- Clean off soap scum and mineral buildup. Friction stoppers get slippery when they are dirty.
- Inspect the O-ring or sealing washer. If it is worn, replace it or replace the stopper.
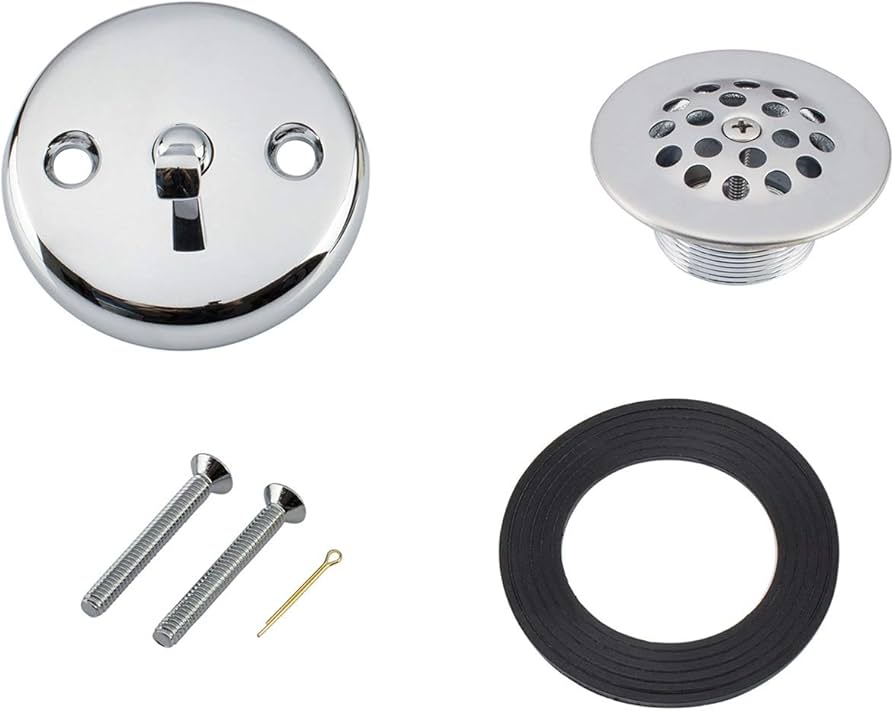
Fix 4: Trip-lever stopper
This is the style that confuses beginners because the control is at the overflow. There are two common versions:
- Plunger or spool linkage: a cylinder-shaped piece travels inside the overflow pipe to block water.
- Pop-up rocker style: a linkage and rocker arm lifts a physical stopper that sits right in the drain basket.
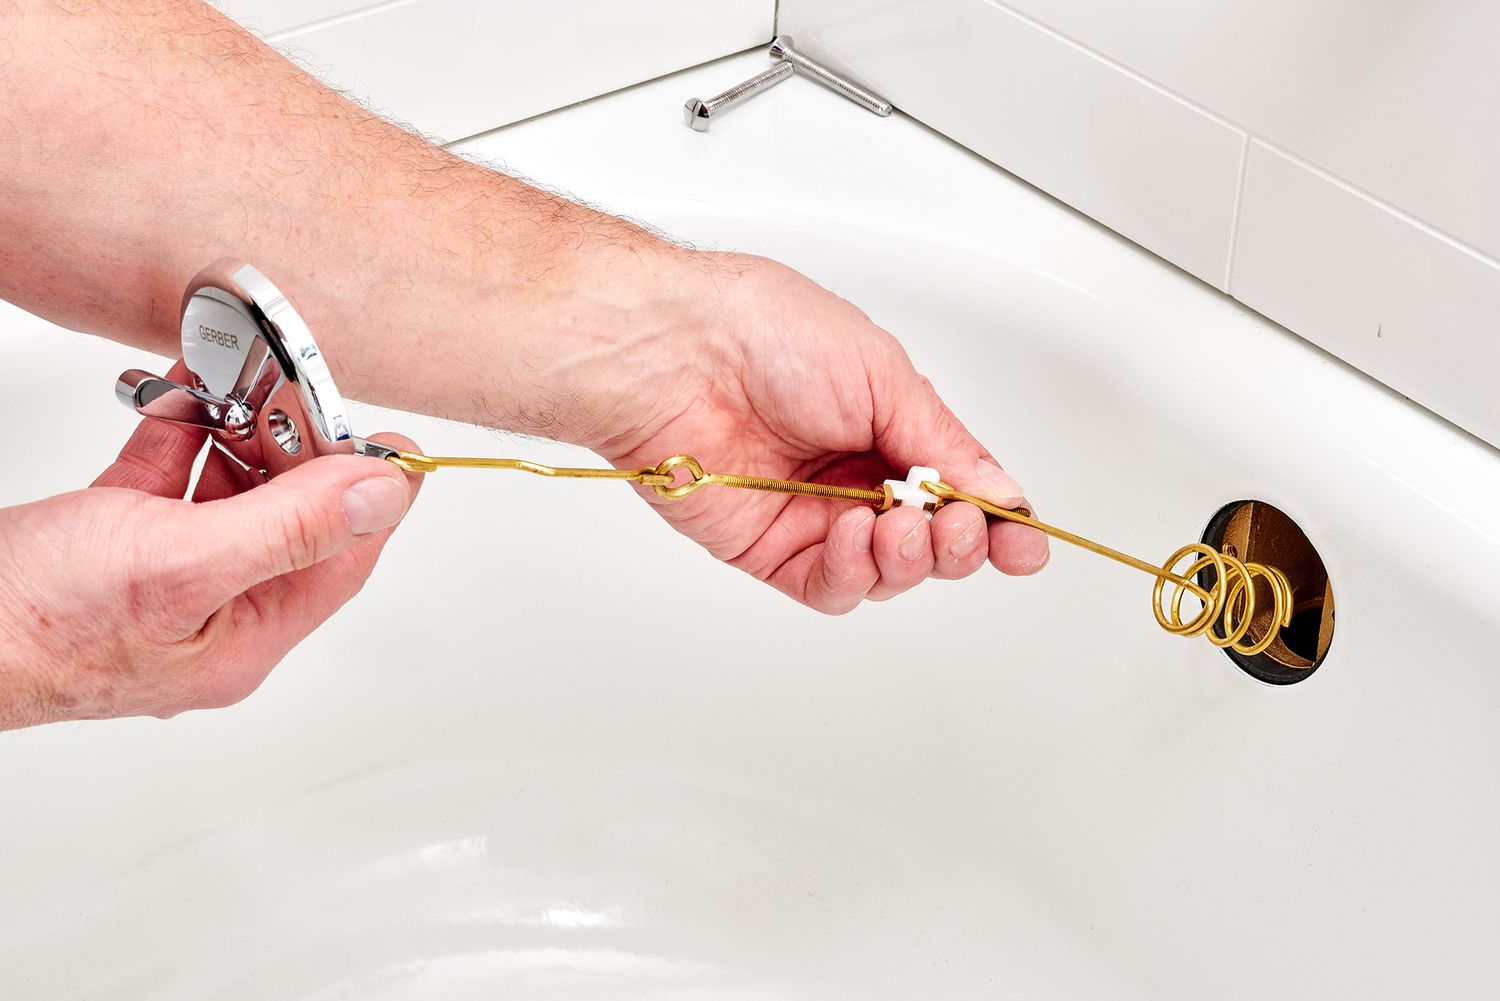
How to remove the linkage
- Flip the lever to the position that normally opens the drain.
- Remove the two screws holding the overflow plate.
- Pull the plate straight out slowly. You will feel resistance as the linkage comes with it.
- Have a bucket ready. This assembly is usually coated in wet hair and soap scum.
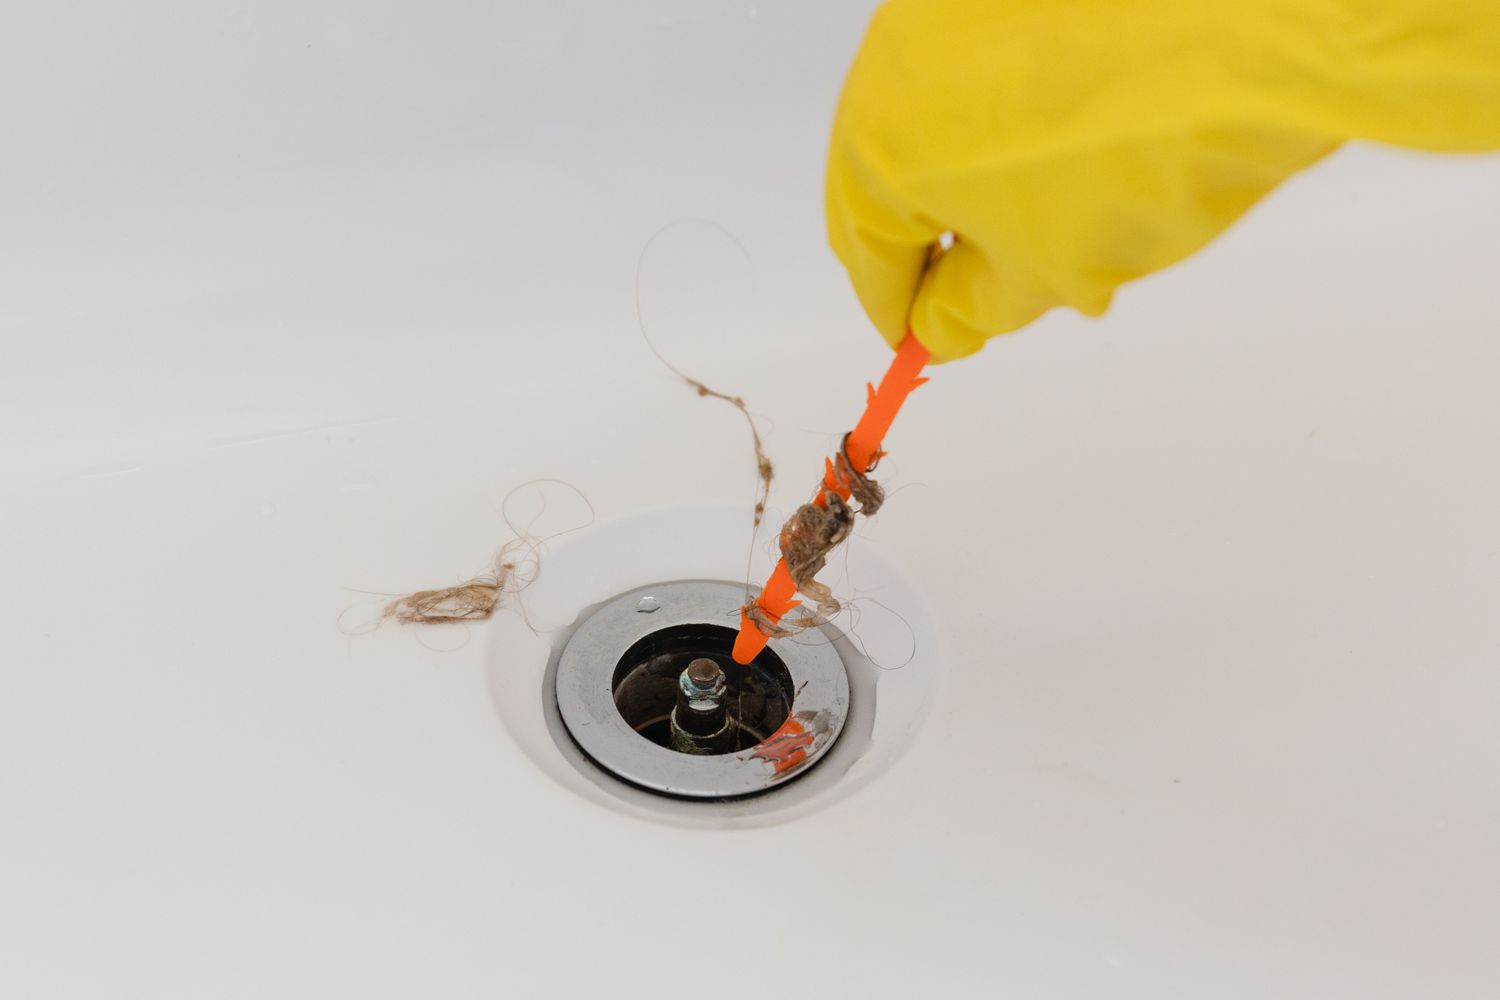
Clear hair and soap buildup
- Remove hair from the linkage, especially near the plunger, spool, or rocker joints.
- Scrub the assembly with a toothbrush and warm soapy water.
- Check for bent rods or a twisted linkage. A slight bend can cause binding inside the overflow pipe.
Adjust it so it seals and releases
If the tub won’t hold water, the sealing part may not be seating. If the tub won’t drain, it may not be lifting high enough.
Most trip-lever linkages adjust at a threaded section, clevis, or a small set screw. Designs vary, so treat the direction below as the usual pattern, not a law of physics.
- To improve sealing (stop leaks): usually lengthen the linkage slightly so the plunger sits lower when “closed,” or so the rocker pulls the drain stopper down more firmly.
- To improve draining (stop sticking closed): usually shorten the linkage slightly so the plunger lifts higher when “open,” or so the rocker lifts the drain stopper higher.
Make adjustments in small turns, then test. I learned the hard way that big changes turn into fishing expeditions inside the overflow.
When to replace the linkage
- Heavy corrosion or pitting on the plunger or rocker parts
- Linkage rods that are bent or loose at joints
- A plunger seal or drain stopper seal that is swollen, cracked, or missing
Quick fix: hair and soap jam
Fast cleanup steps
- Remove the stopper using the method above.
- Pull out visible hair by hand, then use a zip tie or hair tool to hook deeper clumps.
- Scrub the drain flange and crossbars where slime builds up.
- Run hot water for 30 to 60 seconds to flush the loosened debris.
Avoid: forcing metal tools down the drain where you can scratch porcelain or damage plastic piping. Also avoid mixing chemical drain cleaners with anything else. For stopper problems, mechanical cleaning is usually enough.
Replacing a worn stopper
Sometimes the most budget-friendly fix is replacement, especially if the mechanism is worn and you’ve already invested time cleaning it.
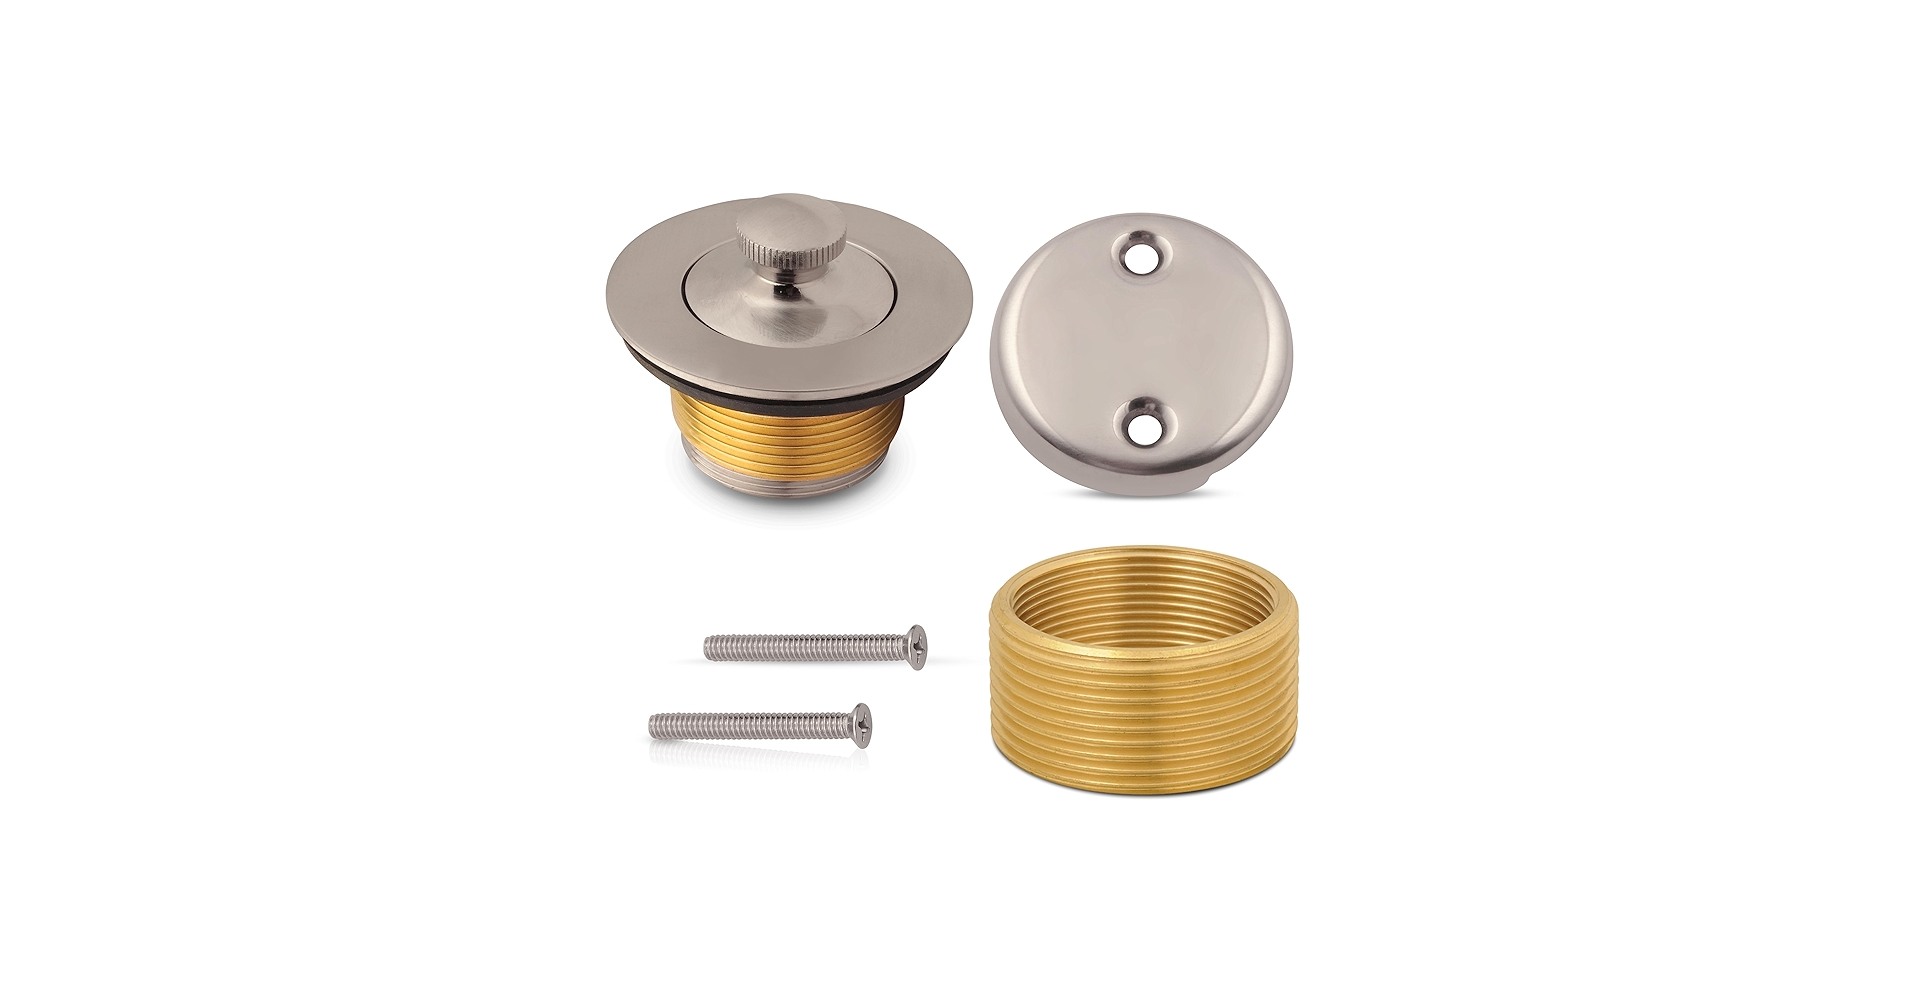
How to buy the right replacement
- Match the type: lift-and-turn, toe-touch, push-and-pull, or trip-lever (plunger or pop-up rocker).
- Match the finish: chrome, brushed nickel, oil-rubbed bronze, etc.
- Match the thread and diameter: many are “universal,” but not all. Bring the old stopper to the store if you can.
- For trip-lever: measure linkage length roughly and compare to replacement kits.
When you install the new parts, hand-tighten first and confirm smooth action before you snug anything with tools.
Troubleshooting
- Stopper stuck closed: hair jam, mineral buildup, trip-lever linkage set too long, or corroded linkage binding.
- Stopper spins but does nothing: loose set screw (lift-and-turn) or stripped internal threads.
- Won’t stay closed: weak spring (toe-touch) or worn seal.
- Won’t hold water: seal or O-ring worn, stopper not seating flat, trip-lever plunger not centered or not set low enough, or pop-up rocker not pulling the stopper down.
- Won’t drain fully: trip-lever plunger not lifting high enough, pop-up stopper not lifting high enough, or a hair clog below the drain.
When to call a plumber
Most stopper repairs are beginner-friendly. But I’d tap out and call a pro if:
- The hardware is seized and you’re at risk of breaking the drain flange or damaging the tub finish.
- You pull the trip-lever linkage and see severe corrosion, missing parts, or you cannot reinsert it smoothly.
- The tub drains slowly even after you clear hair at the stopper, which can point to a deeper clog or venting issue.
- You find signs of a leak behind the wall near the overflow.
My 5-minute routine
- Pull hair from the stopper area every week or two.
- Once a month, remove the stopper, rinse, and scrub off soap scum.
- If you have hard water, do a quick vinegar soak on the stopper every few months.
It is boring, but it prevents that classic “why won’t my bath hold water” moment right when you finally have time to soak.
About Marcus Vance
Content Creator @ Grit & Home
Marcus Vance is a lifelong DIY enthusiast and self-taught home renovator who has spent the last decade transforming a dilapidated 1970s ranch into his family's dream home. He specializes in budget-friendly carpentry, room-by-room renovations, and demystifying power tools for beginners. Through his writing, Marcus shares practical tutorials and hard-learned lessons to help homeowners tackle their own projects with confidence.