🚨 In a DIY emergency or rush?
Skip the details and jump straight to our 30-second cheat sheet for the most crucial info.
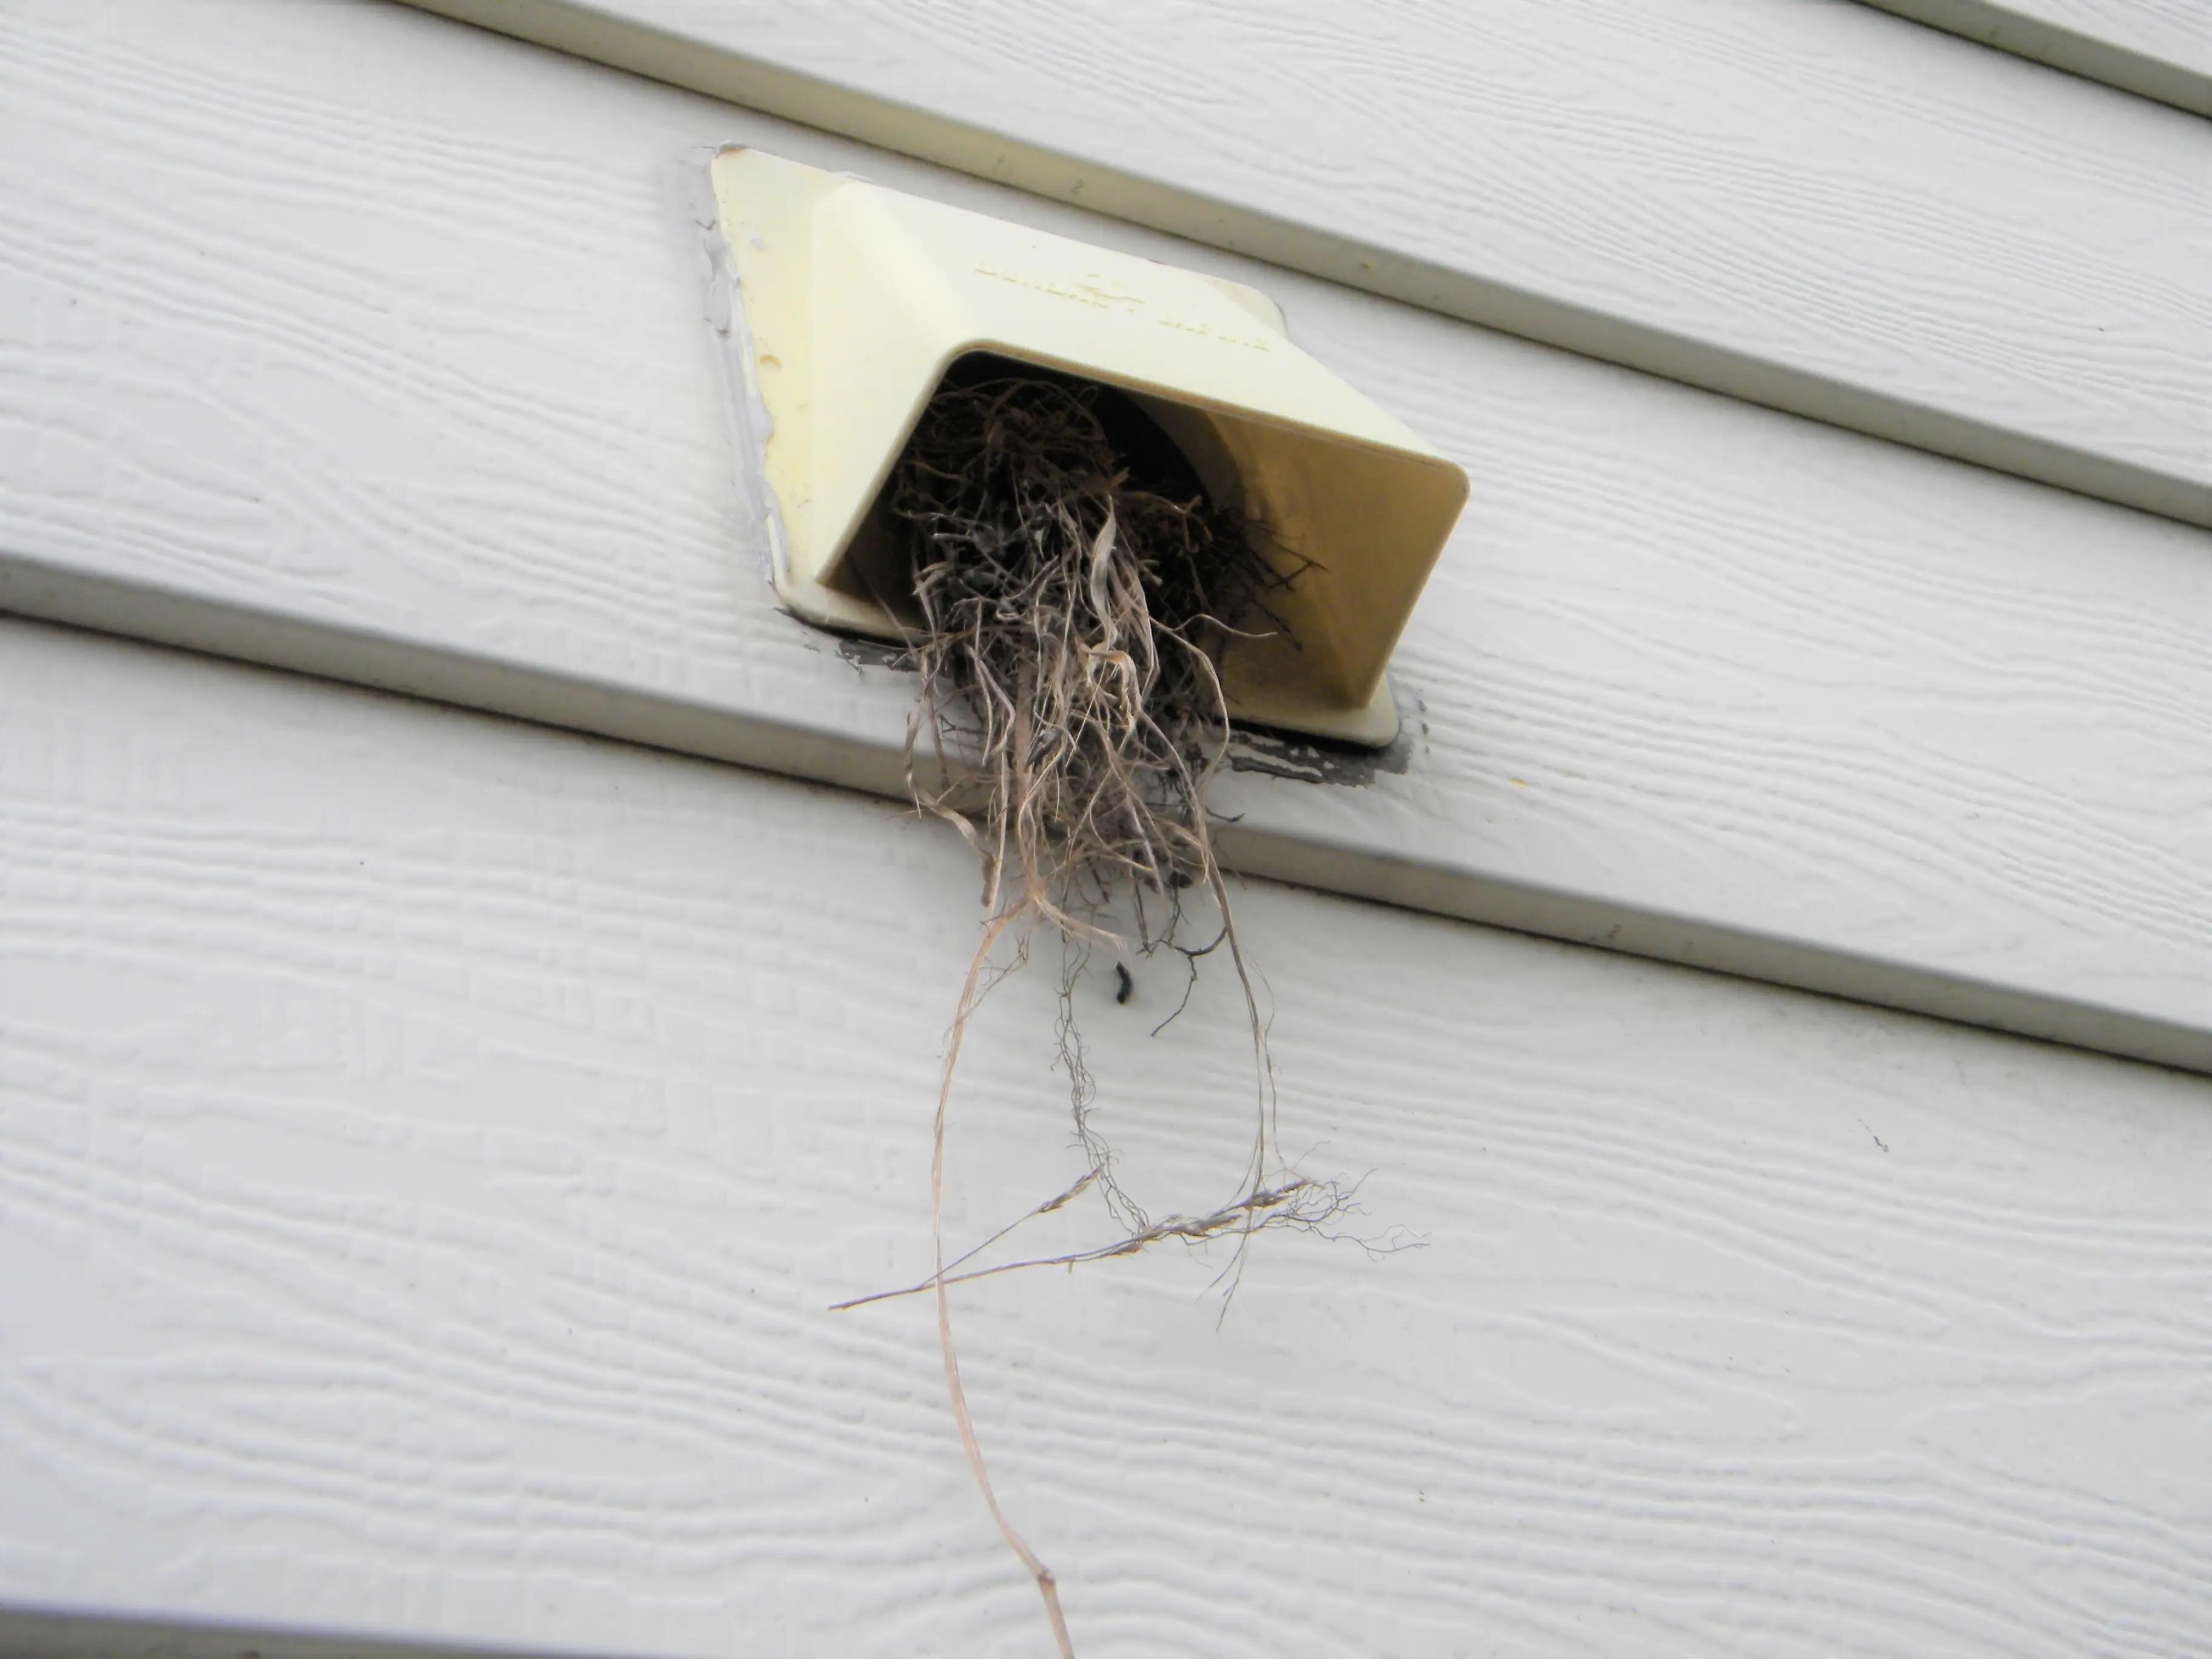
It starts as a small annoyance. The dryer suddenly takes forever . The bathroom mirror stays fogged long after a shower. Then one day you hear it. Scratching, chirping, or a papery rustle right inside the wall.
Exterior vent hoods are basically bird real estate: sheltered, warm, close to lint or insects, and often unguarded. The good news is you can usually fix this without tearing anything apart, as long as you move carefully and time it right.
Why birds pick vent hoods
Most homes have at least a couple exterior exhaust points that look like perfect little caves. Birds commonly target:
- Dryer vents (4-inch round duct with an exterior hood)
- Bathroom fan exhausts (often a hood on a wall, soffit, or roof cap)
- Kitchen exhausts (less common, but it happens, especially on older setups)
What makes them attractive:
- Shelter from rain and wind
- Warm air in colder months or evenings
- Easy building material nearby like twigs, grass, dryer lint, and pet hair
- Reduced predator access compared to open eaves (not zero, but often less)
In my neighborhood, I see house sparrows and starlings do this most, but any small bird with a talent for squeezing into tight spaces can try.
Warning signs your vent is blocked
Lint clogs and bird nests can look similar from inside the house, but nests often come with a few extra clues.
Dryer vent nest signs
- Clothes taking longer to dry or needing two cycles
- Dryer feels hotter than normal or the laundry room is unusually warm
- Burning smell or a dusty, hot odor
- Outside vent flap not opening when the dryer runs
- Chirping or scratching in the wall or near the vent
- Visible twigs or grass at the exterior hood
Bath fan exhaust nest signs
- Bathroom stays humid long after a shower
- Musty smell that keeps coming back
- Fan sounds strained, louder, or changes pitch
- Condensation on windows and walls more than usual
- Debris falling from the fan grille (tiny bits of grass or nesting material)
Fire risk note: A bird nest in a dryer vent is more than a nuisance. Between restricted airflow and lint, it can become a serious hazard. If your dryer is overheating, stop using it until the vent is clear.
Quick clarity: This article is about dedicated exhaust vents (dryer, bath fan, kitchen). It is not about combustion appliance flues for a furnace, boiler, or water heater. If you suspect a blockage in a combustion vent, treat it as urgent and call a pro.
First: timing and local rules
This is the part people skip in a panic, and it matters.
Do not remove an active nest
In many places, it is illegal to disturb active nests of protected species, and it is never a great idea from a humane standpoint.
Rules vary by country, state, and species. In the U.S., many native birds are protected under the Migratory Bird Treaty Act (MBTA), while house sparrows and European starlings are not. If you are not sure what you are dealing with, check local wildlife regulations or call a licensed wildlife professional.
Practical rule of thumb:
- If you hear chirping or see adults repeatedly flying in and out, assume it is active.
- If you see eggs or chicks, pause and get local guidance (wildlife rehabber, animal control, or a licensed wildlife removal company).
Confirming it is inactive
If the nest is clearly inactive (no bird activity, no sounds, no eggs or chicks visible), removal is typically straightforward.
If you are in peak nesting season and you are not 100 percent sure, do a simple check from a safe distance: look for in and out traffic a few times over 24 to 48 hours. Birds can be quiet for stretches, especially in bad weather or between feedings.
If you need to reduce risk right away, stop using the dryer (or use a different bathroom), and focus on monitoring rather than pulling anything out.
Safety rules before you inspect
You can do everything right with tools and still get hurt by a bad ladder setup. Here is my basic checklist.
Ladder and exterior safety
- Use a proper ladder, not a chair, bucket, or wobbly step stool.
- Set the ladder on level ground. If the ground is soft, use a wide base pad or move to firmer footing.
- Follow the 4-to-1 rule: for every 4 feet of height, set the base 1 foot out from the wall.
- Keep three points of contact (two feet and one hand) whenever possible.
- Do not overreach. Climb down and move the ladder instead.
Appliance and electrical safety
- Dryer: turn it off. If you are going to pull the appliance out or open ducting, unplug it. For a gas dryer, avoid disturbing the gas line and call a pro if you smell gas.
- Bath fan: turn the fan switch off. If you plan to open wiring compartments, shut off the breaker, but for this job you usually do not need to touch wiring at all.
Personal protection
- Wear gloves (nests can have sharp twigs, mites, and droppings).
- Consider a mask if there are visible droppings or a strong odor.
- Eye protection is worth it when you are looking up under a hood.

Quick inspection
You are looking for two things: what is blocking it, and how far back it goes.
Outside check
- Look for twigs, grass, leaves, or clumped lint woven like a bowl.
- Check the hood flap. If it is stuck shut, gently nudge it. Do not force it if you feel resistance behind it.
- Watch for adult bird activity for a few minutes before you climb.
Inside check (if needed)
If the exterior termination is on a roof or too high to safely reach, you can still get clues indoors:
- Dryer: pull the dryer out a bit and feel for weak airflow at the exhaust connection (do not run it disconnected unless you are venting safely).
- Bath fan: remove the grille and look for debris or listen for movement in the duct when the fan is off.
If you suspect a nest but cannot access the termination point safely, that is a good moment to call a pro. Roof vents are not a beginner DIY area.
Safe removal (inactive nest)
If you are confident the nest is inactive, here is a careful, low-drama way to remove it.
What you will need
- Gloves
- Small trash bag
- Flashlight
- Screwdriver or nut driver (many hoods have screws)
- Shop vac with hose (optional but helpful)
- Dryer vent brush kit or flexible grabber tool (optional)
Step-by-step
- Access the exterior hood. Set the ladder safely, then do a quick scan for any signs of an active nest.
- Remove the hood cover if possible. Some hoods allow you to pop the front off or remove a couple screws. Take a photo first so you remember how it goes back together.
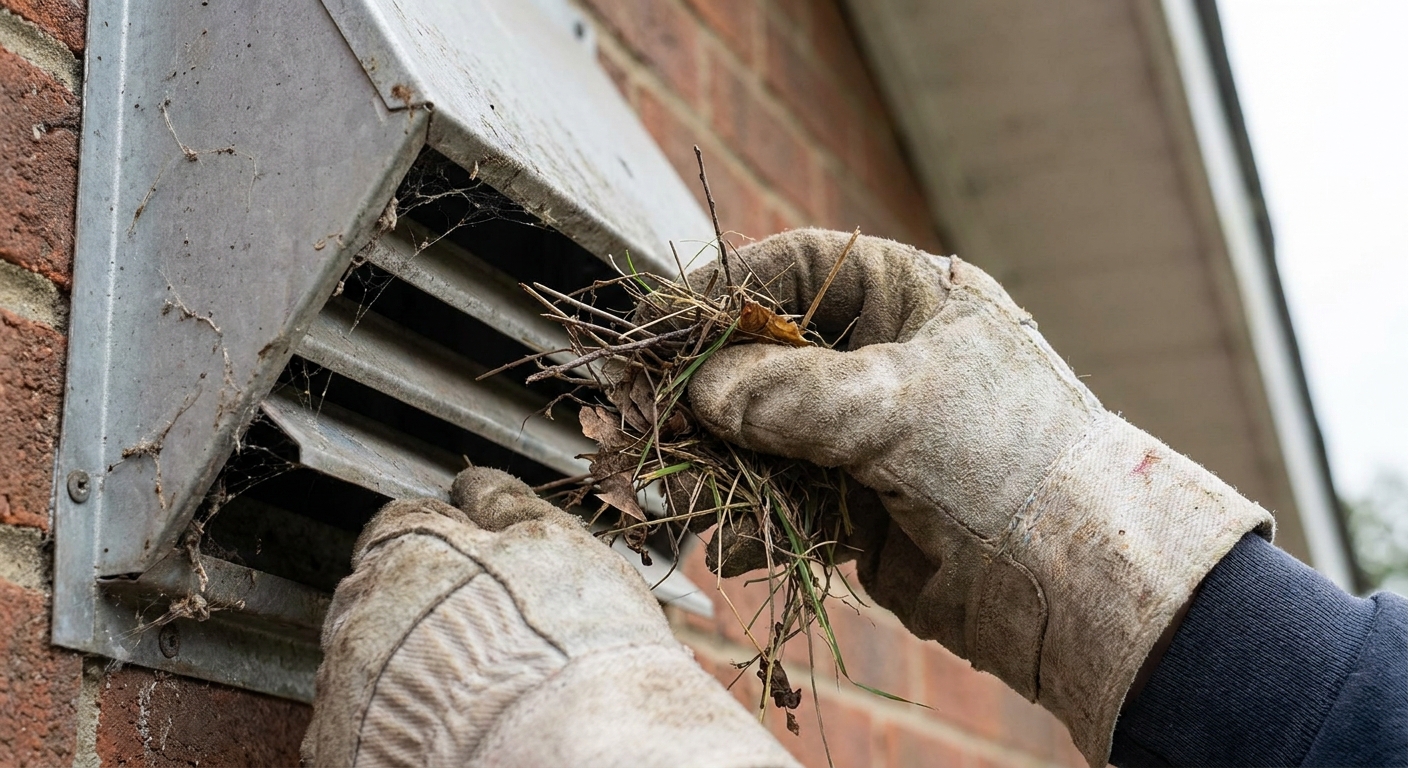
- Pull the nest out in chunks. Use gloved hands. Go slow. Avoid jabbing tools into the duct. Many bath fan and kitchen ducts have backdraft dampers, and flexible ducting can tear.
- Vacuum remaining debris. A shop vac makes this much cleaner. Avoid blowing debris deeper into the duct.
- Check the damper or flap. Make sure it swings freely and closes when not in use.
- Confirm airflow. Run the bath fan for a minute and feel for air outside, or run the dryer briefly and make sure the flap opens fully.
My hard-learned lesson: The first time I dealt with this, I pulled the nest out and called it done. Two loads later, the dryer still took forever. The nest was only the front plug. There was a second wad of lint and grass a couple feet back. Always confirm airflow at the outside hood after you reassemble.
Dryer best practice: If you find lint along with nesting material, consider doing a full dryer vent cleaning (or scheduling one) so you are not leaving a fire hazard behind the fresh air.
When to call a pro
Some situations are not worth forcing.
- Active nest (eggs or chicks present)
- Roof termination access required and you are not comfortable with roof work
- Duct damage suspected, crushed duct, disconnected duct, or water staining around the vent
- Repeated nesting even after you install a proper guard
- Dryer still runs hot or cycles take forever after removal
If you have any reason to think the vent run is long, has multiple bends, or has not been maintained in years, a professional vent cleaning can be money well spent.
Clean up and sanitize
Once the nest is out, you mainly want to remove debris that can hold moisture and odor.
- Bag and dispose of the nest material.
- Wash your gloves or toss disposable ones.
- Wipe the exterior hood with warm soapy water.
- If there are droppings, use a disinfectant spray and let it sit per label instructions, then wipe.
Avoid saturating the duct with liquid cleaners. Moisture inside a vent line is a mold invitation.
Prevent it from happening again
Prevention is the whole game here. Birds are persistent, and a vent that worked as a nesting spot once will be on their list next season.
Use the right kind of guard
For most wall terminations, you have two common options:
- Bird guard or vent guard designed for exhaust. These are made to keep animals out while still allowing airflow.
- Replace the hood with a model that includes a built-in pest guard and a proper damper.
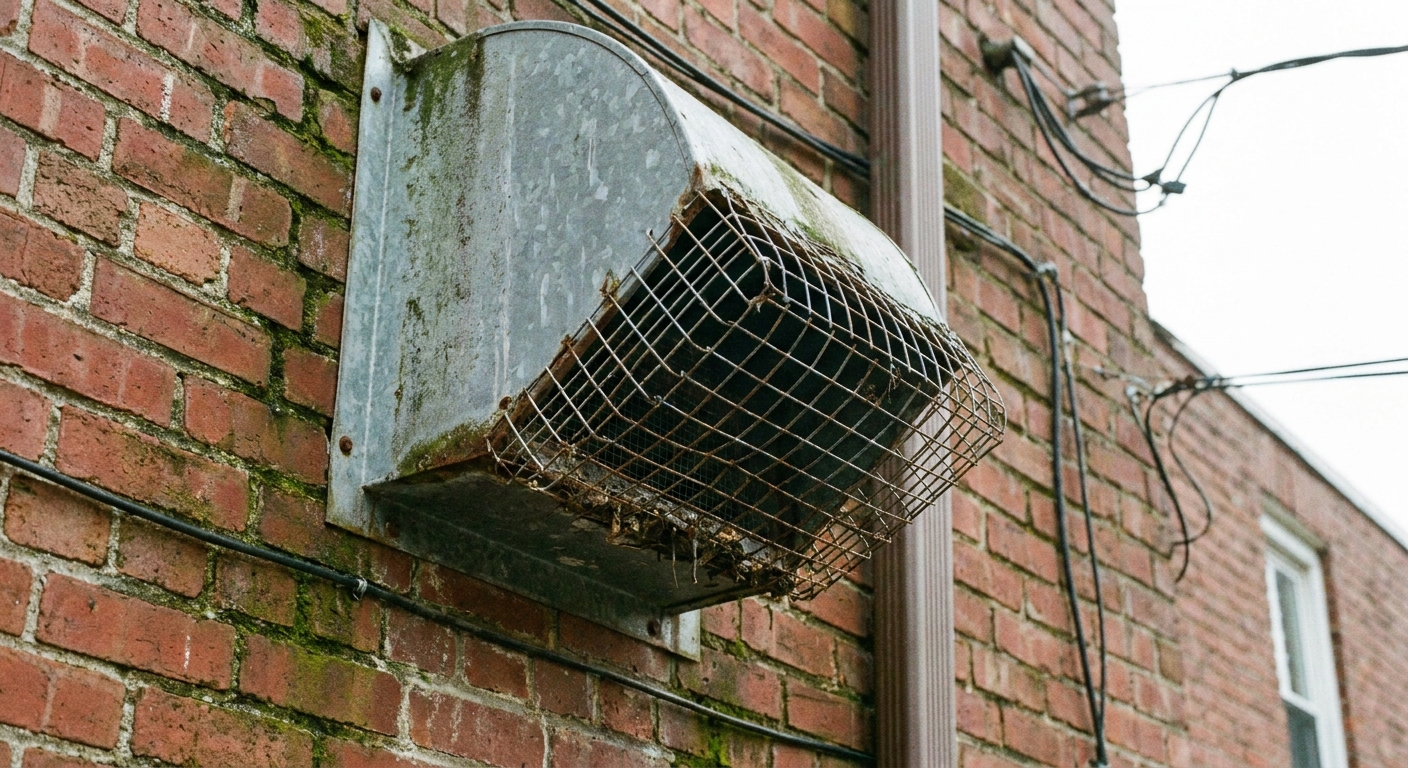
Important: For dryer vents, avoid fine mesh screens that can trap lint quickly. Most manufacturer installation instructions and many local codes call for a termination that does not use a screen because screens create a clog point. A proper dryer vent hood with a damper and a guard designed for dryers is a safer choice.
Check the damper
A vent hood should open easily when air is flowing and close fully when off. If the flap sticks, birds can wedge material behind it and build quickly.
Seal gaps, but keep airflow
If you see gaps around the duct where it passes through siding or brick, seal the perimeter with an exterior-rated sealant. Do not seal the duct opening itself.
Annual vent check
You do not need a full deep-dive guide here, but you do need a rhythm. The easiest way to avoid nest surprises is to add a simple exterior check to your yearly home maintenance routine.
- Every spring: walk the exterior of your home and look at vent hoods. Make sure flaps move freely and no debris is visible.
- Every fall: do a quick repeat check before colder weather and heavier dryer use.
- After any “slow drying” week: check the outside hood that same day. Do not wait for it to become a bigger problem.
If your home has long duct runs or you do a lot of laundry, consider more frequent checks. A 60-second look outside beats a half-day headache later.
FAQ
Can I just blow the nest out with a leaf blower?
I would not. You can pack debris deeper into the duct, damage a damper, or create a mess inside the wall cavity if there is a disconnection. Pulling from the exterior opening is safer.
Is a bird nest in a bath fan exhaust a big deal?
Yes. Even if it is not a fire risk like a dryer, it can trap moisture, cause odors, and reduce ventilation, which can contribute to mold issues in a bathroom.
Why do I still have poor airflow after the nest is removed?
Common reasons are leftover debris deeper in the line, a crushed or disconnected duct, or a separate lint buildup issue. If airflow does not improve right away, stop and investigate before continuing to run the appliance.
What if I hear chirping, but I need my dryer?
Do not run the dryer if the vent is blocked. That is an overheating risk. Use a laundromat temporarily and contact a wildlife professional for guidance.
The 30-Second Cheat Sheet
Essential takeaways for: Bird Nest in a Dryer Vent or Bath Fan Exhaust: Signs and Safe Removal
Fast signs it is a bird nest (not just lint)
- Chirping or scratching near the vent line
- Twigs, grass, or a bowl-shaped plug visible in the exterior hood
- Dryer takes longer, runs hotter, or smells “hot and dusty”
- Bath fan cannot clear humidity and the fan sounds strained
Do this first
- Stop using the dryer if drying time increases or the machine feels hotter than normal.
- Watch the vent hood for a few minutes. If birds are flying in and out or you hear chicks, assume it is an active nest.
- When in doubt, observe longer: during nesting season, check from a safe distance a few times over 24 to 48 hours. Birds can be quiet between feedings.
Do not remove if it is active
- If you see eggs or chicks, pause and call a wildlife professional or local animal control for guidance.
- Rules vary by location. In the U.S., many native birds are protected under the Migratory Bird Treaty Act (MBTA), while house sparrows and European starlings are not. Do not guess, check local regulations.
Safe removal (inactive nest)
- Set the ladder safely (level ground, no overreaching).
- Put on gloves and eye protection.
- Remove the vent hood cover if possible.
- Pull nest material out by hand in chunks. Do not jam tools into the duct (you can damage flexible ducting or a backdraft damper).
- Vacuum remaining debris from the opening.
- Run the fan or dryer briefly and confirm the exterior flap opens and airflow is strong.
Prevention that works
- Install a proper vent guard or replace the hood with a pest-resistant model.
- Avoid fine mesh on dryer vents because it can trap lint and clog quickly. Most manufacturer installation instructions and many local codes call for a termination that does not use a screen.
- Add a spring and fall exterior vent check to your annual home maintenance routine.
Call a pro if
- The vent terminates on the roof
- Airflow is still weak after removal
- You suspect a crushed or disconnected duct
- You smell burning, overheating, or anything electrical
💡 Tip: Scroll up to read the full article for detailed, step-by-step instructions.
⬆️ Back to topAbout Marcus Vance
Content Creator @ Grit & Home
Marcus Vance is a lifelong DIY enthusiast and self-taught home renovator who has spent the last decade transforming a dilapidated 1970s ranch into his family's dream home. He specializes in budget-friendly carpentry, room-by-room renovations, and demystifying power tools for beginners. Through his writing, Marcus shares practical tutorials and hard-learned lessons to help homeowners tackle their own projects with confidence.