Why your radiators and baseboards get airbound
If you have hot water heat (a boiler feeding radiators or fin-tube baseboards), air is the enemy of comfort. Water can carry heat. Air compresses, gurgles, and blocks circulation, so one room runs cold while another is toasty.
Most homeowners notice air in the system when:
- Baseboards are warm near the supply pipe but cool down the line
- A radiator is hot at the bottom but cool at the top
- You hear gurgling, rushing, or pinging in the pipes
- Your boiler runs longer than normal to hit the thermostat setting
Bleeding is simply letting that trapped air out so hot water can fill the space again.
Quick safety notes before you start
- Know what you have: These steps are for hydronic hot water systems, not steam radiators. Steam systems have different vents and different rules.
- Watch temperature and pressure: Hot water can scald. Pressure can make water spray if a valve is opened too far.
- If you see signs of trouble, stop: If boiler pressure is already high (often above 25 to 30 psi on many residential gauges), if the relief valve is dripping, or if you have a big leak, get a pro involved.
Supplies that make this painless
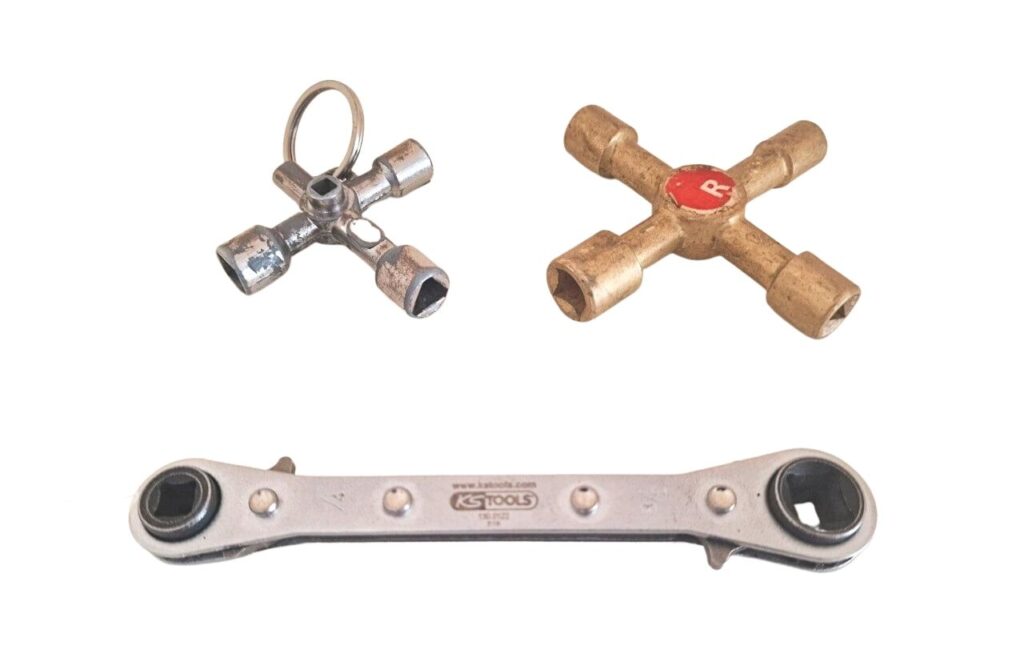
- Radiator key (for older radiators) or a small flathead screwdriver (some bleeders)
- Small cup or bowl
- 2 or 3 old towels or rags
- Work gloves
- Flashlight or headlamp
- Adjustable wrench (occasionally useful for stubborn caps, not for the bleed screw itself)
- Optional: infrared thermometer to confirm temps before and after
My personal tip: bring a shallow plastic food container. It slides under awkward valves better than a mug.
Know your bleeder type
Manual bleeder valve
This is the most common on older radiators and many baseboard end caps. It looks like a small brass fitting with a tiny square or slotted screw. You open it briefly, air hisses out, then water dribbles out.
Automatic air vent
These are small “caps” usually found near the boiler, near zone valves, or at high points. They purge air on their own. If an automatic vent is stuck closed or leaking, bleeding at the emitters might not solve everything.

Before bleeding: check the boiler gauge and fill setup
Bleeding releases air, but it also lets out a bit of water. If your system pressure drops too low, you can actually pull more air in or stop circulation to upper floors.
What pressure should you aim for?
Every system is a little different, but many two-story homes run around 12 to 15 psi when cool. When hot, pressure rises somewhat. If you have a taller home, you may need higher pressure to push water to the top floor.
Rule of thumb: If you are not sure, use your boiler manual or call your boiler manufacturer’s support line with the model number. Guessing high is not your friend here.
Find the pressure/temperature gauge
Look on or near the boiler. You should see a dial showing pressure in psi and temperature in degrees.
Locate the auto-fill or manual feed
Most systems have a pressure-reducing valve (auto-fill) and a fast-fill lever. Some older setups use a manual feed valve.
- If you have auto-fill, it will usually maintain pressure as you bleed. You still want to keep an eye on the gauge, but you may not need to do any manual topping up.
- If you have manual feed, you will add water slowly and watch the gauge the entire time.
The best order (zone by zone)
Air wants to rise. You want a plan that moves air out without chasing it around the house.
If you have multiple heating zones
- Bleed one zone at a time.
- Start with the zone that is coldest or the zone farthest from the boiler.
If you have one zone
- Start on the lowest floor, closest radiator/baseboard to the boiler.
- Work your way to the farthest unit, then go up a floor and repeat.
It is not the only correct order, but it is consistent and keeps you from missing a room.
How to bleed a radiator
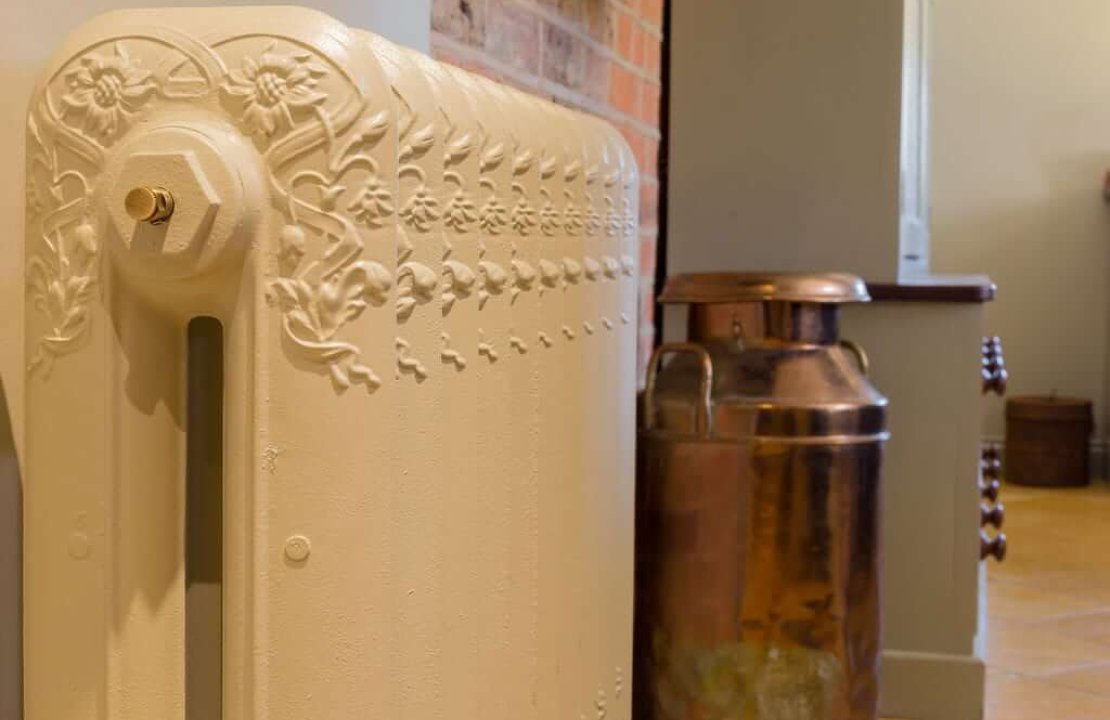
This is the classic cast-iron or panel radiator situation. The bleeder is usually near the top, on one side.
Step 1: Warm it, then stop the pump
- Turn the thermostat up a few degrees so the system runs long enough to warm the water. Warm water helps release dissolved air.
- After 10 to 15 minutes, turn the thermostat back down (or turn the system to Off) so the circulator pump stops.
- Wait 5 to 10 minutes. This gives the air time to rise and collect at the top of the radiators where the bleeder can actually catch it.
Why the pause matters: if the pump is running while you bleed, it can churn tiny bubbles through the water and make the air harder to purge at the valve.
Step 2: Protect the wall and floor
- Put a towel under the valve and a cup right below the outlet.
- Have a second towel ready. When water starts, it can sputter.
Step 3: Open the bleeder slowly
- Insert the radiator key (or screwdriver) and turn counterclockwise about a quarter turn.
- Listen for a steady hiss. That is trapped air leaving.
Step 4: Close it when water runs smooth
- At first you might get spitting or bursts of air and water.
- When you get a steady stream of water with no sputter, close the valve snugly.
- Do not over-tighten. That tiny screw can strip, and then you have a bigger problem than a cold bedroom.
Step 5: Repeat on the next radiator
Work in your chosen order. Every few radiators, glance at the boiler pressure. If it has dropped noticeably and your system does not have a working auto-fill, pause and top up before you continue.
How to bleed fin-tube baseboards
Baseboards can be trickier because many do not have bleed valves at the room level. If yours does, it is often behind the end cap or on the piping near the baseboard.
Step 1: Find the bleed point
- Look behind the removable end cap for a small valve.
- Check near elbows and high points in the piping run.
- Some homes have purge valves in the basement near each zone instead of bleeders upstairs.
Step 2: Warm it, then let the air rise
- Just like with radiators, run the heat briefly to warm the water.
- Then turn the thermostat down so the circulator pump stops, and wait a few minutes for air to collect at the bleed point.
Step 3: Bleed like a radiator
- Put towels down because baseboard covers love to drip behind the drywall line.
- Open the bleeder slightly until air stops and water runs steady.
- Close it snugly.
If you cannot find bleeders on the baseboards
You may have a system that is meant to be purged at the boiler with purge valves and drain hoses. That is still homeowner-doable in some setups, but it is easier to make a mess and easier to overfill. If you want that guide, the safe move is to look up your boiler’s piping diagram or have a tech show you once so you know which valves do what.
Pressure check and top up
This is where most “I bled it but now nothing works” stories come from. You did not do anything wrong. You just let out enough water that the system cannot push water to the top.
What to do after bleeding
- Check the boiler pressure gauge.
- If you have a working auto-fill valve, it will typically bring pressure back on its own. Still verify the gauge returns to your normal range.
- If you have manual feed (or your auto-fill is not keeping up), open the feed slowly (or lift the fast-fill lever briefly) and watch the needle.
- Bring pressure back to your normal range, commonly around 12 to 15 psi when cool, then close the feed.
If you find yourself needing to add water often, that is a sign something is wrong: a leak, a bad automatic vent, or a failing expansion tank. That is not a “keep topping it up forever” situation.
Verify circulation afterward
Listen and feel
- Gurgling should fade quickly.
- Radiators should heat more evenly from bottom to top.
- Baseboards should feel consistently warm along the run once the room is calling for heat.
Use an infrared thermometer (optional)
Take a quick reading at:
- The supply pipe entering the radiator or baseboard
- The return pipe leaving it
You should see a temperature drop across the unit once it is moving water and giving up heat. If supply is hot and return is nearly the same and the room is still cold, you might have flow issues elsewhere (stuck zone valve, pump problem, or a balancing issue).
Recheck boiler pressure when hot
As the system heats up, pressure rises. A moderate rise is normal. A big climb can point to an expansion tank issue. If your relief valve ever discharges water, shut the system down and call for service.
Common bleeding mistakes
- Bleeding with the pump running: It can keep air bubbles moving through the water and make the bleed valve miss them. Warm the system, then let it sit with the pump off for a few minutes.
- Opening the bleeder too far: A quarter turn is usually plenty. Too far can spray hot water and chew up the screw.
- Bleeding with very low pressure: You might get a quick hiss, but air can stay trapped in upstairs runs. Top up first if the gauge is low.
- Forgetting to bleed the top floor: Air collects high. Always check the highest emitters even if the cold room is downstairs.
- Chasing the same radiator over and over: If air keeps coming back, look for the reason: low pressure, a leak, or a bad vent.
When to call a pro
Bleeding is a normal homeowner maintenance task. But stop and schedule service if you run into any of these:
- Boiler pressure will not stabilize or keeps dropping
- You have to add water every few days
- The relief valve is dripping or has discharged
- A bleeder valve will not close or is leaking around the stem
- Whole zones stay cold after bleeding and pressure is normal
My quick checklist
- Gather key, towels, cup, flashlight
- Run the heat briefly to warm the water
- Turn the thermostat down so the pump stops, then wait a few minutes
- Check boiler pressure before you start
- Bleed in a consistent order, zone by zone
- Close bleeders when water runs steady
- Check pressure again and top up if needed (auto-fill may handle this)
- Turn heat back on and verify even heat
- Recheck pressure once the system is hot
About Marcus Vance
Content Creator @ Grit & Home
Marcus Vance is a lifelong DIY enthusiast and self-taught home renovator who has spent the last decade transforming a dilapidated 1970s ranch into his family's dream home. He specializes in budget-friendly carpentry, room-by-room renovations, and demystifying power tools for beginners. Through his writing, Marcus shares practical tutorials and hard-learned lessons to help homeowners tackle their own projects with confidence.