If you have ever stood in the nailer aisle holding two nearly identical tools and wondering why one costs more, you are in good company. I did the same thing when I started re-trimming my 1970s ranch. Here is the simple truth: a brad nailer is about clean, low-visibility fastening, and a finish nailer is about stronger holding power for real trim work.
This guide breaks down gauge sizes, how well each nail holds, what the holes look like, and which nailer fits your projects best.
Quick answer
- Get a brad nailer (18-gauge) if you do crafts, thin trim, light molding, small returns (little mitered end caps), and you care most about tiny nail holes.
- Get a finish nailer (16-gauge or 15-gauge) if you install baseboards, door and window casing, crown, or anything that needs real grip and long-term staying power.
- If you can only buy one for typical DIY home trim, a 16-gauge finish nailer is usually the best “do-most-things” pick.
Brad vs. finish nailer at a glance
Most of the confusion comes down to three things: gauge (thickness), length options, and holding power.
| Tool | Gauge | Typical nail lengths | Hole size | Best for |
|---|---|---|---|---|
| Brad nailer | 18-gauge | Often 5/8 inch to 2 inches (check your nailer specs) | Small | Thin trim, delicate parts, glue-assist work |
| Finish nailer | 16-gauge | Often 1 inch to 2-1/2 inches (check your nailer specs) | Medium | Baseboards, casing, chair rail, most room trim |
| Finish nailer | 15-gauge (often angled) | Often 1-1/4 inches to 2-1/2 inches, some up to 3 inches (check your nailer specs) | Largest | Crown, thicker trim, stronger hold in framing |
Lower gauge number means a thicker nail. Thicker nail means more holding power, but also a bigger hole to fill.

Gauge sizes and what they mean
18-gauge brad nails
- Thinner nail with a small head.
- Smallest hole of the common nailer types used for trim.
- Lower splitting risk on delicate pieces like narrow stop molding or thin lattice.
16-gauge finish nails
- Noticeably thicker than 18-gauge.
- Much better grab for casing and baseboard.
- Moderate hole size that still fills easily with wood filler or spackle.
15-gauge finish nails
- Thickest common “finish” nail for interior work.
- Often uses an angled magazine, handy in tight corners.
- Best holding power of the three, but also the largest hole.
My rule of thumb: if you are fastening something that could get bumped, vacuumed, kicked, or tugged on for the next 10 years, lean finish nailer.
Brad vs. finish nails
One more thing that helps: brads are thin and leave a small, neat hole. Finish nails are thicker and typically have more noticeable heads, which is part of why they hold better.
Also, many 15-gauge angled finish nailers can leave a slightly more noticeable, oval or D-shaped hole depending on the nail and how the driver hits. It is still totally normal for trim work, just something to plan for if you are doing stained trim or close-up cabinetry.
Holding power
Nails are not magic, but they do provide real mechanical hold. The thicker the nail and the more solid wood you hit, the better things stay put.
- Brad nailer strength: great for tacking trim in place, pinning small parts, and fastening where glue is also helping.
- Finish nailer strength: better for fastening trim to framing and resisting movement from seasonal wood changes and everyday bumps.
Adhesive, when it makes sense: a small bead of construction adhesive on the back of baseboard can help reduce gaps and “springy” spots, especially on wavy walls. Use it sparingly so you do not hold the trim off the wall, and remember it can make future removal harder. In many installs, nails into studs and jambs are the primary fastener, and adhesive is optional.
Nail visibility
Brad nailer holes
Brad holes are small enough that on painted trim you can often dab a little spackle, sand lightly, and paint. On stained trim, they still show, but they are easier to hide with color-matched filler.
Finish nailer holes
Finish nails leave a larger hole. It is still absolutely normal for trim work, just plan for filling and touch-up. On stained wood, you will want a quality filler and a careful touch with stain markers or wax sticks.
If your project is high-visibility cabinetry or small decorative molding where you want the cleanest look, that pushes you toward brads.

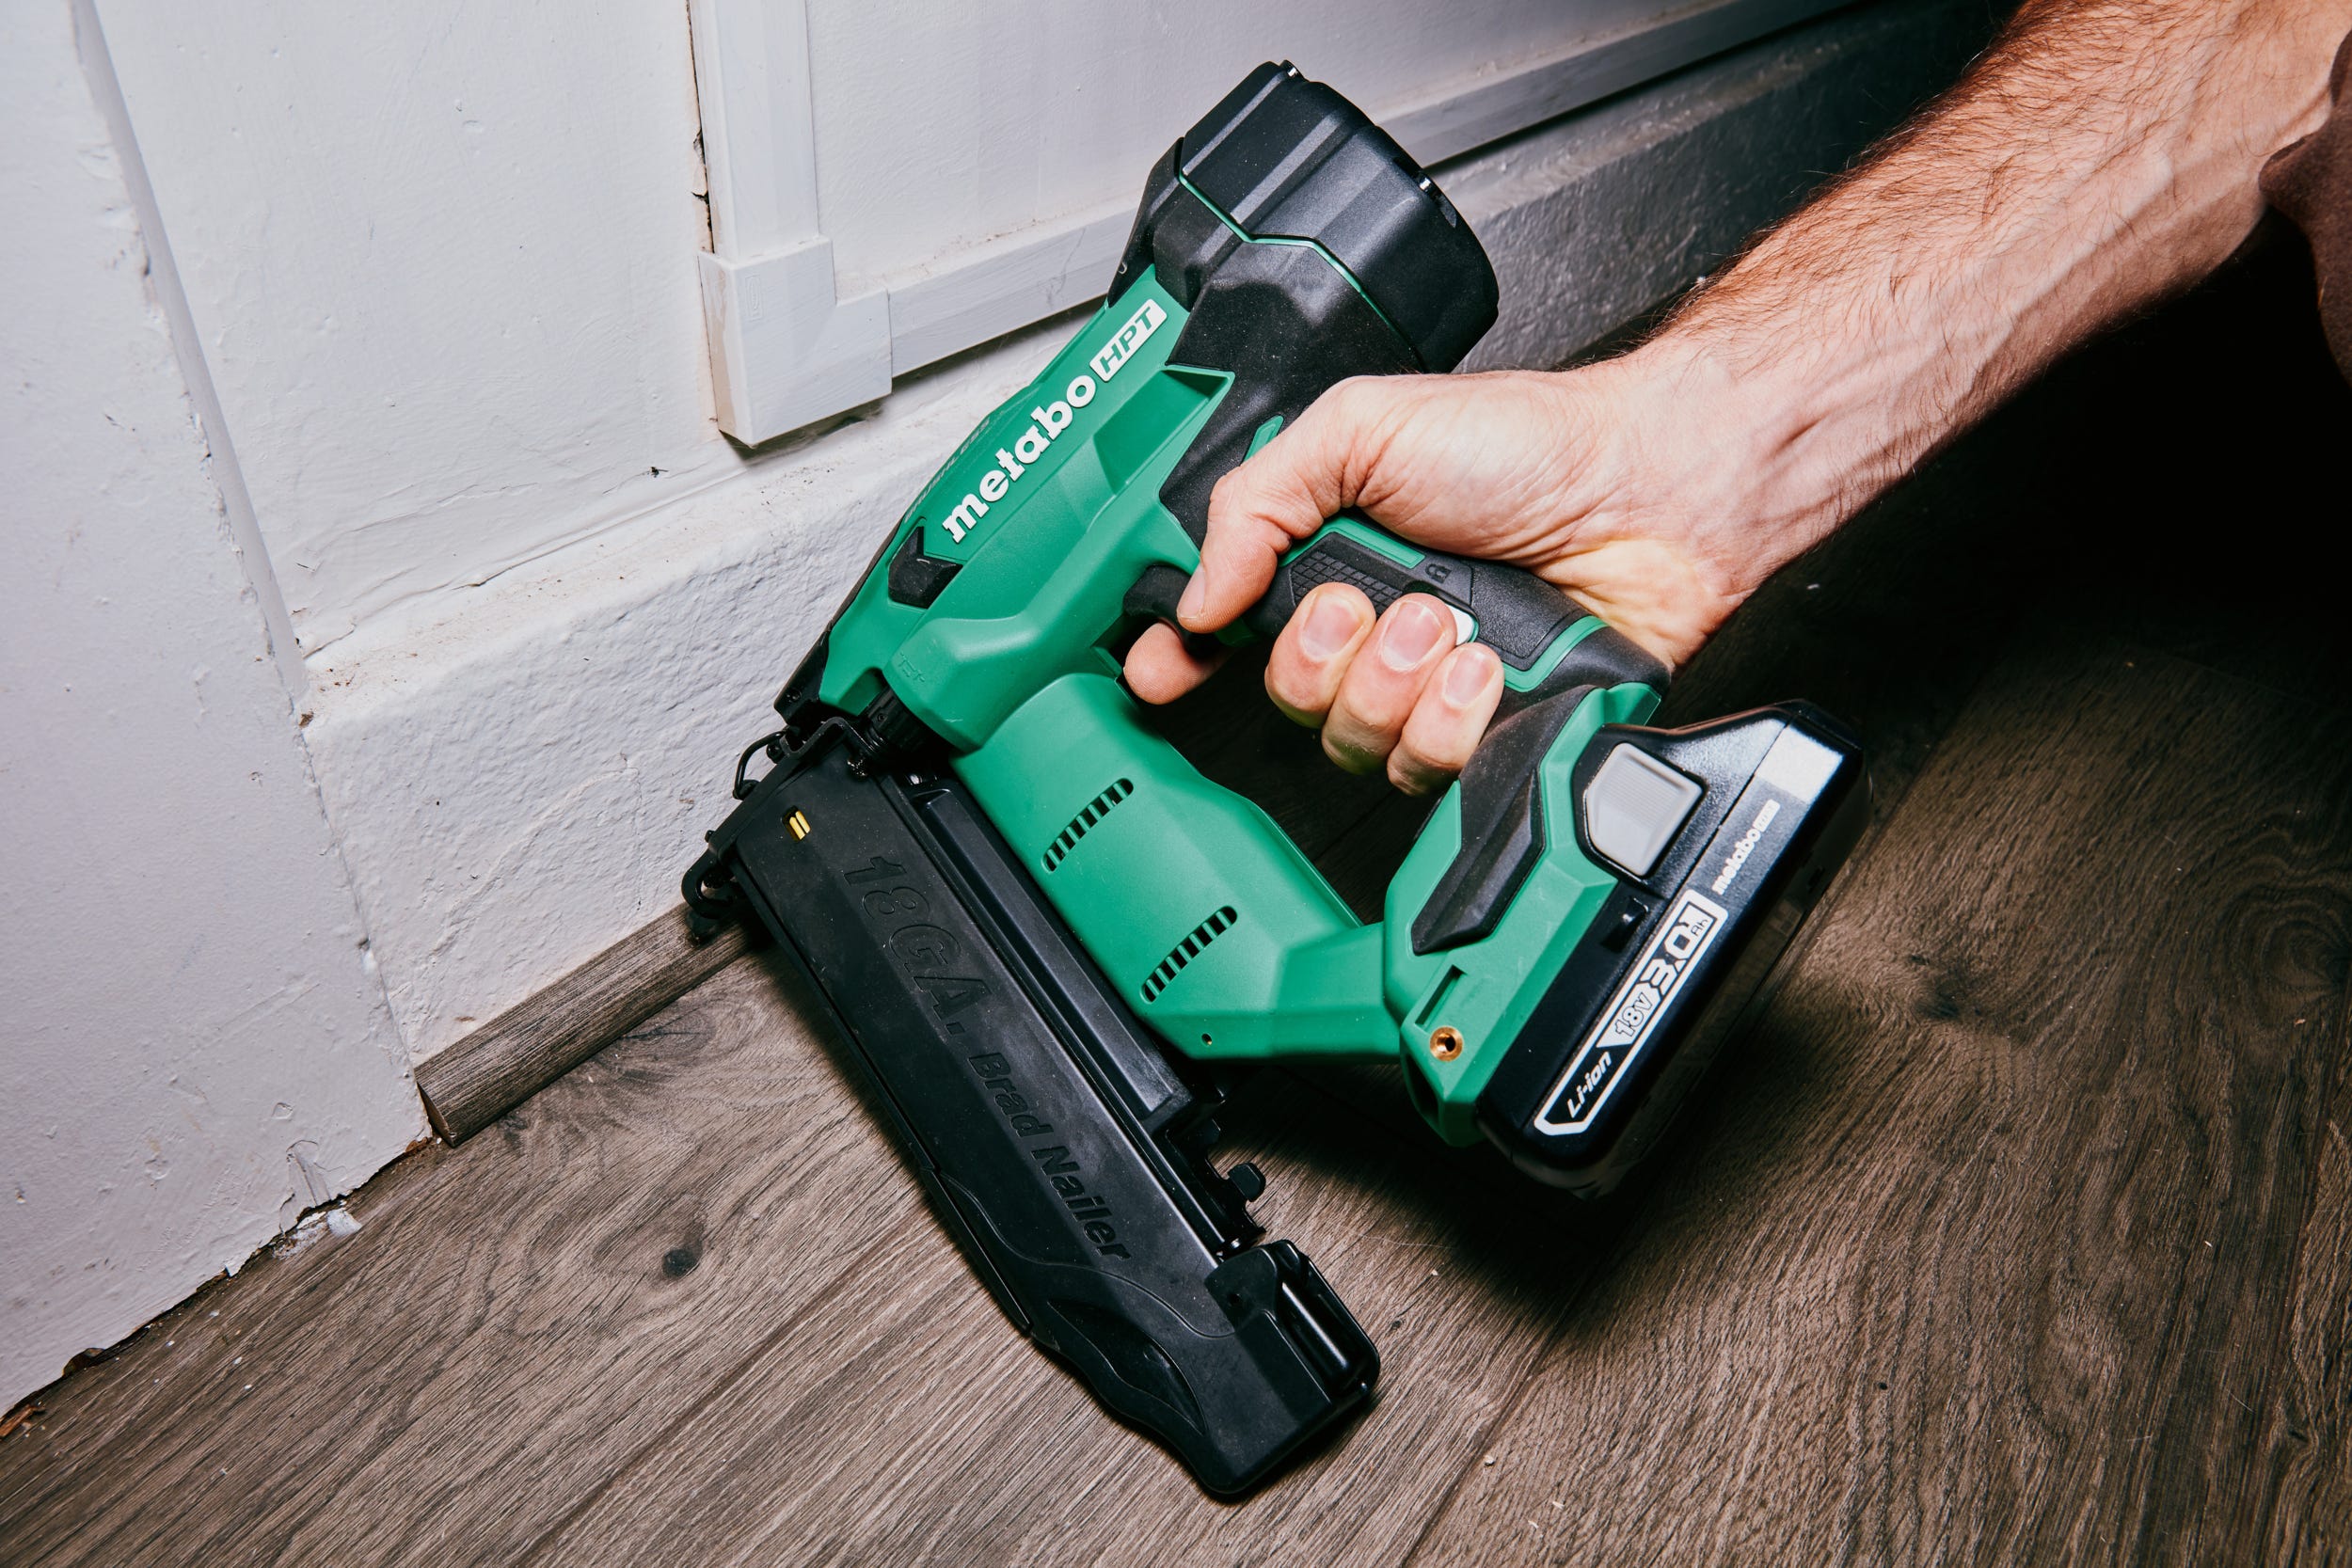
Best uses for a brad nailer
Think of an 18-gauge brad nailer as the tool you reach for when you want to fasten something without beating it up.
- Thin trim and small molding: shoe molding, quarter round, small cove, lattice, screen trim.
- Lightweight assembly: picture frames, small boxes, craft builds.
- Cabinet parts and panels: holding a thin panel or trim strip while glue sets.
- Delicate returns: tiny mitered end caps on baseboard or crown where splitting is a concern.
- Temporary “third hand”: tacking a piece in place so you can step back and check alignment.
My most common brad-nailer job is attaching shoe molding after I install baseboards. It is thin, easy to split, and it looks better with smaller holes.
Best uses for a finish nailer
A finish nailer is your workhorse for anything that has a little weight or leverage, or where the wall is not perfectly flat.
- Baseboards: especially taller modern profiles.
- Door and window casing: fastening to jambs and studs.
- Crown molding: better bite into framing where you can find it.
- Chair rail and wainscoting trim: stronger hold and fewer callbacks to fix loose spots.
- Light cabinetry install help: securing face frames, filler strips, or trim when appropriate.
If I am trimming an entire room, I would rather fill a few more holes than chase trim that wants to pull away from the wall later.
Decision guide
Installing baseboards
- Best pick: 16-gauge finish nailer
- When brads work: small baseboard with good stud hits, and for attaching shoe molding or quarter round to the baseboard
Door and window casing
- Best pick: 16-gauge finish nailer
- Tip: use shorter nails into jambs, longer nails where you are aiming for studs
Crown molding
- Best pick: 15-gauge or 16-gauge finish nailer
- Why: crown wants to spring, especially on imperfect corners
Cabinet trim, toe kicks, and light molding
- Best pick: brad nailer for small trim, finish nailer for thicker pieces
- Rule: if the trim is thin enough to split easily, start with brads and add glue
Crafts, frames, small woodworking
- Best pick: brad nailer
- Why: smaller holes and less chance of blowing out a small part
Repairing loose trim
- Best pick: finish nailer
- Why: you are usually trying to pull something tight and keep it there
How to choose nail length
A good general target is to get about 1 inch of nail into solid wood after passing through the trim. That is not always possible, but it is a solid starting point.
- Shoe molding or quarter round: commonly nailed into the baseboard (or sometimes into the floor) with 1 inch to 1-1/4 inch brads, depending on thickness.
- 3/4 inch trim to studs (like baseboard): 2 inch finish nails are a common go-to.
- Thicker assemblies or tricky angles: step up to 2-1/2 inch finish nails if your nailer supports them.
One mistake I made early on was assuming longer is always better. Too long can mean nails deflect and pop out the side of your trim, especially near knots or at steep angles.
Tip: Nail ranges vary by tool and brand. Before you buy a big box of fasteners, confirm what your nailer actually accepts.
Pro tips
Set your depth first
Do a few test shots on scrap that matches your trim thickness. You want the nail head slightly below the surface, not cratered. Overdriving creates a bigger divot to fill and can weaken the hold.
Aim for studs when it counts
Finish nails shine when they hit framing. If you are installing baseboard, a stud finder and a pencil mark will make the job feel unfairly easy.
Use the right fastener
- Indoor painted trim: standard bright finish nails or coated nails are common.
- Stained trim: use quality finish nails and test your filler. On tannin-rich woods like oak, watch for discoloration and do a small test area first.
- Damp areas or exterior: use corrosion-resistant fasteners such as galvanized or stainless, and follow the trim manufacturer guidance.
Tiny parts need glue
For small returns and delicate molding, a dab of wood glue plus a couple of brads is often cleaner than trying to muscle it with thicker nails.
Basic safety and technique
- Keep your off-hand well away from the line of fire. Nails can blow out the side, especially in hardwoods.
- If you get frequent blowouts, reduce nail length, adjust angle, and back off depth a touch.
- Wear eye protection. Trim work loves to produce surprise splinters and ricochets.
Pneumatic vs. cordless
Not really. Gauge and nail size still matter most. But the power source affects convenience.
- Pneumatic: usually lighter in the hand and less expensive per tool, but you need a compressor and hose.
- Cordless: grab-and-go convenience, great for punch-list trim, but usually heavier and pricier.
If you are doing whole-house trim, pneumatic is hard to beat for cost and comfort. If you are doing weekend projects and quick fixes, cordless can be worth it.
Other nailers to know
23-gauge pin nailer
If you are doing ultra-delicate trim, tiny edging, or very visible cabinet details, a 23-gauge pin nailer makes an even smaller hole than an 18-gauge brad nailer. The tradeoff is simple: pins have very low holding power, so they are best as a clamp while glue sets, not as the main fastener.
Which one should you buy first?
- Mostly trim and molding around the house: start with a 16-gauge finish nailer.
- Mostly crafts, small woodworking, and light trim: start with an 18-gauge brad nailer.
- Planning to do both: buy the finish nailer first, then add a brad nailer when you start doing shoe molding, returns, and delicate trim regularly.
If it helps, here is the way I think about it: a finish nailer earns its keep fast, because it covers the big, common jobs like baseboards and casing. A brad nailer becomes your favorite tool once you start doing the detailed stuff.
FAQ
Can a brad nailer replace a finish nailer?
Sometimes, for small trim with good technique and glue in the right places. But for baseboards, casing, and crown, a brad nailer is more likely to leave you with trim that loosens over time.
Will a finish nailer split trim?
It can, especially on thin or brittle profiles and near the end of a board. Pre-drilling is rare for trim work, so the fix is usually choosing a thinner nail (brads) for delicate pieces, using shorter nails near ends, and keeping nails back from edges.
Do I still need a hammer and nail set?
It is smart to have them. Occasionally you will get a nail that sits proud or a spot where the nailer cannot fit. A nail set also helps if you are doing a tiny touch-up without dragging out the compressor.
About Marcus Vance
Content Creator @ Grit & Home
Marcus Vance is a lifelong DIY enthusiast and self-taught home renovator who has spent the last decade transforming a dilapidated 1970s ranch into his family's dream home. He specializes in budget-friendly carpentry, room-by-room renovations, and demystifying power tools for beginners. Through his writing, Marcus shares practical tutorials and hard-learned lessons to help homeowners tackle their own projects with confidence.