
🚨 In a DIY emergency or rush?
Skip the details and jump straight to our 30-second cheat sheet for the most crucial info.
The first time my chest freezer left a mysterious puddle on the garage floor, I assumed the worst. Refrigerant leak. Dead freezer. Goodbye bulk-buy bargains.
Turns out, most chest freezers that are still getting cold are not “leaking” in the dramatic sense. In a lot of cases, the water is coming from one of a few fixable culprits: melted frost, condensation (sweating), a drain cap/plug issue, or a lid gasket/seal problem. Less common problems do exist, but these cover the everyday puddles.
This guide will help you trace the water like a detective, then knock out the fix without turning it into a whole weekend project.
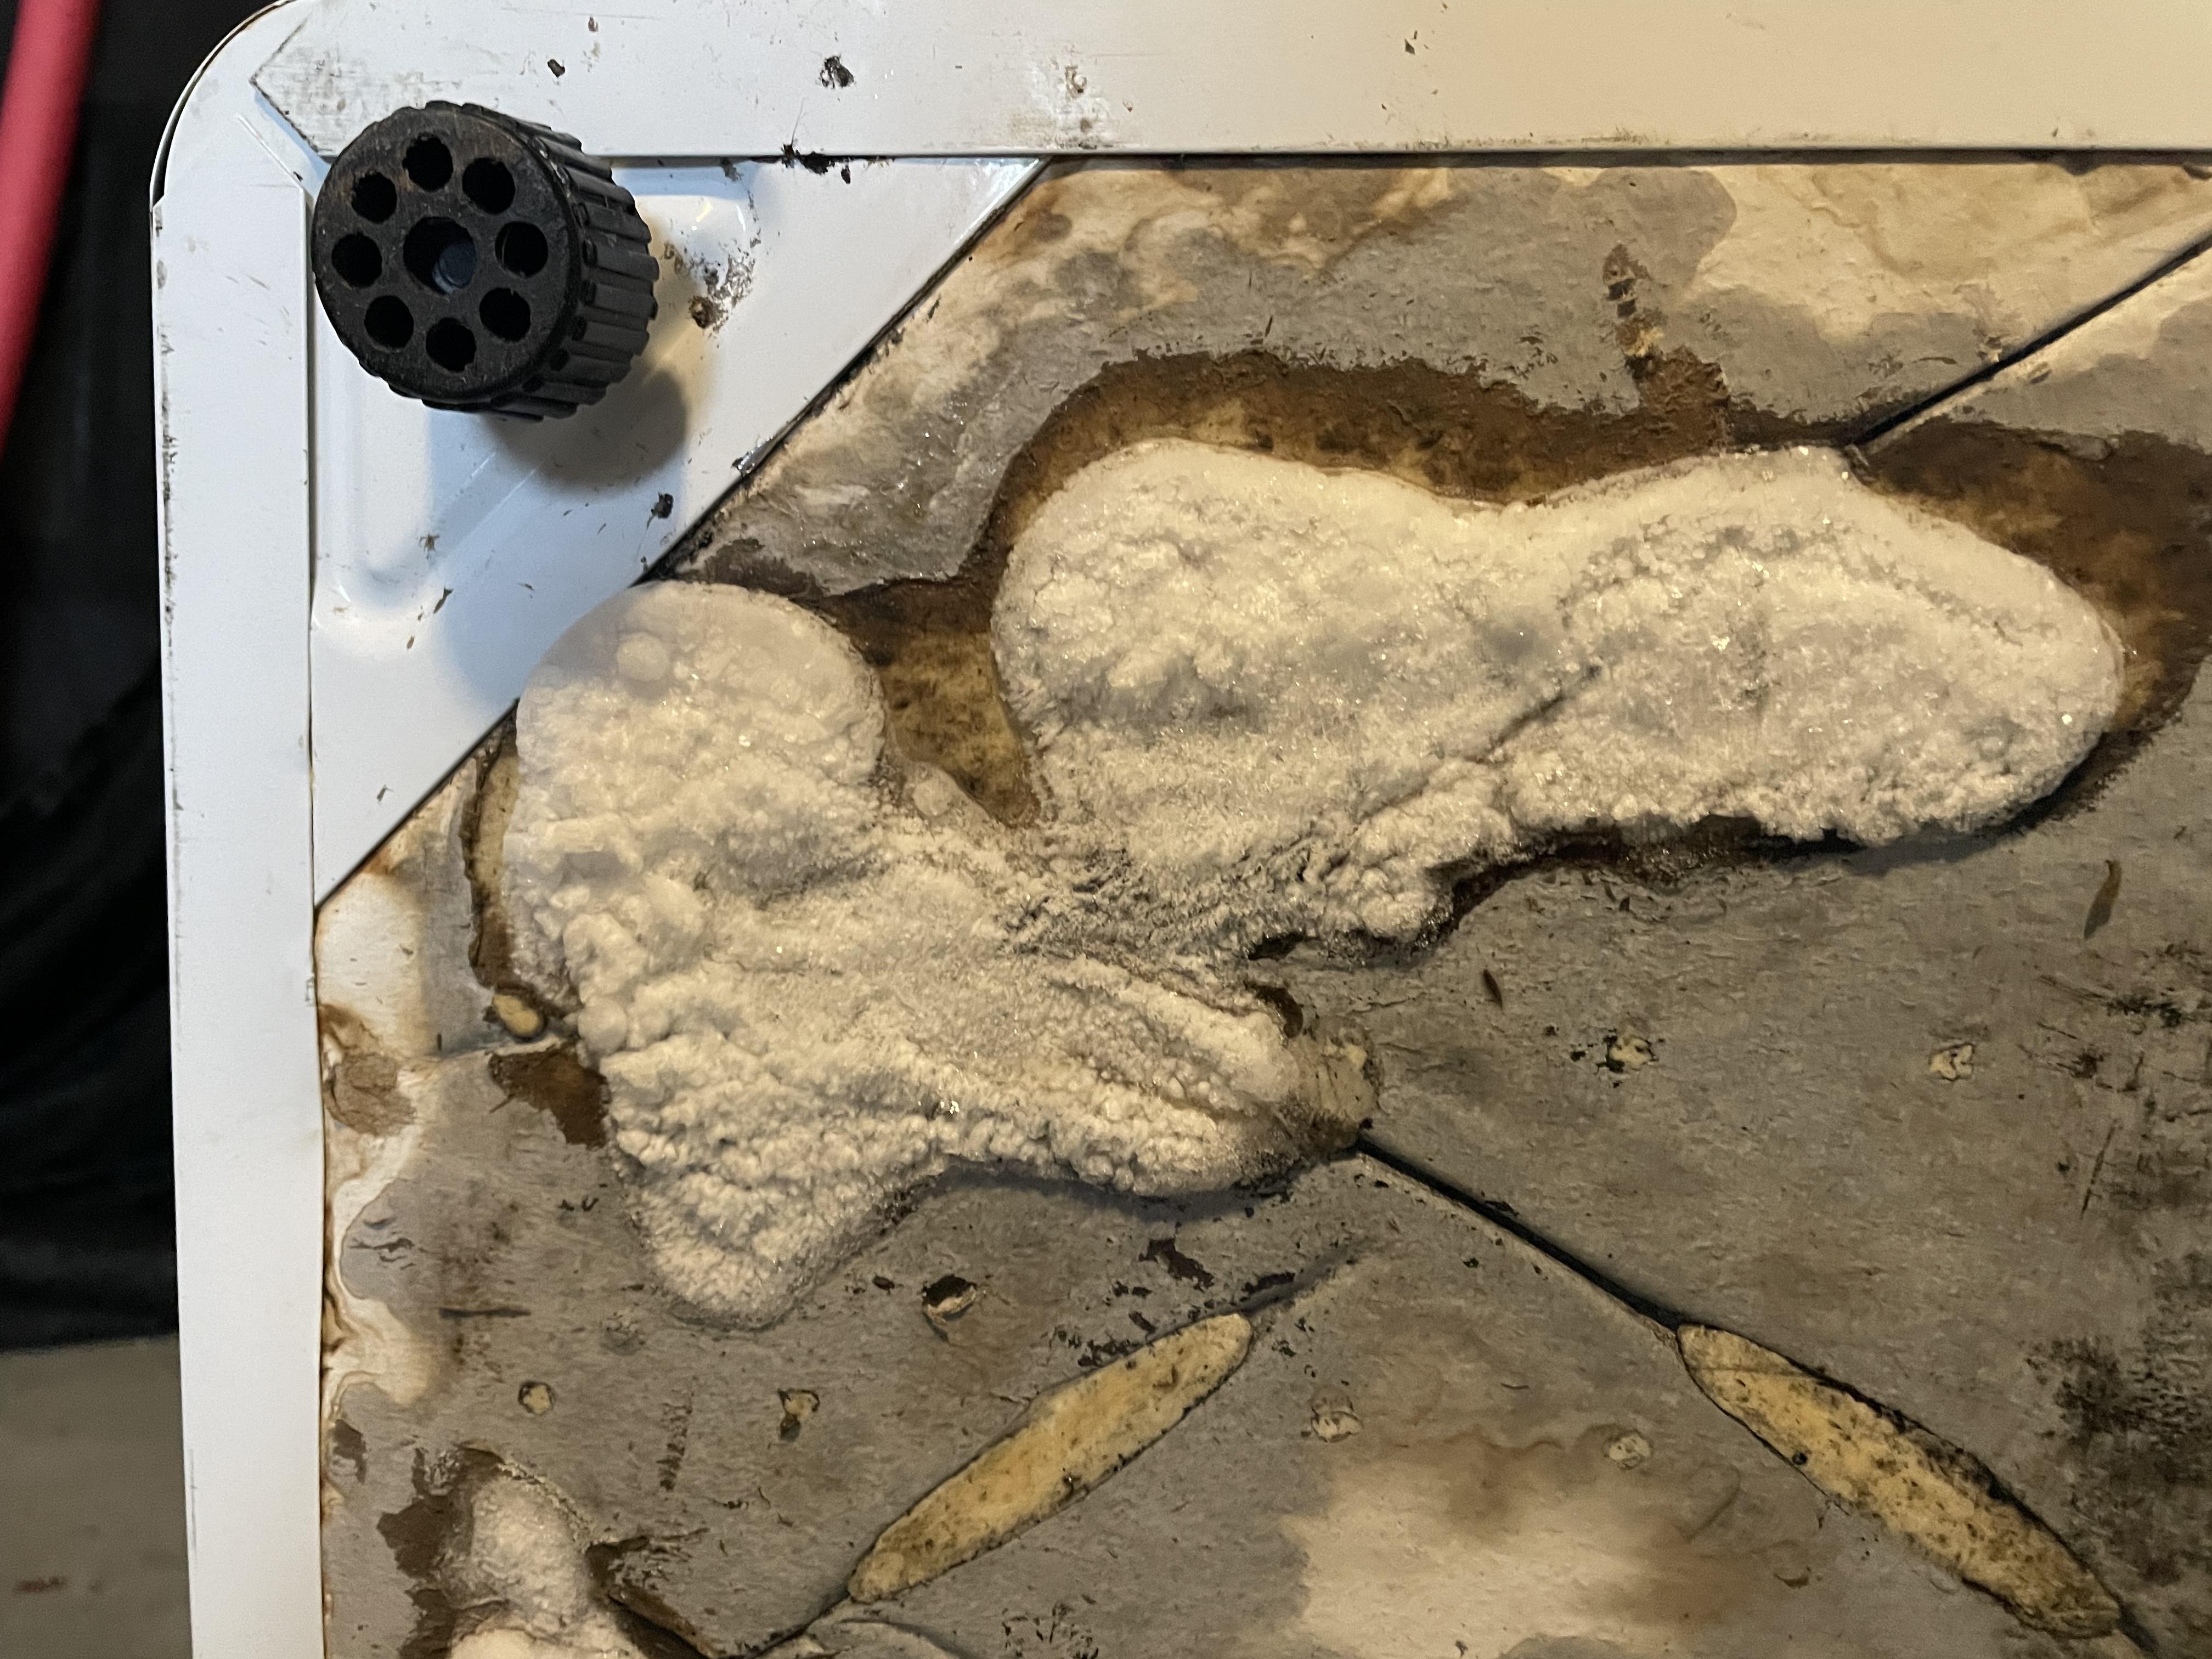
Quick safety and reality check
- Unplug the freezer before removing panels or poking around electrical parts.
- Water and electricity do not mix. If the puddle is near an outlet or power strip, dry it up first and relocate the power strip.
- If the freezer is not holding temp (ice cream soft, meat thawing), you are in a different problem category. Start with basic freezer-not-freezing checks like power, settings, airflow, and frost.
- If your freezer is in an unheated garage and only acts up when it is very cold outside, that is often an ambient-temperature issue. Some freezers struggle when the surrounding air is too cold for the thermostat to cycle normally.
Step 1: Identify the water
Before you take anything apart, do a two-minute investigation.
Where is the puddle?
- At the front edge under the lid: often condensation or a lid not sealing.
- At one corner: could be the freezer is slightly out of level, so meltwater runs to that low spot.
- More toward the center: often a drain/plug issue or water that traveled along the bottom seam.
How much water?
- A few tablespoons every day: classic sweating in a humid garage or basement.
- A sudden big puddle: often frost melt after the lid was left ajar, after a brief power outage, or after loading in warm (or not fully frozen) food that added moisture.
Is it clear and clean?
Most freezer puddles are just clean water. If it smells funky or looks dirty, clean the interior thoroughly and check for spilled meat juice or a cracked package. That liquid can migrate and look like a “leak.”
Cause #1: Lid left ajar
This is the most common “it’s still cold but why is there water?” situation. A lid that is open even a hair lets humid air in. That moisture freezes on the cold surfaces, building frost. Later, during normal cycling or a brief power interruption, some of that frost melts and turns into a puddle.
How to confirm
- Look for fresh frost around the top rim or on the underside of the lid.
- Check for packages sticking up and touching the lid.
- Look for a twisted basket or bulky bag preventing full closure.
Fix
- Repack so nothing sits above the rim. In a chest freezer, even a half inch can defeat the seal.
- Wipe the rim and lid mating surface dry.
- Let the freezer run normally. If you have heavy frost, consider a controlled defrost (see below).
Controlled defrost (if frost is heavy)
If you have a lot of frost buildup, you will keep dealing with meltwater. A common rule of thumb is to defrost when frost is around 1/4 inch thick, but you do not need to measure it with a ruler. If it is thick enough to reduce space or make the lid area icy, it is time.
- Move food into coolers.
- Unplug the freezer.
- Lay towels around the base and keep a shallow pan nearby.
- Prop the lid open and let it melt naturally.
- Do not chip ice with a knife or screwdriver. One puncture in the liner can become a permanent headache.
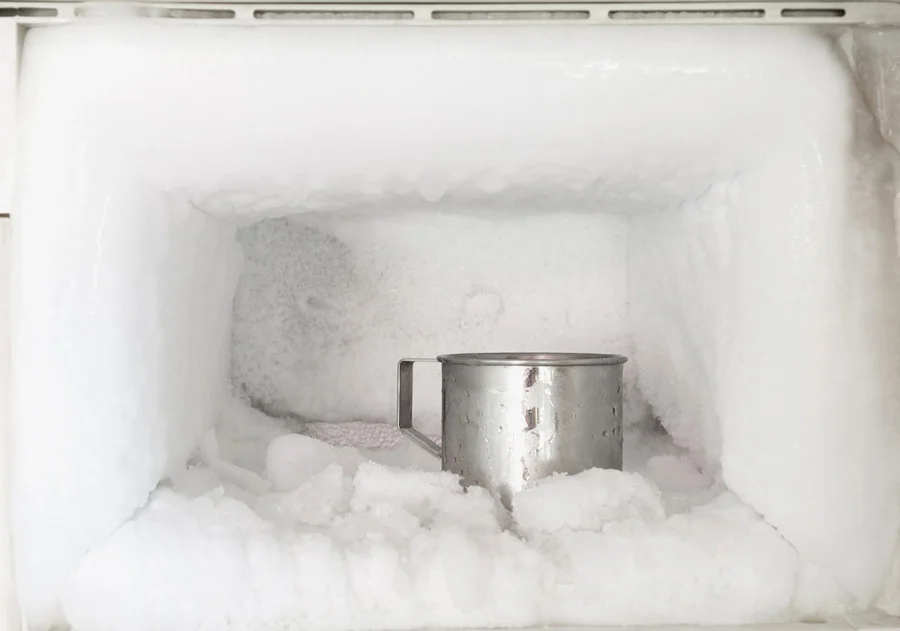
Cause #2: Humidity sweating
Chest freezers are basically cold boxes sitting in warm, damp air. In a humid space, moisture in the air condenses on the outside of the freezer, especially around the lid frame and upper walls. That water runs down and collects on the floor.
I see this constantly in garages in summer, and in basements that run damp most of the year.
How to confirm
- The outside of the freezer feels slightly damp, especially near the top edge.
- You see water beads or streaks on the exterior paint.
- The puddle is worse on humid days or after rain.
Fixes that work
- Improve airflow and clearance
- Pull the freezer 2 to 4 inches away from walls so the exterior can dry.
- Do not drape items over it (moving blankets, tarps, tablecloths).
- Reduce humidity
- Run a dehumidifier nearby if the space is consistently damp.
- In a garage, even a simple fan can help move air.
- Protect the floor while you troubleshoot
- Set the freezer on a rubber mat or a shallow waterproof tray.
- Keep a small absorbent mat at the usual drip side until you get humidity under control.
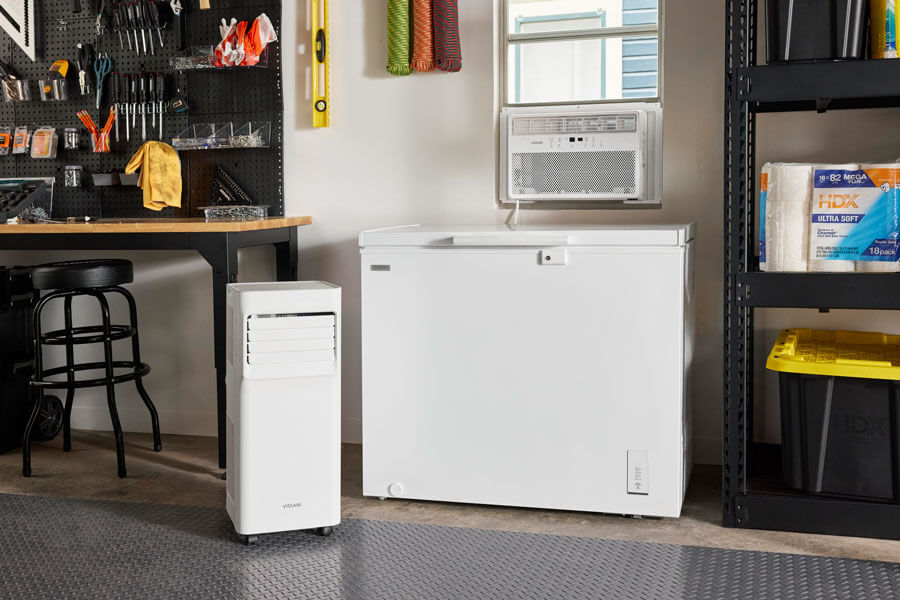
Cause #3: Drain cap or plug issue
Many chest freezers have a drain at the bottom to make manual defrosting easier. If the drain cap is not seated, the gasket on the cap is cracked, or the plug is loose after defrosting, you can get a slow leak that looks like it is coming from underneath.
Model details vary here. Some units have a simple plug and no internal channel to clear. Others have a drain passage you can flush. Use what matches your freezer.
How to confirm
- Find the drain location. It is often at the bottom front (inside and or outside), but it varies.
- Look for water tracks or mineral residue starting at the drain area.
- If you recently defrosted, check whether the drain cap got cross-threaded or left loose.
Fix: reseat and inspect the drain cap
- Unplug the freezer.
- Remove the drain cap and wipe both mating surfaces clean.
- Inspect the cap gasket or O-ring (if present). If it is flattened, cracked, or missing, replace it.
- Reinstall the cap snugly. Hand-tight is usually enough.
Fix: clear the drain area (if your model has a channel)
If your model has an internal drain passage and it seems clogged with ice or debris:
- Let the freezer warm slightly (lid open for 10 to 15 minutes).
- Use a turkey baster or squeeze bottle with warm water to flush the passage.
- If needed, use a flexible zip tie or pipe cleaner to gently loosen debris. Do not force anything sharp.
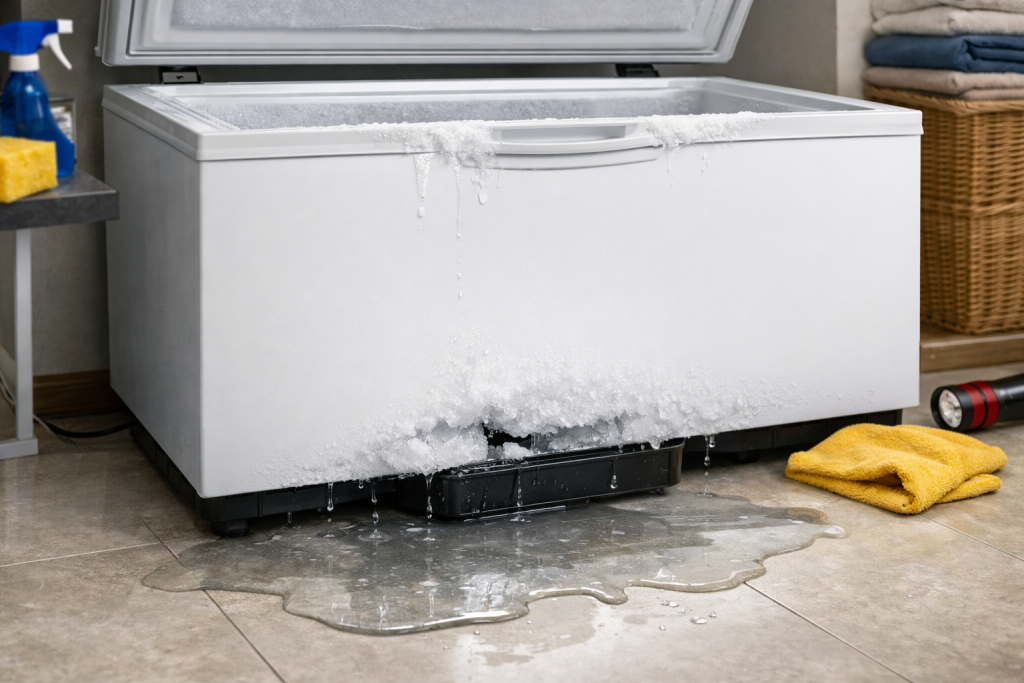
Cause #4: Lid gasket not sealing
If the gasket is torn, hardened, deformed, or just dirty, warm humid air sneaks in. That creates frost, and frost eventually becomes water. This is the sneaky version of “lid left ajar,” because you swear you closed it.
How to confirm (dollar-bill test)
- Close the lid on a dollar bill so half is inside and half is outside.
- Gently pull. You should feel firm resistance.
- Test around the whole perimeter. If it slips out easily in one area, the gasket is not sealing there.
Fix 1: Clean the gasket and rim
This fixes more “mystery puddles” than you would think.
- Mix warm water with a drop of dish soap.
- Wipe the gasket folds and the freezer rim with a microfiber cloth.
- Rinse with clean water and dry thoroughly.
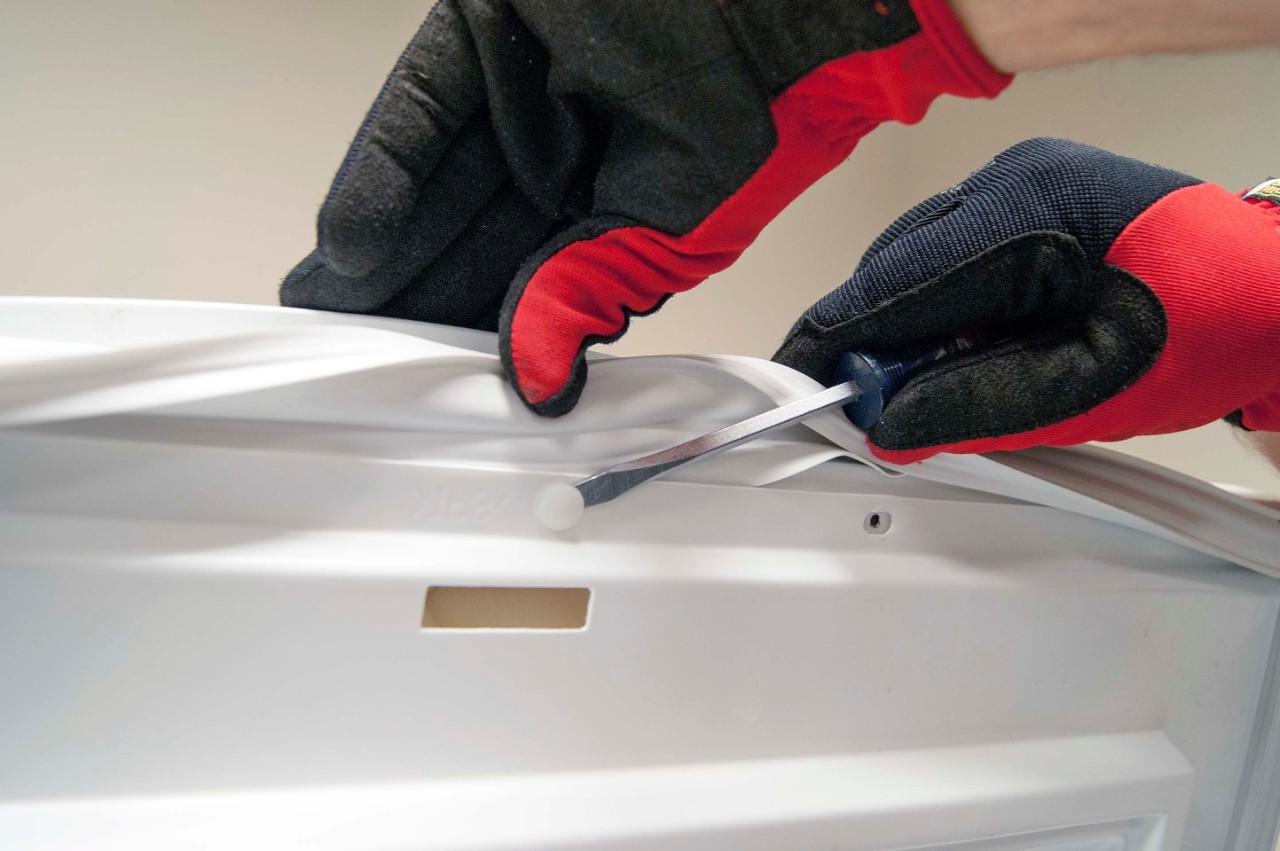
Fix 2: Warm and reshape a deformed gasket
If the gasket has a flattened spot:
- Use a hair dryer on low and warm the problem area for 30 to 60 seconds.
- Gently pull and shape it back to a fuller profile.
- Close the lid and let it cool in the correct position.
Fix 3: Replace the gasket
Gaskets are model-specific. Use your freezer model number from the rating plate and order the exact replacement. Installation is usually screws, a retaining channel, or adhesive depending on brand.
Cause #5: Out of level
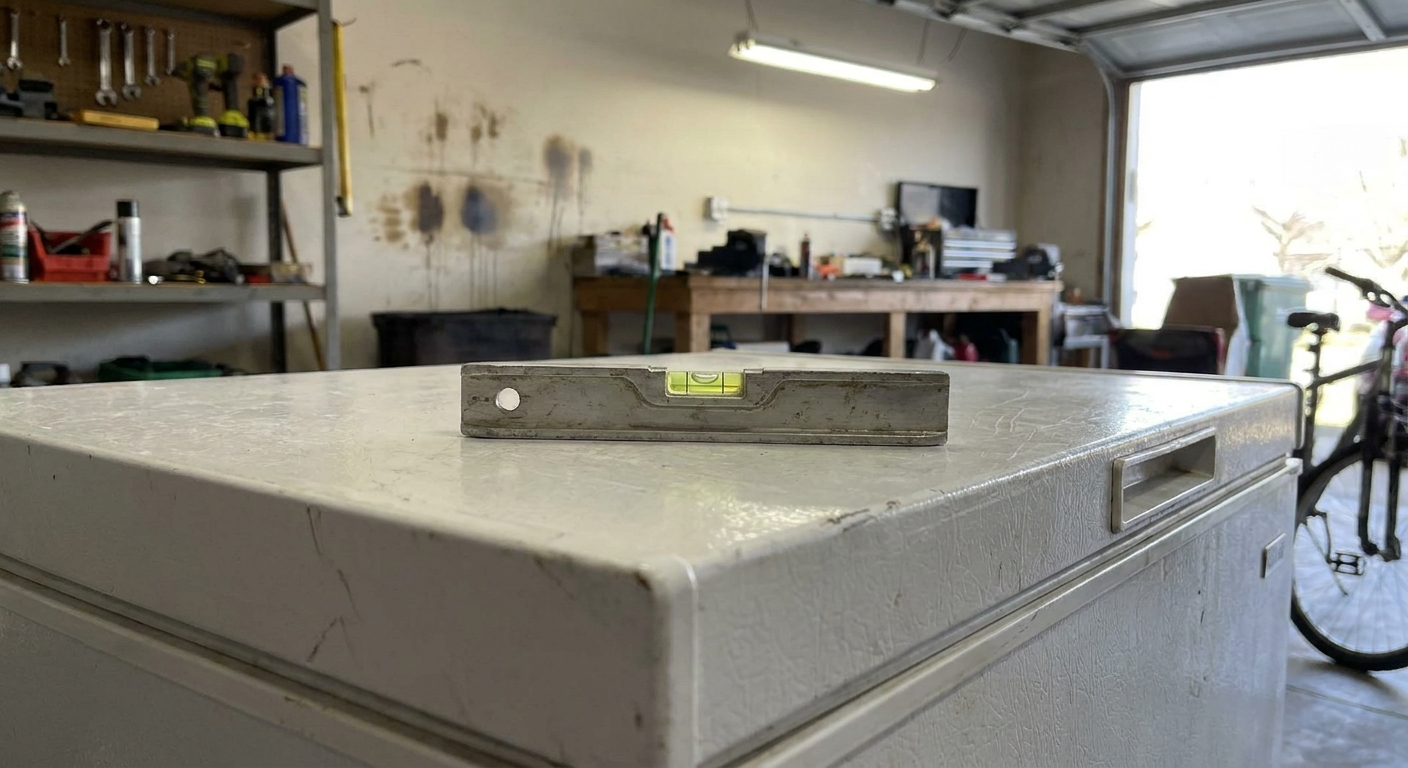
A chest freezer does not need to be perfectly level, but if one corner is low, any condensation or minor meltwater can run to that corner and drip off, making it look like a leak.
How to confirm
- Put a small level on the rim or lid surface.
- Gently rock the freezer. If it wobbles, it is not sitting flat.
Fix
- Shim the low corner with composite shims, rubber furniture pads, or a thin piece of plywood.
- Recheck the lid alignment after shimming. A twist in the cabinet can affect gasket contact.
Cause #6: Frequent opening
If you are in and out of the chest freezer a lot, especially in summer, you are pumping humid air into a cold box. Some of that moisture condenses near the top frame and can drip when you open the lid.
How to confirm
- Puddle appears shortly after heavy use.
- You see moisture around the upper rim when you open the lid.
Fix
- Organize contents so you can grab items quickly.
- Use labeled bins so the lid is open for 15 seconds, not 2 minutes.
- Keep the rim dry. A quick wipe with a towel after a long rummage helps.
Less common causes
- Hinge or lid alignment issues: a bent hinge or warped lid can create a stubborn “one corner” leak that looks like a gasket problem.
- Cracked liner or seam: rare, but a crack can let meltwater escape and show up as a floor puddle.
- Perimeter heater behavior: some models use a warm perimeter loop or heater to fight condensation. In high humidity, you can still see sweating, and the warm edge can make it more noticeable.
- Small sealed-system leak: uncommon, but a freezer can sometimes cool “okay” for a while before performance drops. If temps slowly creep up over days or weeks, stop chasing puddles and start watching temperature.
Tools and supplies I keep
- Microfiber cloths and old towels
- Small torpedo level
- Hair dryer (low setting)
- Turkey baster or squeeze bottle (for warm-water flushing)
- Composite shims or rubber pads
- Dish soap and warm water
When to call for service
If the unit is still cold, you can usually solve the puddle yourself. I would consider service or replacement if:
- You see oil-like residue (not just water) under the unit. Sometimes oil-looking messes are something spilled, but compressor oil or a sealed-system issue is not a DIY situation. If you suspect refrigerant or compressor oil, call a pro.
- The freezer is tripping the breaker.
- There is rust-through on the cabinet bottom or seams.
- You cannot stop heavy frost buildup even after fixing the seal and habits.
FAQ
Should there be water inside the bottom of a chest freezer?
No. A little moisture during a defrost is normal, but standing water inside usually means meltwater is not being managed (heavy frost melt, a drain cap issue, or a lid sealing problem letting excess moisture in).
Can I put a chest freezer in the garage if it sweats?
Yes, but sweating is a humidity problem, not a freezer problem. Improve airflow, reduce humidity, and protect the floor with a mat or tray.
My freezer is cold but there is water and a lot of frost. What is most likely?
A poor seal or a lid that was left slightly open is the top suspect. Start with gasket cleaning and the dollar-bill test.
The 30-Second Cheat Sheet
Essential takeaways for: Chest Freezer Leaking Water on the Floor? Causes and Fixes
Fast diagnosis (60 seconds)
- Clear water puddle + freezer still cold usually points to melted frost, condensation, a drain cap/plug issue, or a lid gasket/seal problem.
- Big sudden puddle often follows a lid left slightly open, a brief power outage, or a warm load that created lots of moisture.
- Small daily puddle in a garage or basement is often humidity sweating on the cabinet exterior.
What to do first
- Wipe everything dry and note where water reappears (front edge, corner, center).
- Check the lid seal: run the dollar-bill test around the perimeter.
- Inspect the drain cap/plug (if your model has one): remove, clean, reseat snugly.
- Look for frost around the rim and lid underside. If heavy, plan a careful defrost.
Quick fixes that solve most cases
- Clean the gasket and rim with warm soapy water, then dry.
- Stop lid not fully closed by repacking so nothing sits above the rim.
- Reduce humidity near the freezer (dehumidifier or fan) and give it clearance from walls.
- Shim a low corner if the freezer wobbles or drains toward one side.
When it is not this guide
- If food is thawing or temps are rising, start with basic freezer not freezing checks (power, settings, airflow, frost).
- If it only acts up in an unheated garage during cold weather, it may be an ambient-temperature issue.
Do not do this
- Do not chip ice with a knife or screwdriver during defrost.
- Do not ignore a loose drain cap after defrosting. It can drip for days.
💡 Tip: Scroll up to read the full article for detailed, step-by-step instructions.
⬆️ Back to top
About Grit
Content Creator @ Grit & Home
Grit is Grit & Home’s little blue clay courier, delivering big questions about the place you call home. Expect practical ideas, a raised eyebrow, and a satchel full of curiosity.