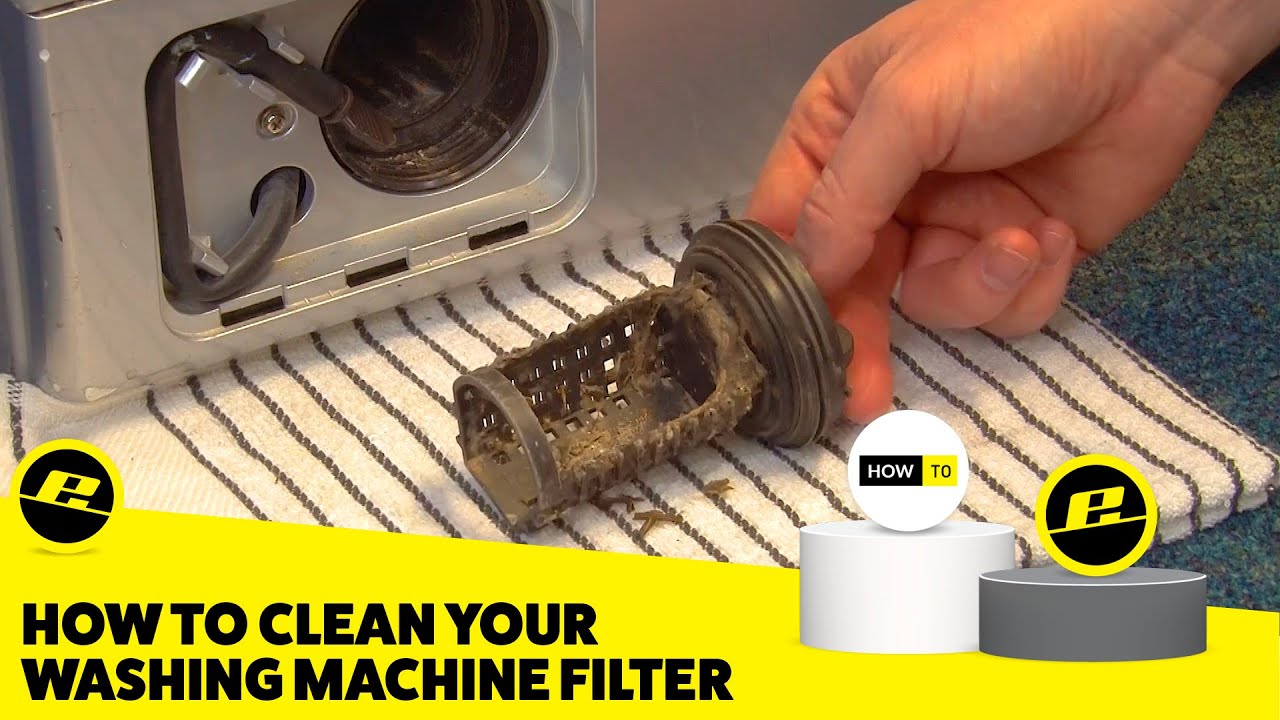
Why this filter matters
If your front-load washer smells musty, leaves water sitting in the drum, or takes forever to drain, the drain pump filter is one of the first places I check. Manufacturers call it a pump filter, coin trap, or debris filter, but the job is the same: catch lint, hair, and small objects before they jam the pump.
The downside is that everything it catches sits in a damp little pocket. That standing water is a mold and odor factory. Cleaning the filter is basic maintenance, and it is also a surprisingly common “repair” that costs nothing but 20 minutes and a few towels.
Quick note: Not every front-load washer has a user-cleanable pump filter, and access varies by brand. If your machine does not have a lower access panel or a filter cap, your manual is the final word.
Before you start
What you will need
- Old towels or rags
- A shallow pan or baking dish (a low tray fits best under most machines)
- Disposable gloves (optional, but recommended)
- A small flashlight
- Soft brush or old toothbrush
- Dish soap and warm water
- White vinegar (optional for deodorizing, and not recommended by some manufacturers)
Quick safety checklist
- Unplug the washer. You will be working near wiring and the pump.
- Let it cool if the last cycle was hot (Sanitize, Whites, Tub Clean). Water trapped in the pump area can be hot enough to burn.
- Turn off the water if you plan to move the machine.
- Expect water. Even “empty” washers often have some water sitting in the pump housing. It can be anywhere from a little to up to about a quart (sometimes more, sometimes less), depending on the model and how the last cycle ended.
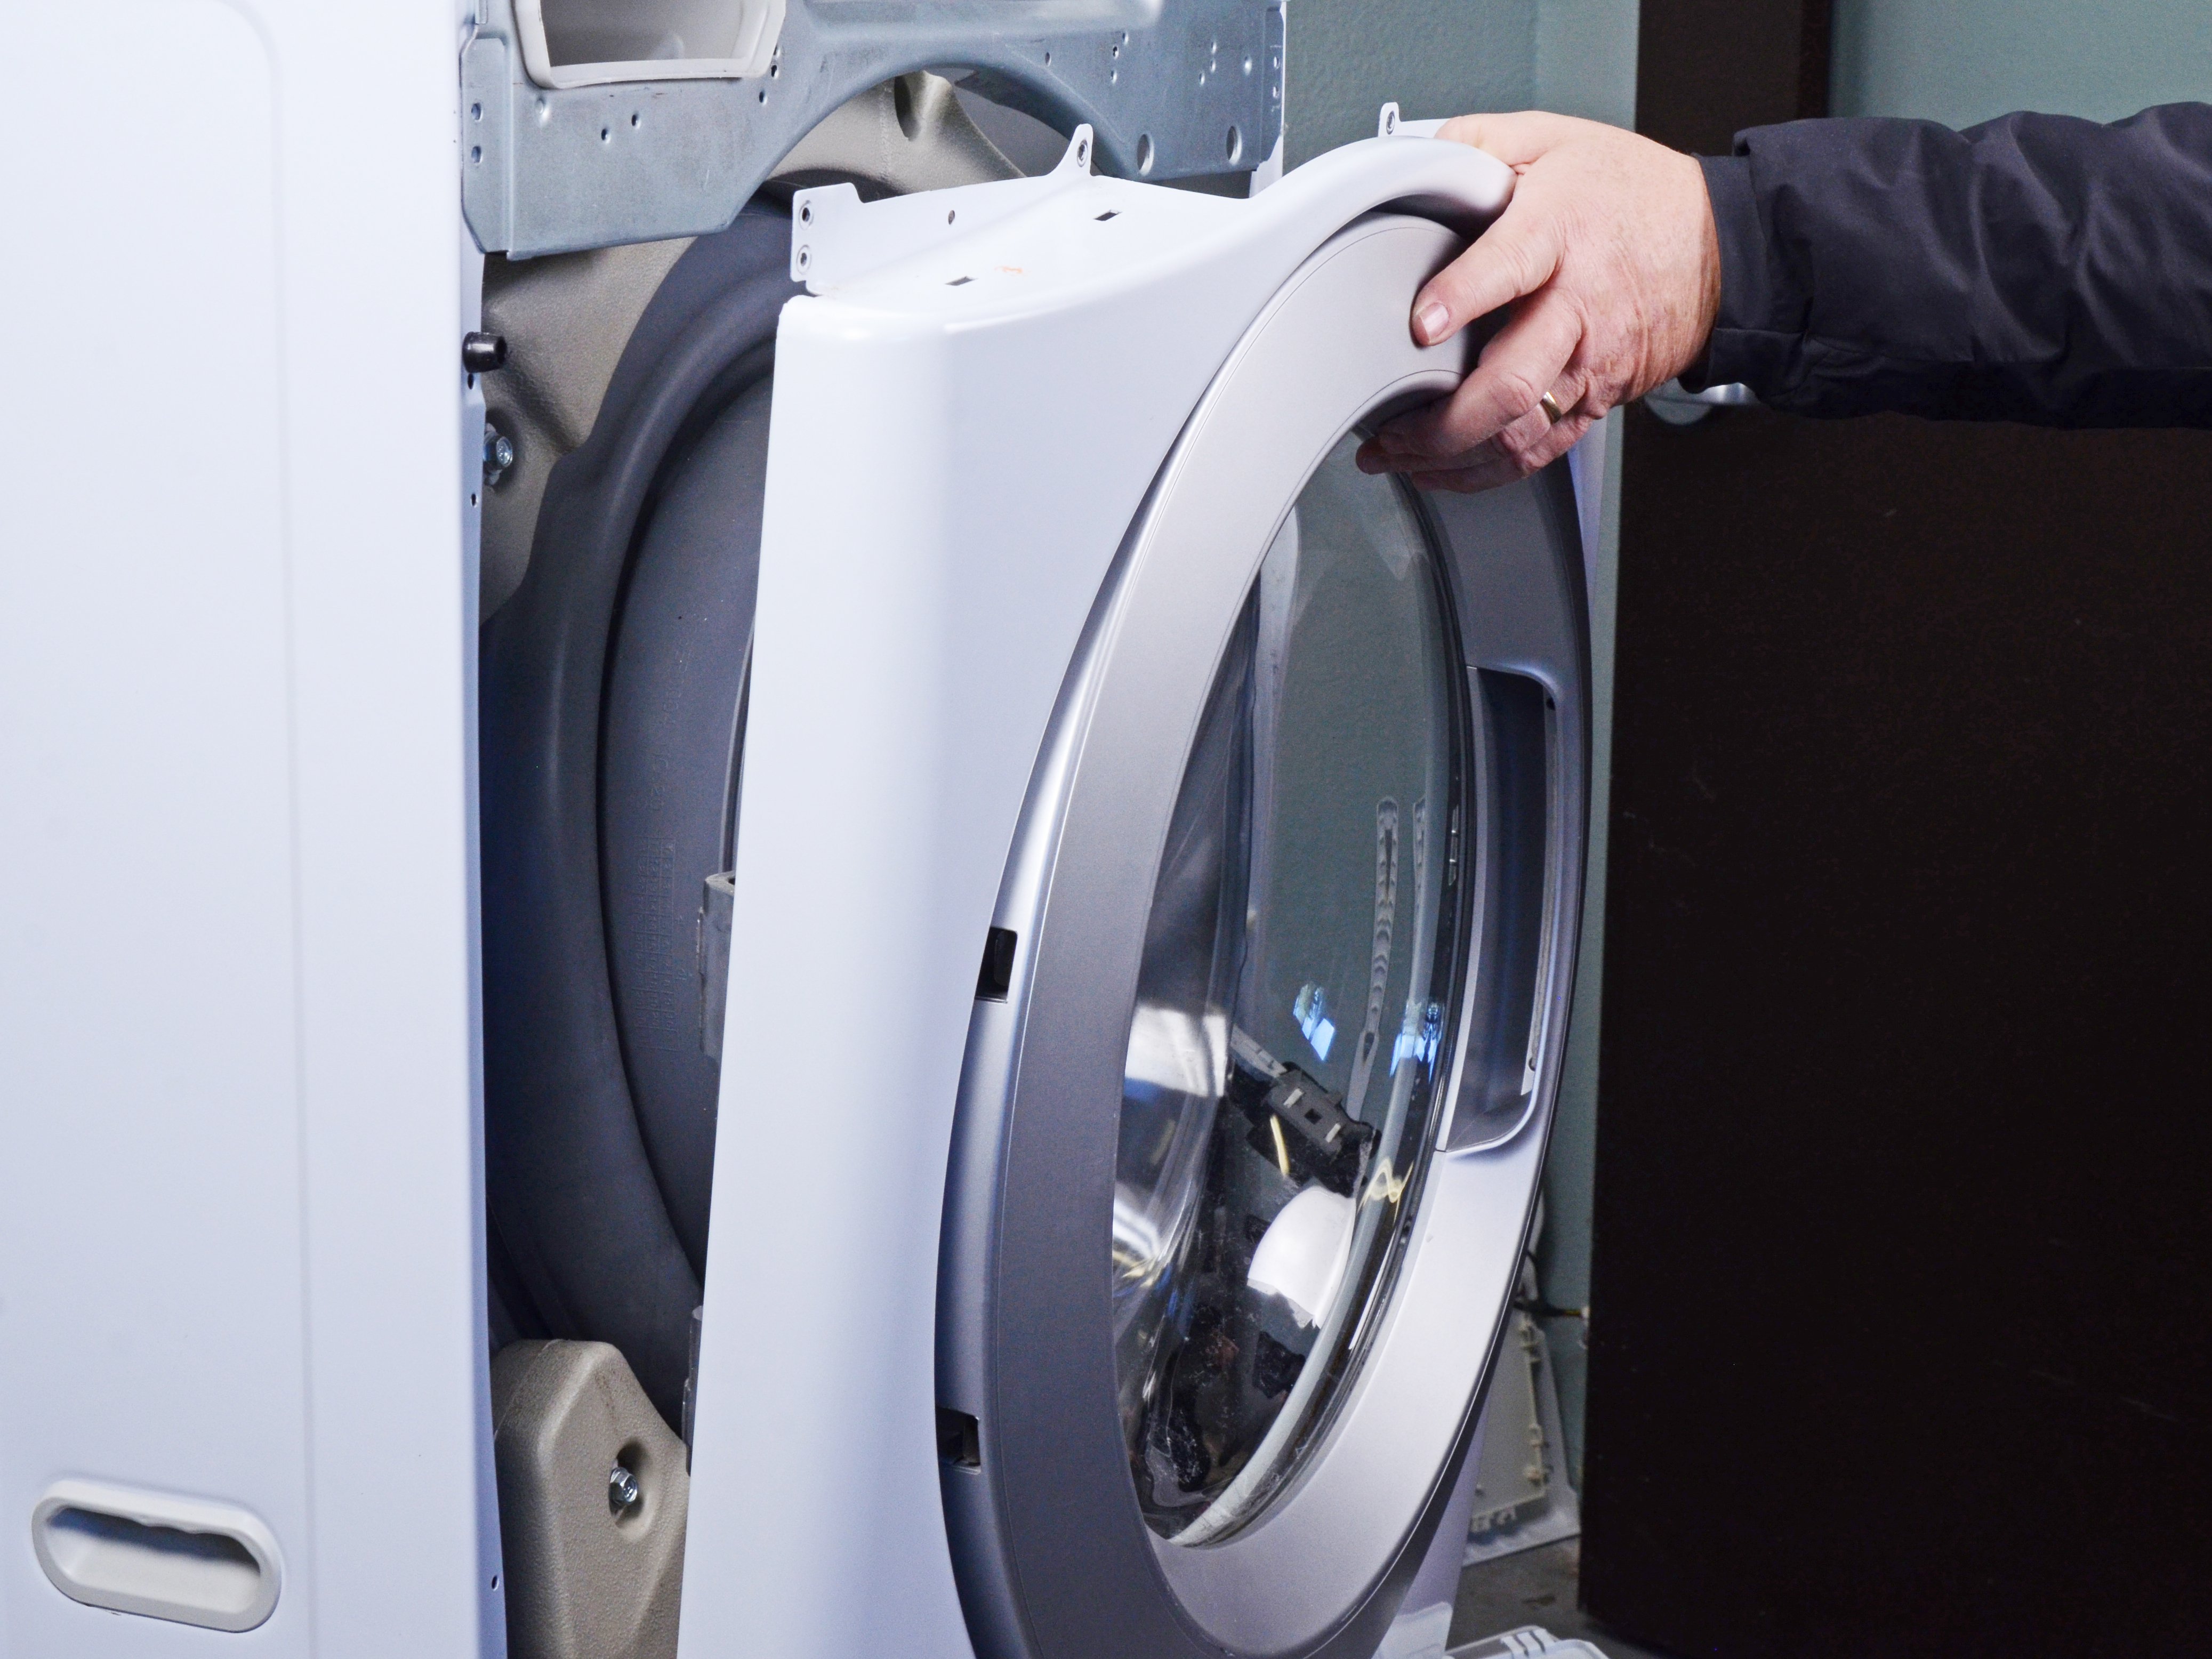
Step 1: Find the access panel
On many front-load washers, the drain pump filter is behind a small panel on the lower front of the machine, commonly on the right side (but sometimes left or centered). Some panels pop off with a fingertip notch. Others use a couple of screws.
If you are not seeing it, check your user manual for “drain pump filter” or “coin trap.” When I cannot find the paper manual, I search the model number plus “pump filter location.”
Step 2: Prep for a controlled drain
This is the part that keeps your laundry room from becoming a slip hazard.
- Lay towels on the floor directly under the access opening.
- Slide a shallow pan under the pump filter area as far as it will go.
- Have an extra towel ready to “dam” water if it runs past the pan.
Marcus tip: If your washer sits low and your pan will not fit, use a thick towel to wick water into the pan in stages. Slow is clean. Fast is a mess.
Step 3: Drain the emergency hose (if you have one)
Many front-load machines include a small hose with a plug or cap, tucked next to the filter. This is the emergency drain hose, and it is your best friend here.
- Pull the hose out gently.
- Place the end into your shallow pan.
- Remove the plug and let it drain.
- When the pan fills, re-plug the hose, empty the pan, and repeat until the flow slows to a trickle.
If you do not have an emergency hose, you can still drain from the filter, just do it slowly in the next step.
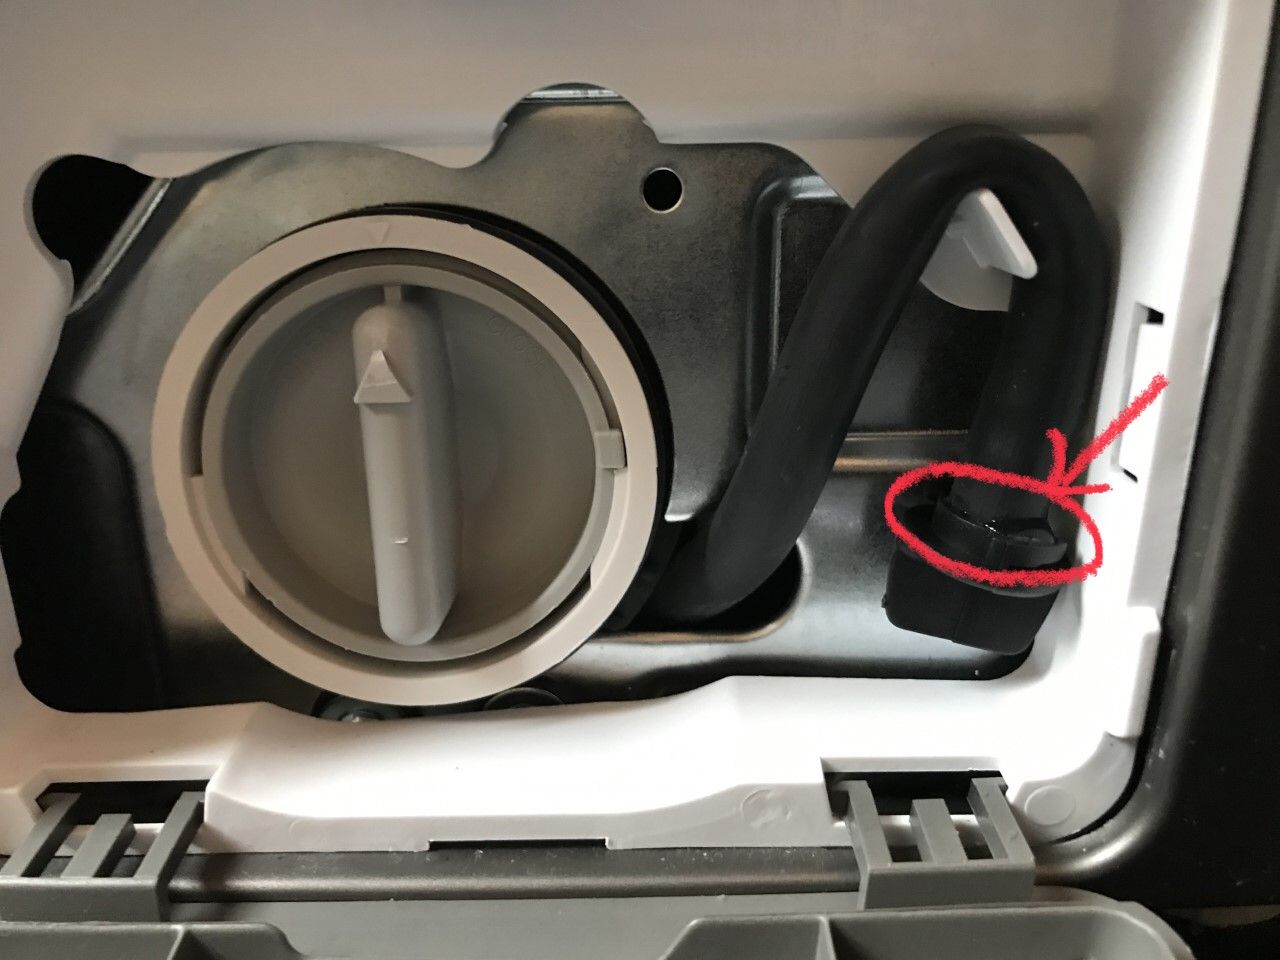
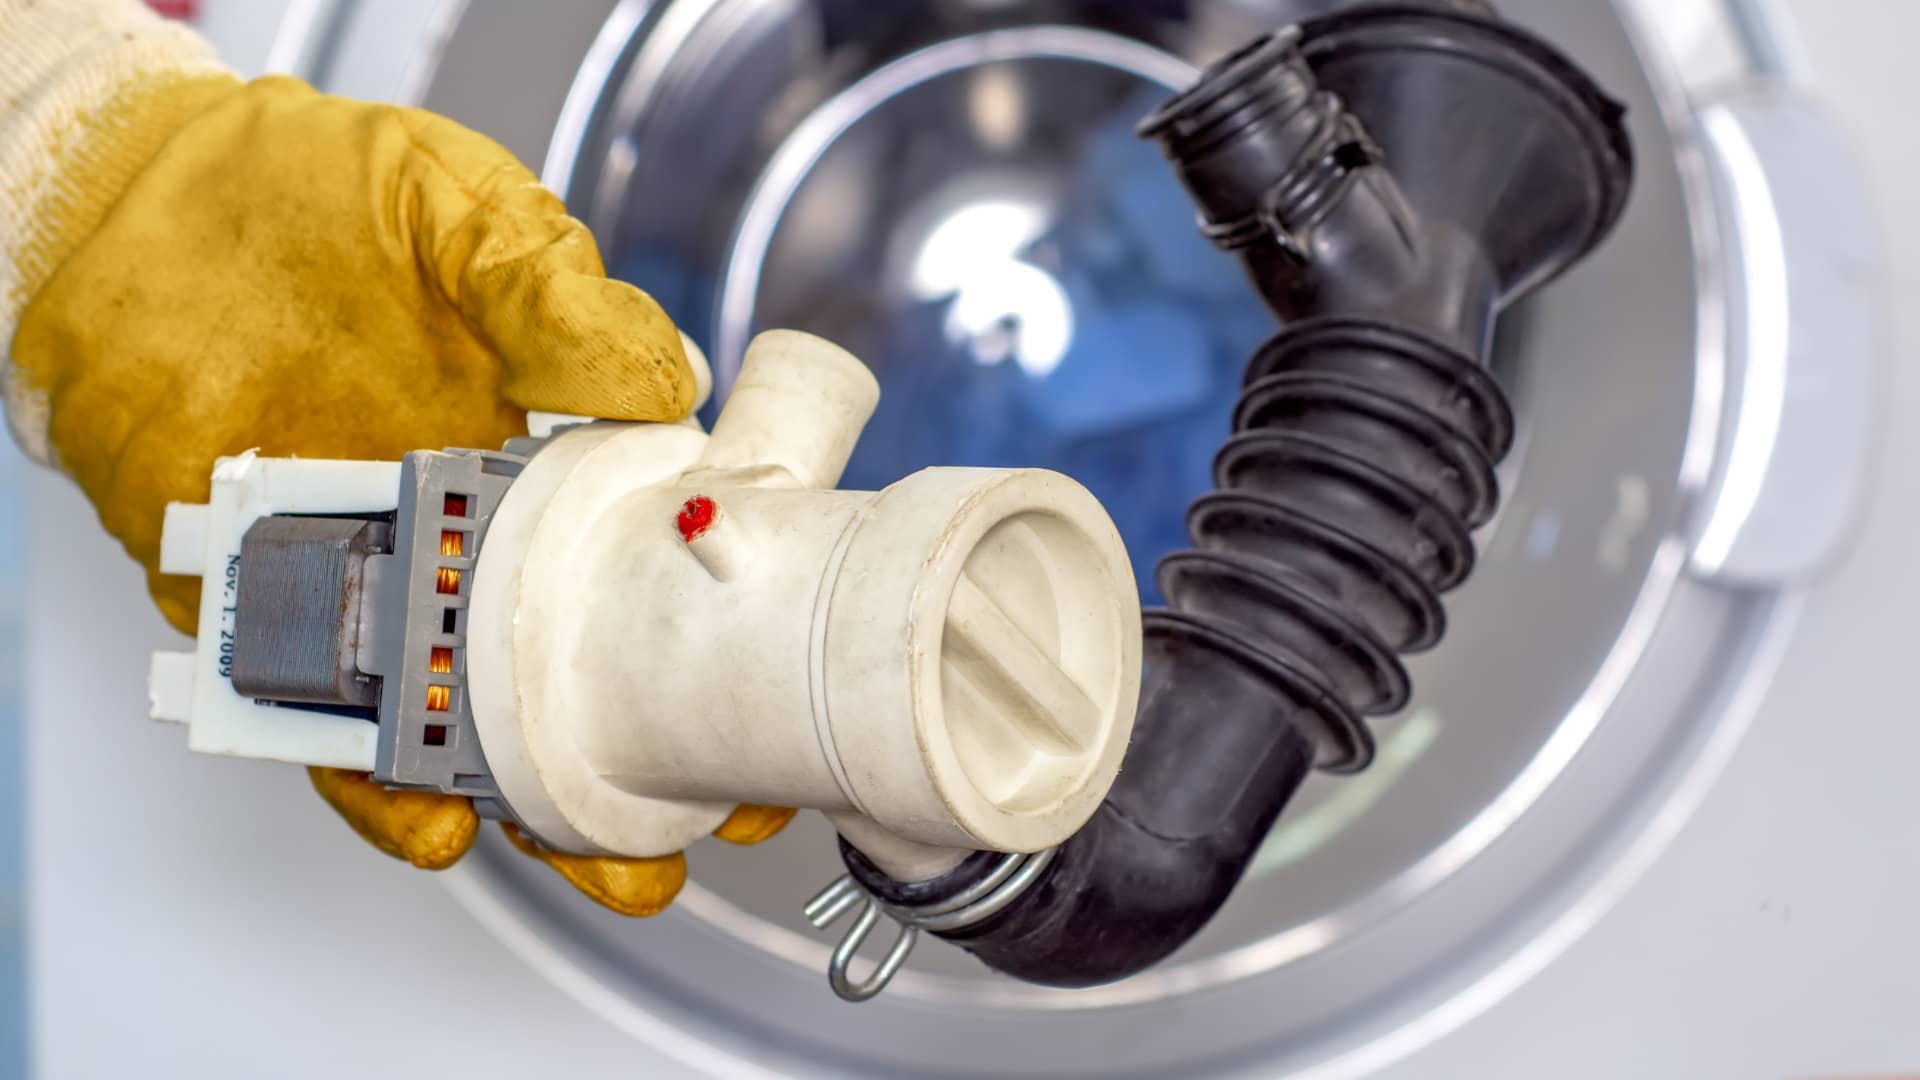
Step 4: Remove and clean the filter
Once most of the water is out, you can remove the filter.
- Turn the filter cap counterclockwise slowly.
- Pause if water starts rushing out, and let it drain into the pan.
- Continue unscrewing and pull the filter straight out.
What you are looking for
- Coins, hairpins, screws, and small plastic bits
- Lint mats and pet hair clumps
- Buttons, bra wires, and sock fuzz
- Anything slimy or gritty that could block the pump
How to clean it well
- Pick off debris by hand first.
- Scrub the filter screen and threads with warm soapy water.
- Rinse and inspect the rubber O-ring for nicks or flattening.
- Wipe the filter cavity inside the washer with a rag. Get the slime. That is the odor.
Do not skip this: Shine a flashlight into the opening, then carefully feel for the pump impeller (a little fan). It should spin freely. Wear gloves and watch for sharp debris, and do not force the impeller. If it is jammed, remove the obstruction gently.
Step 5: Reinstall the filter
Cross-threading this cap is an easy mistake and a common cause of mystery leaks.
- Wipe the filter housing rim clean.
- Align the filter and start threading it in by hand.
- Tighten until snug and fully seated. Firm, not gorilla tight.
- Re-plug the emergency hose and tuck it back in place.
If your filter has alignment tabs, make sure they are seated in their slots. If the cap feels crooked or fights you, back it out and try again.
Step 6: Test a drain cycle
- Dry the area under the access panel so you can spot leaks.
- Plug the washer back in.
- Run a Drain/Spin cycle with the drum empty.
- Watch the filter area for drips for the first minute.
If you see a leak, stop the cycle, unplug the machine, and recheck that the filter is fully seated and the O-ring is in place and clean.
Reduce odors after cleaning
Cleaning the pump filter removes the nastiest standing water pocket, but odor control usually works best as a one-two punch.
- Run a tub clean cycle (or the hottest, longest cycle) with a washer cleaner recommended by your manufacturer. If your manual allows it, white vinegar can help, but some brands discourage vinegar because it may affect seals and hoses over time.
- Wipe the door gasket. Pull back the rubber boot and clean the folds where water sits.
- Leave the door cracked after loads so the drum can dry.
- Use the right detergent amount. Too much soap feeds buildup and funk.

How often to clean it
There is no single perfect schedule, but here is a practical rule of thumb that has kept my own washer happy:
- Every 2 to 3 months for most households
- Monthly if you have pets, wash lots of fleece, or deal with recurring odor
- Immediately if you get a drain error code, slow draining, or water left in the drum
Troubleshooting
The cap will not open
- Make sure the washer is unplugged and fully off.
- Try a rubber glove for grip. Avoid pliers that can crack the cap.
- If it is truly stuck, check your manual. Some models have a latch or cover that must be released first.
Still not draining
- Check the drain hose for kinks behind the washer.
- Confirm the standpipe is not clogged.
- If the impeller does not spin freely or the pump is loud and grinding, the pump may be failing.
Bad smell returns fast
- Clean the gasket folds and detergent drawer.
- Switch to a monthly tub clean routine.
- Make sure the washer is level. A washer that leans can hold water in odd places.
When to call a pro
- Leaks continue after reseating the filter and checking the O-ring
- Repeated drain errors even after clearing the filter and hose checks
- Electrical smell, tripped breaker, or signs of damaged wiring
- You cannot safely clear a blockage or the pump seems seized
Prevent future clogs
- Check pockets before every load (coins and hairpins love the coin trap).
- Use garment bags for baby socks, bras, and anything with straps.
- If you have pets, shake off heavy hair and run a monthly filter check until you learn your washer’s rhythm.
My no-mess routine
I keep this simple so I actually do it. Towels down, shallow pan in, emergency hose drained, filter cleaned, cavity wiped, then a quick drain and spin test. The whole thing takes about the length of a podcast episode, and it has saved me from more than one “why does the laundry room smell like a swamp?” week.
About Marcus Vance
Content Creator @ Grit & Home
Marcus Vance is a lifelong DIY enthusiast and self-taught home renovator who has spent the last decade transforming a dilapidated 1970s ranch into his family's dream home. He specializes in budget-friendly carpentry, room-by-room renovations, and demystifying power tools for beginners. Through his writing, Marcus shares practical tutorials and hard-learned lessons to help homeowners tackle their own projects with confidence.