If your top-load washer has started draining slowly, leaving clothes wetter than normal, or making that unpleasant rattling sound during drain and spin, there is a good chance the drain pump area is partially clogged. Not every top-loader has a user-serviceable filter, but some do. And when they do, cleaning it is one of the highest payoff maintenance jobs you can do in 30 to 60 minutes.
I have learned this the hard way: the first time I opened a pump filter without prepping for water, I mopped my laundry room twice. We are not doing that today. Below is a model-agnostic approach you can adapt to most top-load machines, whether the filter is behind a small lower access door, inside the cabinet, or built into the pump housing.
Before you start
Tools and supplies
- Old towels or a small blanket you do not mind getting wet
- Shallow pan or baking dish (low profile fits under most washers)
- Small cup or measuring cup (for scooping if space is tight)
- Phillips screwdriver or nut driver (often 1/4 inch) if an access panel is screwed on
- Flashlight
- Gloves (optional but helpful if you are pulling out gunk or sharp debris)
- Soft brush or old toothbrush
- Mild dish soap and warm water
Safety basics
- Unplug the washer. Do not rely on just turning it off.
- Turn off the water supply valves if you will be pulling the machine out or opening larger panels.
- Expect water. Even if the tub looks empty, the pump and hoses hold a surprising amount. It may be warm depending on the last cycle, so crack things open slowly.
Quick reality check: Some top-load washers do not have a clean-out filter or coin trap. If you cannot find one in the owner's manual, search your model number plus “drain pump filter” or “coin trap.” If there is truly no filter, debris removal usually means accessing the pump inlet hose instead.
Where the pump filter usually is
Top-loaders are less standardized than front-loaders when it comes to filter access. Here are the most common spots to look:
- Lower front access door or small panel: Often a snap-off panel or a couple screws near the bottom front.
- Behind the back panel: Less common, but some designs place the pump and clean-out at the rear.
- Under the tub inside the cabinet: You may need to remove the main front panel or tilt the washer back to reach the pump.
- At the end of the drain hose assembly: A few models use an inline trap rather than a twist-out filter cap.
If you see a round cap, a large plastic knob, or a short hose with a plug near the pump, you are in the right neighborhood.
Stability note: If your model requires tilting the washer back for access, get a second person to steady it and keep your fingers clear of pinch points.
Step-by-step: drain and clean the pump filter
1) Set up for water first
Lay towels in a wide “landing zone” under the access area. Slide a shallow pan under the pump area if you can. If space is tight, keep a cup handy to scoop water out of the pan before it overflows.
2) Open the access panel
Remove the small lower panel or access door. If the washer needs to be pulled forward, go slowly so you do not kink hoses. A flashlight makes this part much easier.
3) Drain residual water
Top-loaders handle this in a few different ways:
- If there is a small drain hose with a plug: Pull the hose out, aim it into the pan, and remove the plug slowly. Let it drain in batches.
- If there is only a twist-out filter cap: Turn it counterclockwise very slowly, just until water starts to trickle. Pause and let the pan catch up. Tighten slightly if you need to swap pans or dump it.
Quick tip: If you rush this, the water comes out faster than your pan can handle. Slow and steady is the whole game here.
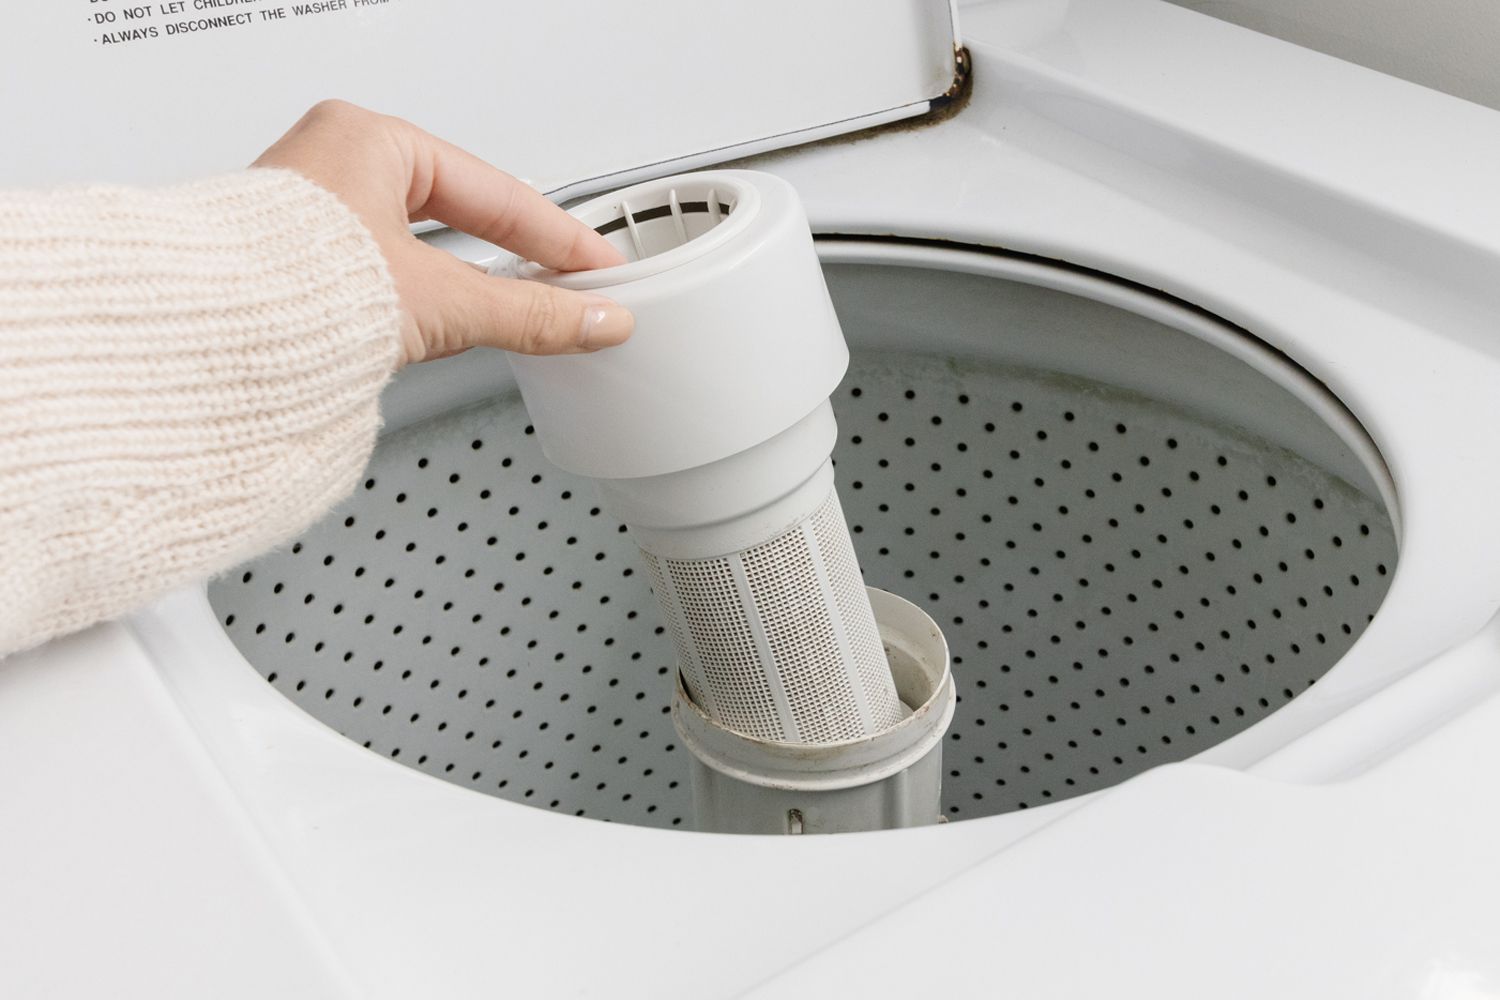
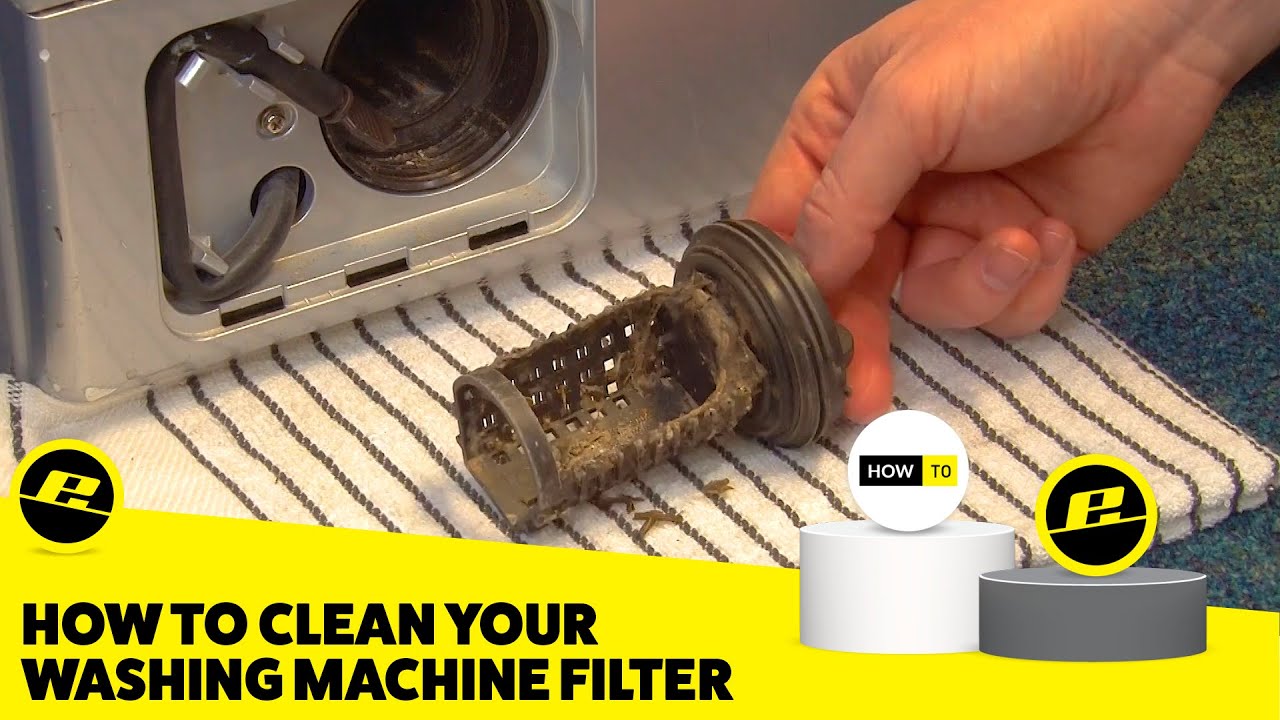
4) Remove the filter and clear debris
Once water flow stops, fully remove the filter cap or coin trap assembly. Common finds include:
- Coins, bobby pins, small screws
- Lint mats and pet hair
- Small socks or fabric strings
- Sand and grit from work clothes
Pull debris out by hand. Take your time here: pins and metal bits can be sharp. Then rinse the filter under warm water and scrub the mesh and grooves with a toothbrush and a drop of dish soap.
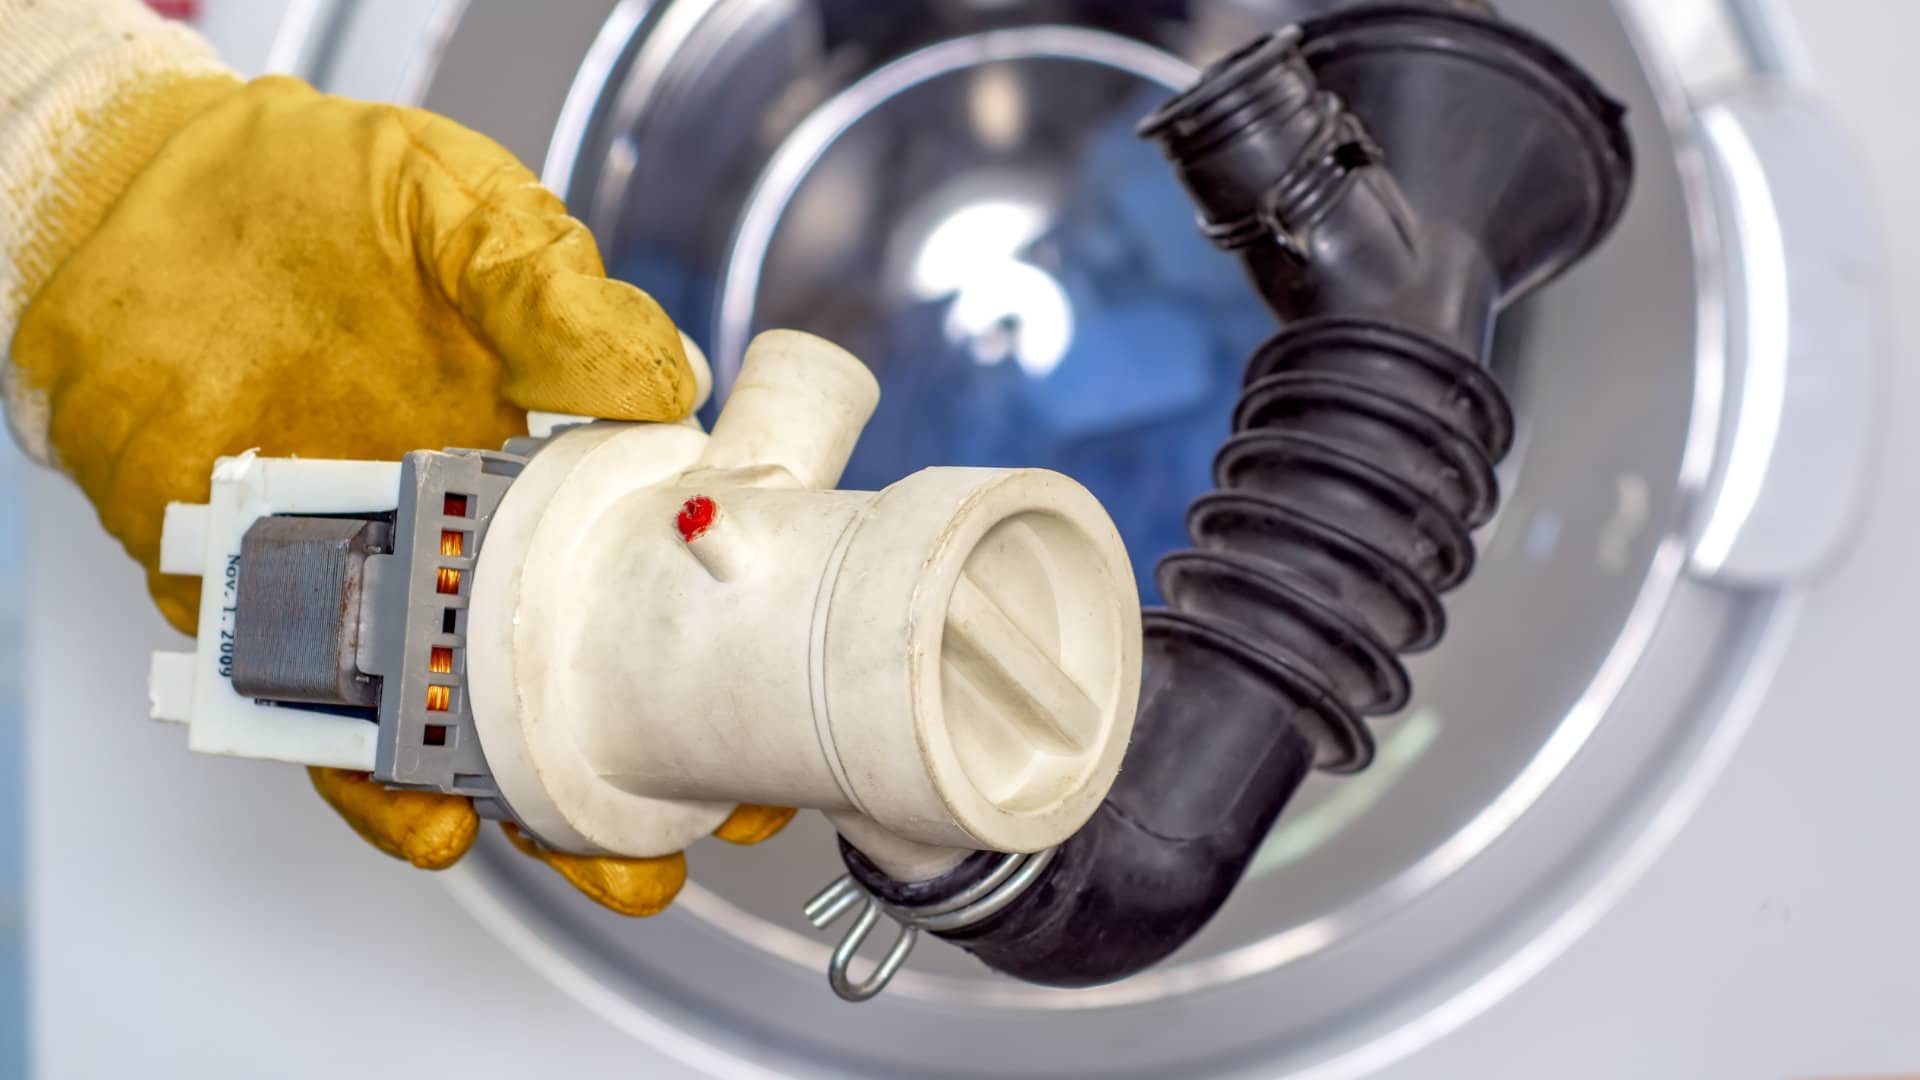
5) Clean the cavity and inspect the impeller
Use your flashlight to look inside the pump filter housing. Wipe out sludge and gunk with a rag. If you can see the pump impeller (small fan-like piece), check for stringy fabric wrapped around it.
- If the impeller is jammed, remove the obstruction gently.
- If the impeller is broken, loose, or wobbly, the pump may be failing.
6) Check the O-ring or gasket
Most filter caps seal with an O-ring. Make sure it is:
- Seated correctly
- Not cracked, flattened, or nicked
- Free of grit and hair
If you have repeat leaks after cleaning, a damaged O-ring is a prime suspect and is often inexpensive to replace.
7) Reinstall and tighten correctly
Thread the filter cap in by hand to avoid cross-threading. Tighten until snug, then stop. Over-tightening can distort the gasket or crack plastic.
8) Run a quick leak check
Before you button everything up:
- Wipe the area dry so you can spot fresh drips.
- Plug the washer back in.
- Run a short rinse and spin cycle or a drain and spin cycle.
- Watch the filter cap area with a flashlight for 2 to 3 minutes during drain.
If you see a drip, stop the cycle, unplug the washer, and reseat the filter and gasket.
If your top-loader has no filter
Some top-load washers skip a serviceable pump filter. In that case, clogs often happen at the pump inlet hose or right where the hose meets the pump.
What you can do: Unplug the washer, turn off water, and access the drain pump from the bottom or back. Clamp the hose (or be ready with towels), remove the hose from the pump, and check for obstructions. If that sounds like a bigger job than you want to tackle, a service call can be worth it, especially if the washer is under warranty.
How often to clean it
- Every 3 to 6 months: If you wash pet bedding, work clothes, or anything that sheds a lot of lint.
- Every 6 to 12 months: For typical household laundry.
- Immediately: If you notice slow draining, a burning smell during drain, loud buzzing at drain, or standing water left in the tub.
Troubleshooting
Washer still will not drain
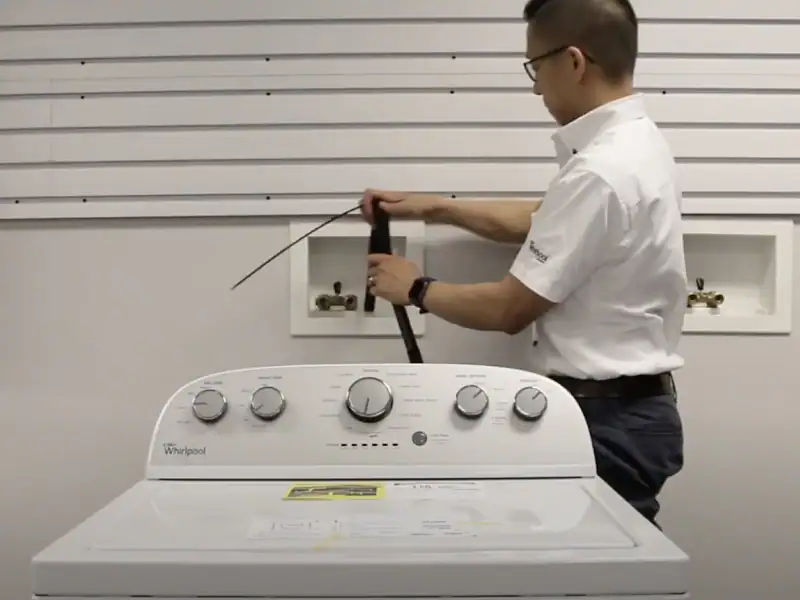
- Drain hose may be kinked behind the machine.
- House drain standpipe may be clogged.
- Standpipe height or hose insertion may be wrong for your model, which can cause poor draining or siphoning. (A quick manual check is worth it.)
- The end of the drain hose can also collect lint buildup. Inspect and rinse it if you can safely remove it.
- Pump impeller may be damaged.
- Lid switch or door lock issue can prevent drain and spin on some models.
Leaks after reassembly
- O-ring is dirty, twisted, or damaged.
- Filter cap is cross-threaded.
- Cap is not snug enough, or it is over-tightened and warped.
Bad odor even after cleaning
- Run a hot cleaning cycle with a washer cleaner or oxygen bleach. Follow your owner's manual for approved cleaners, temperatures, and amounts, and never mix cleaning products.
- Leave the lid open after loads to let the tub dry.
- Clean the detergent dispenser and wipe the tub rim and underside of the lid.
When to call a pro
Cleaning a filter is a safe DIY job, but a few situations deserve backup:
- You smell an electrical burning odor or see smoke.
- The pump makes loud grinding noises even with a clean filter.
- The washer leaks from the center or underside unrelated to the filter cap.
- You cannot access the pump without major disassembly and you are not comfortable doing that.
My simple rule to prevent clogs
Empty pockets every time, wash small items like baby socks in a mesh bag, and once in a while run a quick “whoops check” before you start the cycle. It takes 10 seconds, and it saves you from pulling three quarters and a LEGO out of your pump six months from now.
About Marcus Vance
Content Creator @ Grit & Home
Marcus Vance is a lifelong DIY enthusiast and self-taught home renovator who has spent the last decade transforming a dilapidated 1970s ranch into his family's dream home. He specializes in budget-friendly carpentry, room-by-room renovations, and demystifying power tools for beginners. Through his writing, Marcus shares practical tutorials and hard-learned lessons to help homeowners tackle their own projects with confidence.