🚨 In a DIY emergency or rush?
Skip the details and jump straight to our 30-second cheat sheet for the most crucial info.
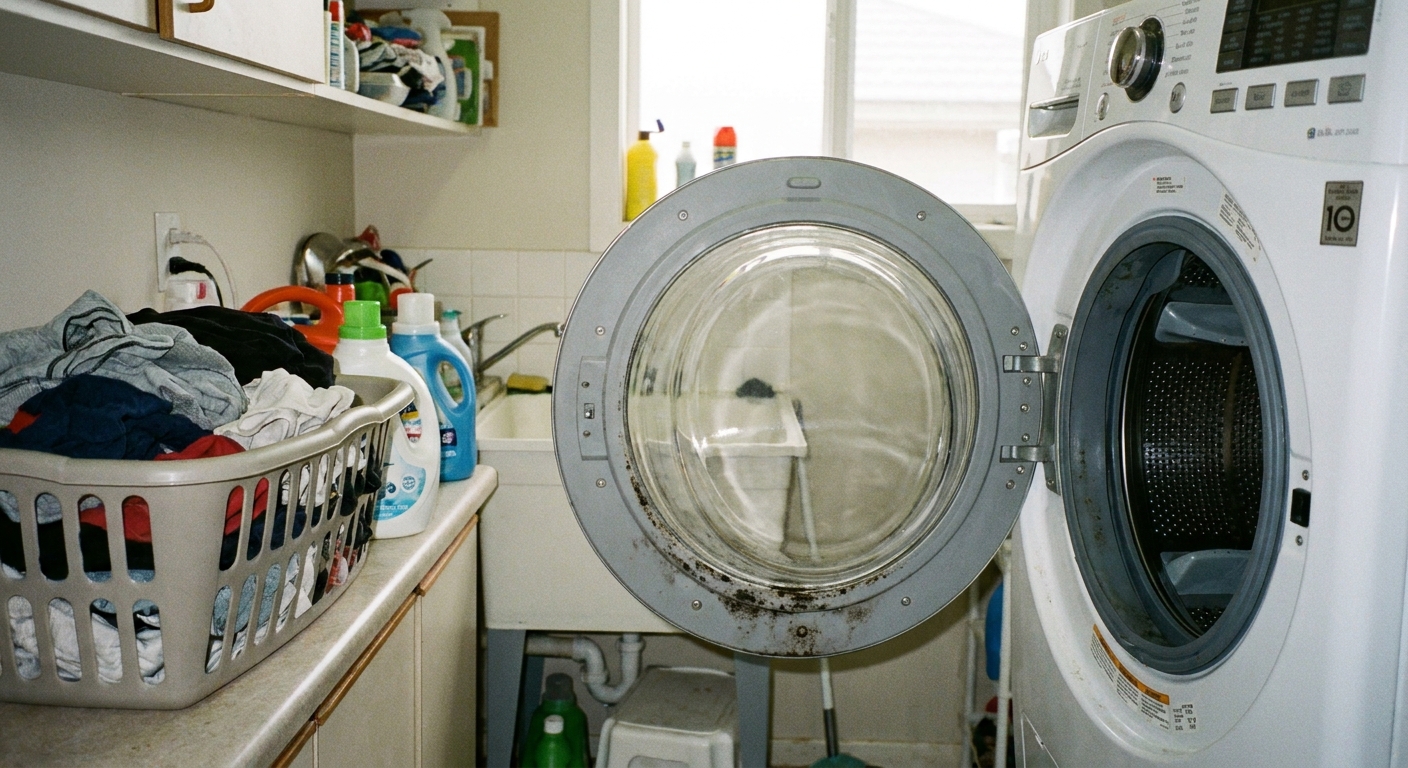
If your front-load washer smells “off” even after you run a cleaning cycle, the door gasket is often a big part of the problem. That big rubber boot is basically a moisture trap with little folds that love to hold onto lint, hair, detergent residue, and a thin film of grime. Give mildew a week with that combo and you get black spots plus that sour, musty odor.
The good news: you can usually clean it without special tools. The key is getting into the folds, using a gasket-safe cleaner, then changing your drying routine so it does not come right back. And if the smell still lingers after this, there are a couple other usual suspects (like the detergent drawer or pump filter) that I will point you to later.
Safety first
Washer gasket “mold” is typically mildew and biofilm on the surface, but you still want to treat it with respect. You will be working close to your face, and you may be using bleach or peroxide.
- Wear gloves (nitrile or rubber dish gloves).
- Eye protection is smart, especially if you are using bleach spray.
- Mask if you are sensitive (an N95 is ideal if the buildup is heavy).
- Ventilate: open a window or run a fan if your laundry is tucked in a closet.
- Never mix cleaners, especially bleach with vinegar or ammonia. Pick one method and stick with it.
- Check your manual for any manufacturer warnings or recommended products, especially around bleach use.
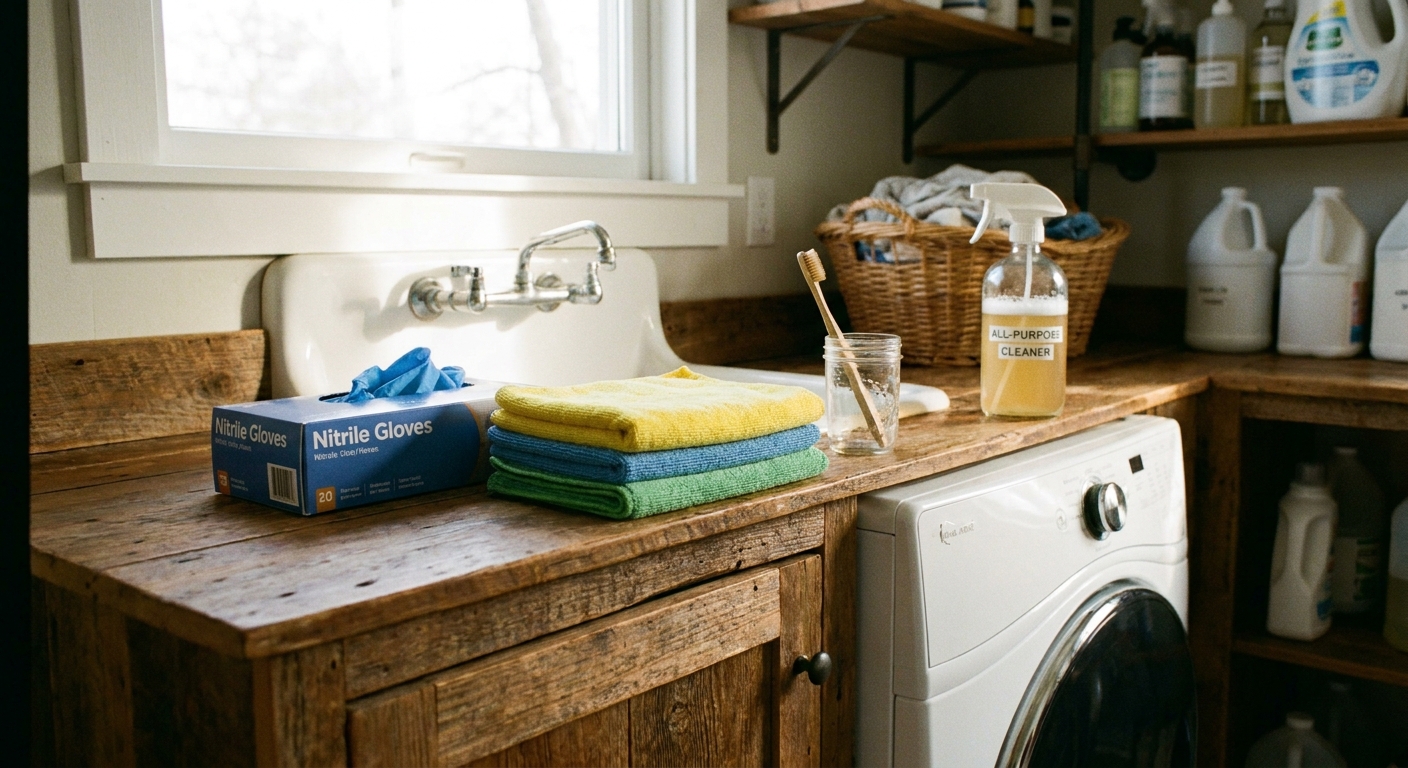
What you need
I like to set everything within reach before I start, because once your gloves are on, you do not want to hunt around for a rag.
- Old microfiber cloths or shop rags (plan on 4 to 6)
- Paper towels (optional, for the final wipe)
- Soft toothbrush or small nylon scrub brush
- No abrasive pads or ultra-stiff brushes (they can rough up the rubber and make it easier for grime to cling later)
- Spray bottle (if your cleaner is not already in one)
- Cotton swabs or a plastic putty knife wrapped in a rag (for tight creases)
- A bowl of warm water
- One cleaner option from the list below
Choose a gasket-safe cleaner
Always check your washer manual first, but these are common, generally safe approaches for door gaskets when used correctly. If you are unsure, start with the mildest method and step up.
Option A: Soap and warm water
Mix a few drops of dish soap into warm water. This will not disinfect heavy growth, but it is a great first pass because it removes the oily film mildew clings to.
Option B: 3% hydrogen peroxide
Standard 3% peroxide (the brown bottle from the pharmacy) is a good middle ground for light to moderate mildew and staining. It can help whiten and break down buildup, but it works best when paired with a thorough wipe and scrub. Spray it on the affected areas and let it sit 5 to 10 minutes before scrubbing. If your gasket is an unusual color, test a small hidden spot first.
Option C: Diluted bleach solution
If your gasket has stubborn black spotting, diluted bleach can be an effective way to knock it back. Use good ventilation, protect your clothes, and do a thorough rinse afterward. If your manufacturer gives specific instructions for bleach, follow those.
- Common DIY mix: 1 tablespoon of unscented household bleach per 1 quart of water.
- Apply with a rag or spray lightly. Do not soak the inside of the machine.
- Let dwell about 5 minutes, then scrub and rinse well.
Note: Bleach is generally fine at low concentration and short contact time, but stronger mixes or letting it sit too long can increase the risk of corrosion or pitting on metal parts. The solution here is simple: keep it diluted, keep contact brief, and rinse well.
Option D: White vinegar (popular DIY option)
Yes, white vinegar can be used as a standalone cleaner, and it is probably the most common DIY choice readers ask about. It can help with odor and light buildup. Use it by itself (never after bleach unless you have rinsed thoroughly and aired things out), apply it to a rag or spray lightly, let it sit 5 to 10 minutes, then scrub and rinse well.
One caveat: some manufacturers and repair techs caution against frequent vinegar use on rubber parts over the long haul. If you want the safest middle-ground for routine gasket cleaning, peroxide or mild soap is a safer default.
How to clean the gasket folds
This is the part most people skip. If you only wipe what you can see, the mildew in the folds keeps breeding like it pays rent.
1) Open the door wide
You are not disassembling anything. I unplug only if I have kids running around and I want zero chance of someone hitting buttons mid-clean.
2) Dry-wipe and remove debris
Use a dry rag to pull out lint, pet hair, bobby pins, and the occasional mystery coin. Pay special attention to the bottom of the gasket where water pools.
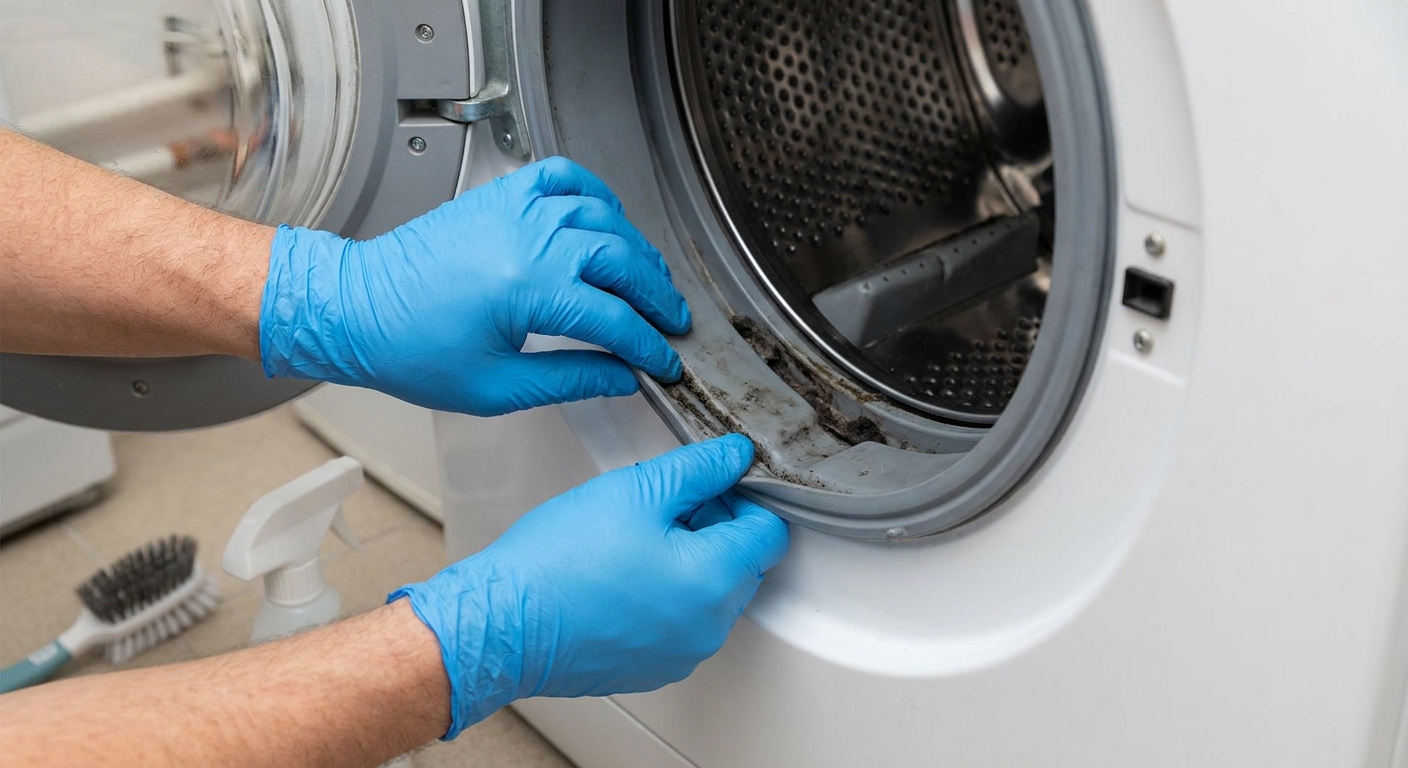
3) Peel back the folds
Use your fingers to pull the rubber lip open. Work like you are cleaning weatherstripping on a car door: small sections, thorough wipe, move on.
- Start at the top and work down both sides.
- Finish at the bottom fold where the drain holes are usually located.
- Use a toothbrush for textured rubber and seam lines.
4) Apply cleaner and let it sit
Spray your cleaner onto a rag first if you are worried about overspray, especially with bleach. Then press the damp rag into the gasket groove and let it sit for a few minutes. Dwell time matters. If you wipe immediately, you are basically just moving the gunk around.
5) Scrub, then rinse thoroughly
Scrub the visible spots and the hidden folds. Then rinse with a rag dipped in clean water. Repeat the rinse wipe until you no longer smell cleaner and the rag comes away clean.
My most common mistake: I used to stop after the “it looks clean” phase. Then the next load smelled like a public pool because I did not rinse the bleach residue well enough. Rinse like you mean it.
6) Clean the glass and door lip
Wipe the inside of the door glass and the painted door frame where the gasket meets the cabinet. Gunk here gets reintroduced the next time the door closes.
7) Dry the gasket completely
Use a dry microfiber cloth and run it through all the folds. This is the moment that prevents the comeback.
Run a clean cycle
Once the gasket is cleaned and rinsed, run a cleaning cycle to flush any loosened debris and cleaner residue.
- Use your washer’s Tub Clean or Clean Washer cycle if it has one.
- If it does not, run the hottest, largest cycle with the machine empty.
- Use a washer cleaner tablet if you have one on hand, or follow your manufacturer guidance for bleach amounts.
If your washer still smells after gasket cleaning, common next stops are the detergent dispenser drawer, the drain pump filter, and the drain path. Check your manual for your model’s steps before you go poking around.
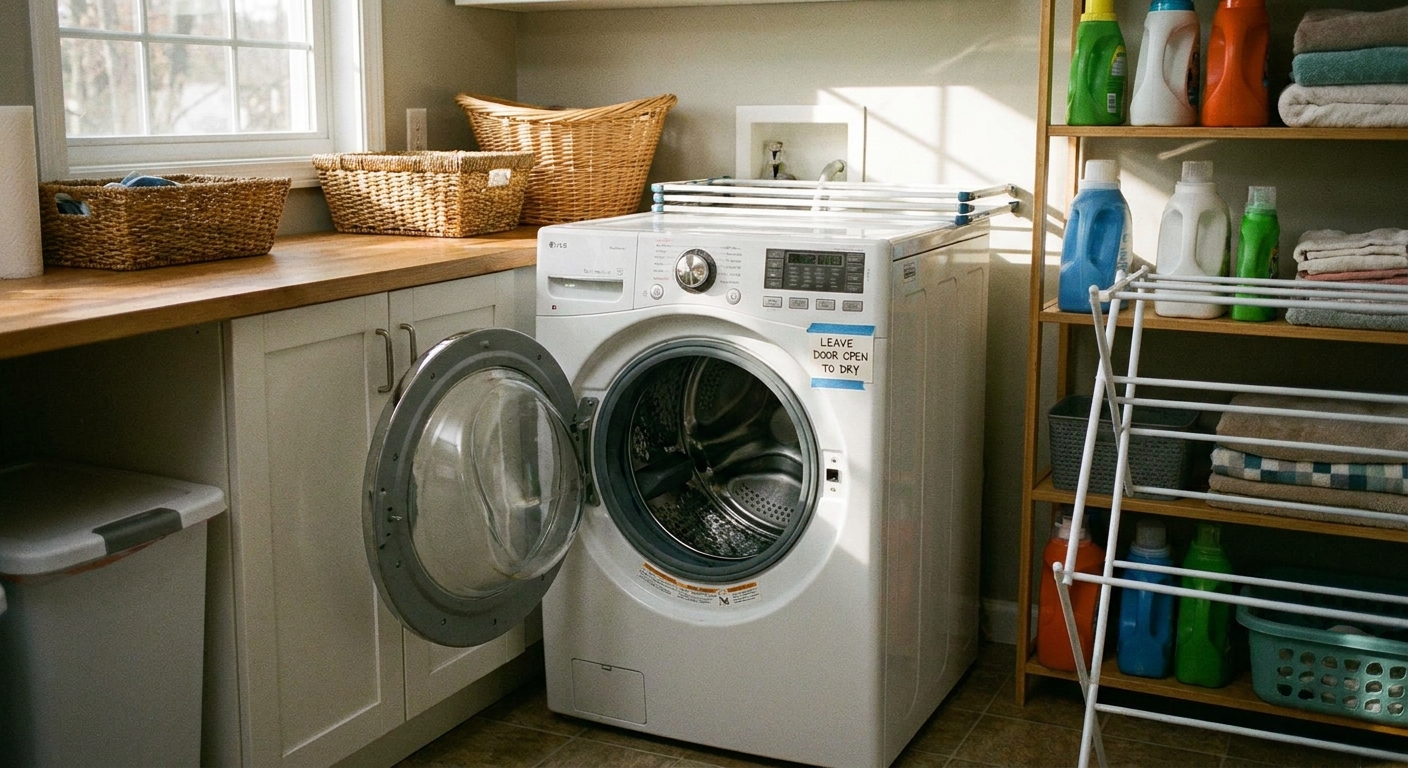
Habits that prevent odors
Front-loaders do not smell because they are “bad washers”. They smell because they are sealed tight, and moisture plus detergent residue is mildew heaven. These small habits make a big difference.
- Leave the door cracked open after every load. Even 2 inches helps.
- Wipe the gasket dry 2 to 3 times per week if you wash often.
- Use the right amount of HE detergent. Too much creates residue that feeds stink.
- Skip fabric softener when you can (it leaves a waxy film).
- Pull wet clothes out promptly. A forgotten load is basically a mildew incubator.
- Quick add-on: rinse and wipe the detergent drawer and its housing occasionally. That area loves to grow its own little science project.
When to replace the gasket
Sometimes you can scrub until your knuckles are sore and the problem still comes back. That is usually because the rubber is damaged or the growth is embedded beyond what a surface cleaning can fix.
- Tears, cracks, or warping in the rubber boot
- Persistent odor that returns within a day or two, even with good drying habits
- Black staining that does not lighten after a couple of cleaning attempts
- Leaks at the door during a cycle
- Sticky, slimy texture that never fully rinses clean
Gasket replacement is very doable for many models, but it is not always a quick beginner project. If you are not comfortable removing spring clamps and wrestling a tight rubber boot back onto the tub lip, it is a good candidate for a service call.
Why it keeps coming back
- Too much detergent: cut back and see if residue decreases.
- Cold-water only washing: run a hot cycle occasionally to reduce buildup.
- Door always shut: one of the most common causes I see.
- Standing water in bottom fold: check for clogged drain holes in the gasket and clear debris.
- High-humidity laundry area: a small dehumidifier can be a game changer in basements.
- Hidden gunk elsewhere: check the detergent drawer and, if your model has one, inspect and clean the drain pump filter (your manual will show the access panel and the safe way to drain it first).
My monthly routine
If you want a low-drama washer, this is the routine I recommend:
- Weekly: quick wipe of the gasket bottom fold
- Monthly: peroxide spray on the folds, light scrub, rinse wipe, then a tub clean cycle
- Always: leave the door cracked open between loads
Do that, and you will usually avoid the “why do my towels smell weird?” conversation entirely.
The 30-Second Cheat Sheet
Essential takeaways for: Clean Mold From a Front-Load Washer Door Gasket
- Gear up: gloves and eye protection. Ventilate the room. Never mix bleach with vinegar or ammonia.
- Open the door and dry-wipe first: remove lint, hair, and debris from the gasket, especially the bottom fold.
- Peel back the folds: clean in small sections. Mildew and biofilm hide in the inner creases.
- Best cleaner choices:
- Light grime: dish soap + warm water
- Light to moderate mildew: 3% hydrogen peroxide, dwell 5 to 10 minutes
- Stubborn black spots: diluted bleach (about 1 tbsp per quart of water), dwell about 5 minutes, rinse very well (follow your manual if it specifies something else)
- Optional DIY: white vinegar can help with odors and light buildup, but use it alone and rinse well
- Scrub, then rinse: toothbrush for seams and textured rubber. Avoid abrasive pads. Rinse until your rag comes away clean and you no longer smell cleaner.
- Dry completely: run a dry cloth through all folds. This is what prevents regrowth.
- After cleaning: run the washer’s Clean cycle, or an empty hot cycle, to flush residue.
- Prevention habit that matters most: leave the washer door cracked open between loads.
- Replace the gasket if: it is torn, leaking, warped, or the odor and black staining return quickly despite proper cleaning and drying.
💡 Tip: Scroll up to read the full article for detailed, step-by-step instructions.
⬆️ Back to topAbout Marcus Vance
Content Creator @ Grit & Home
Marcus Vance is a lifelong DIY enthusiast and self-taught home renovator who has spent the last decade transforming a dilapidated 1970s ranch into his family's dream home. He specializes in budget-friendly carpentry, room-by-room renovations, and demystifying power tools for beginners. Through his writing, Marcus shares practical tutorials and hard-learned lessons to help homeowners tackle their own projects with confidence.