My first house lesson came with a flashlight in my hand and my dad wedged under a sink: water never “sort of” stays put. It always finds a path. Crawl spaces work the same way. If yours is damp, that moisture is moving somewhere, usually into your floors, your framing, and your air.
The good news is crawl space moisture is fixable. The trick is matching the fix to the cause. Below I’ll walk you through the signs to look for, the usual culprits, and the repair options from budget-friendly to “do it once and be done.”
Why crawl space moisture matters
A damp crawl space is not just an “under the house” problem. It can affect:
- Indoor air quality: Stack effect pulls air from low areas up into the living space, along with musty odors and mold spores.
- Structure: Persistent moisture can lead to wood rot, rusted fasteners, and weakened subflooring over time.
- Comfort and energy use: Humid air and wet insulation reduce performance and can make floors feel cold and clammy.
- Pests: Moist environments attract termites, carpenter ants, and rodents looking for water and nesting spots.
Common signs your crawl space is too wet
You do not need fancy equipment to spot a moisture problem. Start with what your house is already telling you.
Musty smell that won’t go away
If you catch a damp, earthy odor when you walk in the door, open a closet, or run the HVAC, the crawl space is a prime suspect. That smell is often microbial growth feeding on moisture and organic material.
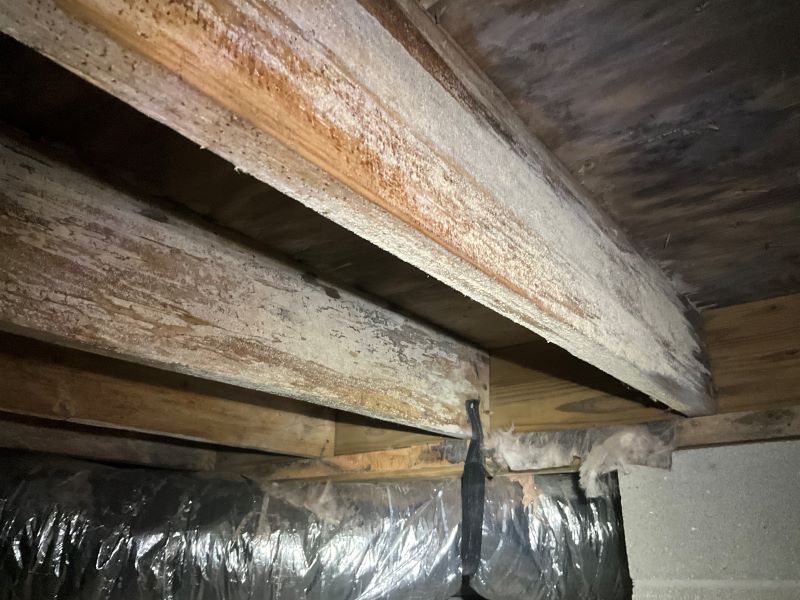
Mold or mildew
Look for fuzzy growth on wood, dark spotting on joists, or white powdery patches. Surface mold can appear even when there is not standing water, just high humidity.
Sagging or bouncy floors
Floors that feel springy, uneven, or dipped can be caused by moisture-related wood damage, compromised supports, or soil conditions that changed after repeated wetting. Moisture may not be the only factor, but it is often part of the story.
Condensation and wet insulation
Water droplets on ductwork, pipes, or the underside of the subfloor are a red flag. So is insulation that is sagging, heavy, or stained. Wet insulation loses R-value fast and can stay damp for a long time.
Rust, rot, and “soft” wood
Rusty metal straps, corroded hangers, and nails that look like they have been sweating are clues. If you can press a screwdriver into wood and it sinks in easily, stop and get a professional evaluation for rot.
Pest activity
Moist crawl spaces are pest magnets. Mud tubes (termites), frass (sawdust-like debris from carpenter ants), droppings, or chewed insulation all warrant a closer look.
What causes crawl space moisture
Most moisture problems come from one of three sources: bulk water (liquid water flowing in), ground moisture (evaporation from soil), and humid air (condensation and ventilation issues). Often it is a combo.
Poor exterior drainage
This is the big one. If water is pooling near the foundation, it will eventually find its way down and in.
- Negative grading that slopes toward the house
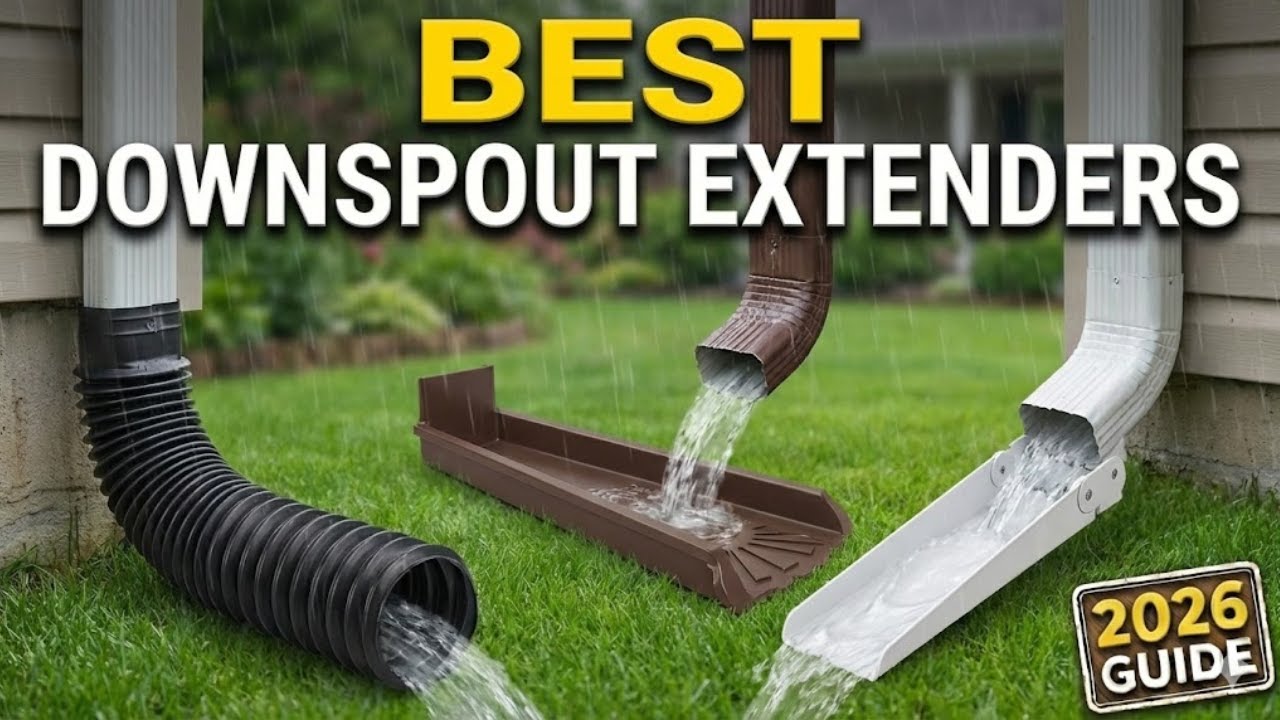
- Clogged gutters or missing downspout extensions
- Short downspouts dumping water next to the foundation
- Low spots near the crawl space vents or access door
No vapor barrier, or a bad one
Exposed soil constantly releases moisture into the crawl space. A thin, torn sheet of plastic tossed on the ground helps a little, but gaps and seams let moisture right through.
Plumbing leaks and HVAC issues
Small leaks can do big damage because they run 24/7. Common sources include:
- Dripping supply lines or loose fittings
- Sweating cold water pipes
- Leaky drain lines or failed wax rings above
- HVAC condensate line clogs or disconnections
- Ductwork sweating due to poor insulation or high humidity
Improper venting or seasonal humidity
The old-school idea was “vent the crawl space and it will dry out.” In many climates, vents can backfire. Warm, humid outdoor air enters, cools down in the shaded crawl space, and drops moisture as condensation on wood and ducts.
High groundwater or poor site conditions
If your yard stays soggy after rain, you may be dealing with a higher water table, dense clay soil, or a location that naturally collects runoff. That typically calls for drainage improvements, not just a dehumidifier.
Quick checks you can do today
Before you buy anything, spend an hour diagnosing. This keeps you from throwing money at the symptom instead of the cause.
Outside the house
- Gutters: Are they clogged, overflowing, or pulling away from the fascia?
- Downspouts: Do they discharge well away from the foundation (often 6 to 10 feet), or into an approved drain per local guidance?
- Grading: Does soil slope away from the house for the first few feet?
- Low spots: Any puddles near the foundation after rain?
Inside the crawl space
- Standing water: Any puddles or muddy areas?
- Plastic on the ground: Is there any vapor barrier at all? Is it intact and overlapped?
- Wood condition: Look at joists, beams, and sill plates for staining or fungal growth.
- Pipes: Any drips, corrosion, or wet spots under joints?
- Odor: Does it smell musty down there even if the house does not?
If you want one simple tool that pays for itself, grab a hygrometer. In most crawl spaces, you are aiming to keep relative humidity below 60% to discourage mold. After remediation, many homeowners often target something like 45% to 55%, but what is realistic depends on your climate, season, and crawl space temperature. The colder the surfaces, the easier it is for moisture to condense.
How to fix crawl space moisture
Think of crawl space moisture control like layers: stop water from getting there, block ground vapor, then manage humidity.
One quick reminder before you start spending: if you skip the diagnosis, you can end up paying twice. The right fix depends on whether you have bulk water, ground vapor, humid air, or all three.
1) Start with drainage
If bulk water is flowing toward your foundation, no interior fix will be permanent.
- Clean and repair gutters so they do not overflow.
- Add downspout extensions that push water away from the foundation, or route to an approved drain where required.
- Re-grade so soil slopes away from the house. Even a modest improvement helps.
- Address splashback near the crawl space access and vents by adding gravel or improving drainage paths.
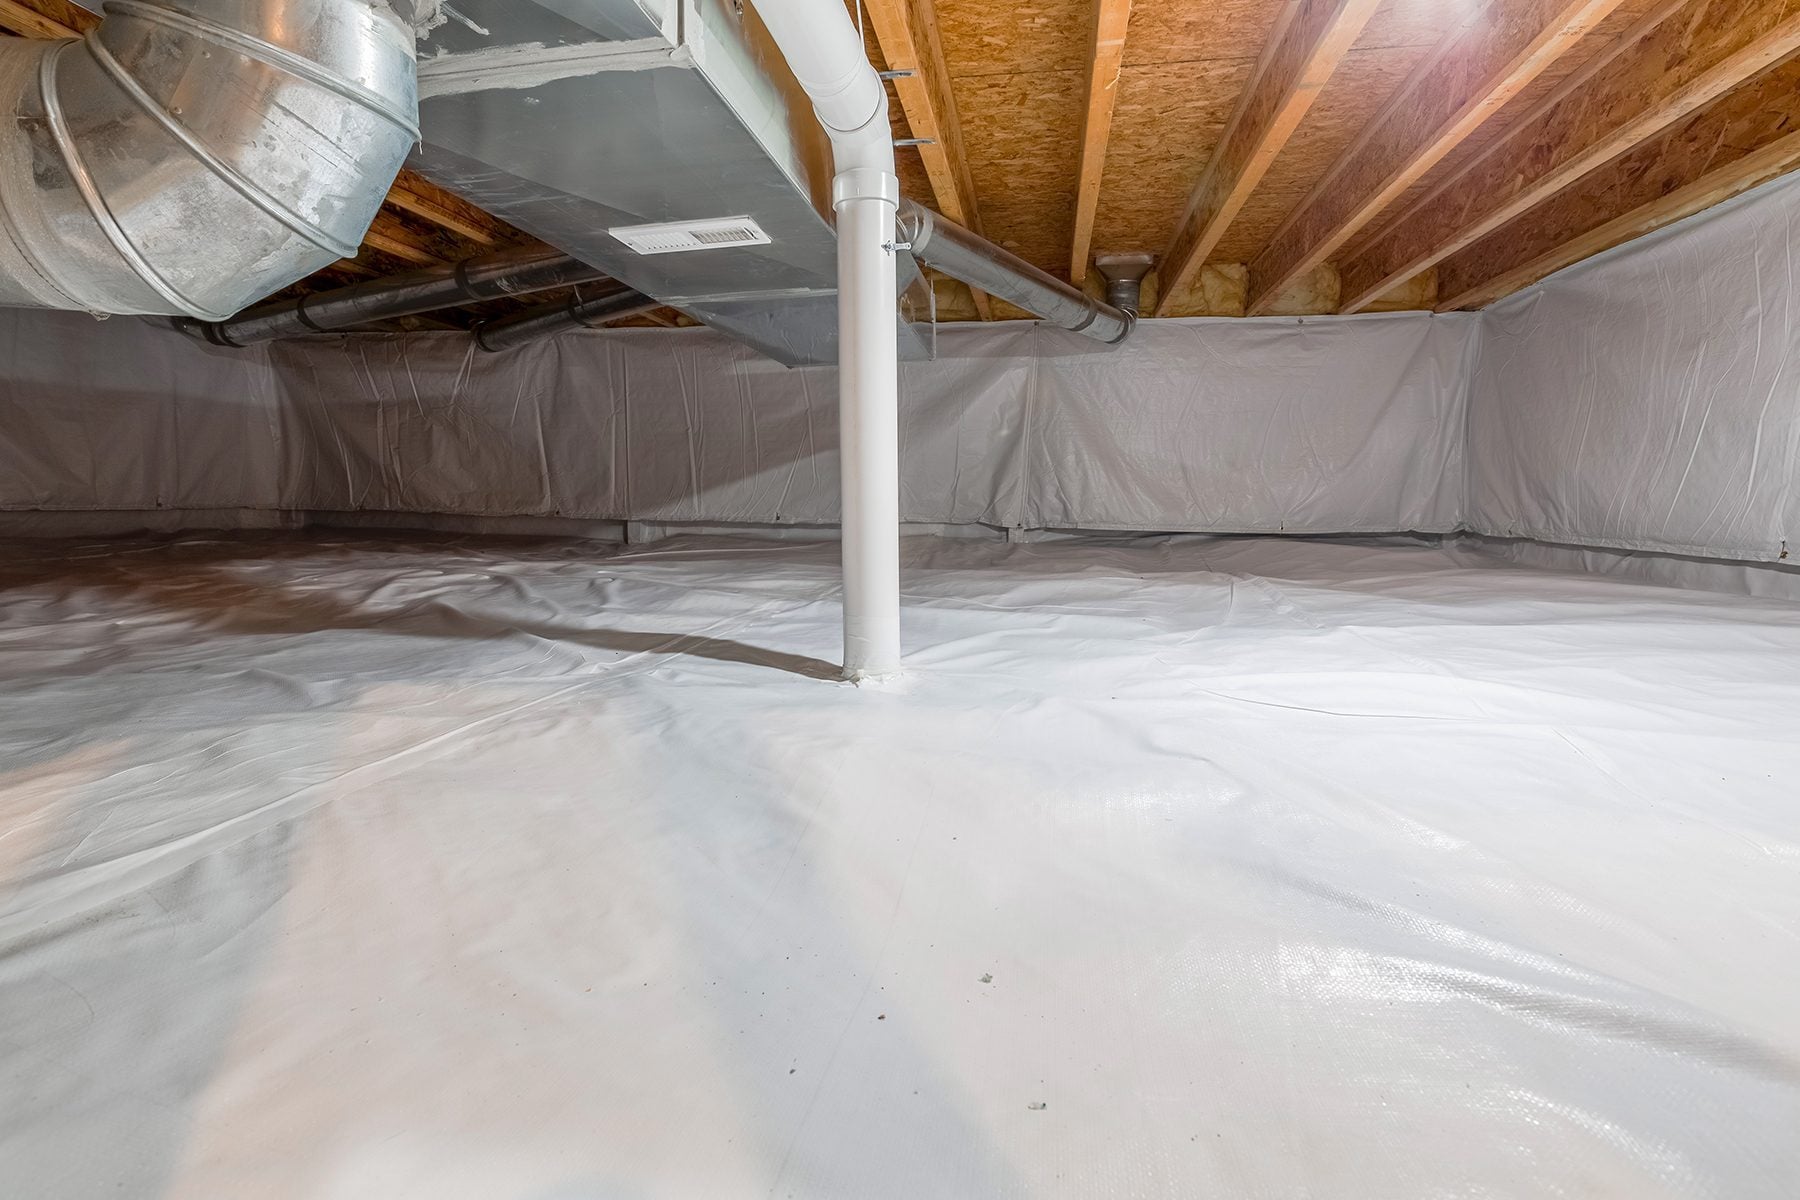
2) Add or upgrade a vapor barrier
A proper ground vapor barrier is one of the best bang-for-your-buck upgrades for many crawl spaces.
- Material: Aim for at least 6-mil polyethylene. For higher-traffic crawl spaces and many encapsulation systems, thicker liners (often 10 to 20 mil) are commonly used for durability.
- Coverage: Cover all exposed soil. Overlap seams by 6 to 12 inches.
- Seal seams: Use tape designed for vapor barrier seams, not random duct tape.
- Run up the walls: Extend plastic several inches up foundation walls and piers, then fasten and seal.
If you are going further than “basic barrier” and aiming for long-term performance, pros often secure the liner to the wall with compatible sealant and a termination bar, and they pay extra attention to sealing around pipes, piers, and the access door.
My hard-learned tip: buy more material than you think. Trying to “piece it together” from scraps is how you end up with gaps that leak moisture.
3) Fix leaks and stop condensation
Any active leak should be fixed immediately. For condensation:
- Insulate cold water lines with foam pipe insulation and seal seams.
- Check HVAC condensate lines for clogs and ensure they drain properly.
- Insulate ducts if condensation is forming on metal ductwork.
4) Control humidity
A dehumidifier can be a great solution for humidity control, especially after you have addressed drainage and added a vapor barrier.
- Choose a unit rated for crawl spaces: These are designed to handle cooler temps and higher humidity.
- Plan the drain: The unit needs a reliable way to discharge water, often to a sump basin, condensate pump, or gravity drain.
- Set a target: Many homeowners start around 50% to 55% and adjust based on results and season.
A dehumidifier is not a substitute for stopping bulk water. If you have puddles, handle that first.
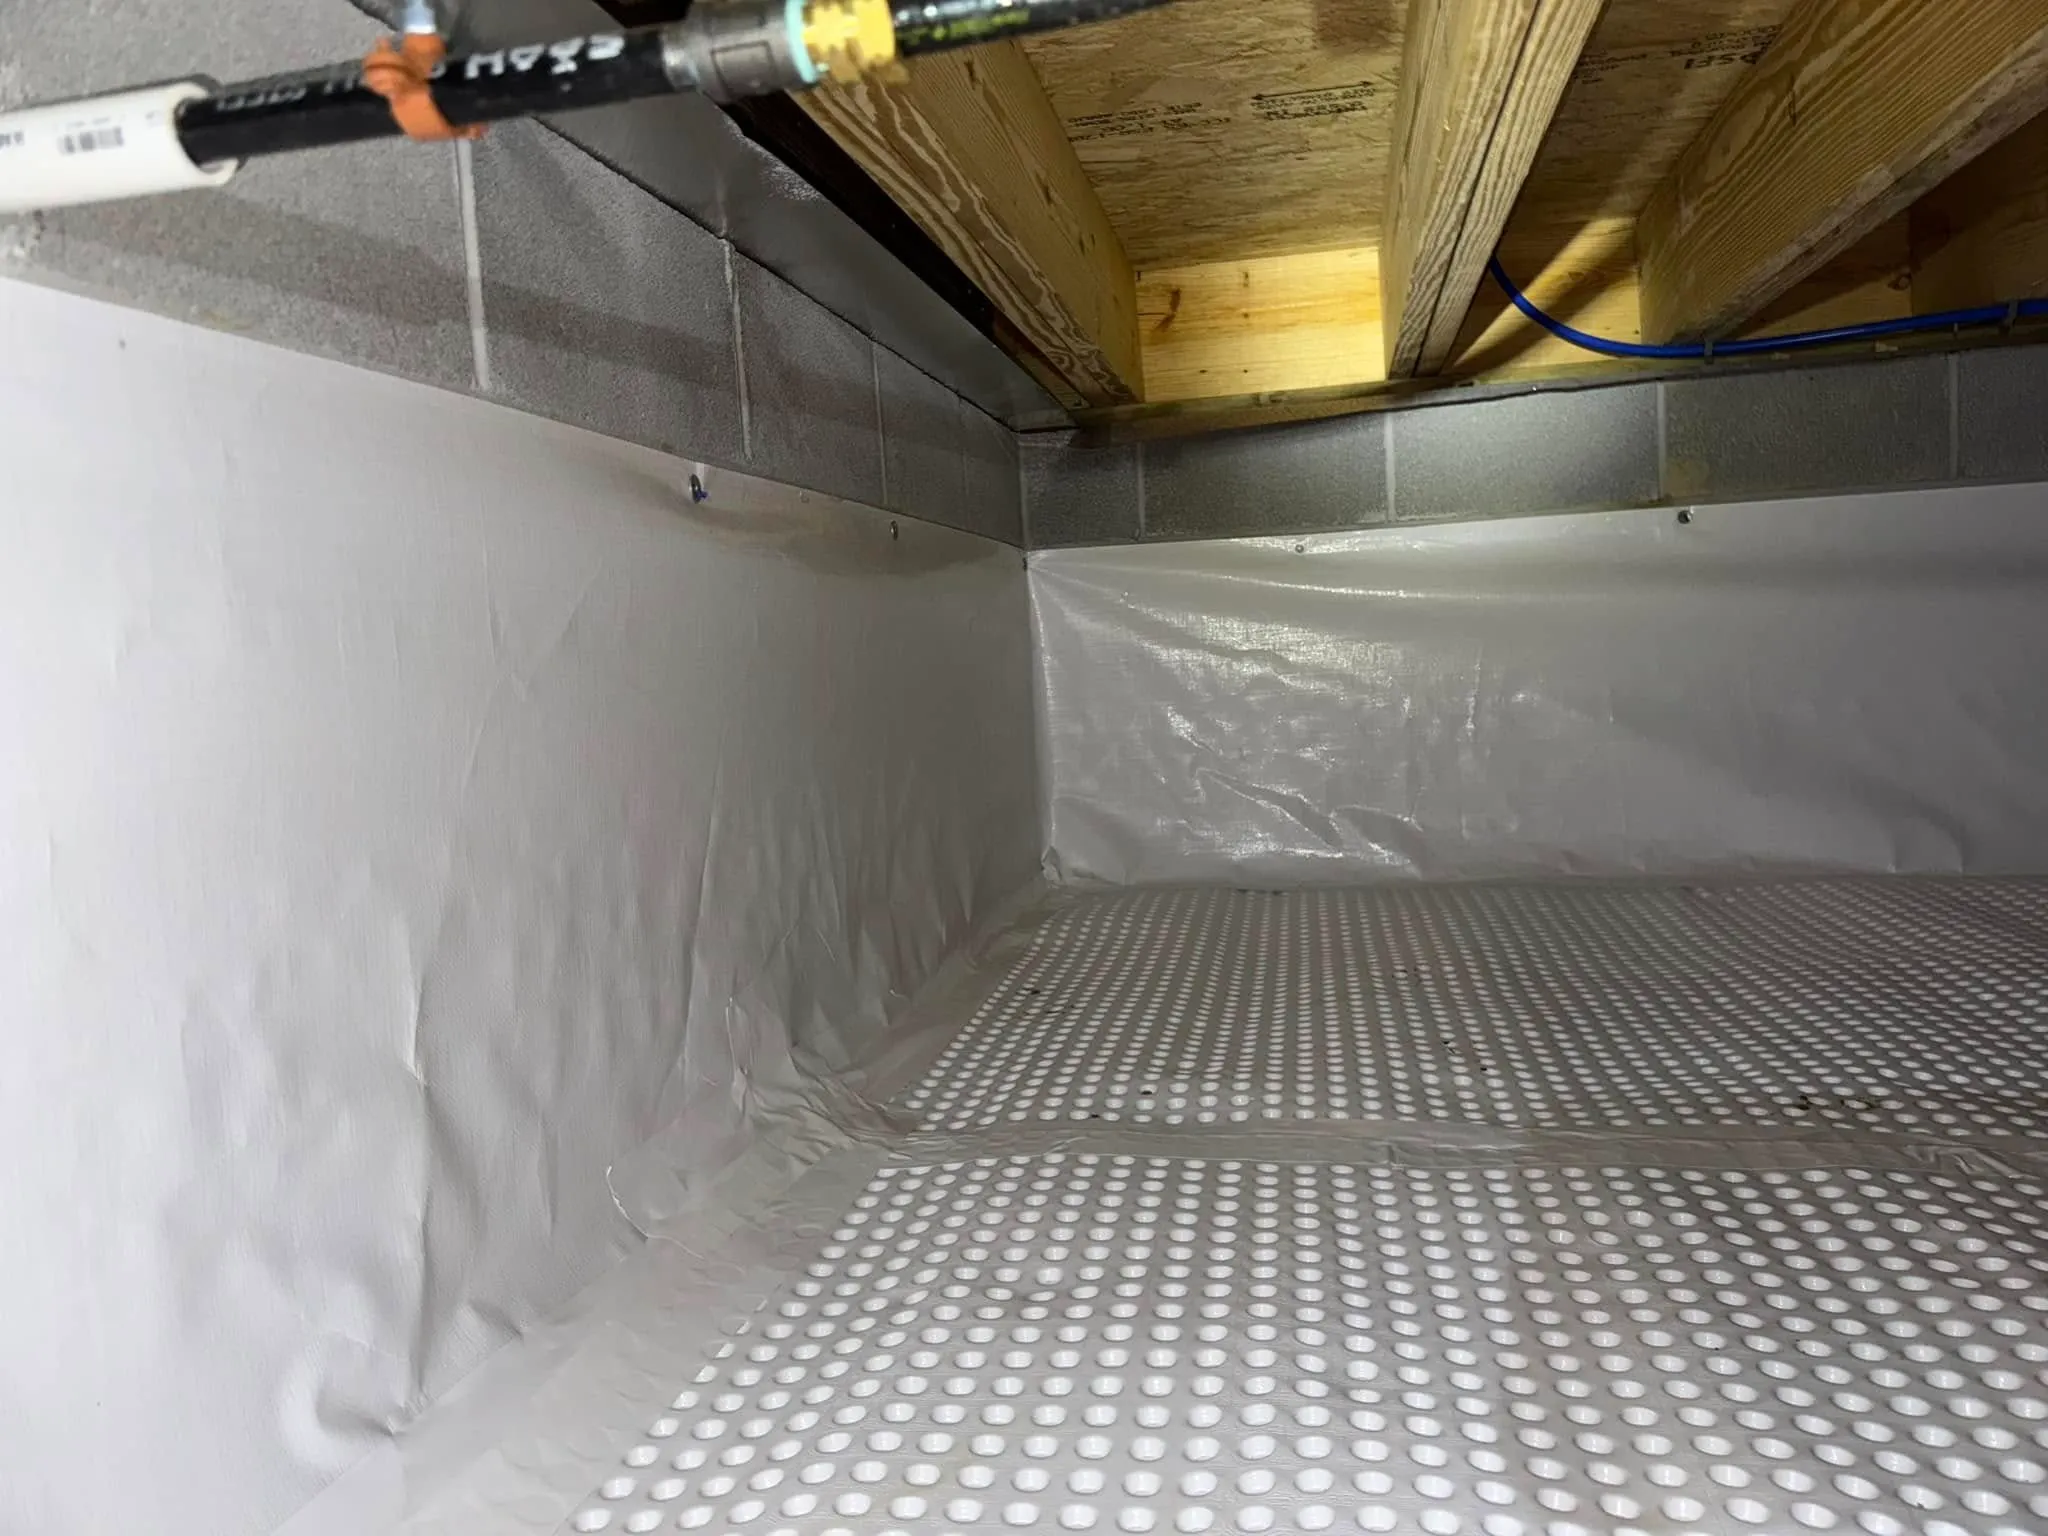
5) Encapsulation (the full system)
Encapsulation is the “full system” approach: heavy vapor barrier on the floor and walls, sealed seams, sealed vents, air sealing, and usually a dehumidifier or conditioned air supply.
Encapsulation can work extremely well, but only when the crawl space is prepared correctly. That means addressing water entry, removing wet materials, and ensuring the space can dry and stay dry. It also means details like protecting the liner from tears, sealing the access door, and making sure the system can be serviced.
6) Vents and fans
Vent fans can be useful in certain situations, but they are not a universal fix. In humid climates, pulling in outside air can increase moisture. In drier seasons or regions, mechanical ventilation can help exchange damp air for dry air.
Also, vented versus sealed crawl spaces can be climate and code dependent. Before you seal vents or change how the crawl space “breathes,” check local requirements and, if needed, confirm your plan with a local pro or inspector.
What to do about standing water
If you see standing water, treat it as urgent.
- Do not wade in: Wet crawl spaces can hide electrical hazards. If water is near wiring, outlets, or equipment, shut off power (if you can do so safely) and call a pro.
- Confirm it is not plumbing: Turn off water fixtures, watch the water meter, and inspect lines.
- Improve exterior drainage: This is often the real fix, not pumping.
- Install a sump system if water regularly collects under the house.
- Consider perimeter drains where conditions and access allow.
If water is rising quickly during storms or you suspect high groundwater, bring in a professional. Repeated flooding can damage supports and create mold problems fast.
Mold, rot, and safety
If you find extensive mold, rotted framing, or strong odors (musty or ammonia-like), proceed carefully. Those smells can come from microbial growth, pests, or other contamination, and they warrant caution either way.
- Wear protection: Gloves, eye protection, and a properly fitted respirator (N95 minimum; better if you have it).
- Do not disturb heavy growth: Scraping and sweeping can aerosolize spores. If the affected area is large, if anyone in the home has asthma or sensitivities, or if you suspect the HVAC is involved, call a qualified remediator.
- Rotted structural wood: This is a professional repair in many cases. Sistering joists or replacing beams is not the place for guesswork.
One honest DIY note: I used to think I could “just bleach it.” Bleach can discolor mold stains, but it does not reliably solve mold in porous materials like wood, and it does not address the moisture that caused it. Moisture control is the real cure.
Cost expectations
Prices vary widely by region, access, and severity, but here is a rough feel for common fixes:
- Gutter and downspout improvements: low to moderate cost (often a few hundred to a couple thousand dollars depending on repairs and drainage routing)
- Basic vapor barrier install: low to moderate cost (DIY materials often run a few hundred dollars; professional installs commonly run higher depending on thickness, sealing, and access)
- Crawl space dehumidifier: moderate cost plus power and drainage setup (often roughly $1,000 to $3,000 installed depending on the unit and drain solution)
- Encapsulation: higher cost (commonly several thousand to well into five figures for large or complex crawl spaces)
- Sump and drainage systems: moderate to high cost depending on complexity (often a few thousand dollars and up)
If you are choosing where to spend first, my priority order is: drainage, then vapor barrier, then humidity control.
Quick decision guide
- Puddles or standing water: drainage and water management first (grading, gutters, drains, sump)
- Damp soil and no good liner: vapor barrier first, then reassess humidity
- High humidity even after a barrier: dehumidifier, air sealing, and possibly encapsulation depending on the situation
Maintenance checklist
- Clean gutters at least twice a year and after major storms.
- Confirm downspouts still discharge away from the foundation or into an approved drain.
- Check the crawl space after heavy rain for new wet spots.
- Inspect the vapor barrier for tears and re-tape seams as needed.
- Service the dehumidifier and keep the drain line clear.
- Watch indoor humidity and address HVAC issues promptly.
If you only do one thing this week: walk outside during a hard rain and see where your roof water goes. It is the fastest way to spot a moisture problem that has been quietly soaking your crawl space for years.
About Marcus Vance
Content Creator @ Grit & Home
Marcus Vance is a lifelong DIY enthusiast and self-taught home renovator who has spent the last decade transforming a dilapidated 1970s ranch into his family's dream home. He specializes in budget-friendly carpentry, room-by-room renovations, and demystifying power tools for beginners. Through his writing, Marcus shares practical tutorials and hard-learned lessons to help homeowners tackle their own projects with confidence.