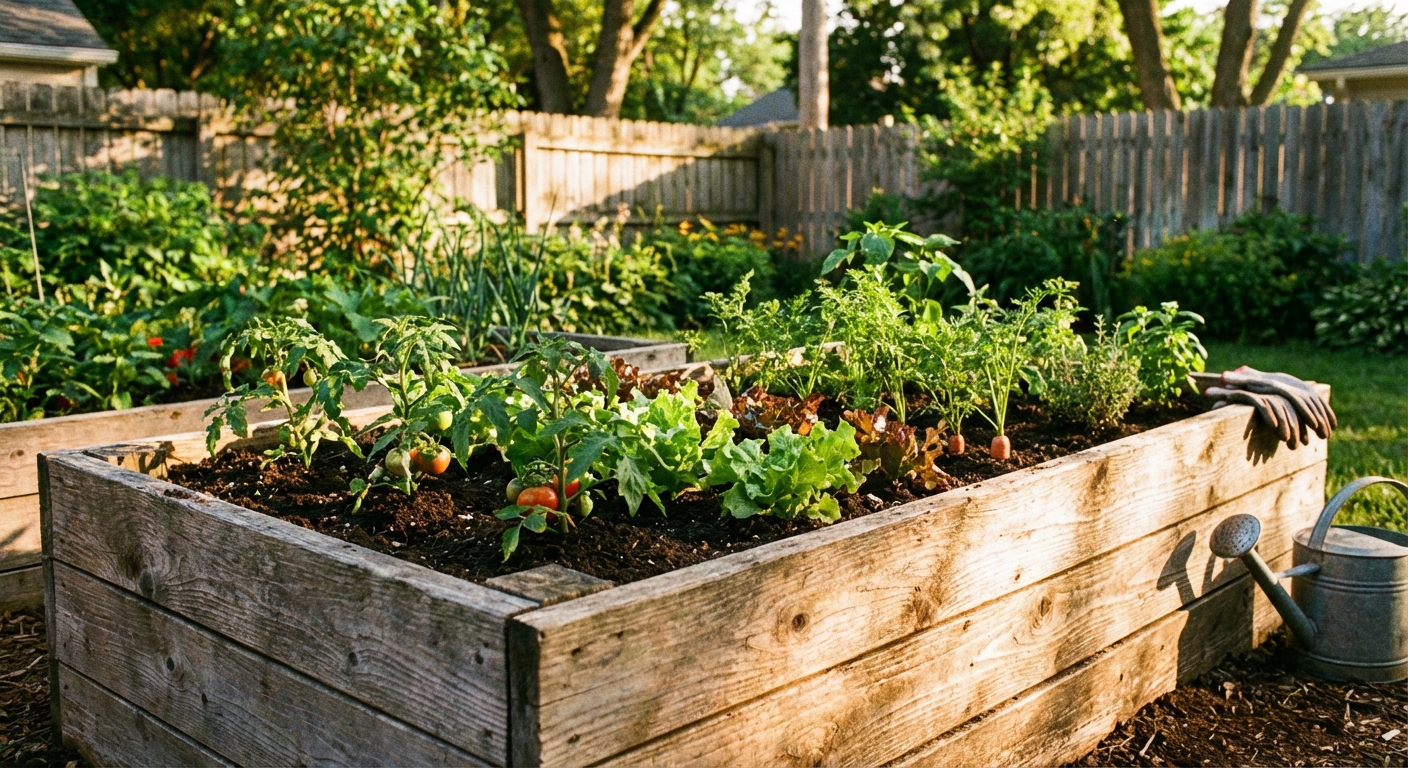
Raised beds are one of those projects that pay you back twice. First, you get a clean, organized garden that's easier on your back. Second, you get better soil control, fewer weeds creeping in from the lawn, and a layout that actually fits your space instead of whatever the store decided was “standard.”
I built my first bed with bargain boards and good intentions. It looked great for about a season and a half, then the corners started to go soft and the screws began pulling out. This page is what I wish I'd had the first time: a straightforward way to design your bed so it works in your yard, then build it so it lasts.
Plan it like a carpenter
Pick a size you can reach
The best raised bed dimensions are the ones you can comfortably work in without stepping on the soil. A few rules that keep beginners out of trouble:
- Width: 3 to 4 feet wide if you can reach from both sides. If it'll sit against a fence or wall, keep it 2 feet wide.
- Length: 6 to 10 feet is a sweet spot for most yards. Longer beds work fine, but they need better corner and mid-span bracing.
- Height: 10 to 12 inches grows most vegetables well. Go 16 to 24 inches if you want fewer bend-overs or you're filling over poor soil.
My go-to “fits almost anywhere” bed is 4 feet by 8 feet and about 12 inches tall. It's easy to reach, easy to water, and every lumberyard can support that cut list.
Leave room to work
Before you commit, walk the space with a tape measure and mark it out.
- Paths: 24 inches minimum. 30 to 36 inches feels luxurious, and it fits a wheelbarrow better.
- Sun: Most veggies want 6 to 8 hours of sun. Watch your shade lines from fences, sheds, and trees.
- Water access: If your hose barely reaches, you'll resent watering by July.

Pick garden-safe materials
Best wood choices
Wood selection is where raised beds either become a weekend win or a slow-motion redo. You want boards that handle moisture and soil contact without turning to sponge.
- Cedar (western red cedar): My favorite. Naturally rot-resistant, stable, and easy to work with.
- Redwood: Excellent durability, but often pricey depending on your region.
- Douglas fir: Strong and more budget-friendly. It can last a few years in soil contact, but lifespan depends a lot on climate and drainage. In wet climates, expect it to age faster than cedar or redwood.
- Heat-treated wood: Sold as “thermally modified” in some areas. A great option when available.
What I avoid: Old railroad ties and unknown reclaimed timbers around edible gardens.
On pressure-treated lumber: modern PT (commonly ACQ or copper azole in the U.S.) is widely considered acceptable for raised beds when used as intended, but some people still prefer to skip it for peace of mind. If you're on the fence, cedar is the no-drama choice.
Fasteners that won't rust
- Exterior structural screws (often coated) are my default.
- Stainless steel screws are the premium option, especially near the coast.
- If you use corner brackets or mending plates, choose galvanized or stainless.
Liners, barriers, and finishes
- Hardware cloth: Staple it to the bottom if you have gophers or voles. (It can help with other diggers, but those two are the usual raised-bed troublemakers.)
- Landscape fabric: Optional. I prefer cardboard on the ground under the bed instead, then fill with soil. It smothers grass but breaks down over time.
- Plastic liner: I usually skip it. Trapping moisture against wood can speed up rot. If you do line, leave drainage paths and don't wrap the bottom like a bathtub.
- Finish: If you want a darker look, use an exterior stain on the outside faces only. A water-based exterior stain is a simple, common choice. Let it cure fully before you fill the bed. Keep anything questionable away from the soil side.
Tools and supplies
This is a friendly project for beginners because the cuts are straightforward and the assembly is repetitive. You can build a great bed with basic tools.
Tools
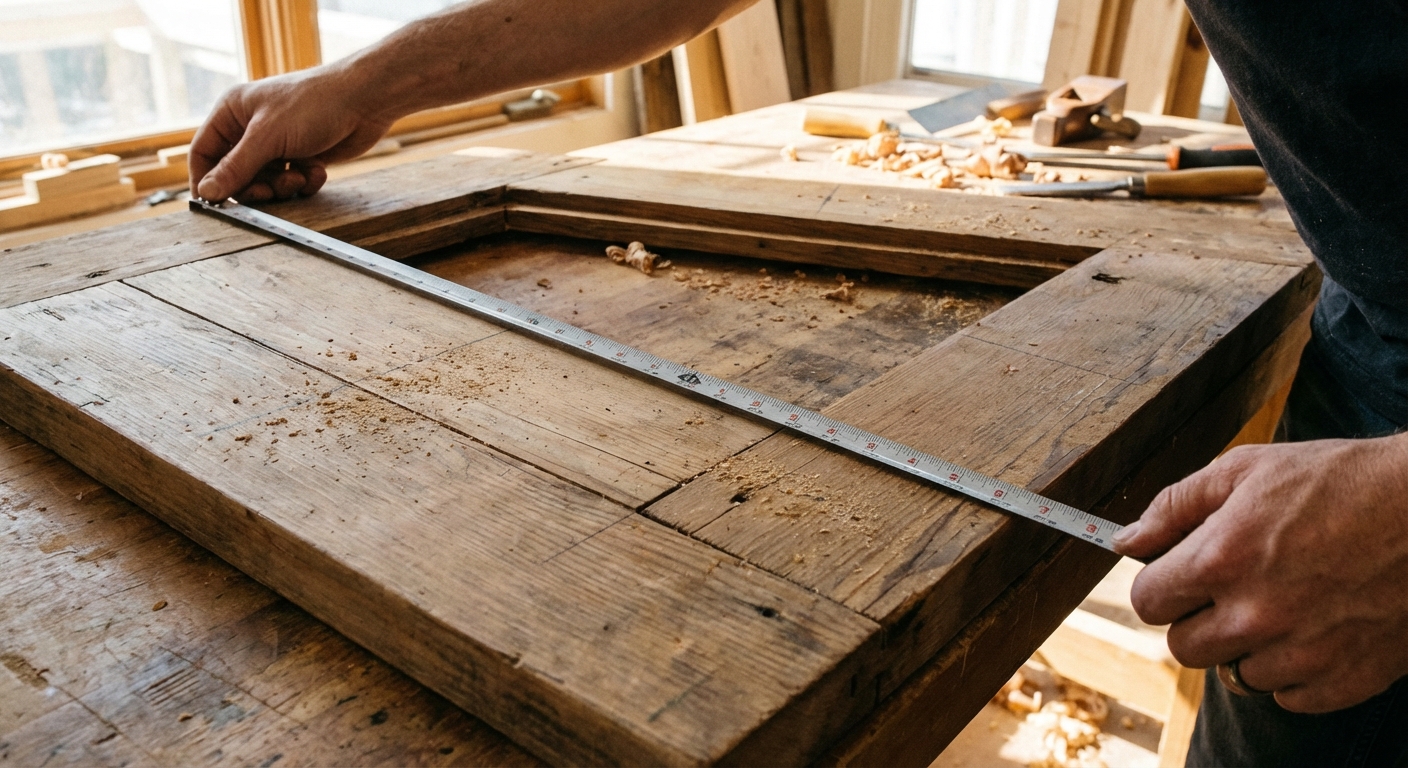
- Tape measure, pencil, speed square
- Miter saw or circular saw with a straightedge guide
- Drill and driver bit
- Clamps (helpful, not required)
- Staple gun (only if using hardware cloth)
- Shovel and rake for site prep
- Safety glasses and work gloves
Supplies
- Rot-resistant boards (example cut list below)
- 2x2 or 4x4 material for corner posts (optional but recommended for tall beds)
- Exterior structural screws, typically 2 1/2 to 3 inches
- Hardware cloth (optional)
- Cardboard for weed suppression
- Soil and compost to fill
Design it to stay strong
Single vs. double height
If you build a 10 to 12 inch tall bed, you can often get away with simple corner joints and good screws. Once you go taller, the outward pressure from wet soil gets real, especially after heavy rain. For 16 inches and up, plan on at least one of these:
- Corner posts that the boards screw into
- Mid-span braces on long sides
- Through-bolts or structural screws plus washers for extra bite
Square, level, and open-bottom
- Square: Measure diagonals corner-to-corner. If they match, the bed is square.
- Drainage: Raised beds drain well naturally, but only if the bottom is open to the ground. Don't add a plywood bottom.
- Level: A little slope is fine, but big slopes cause soil to migrate and water to pool on one end.
Step-by-step: build a 4x8 bed
This build uses a simple, durable structure: boards screwed into corner posts. It's forgiving, strong, and beginner-friendly.
Example materials (12-inch-tall bed)
- Boards: Two 2x12x8 boards (long sides)
- Boards: One 2x12x8 board cut in half to make two 4-foot boards (short sides)
- Corner posts: Four 4x4 posts cut to 12 to 16 inches long (12 inches tall bed, plus a little extra if you want to stake it)
- Screws: Exterior structural screws, 3 inches
Quick build note: The cut list above assumes a simple butt-joint layout where the end boards sit between the two long boards, and everything screws into the corner posts. If you swap that layout, your cut lengths may change, so decide your orientation before you cut.
Also, lumber sizes are “nominal.” A 2x12 isn't actually 2 inches by 12 inches. That's normal, just measure the real thickness so your screw length makes sense.
1) Prep and level the site
- Mark the bed footprint with stakes or spray paint.
- Remove sod where the bed will sit, or scalp it low with a shovel. If you've got aggressive turf, it's worth taking the thick roots out so it doesn't fight you later.
- Rake the area flat. Check level in both directions.
If you're on a slope, don't force the frame to follow the slope. Level the ground or step the bed design. Twisting the frame is a fast way to end up fighting every joint.
2) Cut the posts and boards
- Cut four corner posts to length.
- Cut the 4-foot end boards if needed.
- Lightly sand splinters on cut ends.
3) Pre-drill to prevent splitting
Especially with cedar near board ends, pre-drilling keeps things clean.
- Clamp the board to the post if you can.
- Pre-drill two holes per board end, spaced vertically.
4) Assemble one long side
- Lay a corner post on a flat surface.
- Align the long board flush to the top of the post.
- Drive screws through the board into the post.
- Repeat on the other end with the second corner post.
5) Add the second long side and the ends
- Stand the assembly up and add the other long board.
- Attach the two short end boards last.
- Check diagonals and nudge the frame square before fully tightening.

6) Optional: add mid-span bracing
If your bed is longer than 8 feet, or if you're going taller than 12 inches, add bracing now.
- Screw a short vertical 2x2 inside the middle of each long side, tied to the top edge.
- For tall beds, add a cross-tie from one long side to the other using a board or metal strap near the top edge.
7) Install hardware cloth (optional)
- Roll hardware cloth over the footprint.
- Set the frame on top.
- Staple it to the inside bottom edge of the boards and posts.
8) Set the bed and fill
- Lay down overlapping cardboard on the ground inside the frame.
- Add a mix of topsoil and compost. One workable starting blend is about 60 percent topsoil, 30 percent compost, 10 percent aeration like perlite or pine fines. You can also buy a reputable raised-bed mix and call it a day.
- For a 4x8 bed that's 12 inches tall, plan on about 32 cubic feet of soil (roughly 1.2 cubic yards) before it settles. You'll almost always top it off after a few waterings.
- Water it in to settle, then top off as needed.
Cut list cheat sheet
Want a bed that fits a tight yard, side patio, or narrow strip along a fence? Use this quick approach.
For a simple rectangle
- Long sides: Cut two boards to your bed length.
- Short sides: Cut two boards to your bed width.
- Corner posts: Cut four posts to your bed height, plus 2 to 6 inches extra if you want them to “stake” into the soil.
If you want a two-board-tall bed, double the side boards and consider adding mid-span bracing on long runs.
Common mistakes
Using the wrong screws
Drywall screws snap. Interior wood screws rust. Get exterior structural screws and you'll avoid a lot of headaches later.
Skipping pre-drilling
I've split more cedar board ends than I care to admit. Pre-drill and keep fasteners back from the edge.
Building tall with no bracing
Soil is heavy. Wet soil is heavier. Tall beds need posts, braces, or both.
Overthinking soil on day one
Start with a decent blend and plant. You can always amend with compost each season. The goal is to get growing, not to achieve mythical perfect soil before the first tomato.
Maintenance
- Each spring: Check screws for loosening, especially at corners. Tighten as needed.
- After heavy rains: Look for bowing on long sides. Add a brace if you see movement.
- Every season: Top-dress with compost and keep mulch a couple inches away from the wood if you're trying to maximize lifespan.
If you build with rot-resistant wood and good fasteners, you should get years out of a bed with very little fuss. That's the kind of DIY I like. Do it once, enjoy it every weekend after.
Quick FAQ
Should I put gravel in the bottom?
Usually no. With an open bottom, water drains into the soil below. Gravel rarely improves drainage in raised beds, and it can worsen it when it creates a coarse layer under finer soil. Focus on a good soil mix instead.
How deep does the soil need to be?
Most vegetables do great with 10 to 12 inches of good soil. Root crops like carrots appreciate more depth, or at least loose soil below the bed.
Can I build directly on grass?
Yes, but smother it first. Cardboard under the bed works well, then fill and water in. If your lawn is thick or aggressive, taking the sod down a bit first makes the whole thing easier.
About Marcus Vance
Content Creator @ Grit & Home
Marcus Vance is a lifelong DIY enthusiast and self-taught home renovator who has spent the last decade transforming a dilapidated 1970s ranch into his family's dream home. He specializes in budget-friendly carpentry, room-by-room renovations, and demystifying power tools for beginners. Through his writing, Marcus shares practical tutorials and hard-learned lessons to help homeowners tackle their own projects with confidence.