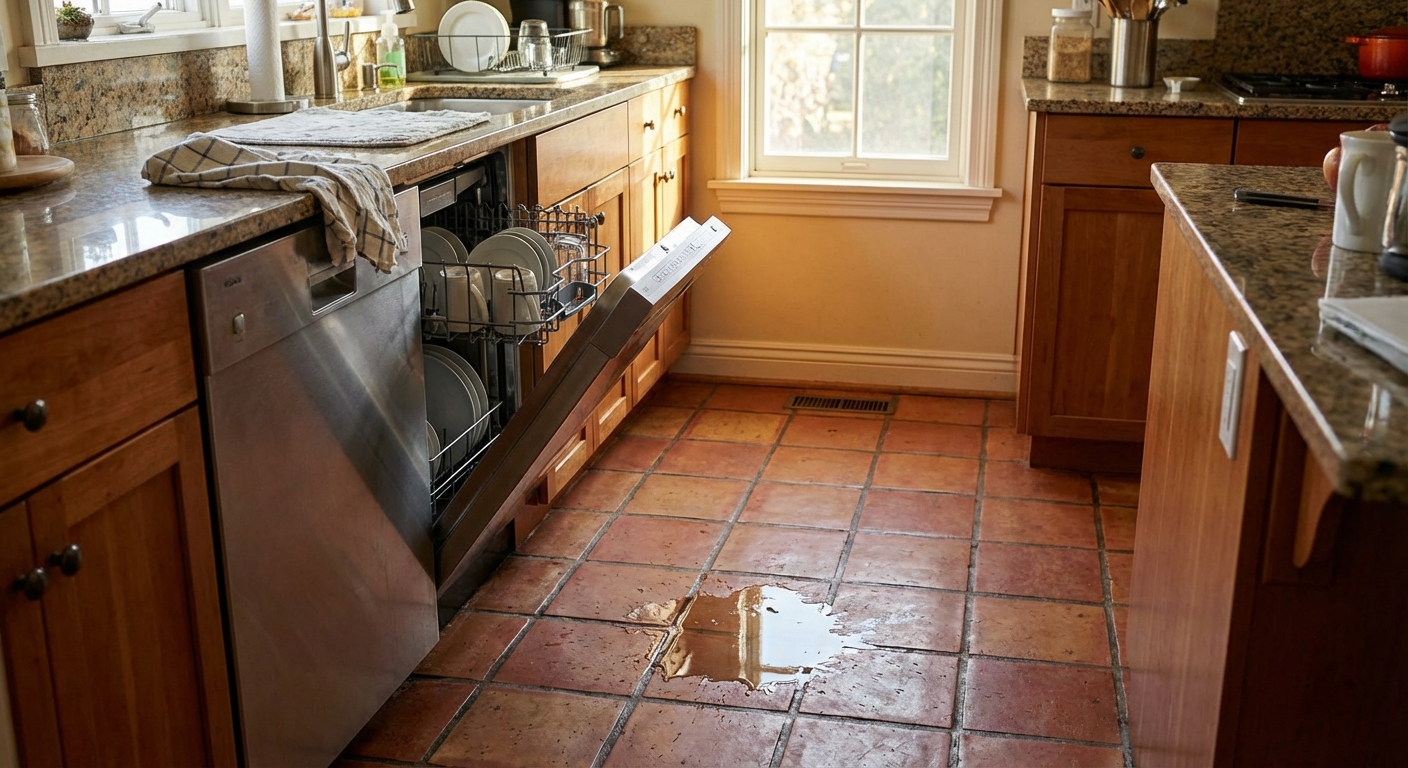
A leaking dishwasher feels like one of those problems that goes from “annoying” to “why is my kitchen floor squishy?” in about ten minutes. The good news is most leaks come from a handful of predictable spots. If you can do a careful inspection and a couple of basic tests, you can often fix it without buying a whole new machine.
Below are some of the most common causes of dishwasher leaks, in the order I’d check them. I’ll show you how to diagnose each one, what a DIY fix looks like, and when it makes more sense to tap out and call a pro.
Tools you’ll want nearby
- Flashlight
- Towel or paper towels
- Screwdriver or nut driver (for toe-kick screws and hose clamps)
- Pliers (for spring clamps)
- Small level
- Optional: multimeter (only if you are comfortable)
Safety first and find the leak fast
Before you touch anything
- Cut power at the breaker if you will be removing panels or touching wiring.
- Turn off water to the dishwasher if you will be checking the supply line. Usually this is the shutoff valve under the sink.
- Pull out the toe-kick (the thin panel at the bottom front). On most units it is held by 2 to 4 screws. This gives you visibility for the most common leak points.
Find the leak zone in 5 minutes
- Dry everything you can see with a towel. Put a dry paper towel under the front edge and under the unit if you can reach.
- Run a short cycle and watch with a flashlight. Look for the first place water appears.
- Note the timing:
- Leaks immediately while filling usually point to the water inlet, supply line, or hose connections.
- Leaks during washing often point to the door seal, spray arm, or door latch alignment. It can also be from oversudsing or dishes deflecting spray.
- Leaks near the end or during drain often point to the drain hose and clamps, the sink or disposal connection, the drain pump, or a check valve issue.
Tip from my own mistake pile: Don’t assume the puddle is “the leak location.” Water loves to travel along the bottom pan and drip from the lowest corner, which can be several inches away from the real problem.
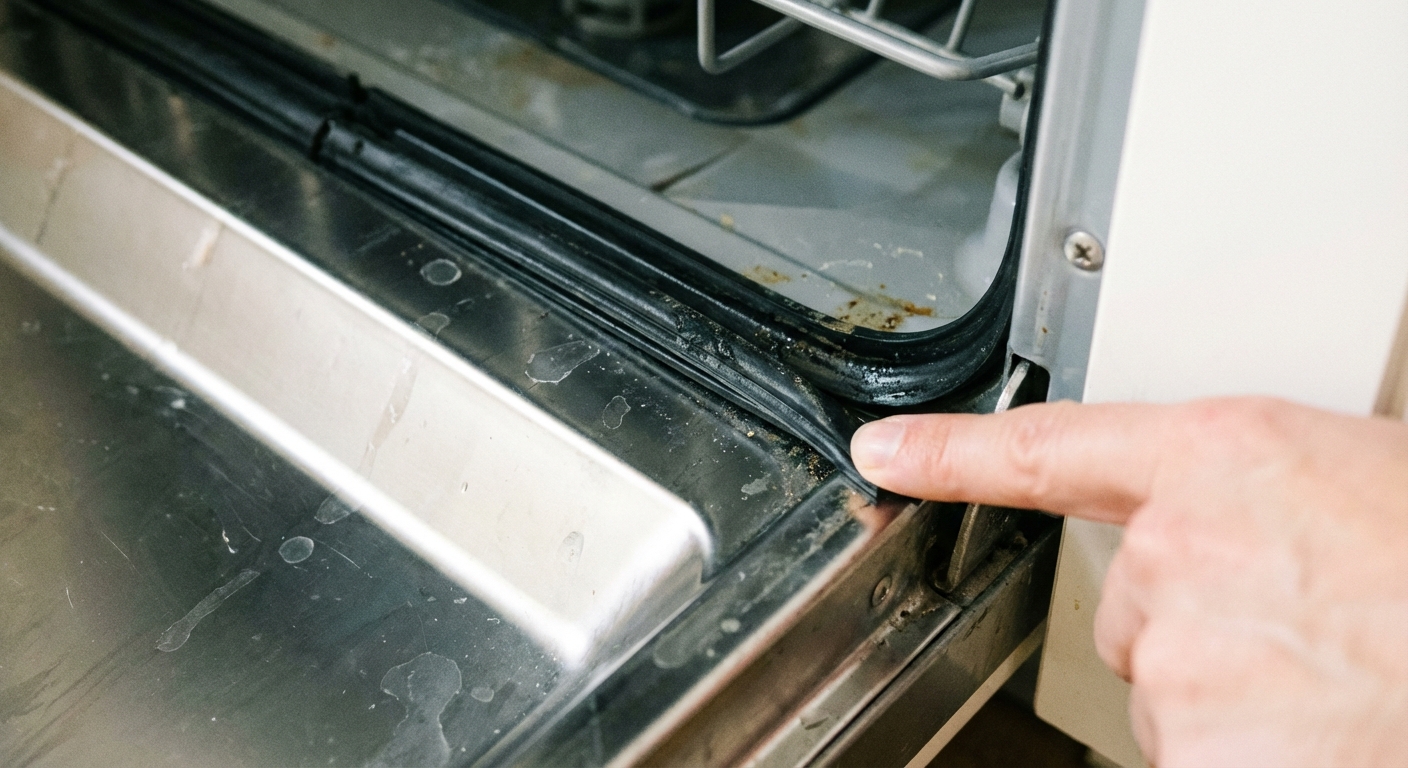
Fix #1: Door gasket and bottom seal
The door gasket (seal) is the rubber strip that keeps wash water inside the tub. Food gunk, detergent buildup, or a torn section can let water escape at the corners. Also, some models use a separate bottom door seal (sometimes called a sweep) to keep water from sneaking out along the lower edge.
How to diagnose
- Look for splits, flattened spots, or sections pulling away from the channel.
- Check for sticky detergent film or bits of food stuck to the gasket.
- Look for water tracks on the inside of the door or on the cabinet face near the corners.
- If the puddle shows up along the front bottom edge, inspect the bottom door seal too (if your model has one).
DIY fix
- Clean the seals with warm water and a little dish soap on a microfiber cloth. Use a soft toothbrush in creases.
- Check seating. If it has popped out, press it firmly back into the groove all the way around.
- Replace if damaged. Order the gasket or bottom seal by model number. Most press in by hand, starting at the center and working evenly to the corners.
When to call a pro: If the seals look fine but the door itself looks twisted or the dishwasher is not sitting square in the cabinet. A bent hinge or warped inner door can cause chronic leaking even with new rubber.
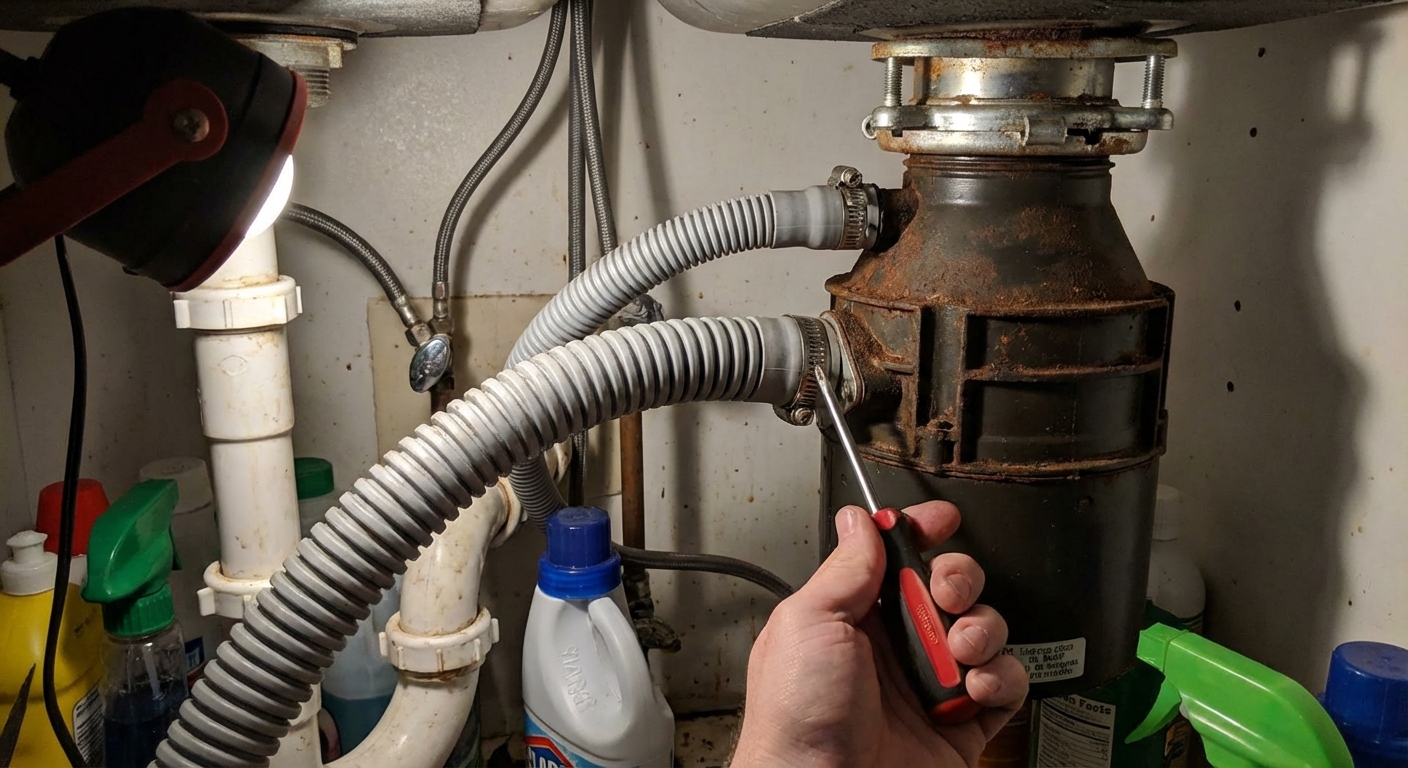
Fix #2: Tighten hose connections
Many leaks come from a clamp that slowly loosened or a hose that cracked after years of heat cycles. Common drip points live behind the toe-kick, under the sink, or right under the unit near the pump area.
What to check
- Drain hose where it connects to the garbage disposal or sink drain (under the sink).
- Supply line connection to the dishwasher inlet valve (usually behind the toe-kick) and to the shutoff valve under the sink.
- Internal hoses visible after removing the toe-kick, including rubber couplers and clamps near the circulation pump area.
DIY fix
- Turn off water at the shutoff valve.
- Check clamps. Tighten worm-gear clamps with a screwdriver or nut driver. If you see a spring clamp, squeeze and reposition it with pliers.
- Inspect hoses for splits, brittleness, or bulges. Replace if anything looks questionable.
- Re-test by running a short cycle while watching the connection.
Thrifty tip: If a hose end is slightly deformed, you can sometimes cut off 1 inch and re-clamp to fresh material, as long as you still have enough slack and the hose is otherwise in good shape.
When to call a pro: If the leak is coming from the water inlet valve body, circulation pump housing, or an internal connection that requires pulling the dishwasher fully out and tipping it.
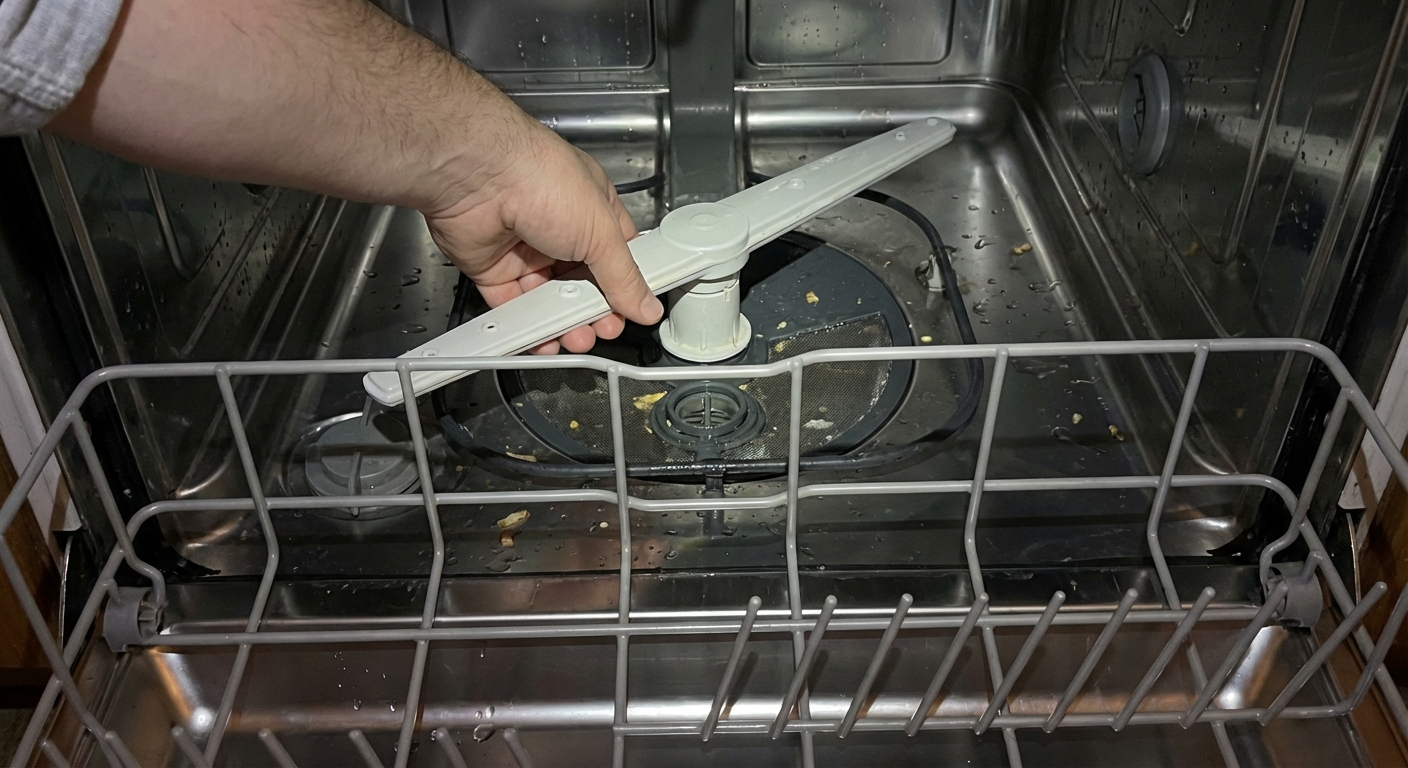
Fix #3: Spray arm and loading issues
The spray arm spins and blasts water around the tub. If it cracks, pops loose, or gets blocked, it can send a focused jet at the door area and create a leak that looks like a bad gasket. Also, misloaded dishes can deflect spray right toward the front seam.
How to diagnose
- Remove the bottom rack and spin the spray arm by hand. It should rotate freely and feel secure.
- Look for hairline cracks, split seams, or missing end caps.
- Check for clogged spray holes. A clogged hole can redirect pressure like a tiny pressure washer.
- Look for tall items that stop the arm from spinning or items angled in a way that could bounce spray toward the door (cutting boards and sheet pans are frequent offenders).
DIY fix
- Remove the spray arm. Many twist off by hand. Some have a retaining nut.
- Rinse and clear holes with warm water. Use a toothpick carefully, not a drill bit.
- Reload smart. Keep tall items away from the front and make sure nothing blocks spray arm rotation.
- Replace if cracked. Spray arms are usually an easy parts swap using your model number.
When to call a pro: If the spray arm keeps melting or deforming. That can indicate a heating issue or incorrect replacement part.
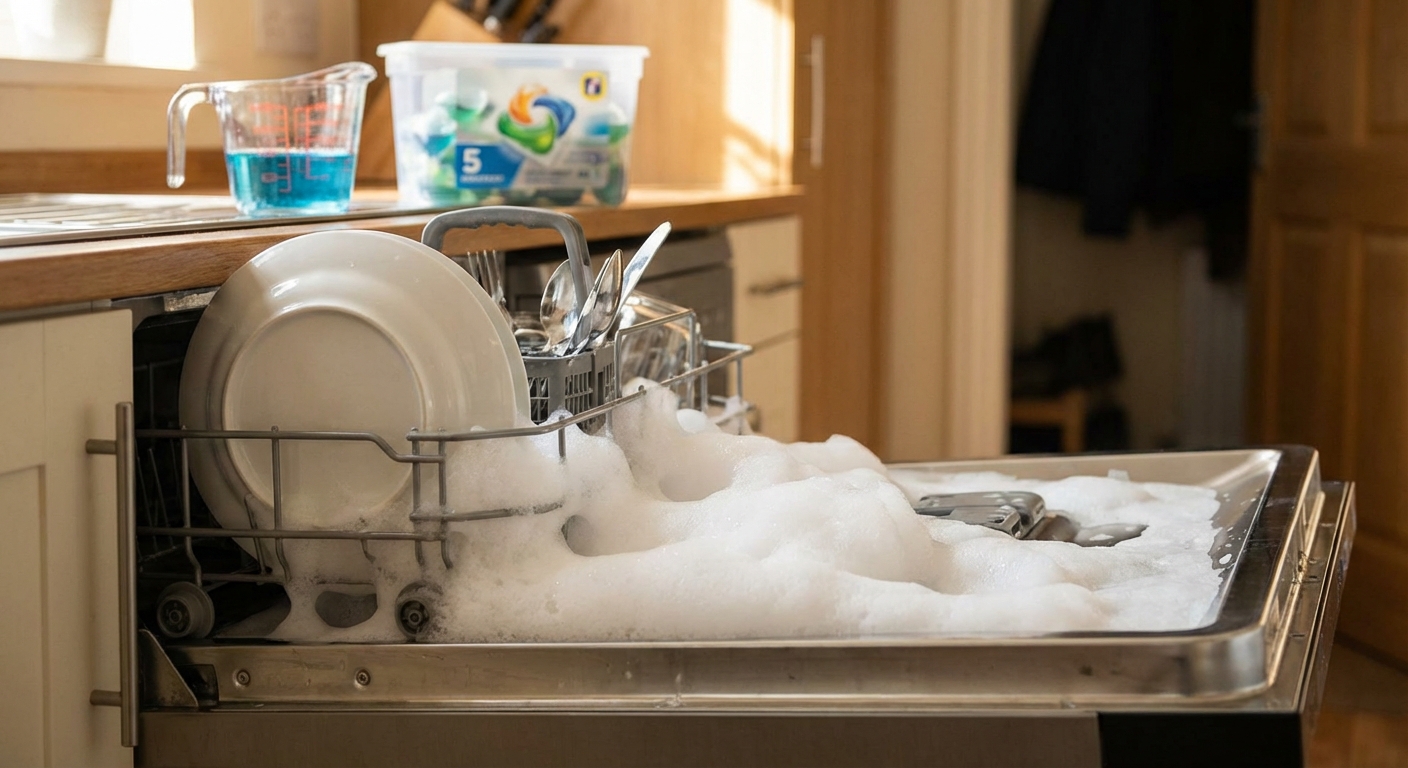
Fix #4: Suds and rinse aid spills
This one is sneaky because it looks exactly like a “door leak.” If you used the wrong soap (hand soap, dish soap, or a non-dishwasher cleaner), or if rinse aid spilled and pooled, you can get foamy suds that creep out of the door area.
How to diagnose
- You see foam inside the tub or at the door seam.
- The leak happens during the wash portion and looks more like bubbly overflow than a clear drip.
- The problem started right after changing detergent, adding a new cleaner, or overfilling rinse aid.
DIY fix
- Stop the cycle and let suds settle.
- Scoop out foam and run a rinse and drain cycle. You may need to repeat.
- Use the right detergent and clean up any rinse aid spills in the dispenser area.
When to call a pro: If it keeps overfoaming with correct detergent and normal amounts, you may have a dosing issue, dispenser problem, or a water softener setting that needs adjustment.
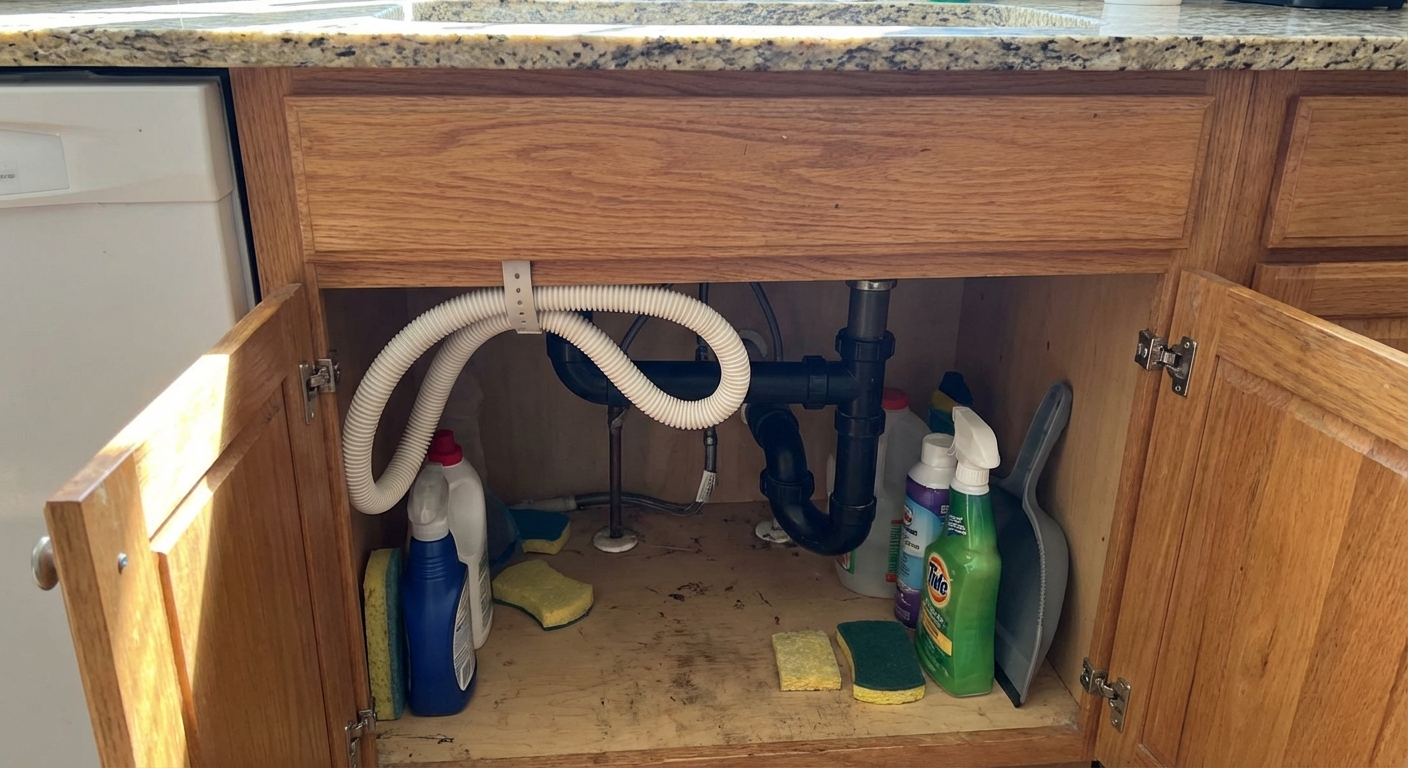
Fix #5: Drain setup and drain-side leaks
If the leak shows up during drain or right at the end, focus under the sink and the drain path. Besides clamps and hoses, backflow and drain components can be the culprit.
What to check
- Sink or disposal connection: look for drips at the nipple where the dishwasher hose attaches.
- Air gap or high loop: if you have an air gap on the sink, check for cracks or leaks. If you do not, make sure the drain hose has a high loop up under the countertop. This helps prevent dirty water from flowing back toward the dishwasher.
- Drain hose condition: splits, kinks, or rubbing points.
- Drain pump area (behind the toe-kick): leaks here can show up only during drain.
- Check valve issues: some models have a check valve that helps prevent backflow. If it fails, you can get odd draining behavior and occasional leaks.
DIY fix
- Tighten or replace the clamp at the sink or disposal connection.
- Confirm the high loop is clipped up high under the counter, or service the air gap if you have one.
- Replace a compromised drain hose if it is brittle, split, or kinked.
When to call a pro: If you suspect the drain pump is leaking, or you see water coming from the pump housing or motor area.
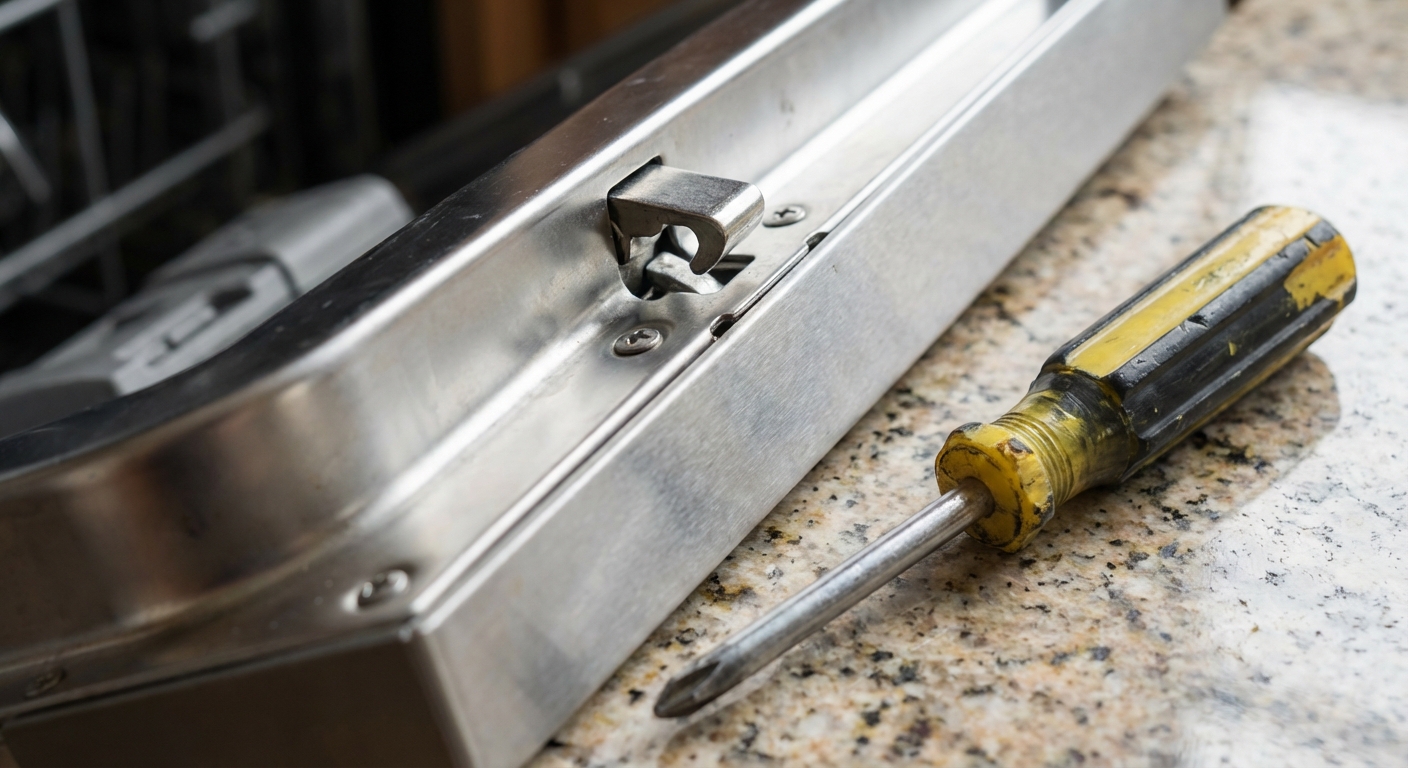
Fix #6: Level, latch, and hinge alignment
If the door is not pulling tight to the seals, water will find the weak spot. A worn latch, loose strike plate, or a dishwasher that is out of level can cause leaks that show up at the front bottom edge.
How to diagnose
- Close the door and listen for a firm click. If it feels mushy or pops open easily, suspect the latch.
- Check that the dishwasher is level and not tipping forward. Even a small forward lean can encourage water to creep out the front.
- Inspect the strike plate for looseness and the latch for wear or cracks.
DIY fix
- Confirm level front to back and side to side on the tub frame or rack rails (not the door). Adjust feet if needed.
- Tighten the strike plate screws if loose.
- Replace the latch if worn. Many models allow access from the inner door panel. Take a photo before removing wires so you can put everything back correctly.
When to call a pro: If the hinges are bent or the door is sagging significantly. Hinge replacement can be straightforward, but spring tension and alignment can get fiddly fast.
Fix #7: Float switch and flood protection
Your dishwasher has a float (usually a small dome or cylinder on the tub floor) that rises with water level. If it sticks down, or if the float switch fails, the dishwasher can overfill and leak out the front. Some dishwashers also have a leak pan and flood float switch underneath. If that pan fills, the unit may stop filling and run the drain pump, and you might notice odd cycling along with water under the machine.

How to diagnose
- Find the float inside the tub and lift it gently. It should move freely up and down.
- Listen for a soft click as it moves (on many models) indicating the switch is actuating.
- If your leak happens during fill, watch whether the water level seems unusually high before it starts washing.
- If the dishwasher seems to drain randomly or refuses to start, check for signs of water in the bottom pan behind the toe-kick.
DIY fix
- Clean around the float. Remove debris or hard water buildup that could make it stick.
- Check for obstructions under the float cover if your model has one.
- Test the switch (optional). If you are comfortable with a multimeter and power is off, you can test continuity at the float switch. If you are not comfortable, skip this step.
- Replace the float switch if it is faulty. Many are accessible from the front lower panel area.
When to call a pro: If you suspect the inlet valve is not shutting off even when the float rises, or if the flood protection system is tripping due to an internal leak you cannot locate quickly.
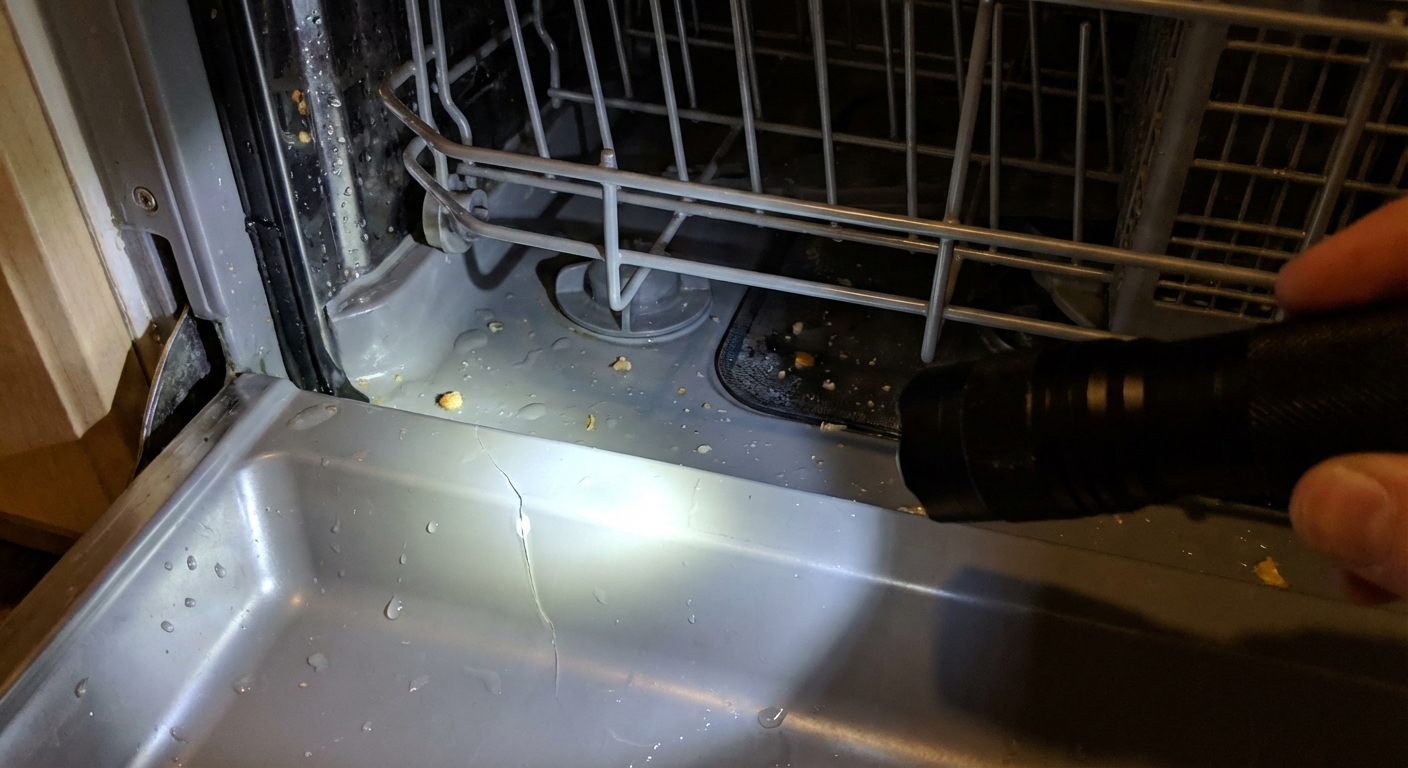
Fix #8: Tub damage or a corroded seam
If you have an older unit, a leak can come from the tub itself. Plastic tubs can crack, and stainless tubs can develop issues at seams or around weld points.
How to diagnose
- Inspect the bottom corners inside the tub, especially near the front.
- Look around the heater area and any molded features in a plastic tub.
- Check for rust, pitting, or mineral tracks along seams on stainless tubs.
DIY reality check
This is where I get very honest: tub repairs are usually not a satisfying DIY win.
- Small plastic cracks can sometimes be temporarily slowed with a manufacturer-approved repair method, but many adhesives fail under heat, detergent, and constant wetting.
- Stainless tub seam failures are typically not DIY repairable in a way I would trust around cabinetry and flooring.
When to call a pro: If you suspect a tub crack or seam leak, get a service quote. If the unit is older, it may be more cost-effective to replace the dishwasher than chase a leak that will come back.
When to call a pro
Some leaks are “tighten a clamp” problems. Others can damage flooring and cabinets fast. Here’s my line in the sand.
Shut it down and call for help if
- You see water dripping near wiring, the control board area, or any electrical junction.
- The leak is coming from underneath the unit and you cannot identify the source quickly.
- You suspect a tub crack, pump seal failure, drain pump leak, or inlet valve body leak.
- There is water damage in the cabinet or the floor is swelling or soft.
Worth DIY if
- The leak is clearly from a hose clamp, door gasket or bottom seal, spray arm, oversudsing, or a sticking float.
- You can reproduce the leak during a short test cycle and confirm it stops after your fix.
Quick troubleshooting table
- Leak at bottom front corners: door gasket or bottom seal, latch alignment, dishwasher not level, spray arm issues, misloaded dishes, oversudsing
- Leak only while draining: drain hose, drain hose clamp, sink or disposal connection, drain pump, check valve issues, air gap or high loop problems
- Leak while filling: supply line connection, inlet valve, float switch issue or overfilling
- Mystery leak from underneath: internal hose, pump seal, flood pan tripping, tub damage
Last step: the flashlight test
After any repair, leave the toe-kick off and run a short cycle with a flashlight. You want to see at least 5 to 10 minutes of washing with no drips. Once you confirm it is dry, reinstall the panel and enjoy that quiet little victory.
If you tell me where the puddle shows up (front left, front right, under the sink, only during drain, etc.) and your dishwasher brand, I can help you narrow it down even faster.
About Marcus Vance
Content Creator @ Grit & Home
Marcus Vance is a lifelong DIY enthusiast and self-taught home renovator who has spent the last decade transforming a dilapidated 1970s ranch into his family's dream home. He specializes in budget-friendly carpentry, room-by-room renovations, and demystifying power tools for beginners. Through his writing, Marcus shares practical tutorials and hard-learned lessons to help homeowners tackle their own projects with confidence.