
🚨 In a DIY emergency or rush?
Skip the details and jump straight to our 30-second cheat sheet for the most crucial info.
A clogged downspout is one of those sneaky home problems that looks like a gutter issue, but it is really a traffic jam hiding inside the pipe. The gutter fills, water spills over the edge, mulch washes out, and suddenly you are convinced you need new gutters.
In many cases, you do not. You just need to clear the downspout without yanking on hangers, bending the elbow, or flooding water behind the fascia.
Quick overview: Plan on 10 to 45 minutes. Start at the bottom (outlet and elbows), try a wet/dry shop vacuum next, then move up to controlled flushing and a small hand-crank auger only if you need it.
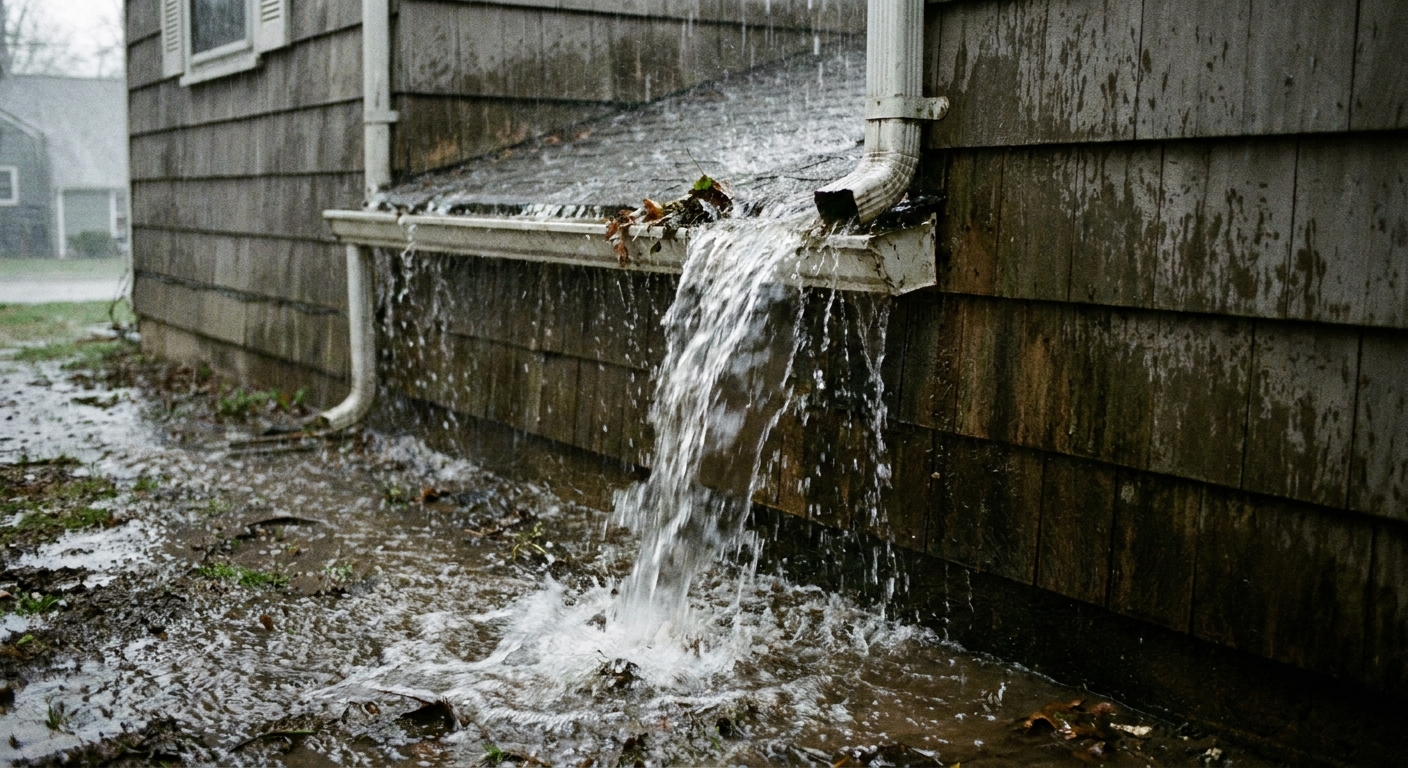
Below is the method I use on my own 1970s ranch: confirm where the blockage is, then choose the gentlest clearing method that works. We will also cover buried extensions and crushed drain lines, because those are the clogs that make people think the gutters failed.
Tools and prep
This job goes smoother when you have a couple basics on hand. Most clogs come out with simple tools and patience.
Tools and materials
- Gloves and eye protection
- Stable ladder (if you are working at the gutter)
- Garden hose with a spray nozzle you can turn down to a gentle flow
- Screwdriver or nut driver (for downspout screws)
- Rags and a bucket (for the inevitable sludge)
- Wet/dry shop vacuum with a narrow nozzle (optional but extremely handy)
- Hand-crank drain auger (often 1/4 inch cable; sometimes 5/16 inch is better for longer or stubborn runs)
Downspout types (why it matters)
- Aluminum downspouts dent easily. Go gentle on tapping and avoid forcing tools around tight elbows.
- Vinyl or plastic parts can crack if you twist them under tension.
- Corrugated buried pipe is the most fragile. Aggressive snaking or high-pressure jetting can separate fittings or tear the pipe.
- PVC tightline is typically more tolerant of flushing and careful jetting, but joints still matter.
Before you start
The downspout is attached to the gutter, and the gutter is attached to your house. If you tug, twist, or pound on the downspout, you can pull the gutter out of pitch or bend the gutter lip. That is when a small clog turns into a bigger repair.
Safety checklist
- Pick a dry day if possible. Wet ladders and wet leaves are a bad combo.
- Use a stable ladder and keep your hips between the rails. If you are not comfortable on a ladder, focus on the bottom-up methods and call for help on the top section.
- Wear gloves and eye protection. Gunk can shoot back when a clog breaks free.
- Use normal hose pressure. A standard garden hose is fine. Avoid a pressure washer or high-pressure jetting at this stage, because that is when joints and extensions can separate.
Pro tip from my own mistakes: Do not “test” a clog by filling the gutter to the brim with a hose. If the downspout is blocked, the gutter overflows wherever it wants, often right behind the fascia where you cannot see it.
Confirm the clog
Most overflow near a downspout is caused by one of three things:
- A clog in the downspout or an elbow
- A clog at the underground outlet or pop-up emitter
- A buried extension that is crushed or holding standing water
Fast signs it is the downspout
- Overflow is worst right at the downspout while the rest of the gutter run looks fine.
- You hear gurgling in the downspout when you run a little water.
- The gutter has standing water even when the pitch looks correct.
2-minute trickle test
- Check the outlet. Look for a wad of leaves, a tennis ball, a bird nest, or a compacted mud plug at the opening.
- Run a controlled trickle. Put a hose in the gutter near the downspout. Low flow for 30 to 60 seconds.
- Watch the outlet. If little to nothing comes out, you have a blockage downstream.
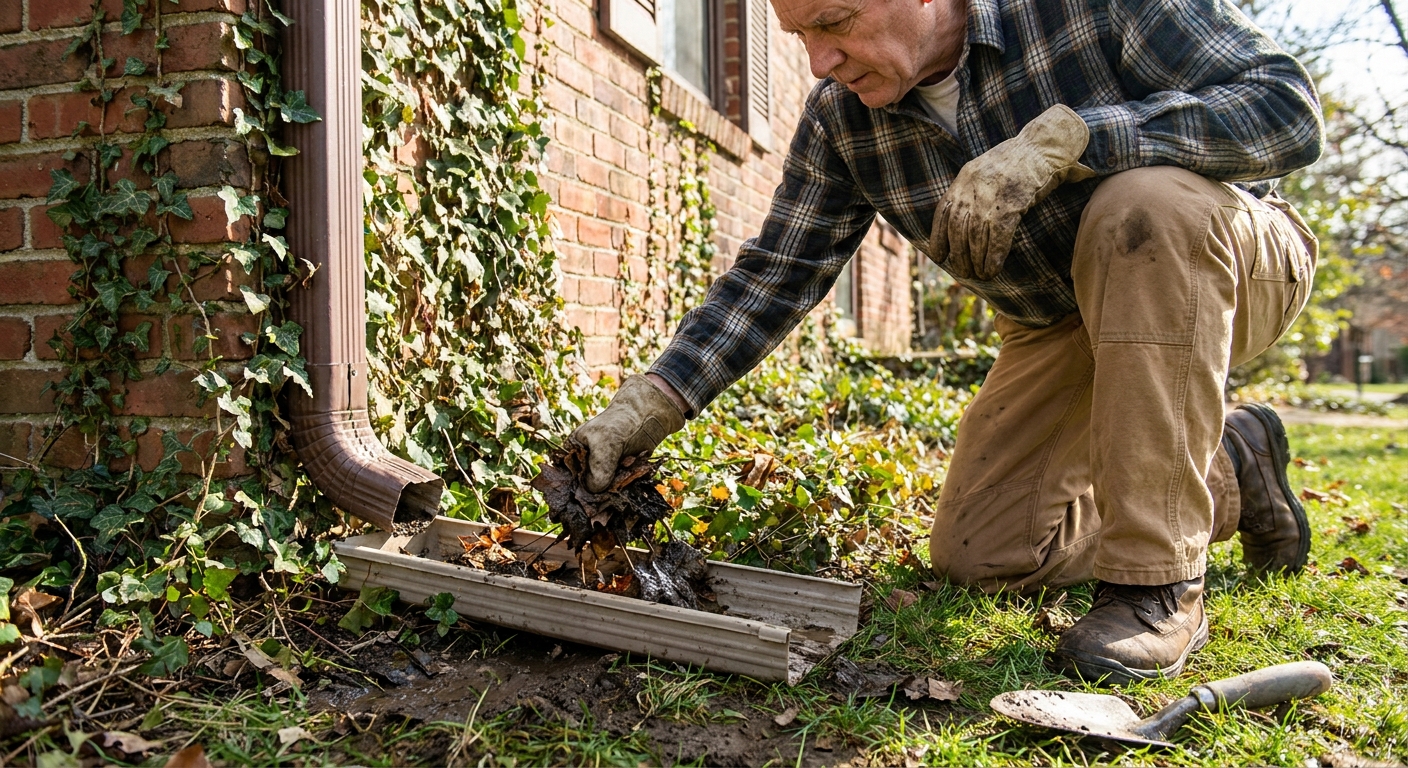
Step 1: Clear the outlet and elbows
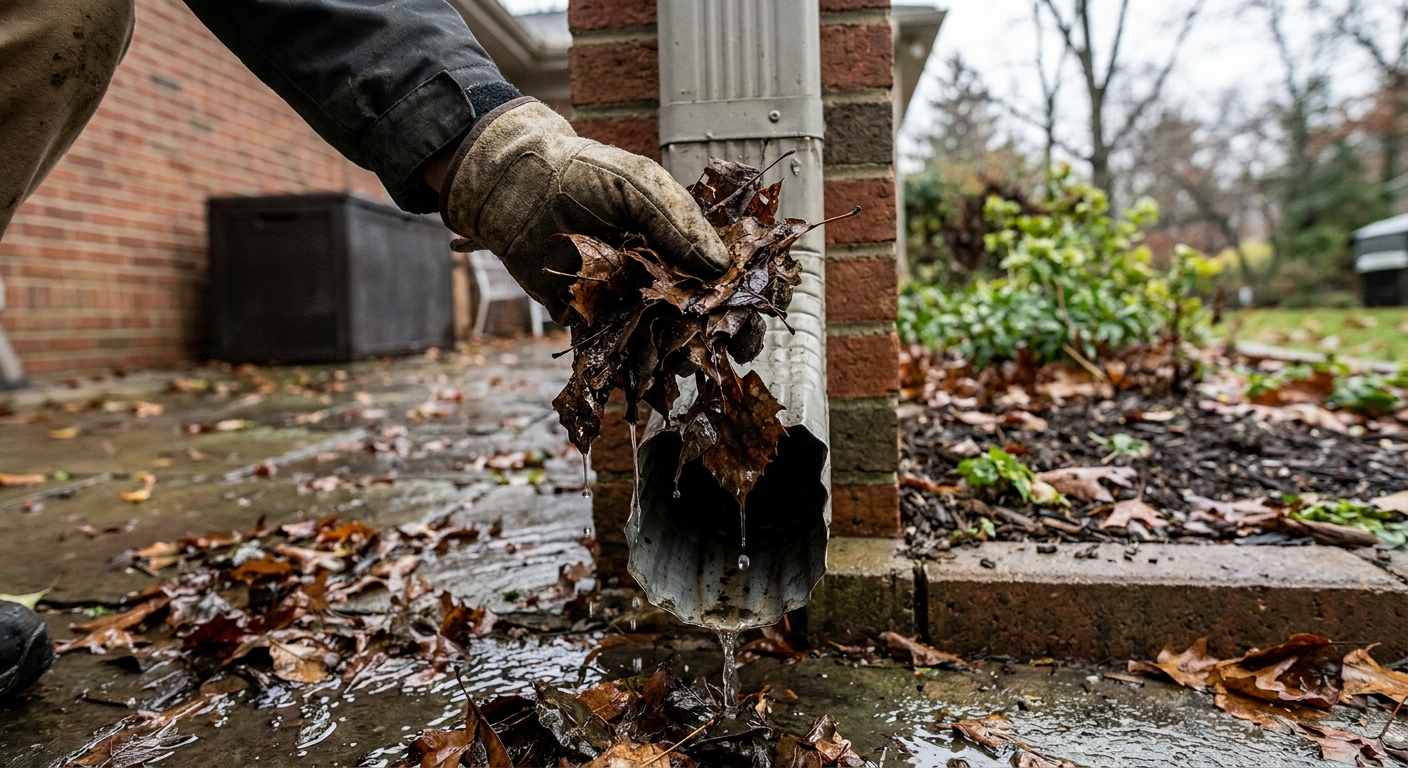
The easiest clogs are right where the downspout turns or exits. Leaves and shingle grit settle in the bottom elbow like a sandbag. Another very common choke point is the top elbow right under the gutter outlet.
Bottom elbow first
- Scoop what you can by hand. Use gloved fingers or a plastic putty knife.
- Tap the elbow lightly. A few palm taps can break up compacted gunk. Avoid hammering. That can dent aluminum.
- Flush from the bottom up. Put a hose at the outlet, wrap a rag around the gap to reduce splashback, and turn water on slowly.
If you get a sudden burp of dark water and debris, you likely just broke the plug loose. Keep flushing with a normal hose flow until it runs clear.
If the downspout disconnects: Many systems have screws at the elbow. Removing the bottom elbow gives you direct access and keeps you from fighting the clog through a tight turn. Support the downspout with one hand so you are not prying on the gutter connection above.
Do not forget the top elbow and drop outlet
- Check the gutter drop outlet. Clear any little dam of grit and wet leaves right where the downspout begins.
- If you can access the top elbow (some setups let you): a compacted leaf plug can sit right under the outlet and act like a cork.
Step 2: Use a shop vac
This is a popular DIY method for a reason. It is fast, it is gentle, and it often solves the problem before you ever touch an auger.
How to do it
- Remove the bottom elbow if you can. That gives you a straight shot.
- Vacuum first. Use the wet/dry vac to suck out leaves, roof grit, and that lovely black sludge.
- Blow as a backup. If your vac can switch to blower mode, you can blow upward briefly to loosen a plug, then switch back to vacuum to catch the debris. (Do this with eye protection and a rag around the opening, because it can spit.)
- Follow with a short rinse. A gentle bottom-up flush helps confirm it is moving.
If the vac pulls out a surprising amount of grit, you just found your clog’s food source.
Step 3: Flush from the top
If the outlet and elbows are clear and the shop vac did not finish the job, flush from the top in a way that protects the gutter and your siding.
Top-down flush method
- Clear the last 2 to 3 feet of gutter leading into the downspout. You do not need a full gutter-cleaning session here. Just remove the big stuff so it does not feed the clog.
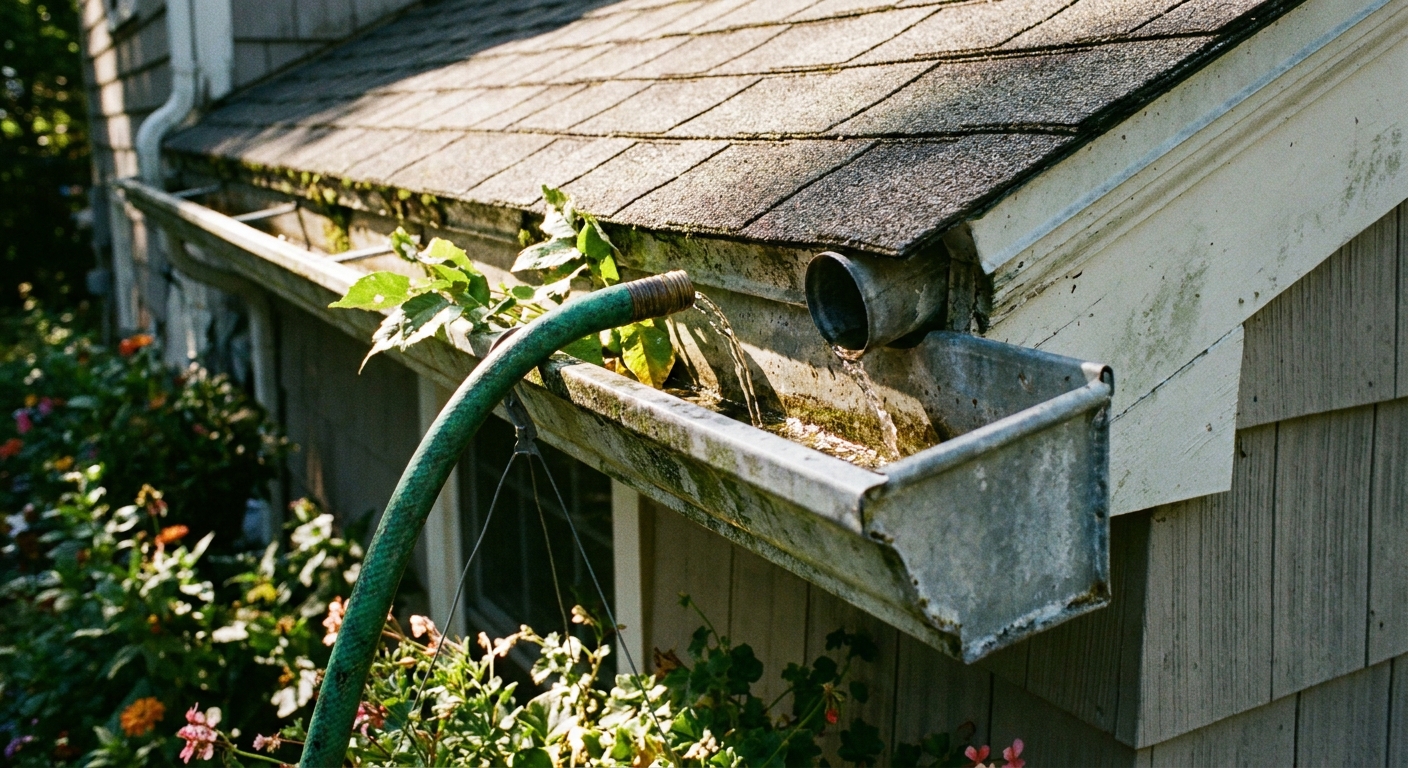
- Place the hose near the downspout opening. Start with a low flow.
- Listen and watch. If you hear filling and no draining, stop. Do not keep running water and hope for the best.
- Pulse the water. On for 5 to 10 seconds, off for 10 seconds. This helps loosen debris without pressurizing the system.
Step 4: Snake it
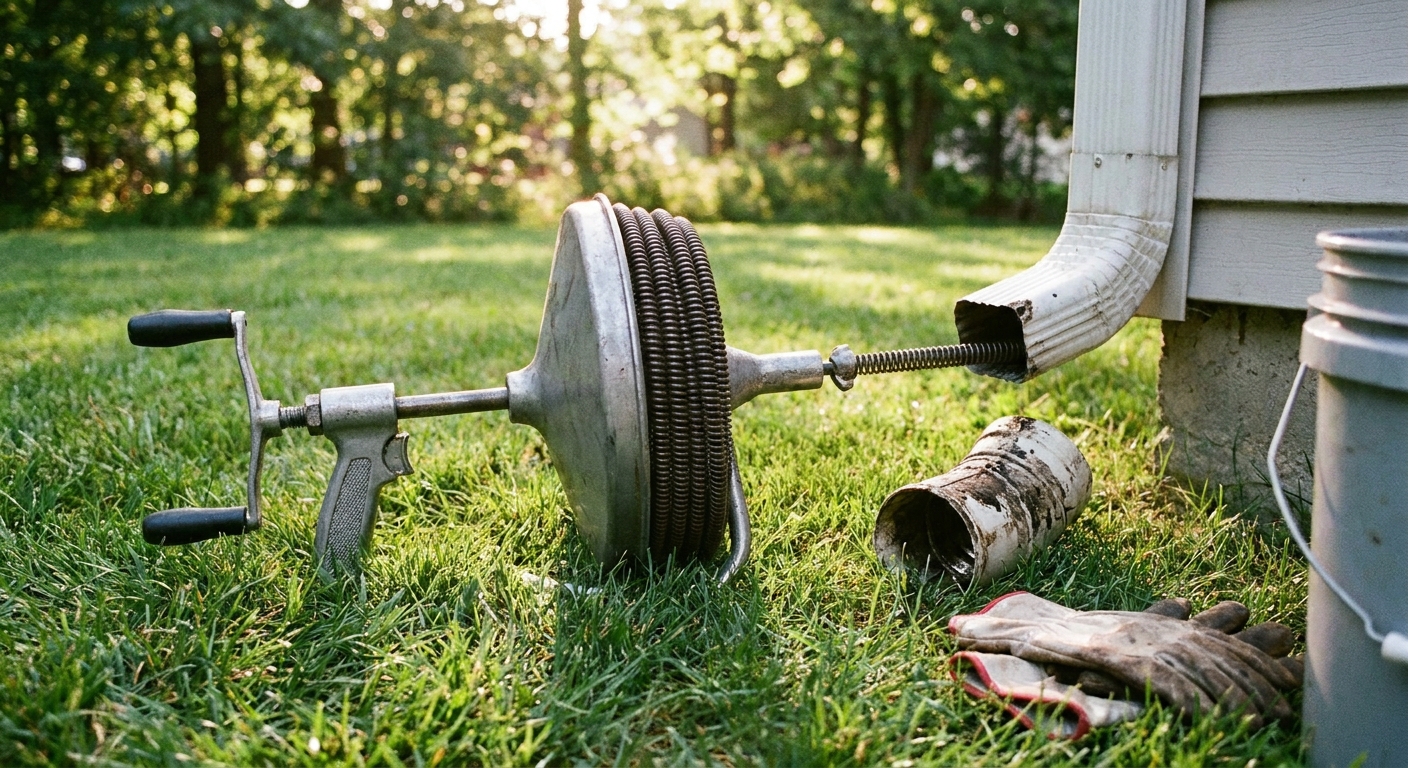
If flushing does not do it, you need a tool that can break up the clog mechanically. For most downspouts, a hand-crank drain auger is safer than an aggressive power snake.
Auger sizing note: A 1/4 inch cable is common for downspouts. For longer underground runs or tougher blockages, a 5/16 inch cable (and a longer length) may work better. The goal is steady control, not brute force.
Where to snake from
- Best: From the bottom with the elbow removed. You avoid packing debris deeper into an underground line.
- Works: From the top if you cannot access the bottom, but go slowly and avoid scraping hard on seams.
Snaking steps
- Feed the cable gently. Do not force it. Let the head find its way.
- Crank as you push. When you hit resistance, work the clog with short in-and-out motions.
- Withdraw and clean the cable often. This keeps you from packing gunk tighter.
- Flush after you break through. Use a normal hose flow to wash debris out.
Avoid this: Do not ram a rigid metal rod down the spout. That is how elbows crack and joints separate. Also skip chemical drain cleaners. They do not do much to leaves and roof grit, they can damage finishes and some metals, and spills can be rough on landscaping.
Underground problems
If your downspout ties into a buried drain line, the clog might not be in the vertical downspout at all. It may be at the transition, in the underground pipe, or at the outlet.
Common trouble spots
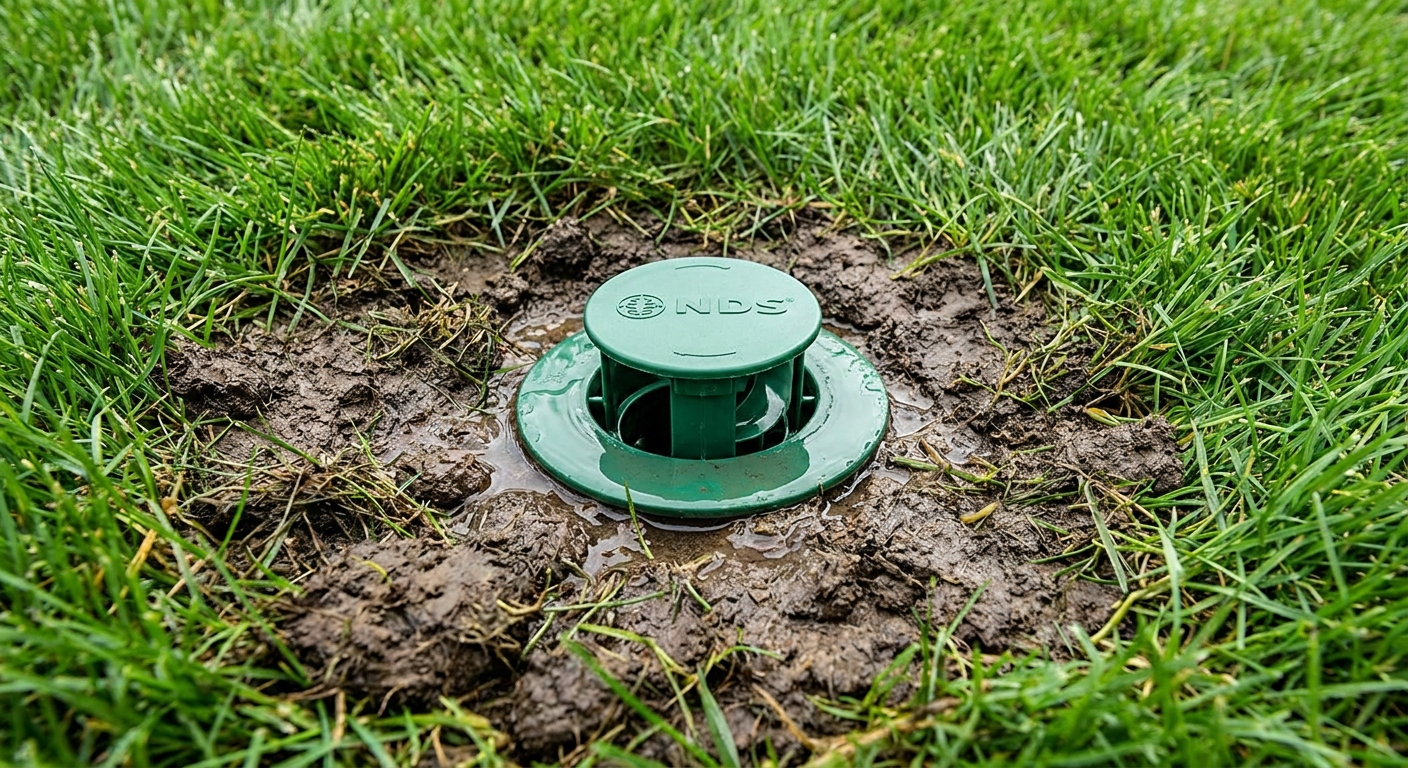
- Pop-up emitter stuck shut from mud, thatch, or roots
- Corrugated pipe belly where water sits and deposits sediment
- Crushed line from a vehicle, mower, settling soil, or a tree root
- Frozen plug during freeze-thaw periods
- Storm connection rules: some downspouts tie into a tightline or a municipal storm system, and local rules vary. If you are not sure where yours goes, treat it gently until you confirm.
Quick diagnosis
- Find the exit point. Look for a pop-up emitter, a daylight outlet on a slope, or a discharge near the curb if allowed in your area.
- Check for standing water. If the line is full even on a dry day, you may have a belly or blockage.
- Do a short fill test. Run water from the top for 20 to 30 seconds, then stop and listen at the exit. No movement usually means a blockage or a crushed section.
Clearing without wrecking it
- Flush from the exit back toward the house if you can access the pipe end. This often pushes leaves back out the downspout where you can catch them.
- Jetting is not step one. Use a drain jet hose carefully only if you know the pipe is solid PVC and joints are in good shape. Corrugated pipe can separate if you get too aggressive.
- If it is corrugated and crushed: plan on replacing that section. You cannot “snake” a smashed straw back into working order.
If you suspect a collapsed underground pipe and you cannot locate it by probing, it may be worth renting a small inspection camera or calling a drain pro for a quick locate. Digging blind is the expensive way to be thrifty.
Put it back together
Once water runs freely, take five extra minutes to reassemble things so you are not chasing drips next week.
- Rinse the gutter outlet. Grit sitting at the drop outlet is a future clog starter.
- Align elbows and downspout without tension. If you have to pull pieces together, something is off. Stress leads to seams opening.
- Use the right fasteners. Short gutter screws or zip screws are common. Avoid long deck screws that can snag debris inside the pipe.
- Seal only where appropriate. A small bead of gutter sealant on exterior seams is fine. Avoid sealing a joint you may need to open for maintenance later.
Prevention
The best downspout clog is the one you never have to clear. You do not need fancy gadgets. You need a couple of simple habits tied to storm season.
Add a strainer
- Gutter outlet strainer at the downspout drop keeps big leaves out of the pipe.
- Downspout screen at the top opening can help, but it can also become a tiny dam if you never clean it. If you install one, commit to checking it.
Post-storm routine
After a heavy rain or windstorm, do this quick loop:
- Walk the house perimeter and look for overflow stains on siding.
- Check that each downspout outlet is discharging freely.
- Kick away any leaf pile that formed around the bottom elbow or pop-up.
This is not a full gutter cleaning guide. Think of it as a quick “downspout health check” that catches problems before they soak your foundation plantings.
Quick decision guide
- Overflow near downspout + little outlet flow: clear outlet, then bottom elbow
- Outlet and elbow clear but still backing up: shop vac from the bottom
- Still clogged: controlled top-down pulsing flush
- Still clogged: hand-crank auger from the bottom if possible
- Downspout ties into buried line and nothing improves: find the exit, check pop-up, suspect belly, roots, or a crushed section
When to call a pro
I am all for DIY, but there are a few cases where a pro is the safer and cheaper route long-term:
- You see gutters pulling away from the fascia or sagging near the downspout.
- You suspect water has been overflowing behind the gutter and rotting the fascia board.
- The downspout ties into a long underground run and you cannot find the exit.
- Your home has multiple stories and ladder work is sketchy.
Clearing a clog is great. Clearing a clog while preventing wood rot is even better.
The 30-Second Cheat Sheet
Essential takeaways for: Downspout Clogged? Clear It Without Damaging Gutters
Goal: Clear a downspout clog without bending the gutter, popping seams, or flooding behind the fascia.
Quick setup
- Time: 10 to 45 minutes for most clogs
- Tools: gloves, eye protection, hose, screwdriver or nut driver, rag, bucket, and either a wet/dry shop vac or a hand-crank auger
Fast diagnosis
- Overflow worst at the downspout plus little discharge at the outlet usually means a clog in the downspout or buried line.
- Do a controlled trickle test: run low water into the gutter near the downspout for 30 to 60 seconds and watch the outlet.
Safest clearing order (least damaging first)
- Clear the outlet and elbows: pull debris by hand, lightly tap the elbow, flush gently from the bottom up.
- Shop vac method: remove the bottom elbow if possible, then suck debris out (or blow out carefully) before you reach for a snake.
- Flush from the top: low flow, short pulses (on 5 to 10 seconds, off 10 seconds). Stop if the gutter starts filling fast.
- Snake it: use a small hand-crank auger (often 1/4 inch; sometimes 5/16 inch helps). Best access is from the bottom with the elbow removed. Feed gently, do short in-and-out motions, then flush.
If it connects to an underground drain
- Find the exit: pop-up emitter or daylight outlet.
- If the line stays full on a dry day, suspect a belly, root intrusion, or crushed section.
- Corrugated pipe that is crushed usually needs replacement of that section, not more snaking.
Avoid
- A pressure washer or aggressive jetting unless you know you have solid PVC and good joints.
- Ramming rigid rods down the spout.
- Chemical drain cleaners for leaf and grit clogs. They are messy, can damage finishes and some metals, and spills can burn plants.
Prevention
- Add a gutter outlet strainer to keep leaves out of the downspout.
- After big storms: walk the perimeter, confirm each downspout is discharging, clear leaf piles at the base.
💡 Tip: Scroll up to read the full article for detailed, step-by-step instructions.
⬆️ Back to top
About Marcus Vance
Content Creator @ Grit & Home
Marcus Vance is a lifelong DIY enthusiast and self-taught home renovator who has spent the last decade transforming a dilapidated 1970s ranch into his family's dream home. He specializes in budget-friendly carpentry, room-by-room renovations, and demystifying power tools for beginners. Through his writing, Marcus shares practical tutorials and hard-learned lessons to help homeowners tackle their own projects with confidence.