A dryer door that will not stay closed is one of those problems that feels bigger than it is. The good news: most “won’t latch” issues come down to lint buildup, a misaligned strike and catch, or a worn plastic latch. You can often diagnose it in a few minutes with a flashlight and a screwdriver.
I will walk you through the checks in the order I would do them on my own dryer, starting with the free fixes and ending with the “yes, just replace the part” cues.
Quick glossary: Strike = the piece on the door. Catch (sometimes called the latch/receiver) = the piece on the dryer cabinet that grabs the strike.
Safety first
- Unplug the dryer before you put your hands near the latch, hinges, or front panel.
- If it is a gas dryer and you need to move it, move it gently and do not put strain on the flexible connector. If you smell gas, stop, shut off the gas supply (if you can do so safely), and call a pro.
- If your door will not stay shut, do not “cheat” it with tape. The door switch is a safety device.
What “won’t latch” looks like
Common symptoms
- Door closes but pops back open: strike and catch are misaligned, catch is worn, or lint is blocking full closure.
- Door closes but you never hear or feel a click: broken or missing strike, cracked catch, or hinge sag.
- Dryer will not start even when the door seems shut: the door switch may not be getting pressed due to alignment, or the switch itself is failing.
If you are also dealing with a dryer that will not start, overheats, or makes odd noises, bookmark our general guide and come back after the door is behaving: dryer troubleshooting.
Tools you may need
- Flashlight
- Phillips screwdriver (and sometimes Torx or a 1/4-inch nut driver, depending on model)
- Vacuum with a crevice tool
- Rag and mild dish soap
- Needle-nose pliers (helpful for some catch styles)
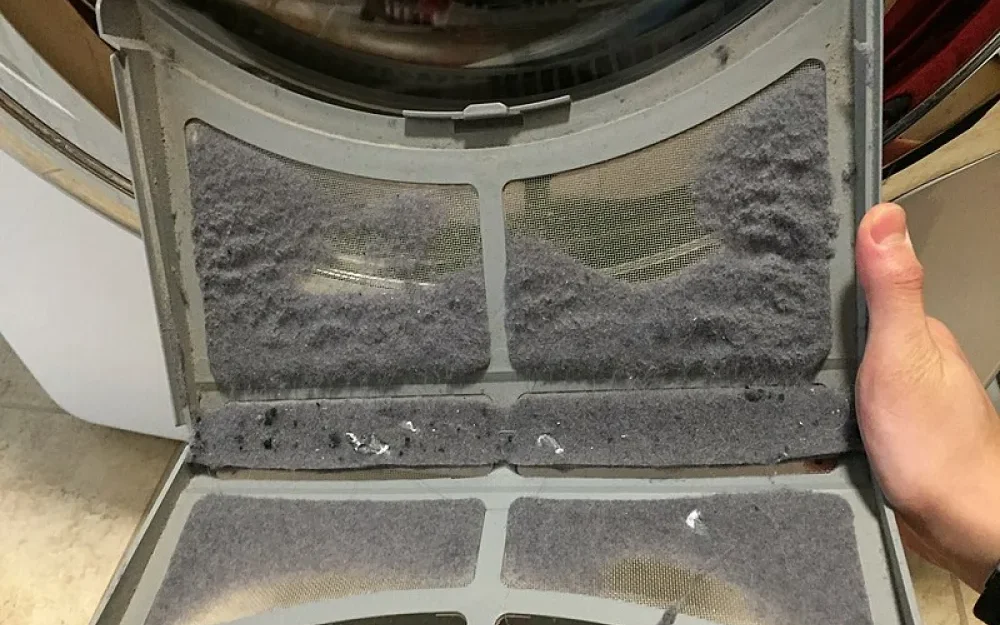
Fix 1: Clean the latch area
Lint can pack into the catch pocket and keep the door from closing that last few millimeters. That’s all it takes to stop the catch from grabbing.
What to do
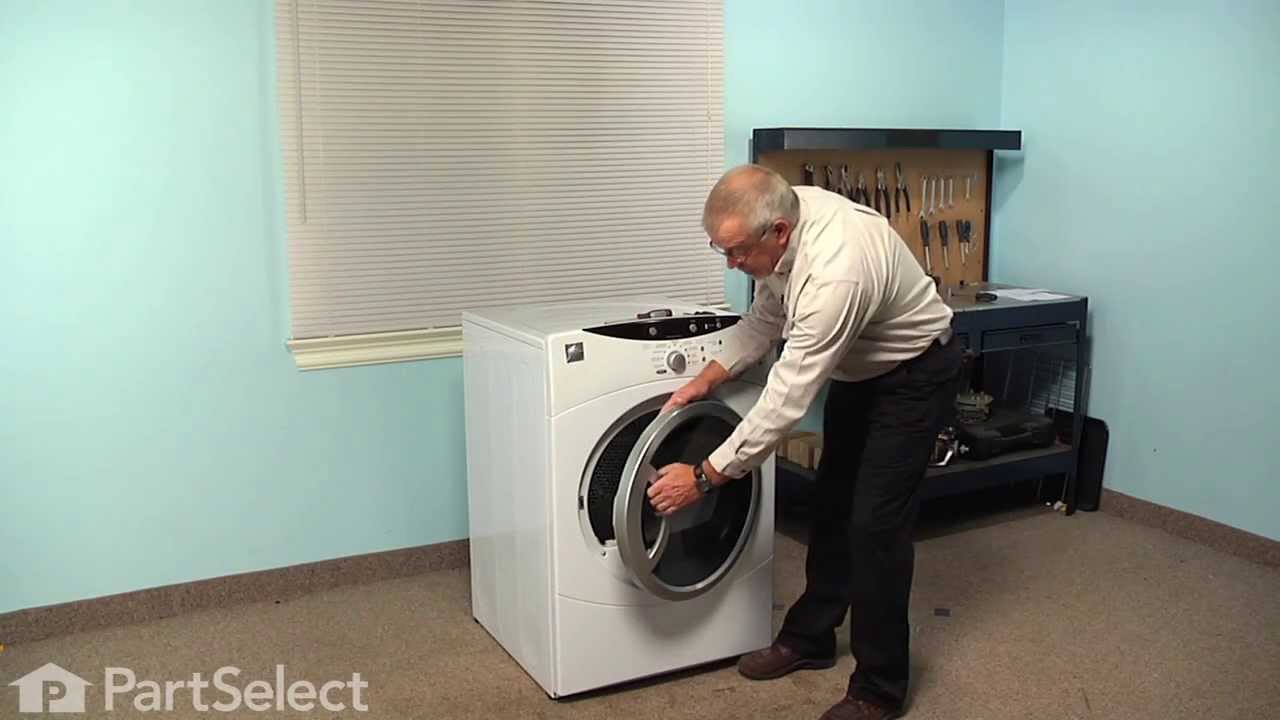
- With the dryer unplugged, open the door and inspect the strike and catch with a flashlight.
- Use a vacuum crevice tool around the catch opening and along the door seam.
- Wipe the area with a slightly damp rag (not dripping) and dry it.
- If you see sticky residue (dryer sheets can do this), a tiny bit of mild dish soap on the rag helps.
Replacement cue: If the parts are clean but you see cracked plastic, missing pieces, or a loose spring inside the catch, jump to Replace the parts.
Fix 2: Check the door strike
The door strike is usually a small plastic or metal tab on the door that slides into the catch on the dryer front. If it is worn down, cracked, or loose, the door will act like it wants to latch but never commits.
What to look for
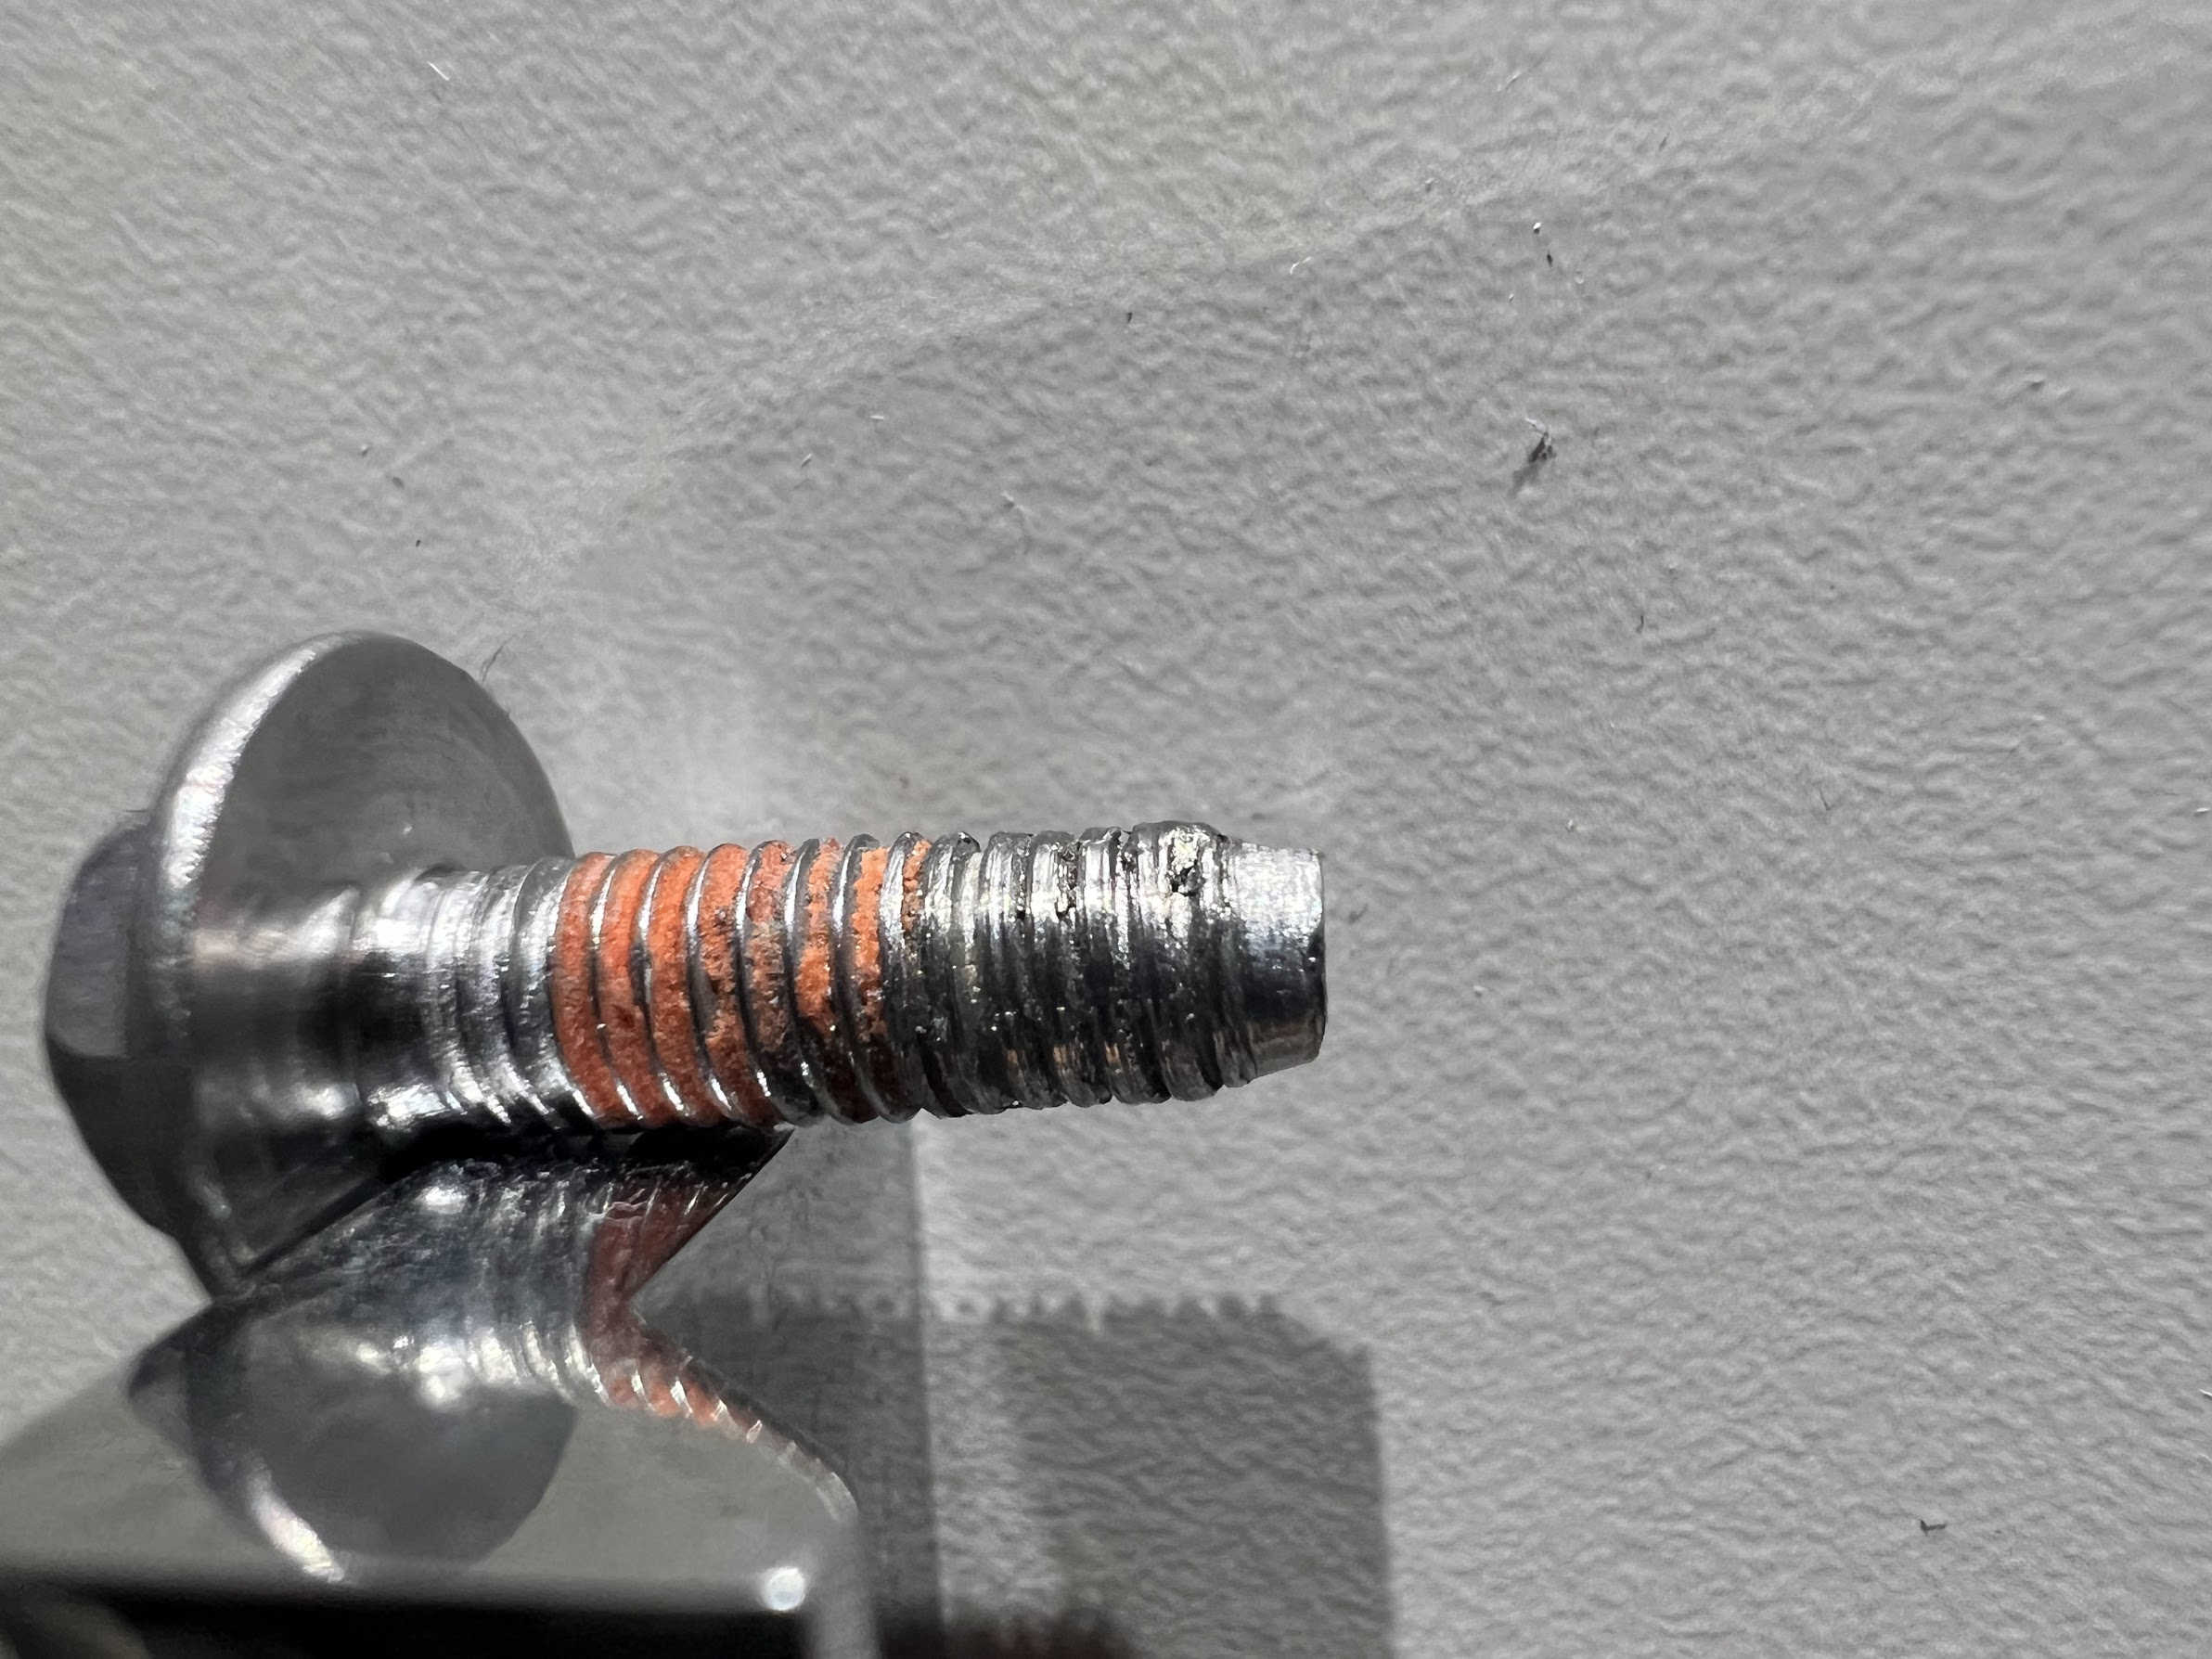
- Worn edge: the “hook” looks rounded off instead of crisp.
- Cracks near the screw holes or base.
- Wobble when you wiggle it with your fingers.
Simple adjustment
- Tighten the strike screws gently. Do not overdo it if the strike is plastic.
- If the strike sits slightly off center, loosen the screws, nudge it into position, and retighten.
Replace it if: it is cracked, missing, or the tip is worn down enough that the catch cannot grab. Strikes are inexpensive and usually held on by 1 to 2 screws.
Fix 3: Inspect the catch
The catch is the piece mounted to the dryer body that grabs the strike. On many models it is a plastic housing with a springy latch inside. When that internal latch wears, the door will close but not hold.
Quick test
- Open the door and press the latch inside the catch with your finger or a blunt tool.
- You should feel spring tension and see it return smoothly.
Replace it if: the latch does not spring back, feels gritty even after cleaning, or the housing is cracked. If the catch is loose in the front panel, tighten its screws first and test again.
Note: Some dryers use a magnetic catch or a different style of latch. The idea is the same: the door needs a clean, solid “grab” and a clean, full close.
Fix 4: Realign a sagging door
A dryer door is heavier than it looks, especially after a few years of people leaning on it while pulling laundry. If the door is sagging, the strike will hit low or high and miss the catch.
Signs of misalignment
- The door rubs the front panel or you see an uneven gap around the door.
- You have to lift the door slightly to get it to latch.
- The strike shows scrape marks where it is hitting the frame.
Adjustment steps
- Unplug the dryer and open the door.
- Support the door with one hand or a folded towel underneath.
- Tighten the hinge screws on the door side first (if accessible), then the dryer body side (if accessible). Access varies by model.
- Close the door slowly and watch how the strike lines up with the catch.
Replacement cue: If the hinge is visibly bent, cracked, or the screw holes are stripped and will not tighten, plan on replacing the hinge or hinge bracket.
Fix 5: Check the door frame and gasket
Sometimes the door itself is the problem, not the latch. A bent hinge arm, a warped door, or a tweaked front panel can shift the geometry just enough that the latch never engages reliably.
What to check
- Compare the top and bottom gaps around the door. Big differences point to sagging or bending.
- Look for a hinge that is not sitting flat against the door or front panel.
- Check the door for play. If it rocks in and out, the hinge or mounting points are likely worn.
- Check the door gasket (the felt or rubber seal, depending on model). If it is bunched up, torn, or folded over near the latch side, it can keep the door from closing fully.
When to stop and call for help: if the front panel looks bent or the door is visibly warped, the repair may involve panel alignment or replacing larger assemblies. At that point, a service call can be more cost-effective than guessing.
Fix 6: If it will not start, check the door switch
If your door is now closing firmly but the dryer still will not run, the door switch might not be getting pressed or it could be failing.
Quick checks
- Listen for a distinct click from the switch as you close the door.
- Press the switch by hand (door open) and see if it feels crisp, not mushy.
Worth knowing: a switch can click and still fail electrically. A multimeter continuity test is the confirmatory step.
If the switch seems suspect or you are diagnosing other symptoms, head to our dryer troubleshooting guide for start and no-run checks.
Replace the parts
This is the section I wish more guides included. Door strikes and catches are usually quick swaps. Take a photo before you remove anything, and do not overtighten screws into plastic.
Replace the strike
- Unplug the dryer.
- Open the door and remove the 1 to 2 screws holding the strike.
- Install the new strike in the same position. Tighten snug, not gorilla-tight.
- Close the door and confirm you get a clean latch “click.”
Replace the catch
- Unplug the dryer.
- Open the door and locate the catch on the dryer cabinet.
- If it is screwed in: remove the screws, swap the catch, and reinstall the screws.
- If it is tab-retained: use needle-nose pliers to squeeze the retaining tabs (or press them in from the back if accessible), then pop the catch out and snap the new one in.
- Test the latch feel and door alignment before you button anything up.
Tip: If the strike is worn, inspect the catch closely too. Replacing both at the same time is often cheap insurance.
Buy the right parts
I have ordered the “right” latch before that was right for a different revision of my model. Save yourself that headache.
- Find your model number sticker (often inside the door opening or on the door frame).
- Search parts by model number, not just brand and style.
- Common parts names: door strike, door catch, latch kit, hinge, door switch, door gasket.
Latch checklist
- Clean lint from catch pocket and door seam
- Tighten strike screws, check for wear or cracks
- Test catch spring action, replace if weak or broken
- Tighten hinge screws, check for door sag
- Check gasket for bunching near the latch side
- Replace bent hinge or stripped mounts
- If it closes but will not run, investigate the door switch
If you want a broader, symptom-based flowchart for dryer issues beyond the door, see dryer troubleshooting.
When to replace, not tweak
Here is my honest line in the sand. I stop fiddling and order parts when:
- The strike or catch has visible cracking or missing plastic.
- The catch has no spring tension even after cleaning.
- The door only latches if you lift it, and hinge tightening does not help.
- The door pops open mid-cycle, which usually means the latch parts are worn or alignment is off and it is time to stop forcing it.
About Marcus Vance
Content Creator @ Grit & Home
Marcus Vance is a lifelong DIY enthusiast and self-taught home renovator who has spent the last decade transforming a dilapidated 1970s ranch into his family's dream home. He specializes in budget-friendly carpentry, room-by-room renovations, and demystifying power tools for beginners. Through his writing, Marcus shares practical tutorials and hard-learned lessons to help homeowners tackle their own projects with confidence.