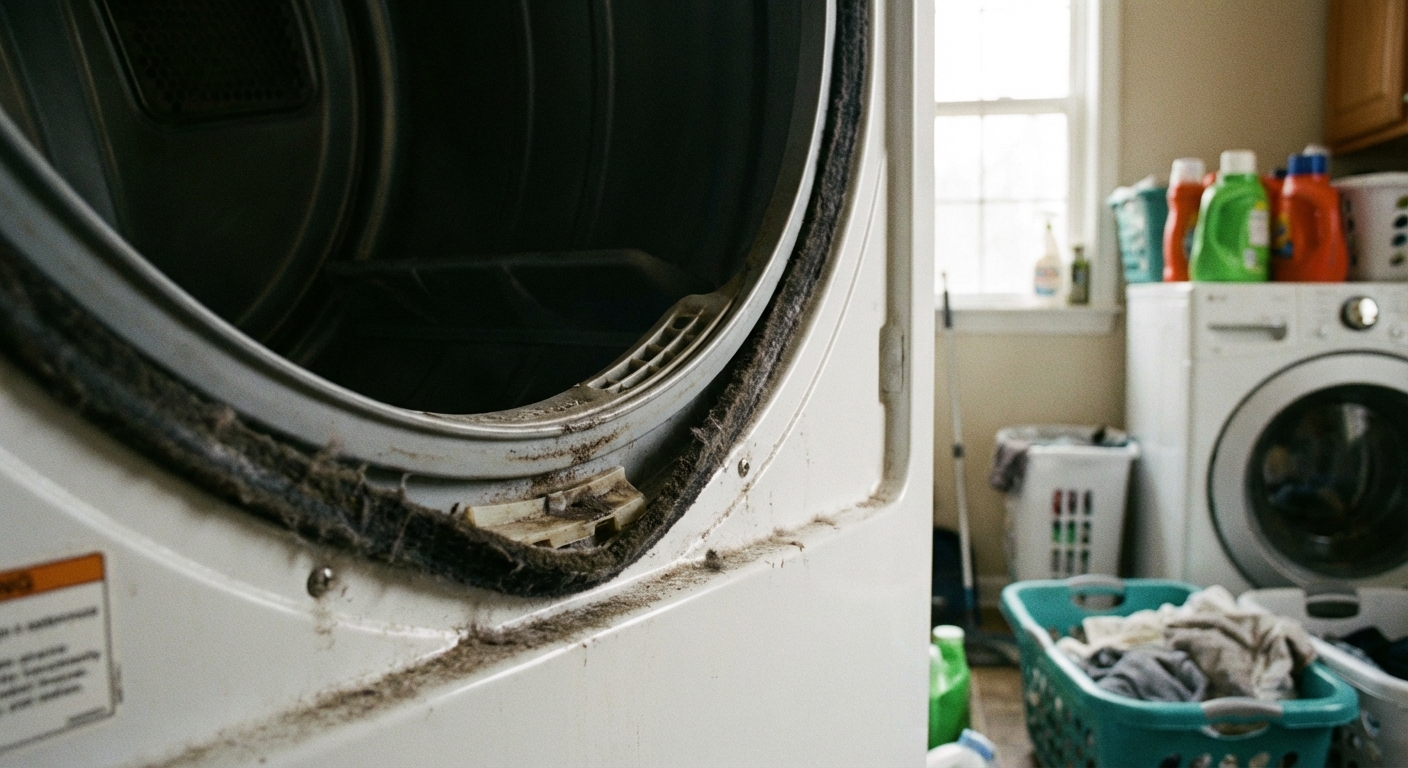
A dryer that suddenly gets loud can turn a normal laundry day into a stress test. The good news is most dryer noises come from a small handful of wear parts and a few classic “oops” moments like a coin trapped where it shouldn’t be.
Below, I’ll help you match the sound you’re hearing to the most likely cause, then walk you through the fix in plain English. I’ll also flag which noises are urgent (stop the cycle) versus annoying-but-not-an-emergency.
Safety first (quick, but important)
- Unplug the dryer before removing any panels.
- Shut off the gas valve if you’ve got a gas dryer. (Even if you’re “just looking.”)
- Don’t run the dryer if you hear metal-on-metal grinding or you smell something burning. That can damage the drum and create a real hazard.
- If you smell burning, check for lint buildup in the lint screen area and venting path. Lint plus heat is a bad combo.
- Take a photo before you remove the belt or change the routing around pulleys. Your future self will thank you.
Quick sound-to-cause cheat sheet
- Squealing or high-pitched chirping: often the idler pulley, drum rollers, or (less commonly) a bearing
- Thumping (rhythmic): often flat-spotted rollers, a lumpy load, or a loose blower wheel
- Grinding / scraping: commonly worn drum glides, a rear bearing (on some designs), or a foreign object rubbing
- Rattling / clinking: frequently coins, screws, bra wires in the drum, duct, or blower area
If you want the fastest diagnosis, run the dryer for 10 to 20 seconds (empty) and listen. Keep hands clear, don’t bypass the door switch, and stop immediately if the sound is harsh. Then unplug it before you start disassembly.
Quick reality check: Designs vary by brand and model. Some dryers ride on rollers, others use a rear bearing plus front glides, and some use a mix. The sounds are still a great clue, but you might find more than one worn part once you open it up.
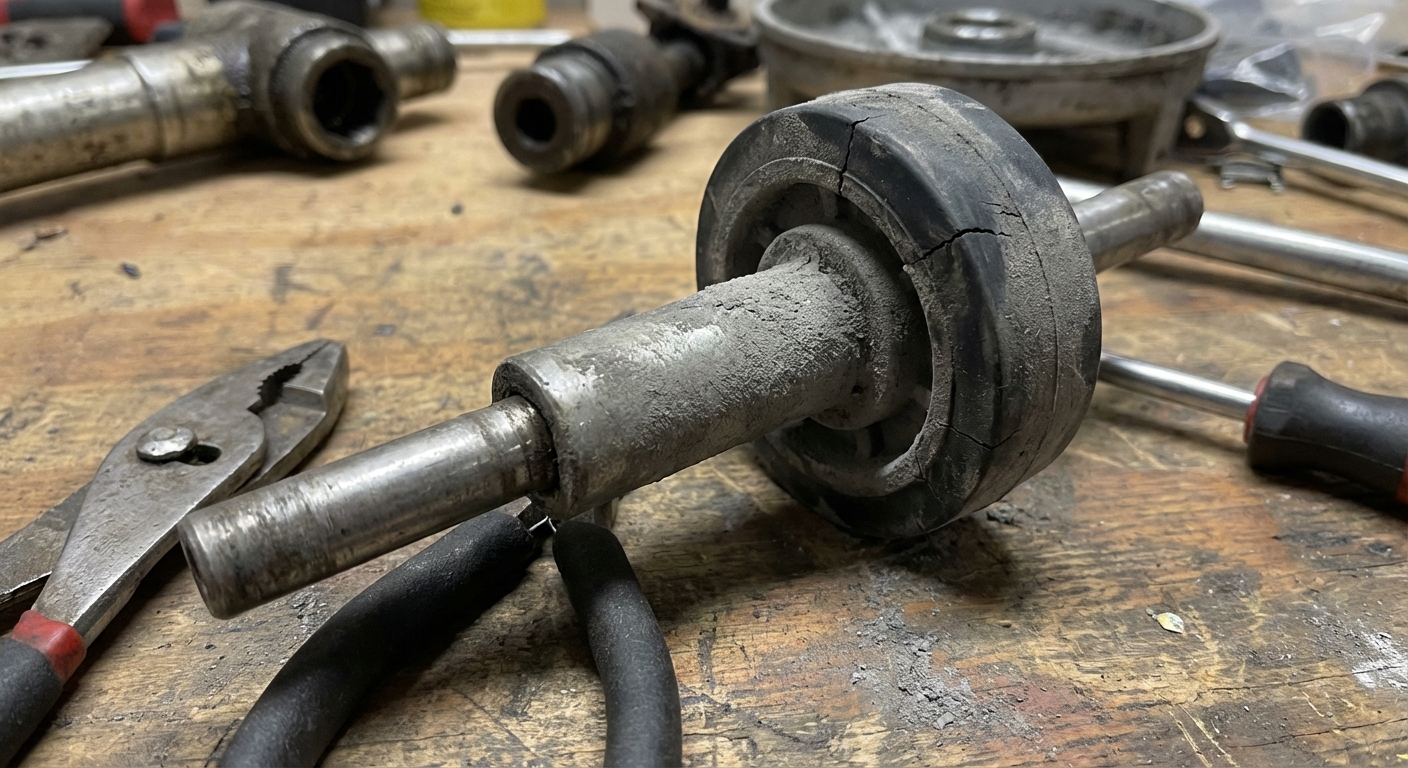
Cause #1: Worn drum rollers (thumping, rumbling, sometimes squealing)
What it sounds like
A steady thump-thump-thump as the drum turns, or a low rumble that gets worse as the dryer warms up.
Why it happens
Many dryers use two or more support rollers. Over time, the rubber can wear unevenly or develop flat spots, especially if the dryer sat unused for a while. When the drum rolls over that flat spot, you hear it.
How urgent is it?
Moderate. You can often finish the load, but don’t ignore it for weeks. Bad rollers can stress the motor and belt and can wear grooves into the drum support area.
DIY fix (high level steps)
- Unplug the dryer (and shut off gas if applicable).
- Access the drum. This often means removing the top and front panel on many models, or the lower front access panel on some.
- Relieve belt tension by moving the idler pulley, then slip the belt off the motor pulley.
- Lift the drum out enough to access the rollers (rear or bottom depending on design).
- Spin each roller by hand. If it wobbles, feels gritty, or doesn’t spin freely, replace it.
- Replace rollers as a set if your dryer uses a pair. If one is worn, the other isn’t far behind.
Thrifty tip: Many brands sell a “maintenance kit” with rollers, belt, and idler pulley. If your dryer is midlife and already opened up, that kit can be a smart value.
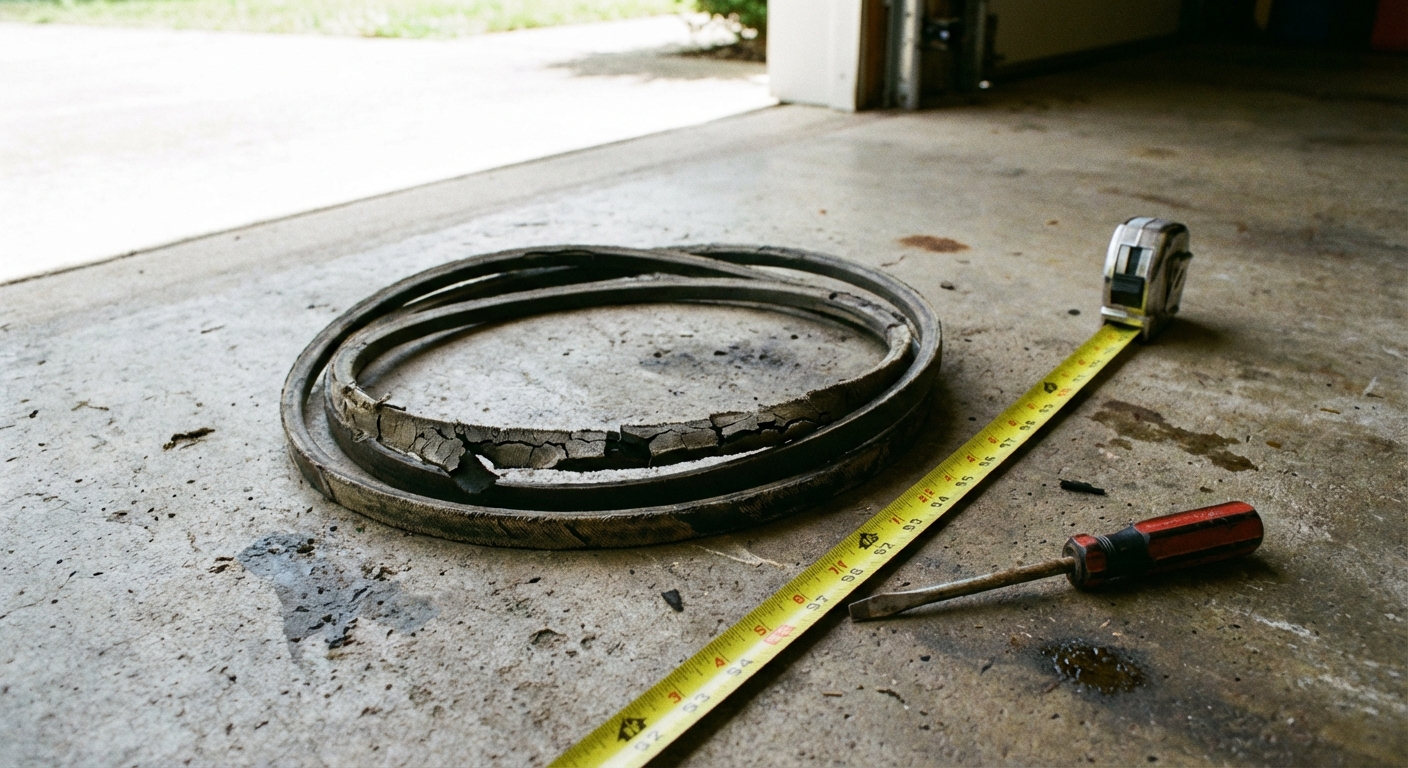
Cause #2: Damaged or slipping drive belt (slapping, squeal, or sudden banging)
What it sounds like
A slap against the drum, a short squeal at startup, or a louder bang if the belt is frayed and catching.
Why it happens
The belt runs around the drum and spins it. Age, heat, and tension wear it out. A belt can stretch, glaze, crack, or partially tear, and all of those can create noise.
How urgent is it?
High. If the belt is failing, it can break completely and leave you with a dryer that runs but won’t spin. If you hear slapping plus you notice the drum sometimes hesitates, stop and check it.
DIY fix (high level steps)
- Open the cabinet to view the belt around the drum.
- Inspect for cracks, missing ribs, shiny glazed spots, or frayed edges.
- Replace the belt if there’s any obvious wear. Belts are inexpensive compared to the time of reopening the dryer.
- Route the new belt exactly as the old one was, then tension it with the idler pulley.
Common mistake (I’ve made it): Installing the belt with the ribbed side facing the wrong direction. Match the original routing. On many common ribbed belts, the ribs ride against the drum for traction and the smooth side rides on the idler pulley, but your model wins if it’s different.
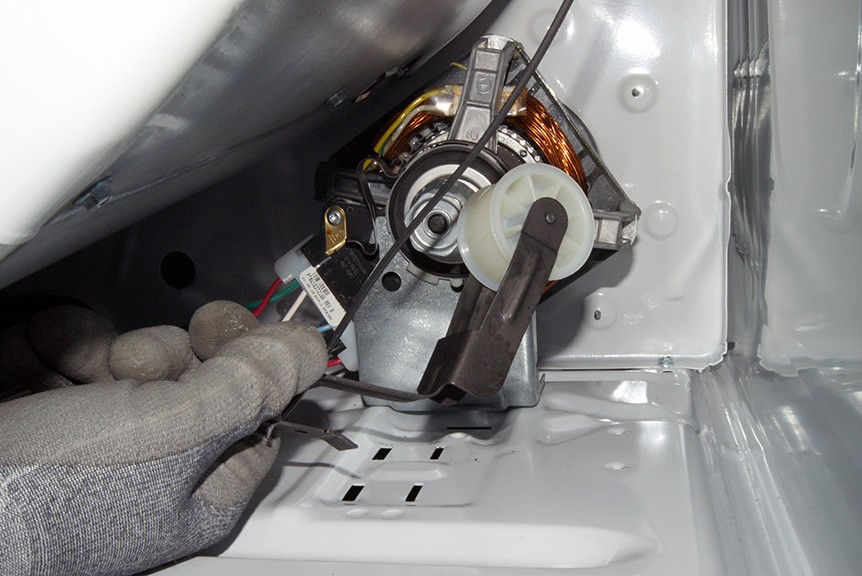
Cause #3: Faulty idler pulley (sharp squeal, chirp, or “bird sound”)
What it sounds like
A high-pitched squeal or chirping that may come and go. Many people describe it like a little bird living inside the dryer.
Why it happens
The idler pulley keeps tension on the belt. Its bearing can dry out or fail, and the pulley can start dragging instead of spinning smoothly.
How urgent is it?
High. A seized idler pulley can overheat and shred the belt. If the squeal is loud and constant, I treat it as a “stop soon” problem.
DIY fix (high level steps)
- Unplug and open the cabinet.
- Release belt tension and access the idler pulley.
- Spin the pulley by hand. It should rotate freely and quietly. Any squeak, wobble, or stiffness means replacement.
- Install the new pulley and confirm the belt tracks straight when you rotate the drum by hand.
Note: Avoid oiling the pulley as a long-term solution. It can attract lint, and lint is exactly what you don’t want building up around moving parts and heat.
Cause #4: Worn drum glides or felt seals (scraping, grinding, or a sandpaper sound)
What it sounds like
A scrape as the drum rotates, sometimes a rough grinding or sandpaper noise near the front of the dryer.
Why it happens
Many dryers use plastic glides or a felt seal at the front (and sometimes rear) of the drum. When those wear through, the drum edge can rub directly on metal, which is loud and can create metal dust.
How urgent is it?
Very high. Metal-on-metal rubbing can quickly damage the drum and front bulkhead. If you hear grinding or see shiny scrape marks, stop using the dryer until you fix it.
DIY fix (high level steps)
- Open the front of the dryer and inspect where the drum meets the front panel area.
- Look for missing glide pads, worn felt, loose felt, or black debris.
- Replace glides and felt as recommended for your model. Some are adhesive-backed; others clip in.
- Clean lint and debris before reassembly. A shop vac helps.
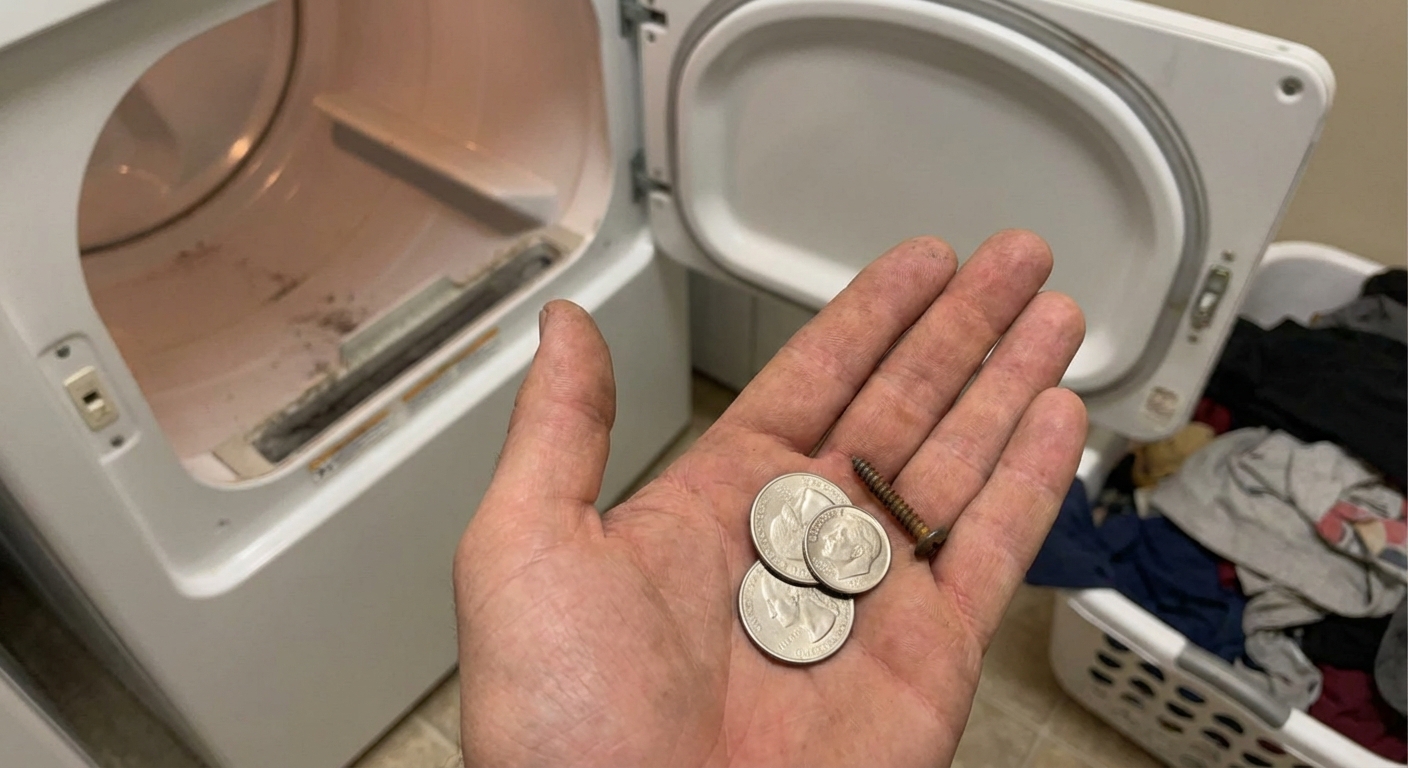
Cause #5: Foreign objects in the drum or blower housing (rattling, clicking, clinking)
What it sounds like
A rattle or click-click that’s often worse with certain loads. Sometimes it sounds like a coin in a tin can.
Why it happens
Coins, keys, hair pins, bra underwires, and even small screws can slip through drum holes, ride the drum seam, or get pulled into the blower housing. That blower is basically a plastic fan, and it doesn’t like eating pocket change.
How urgent is it?
Moderate to high. If it’s just a coin bouncing in the drum, it’s mostly annoyance. If the noise is coming from the lower front area near the blower, stop and investigate. A foreign object can crack the blower wheel or jam it.
DIY fix (try these in order)
- Check the drum: Run your hand along the drum seam and around the back edge (dryer unplugged). Look for a trapped underwire or pin.
- Check the lint filter chute: Remove the lint screen and shine a flashlight down the slot.
- Check the blower housing (if needed): Access is often through the lower front panel, but some models require removing the front panel, lint duct, or even accessing from the rear. Use a model-specific parts diagram if you’re unsure. Vacuum out lint and retrieve the object with needle-nose pliers.
My best prevention tip: Make “pockets and zippers” part of your laundry routine. Empty pockets, zip hoodies, and tie drawstrings. It saves your dryer and your sanity.
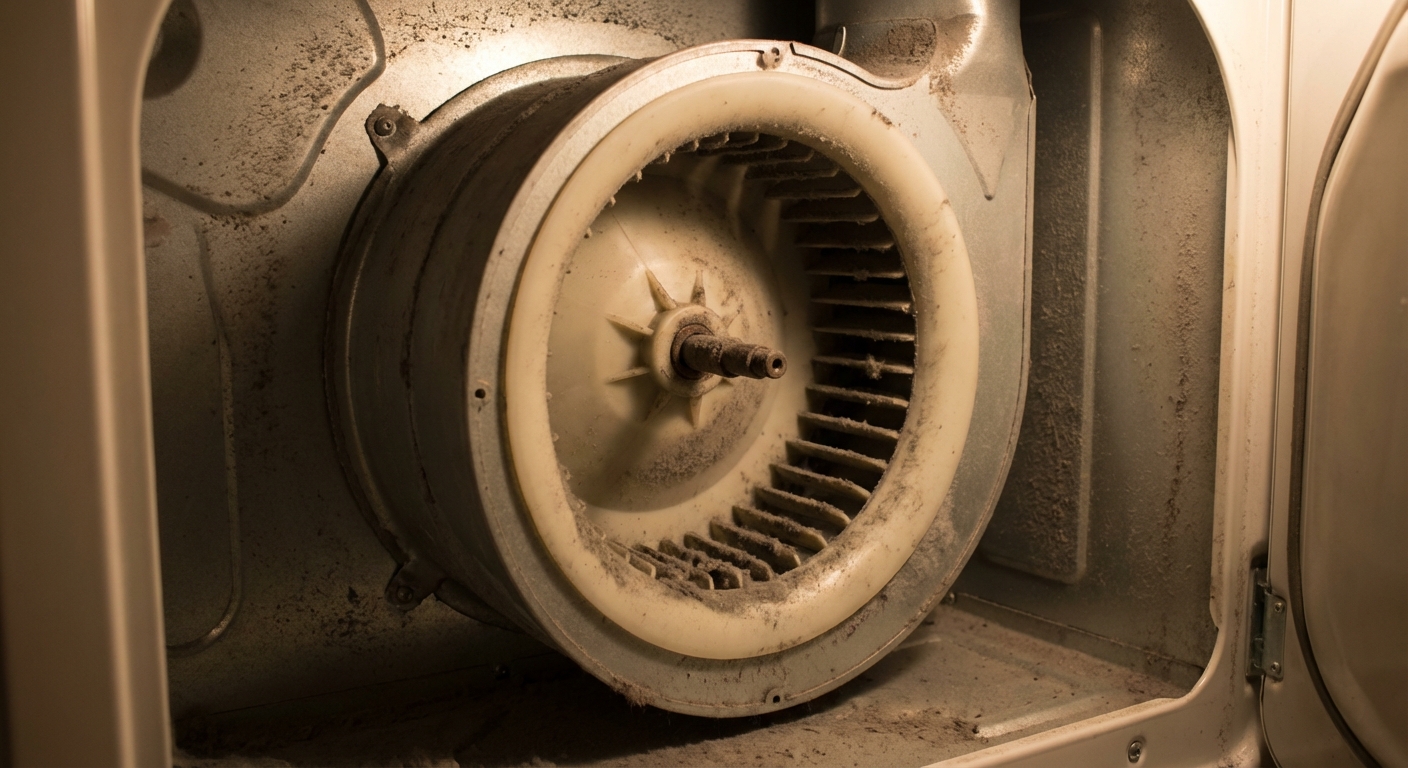
Cause #6: Blower wheel or motor bearings (roar, hum, squeal)
What it sounds like
A louder roaring airflow sound, a vibration that wasn’t there before, or a hum/squeal that seems to come from the motor area rather than the drum.
Why it happens
The blower wheel can get loose on the motor shaft, crack, or pack with lint and go out of balance. Separately, motor bearings can wear out and start squealing or humming. That’s not super common, but it happens, especially on older dryers.
How urgent is it?
High. A loose blower wheel can get worse fast, and bad motor bearings usually mean the motor’s on borrowed time.
DIY fix (high level steps)
- Unplug the dryer and open the cabinet enough to access the blower housing area.
- Inspect the blower wheel for cracks, heavy lint buildup, or wobble. Tighten or replace it if it’s loose or damaged.
- If the noise is clearly from the motor and the blower wheel looks fine, you’re likely in motor replacement territory. At that point, calling a pro is often the sensible move.
Urgent vs. not urgent noises
Stop the dryer and fix it soon
- Grinding or metal scraping (glides, felt seal, drum rubbing, rear bearing on some models)
- Burning smell with any noise (check lint and venting, then diagnose the sound)
- Loud, constant squeal that doesn’t fade after a minute (idler pulley, rollers, or motor bearings)
- Harsh thumping with drum hesitation (belt, roller, or blower wheel issue)
Usually not an emergency (but still worth addressing)
- Light rattling that happens only with certain loads (often a coin or zipper pull)
- Occasional thump from a bulky item (comforter, sneakers) that goes away when you redistribute the load
Before you buy parts: 4 fast checks
- Level the dryer: An unlevel dryer can exaggerate normal vibration. Adjust the feet until it feels solid.
- Check for “fake” rattles: Make sure nothing’s sitting on top of the dryer, and check for a loose exhaust duct behind it.
- Check the outside vent flap: A loose exterior flap can rattle in the wind and sound like something inside the dryer.
- Run it empty for 30 seconds: If the noise disappears, it may be the load, not the dryer.
- Spin the drum by hand: With the dryer off, the drum should turn smoothly. Any rough spots, scraping, or wobble points you toward rollers, glides, a bearing, or a trapped object.
When to call a pro
If your dryer is under warranty, if you smell gas, or if you find scorched wiring or a failing motor, it’s time to bring in a technician. Also consider calling a pro if disassembly requires lifting a stacked unit or working in a tight closet where you can’t safely move the dryer.
Tool list (what I actually use)
- Phillips screwdriver and a 1/4-inch nut driver (most common dryer fasteners)
- Shop vac with a crevice tool for lint cleanup
- Needle-nose pliers for retrieving coins and clips
- Work gloves (dryer sheet metal edges are sharp)
- Your phone camera for belt routing photos
Bottom line
Most loud dryer noises trace back to a few usual suspects: rollers, belt, idler pulley, drum glides or felt, the blower wheel, or foreign objects. If you match the sound to the source and fix it early, you can usually avoid the expensive “it ate the drum” kind of damage.
If you’re unsure, grab the model number from the door frame and use it to pull up the correct parts diagram. It’ll show you whether your dryer uses rollers, glides, a rear bearing, or something else, and it’ll keep you from ordering the wrong part.
About Marcus Vance
Content Creator @ Grit & Home
Marcus Vance is a lifelong DIY enthusiast and self-taught home renovator who has spent the last decade transforming a dilapidated 1970s ranch into his family's dream home. He specializes in budget-friendly carpentry, room-by-room renovations, and demystifying power tools for beginners. Through his writing, Marcus shares practical tutorials and hard-learned lessons to help homeowners tackle their own projects with confidence.