If your dryer thermal fuse keeps blowing, I want to save you some time, money, and frustration: the fuse is usually not the root problem. Most of the time it is doing its job by shutting the dryer down when something makes the machine run too hot.
Think of the thermal fuse like a one-time safety cutoff. Replace it without fixing the overheating cause and you will often be right back where you started, sometimes after just one load.
What the thermal fuse protects
The thermal fuse is a safety device designed to help prevent a dryer fire. When the dryer overheats, the fuse opens the circuit and cuts power. What it shuts down varies by brand and model. Many designs cut power to the motor so the dryer will not run at all, while others interrupt only the heating circuit so the dryer runs but does not heat.
Common symptoms of a blown thermal fuse
- Dryer will not start, but the outlet has power
- Dryer runs but there is no heat (model-dependent)
- Fuse blows again shortly after replacement
Important: A thermal fuse is not a reset button. Once it trips, it must be replaced. Never bypass it, even “just to test,” because that removes a key layer of fire protection.
Also worth knowing: Some dryers have more than one heat safety device, like a thermal cut-off or thermal limiter on the heater housing, in addition to the thermal fuse on the blower housing or exhaust duct. They can look similar, but they protect different areas. Verify the exact part and location for your model before ordering anything.
Safety first
- Unplug the dryer before opening any panels.
- If you have a gas dryer, turn off the gas at the shutoff valve if you will be moving the unit.
- Wear gloves. Dryer sheet residue and sharp sheet metal edges are both real.
How to test a dryer thermal fuse
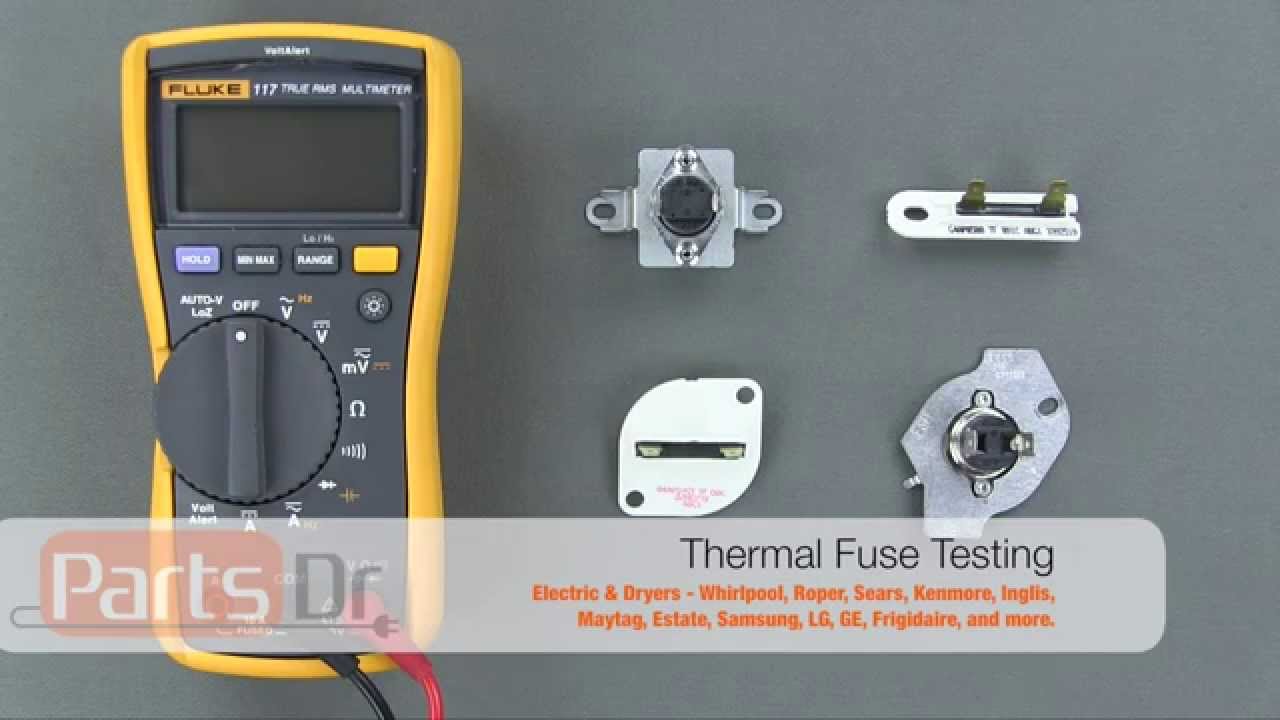
You only need a basic multimeter. You are checking whether the fuse has continuity. A good fuse is “closed” and reads near zero ohms. A blown fuse is “open” and reads OL or infinite resistance.
Tools you will want
- Multimeter with continuity or ohms setting
- 1/4-inch nut driver or screwdriver (most dryer panels use hex-head screws)
- Needle-nose pliers
- Vacuum and a long vent brush
Step-by-step
- Unplug the dryer.
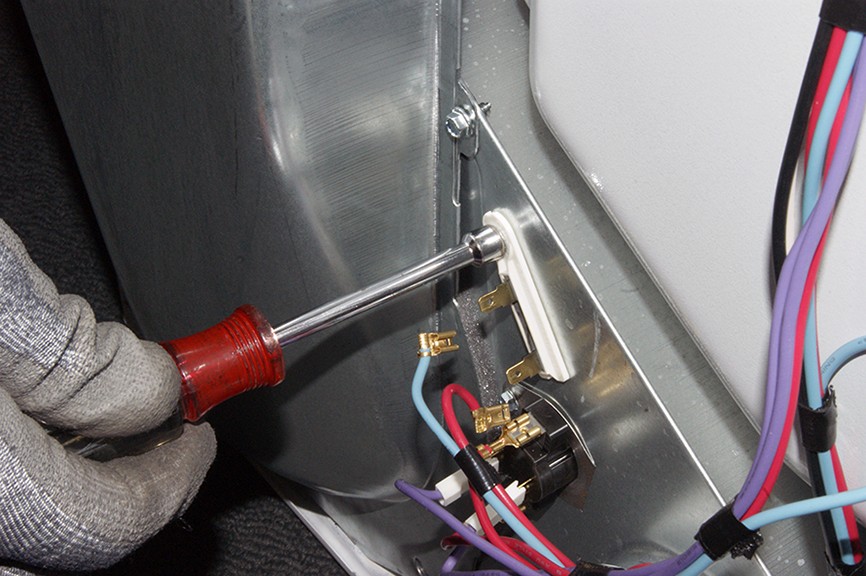
- Access the thermal fuse. It is commonly mounted on the blower housing or exhaust duct inside the dryer, usually behind the back panel or front lower panel depending on brand and model. If you are unsure, check the wiring diagram or service sheet (often taped inside a panel) for the exact location.
- Take a quick photo of the wiring so you can put it back exactly.
- Pull the wires off the fuse terminals by the connectors, not by yanking the wire.
- Set the multimeter to continuity or the lowest ohms range.
- Touch one probe to each terminal.
- Good fuse: beep or near 0 to 1 ohm.
- Blown fuse: no beep, OL, or very high resistance.
If the fuse is blown, replace it, but keep reading. If you do not correct the overheating cause, you are likely buying another fuse soon.
Why the thermal fuse keeps blowing
Most repeat thermal fuse failures fall into three buckets: poor airflow, temperature control problems, or electrical and mechanical issues. Here is how the real-world causes fit into those buckets.
Bucket 1: Airflow problems
Dryers move a lot of air. If that air cannot get out, heat builds up inside the heater box and exhaust path until the fuse trips.
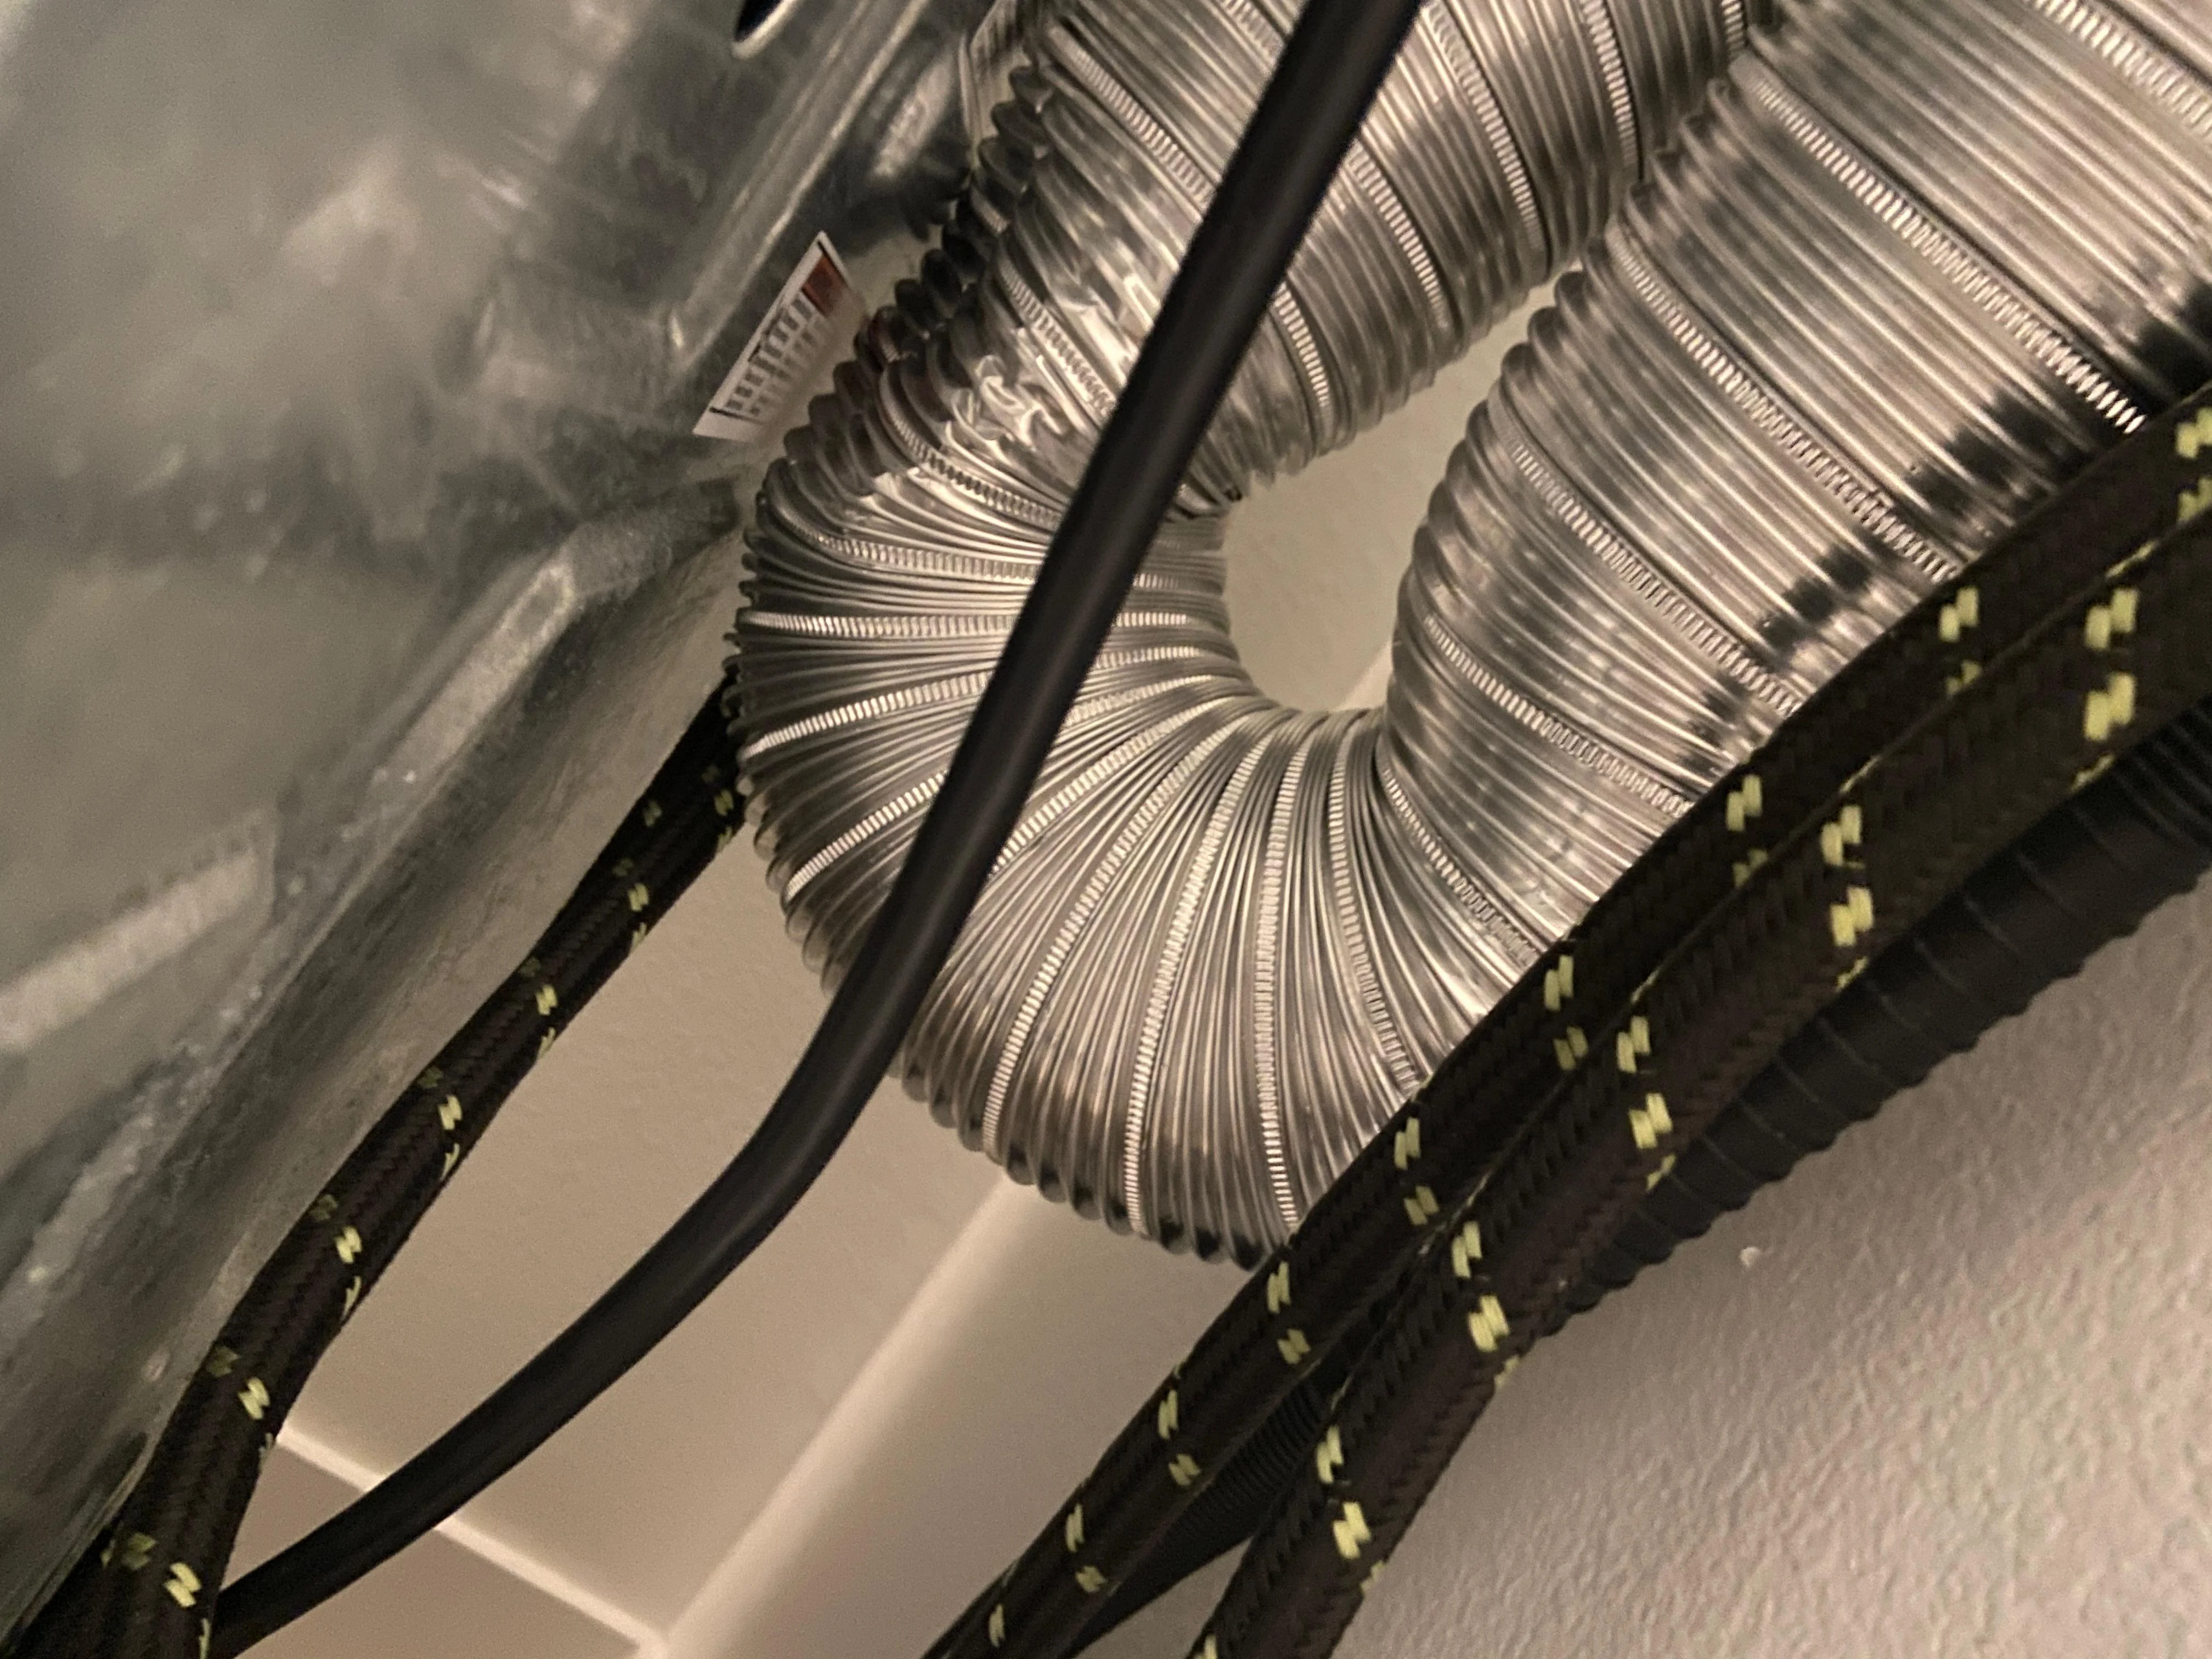
- Crushed or kinked flex vent behind the dryer
- Lint-packed vent hose or wall duct
- Bird nest or lint clog at the exterior vent hood
- Too long of a vent run, too many elbows, or undersized duct (check your manufacturer’s vent length specs)
- Restricted lint screen housing or internal lint buildup in the blower area
- Lint buildup inside the cabinet, especially around the blower and exhaust path
Quick clue: If loads are taking longer and longer to dry, or the outside of the dryer feels unusually hot, suspect airflow first.
Bucket 2: Temperature control problems
Your dryer is supposed to regulate temperature by cycling the heat on and off. If a thermostat sticks closed or reads wrong, the heater can stay on too long and overheat the system. Many dryers also have a high-limit thermostat as a backup. If the backup is weak or failed, the thermal fuse becomes the final line of defense.
- Cycling thermostat not opening at the right temperature
- High-limit thermostat weak or failed
- Thermistor (on some electronic models) reading incorrectly
Bucket 3: Electrical and mechanical issues
These are less common than venting problems, but they absolutely can cause overheating and repeat fuse failures.
- Heating element problems (electric): a coil that has sagged or broken and is touching the metal housing can create hot spots or heat when it should be off
- Wiring and connection issues: loose spade terminals, burnt connectors, or damaged harness sections can create resistance heat at a connection point
- Blower wheel issues: a loose wheel, broken fins, or lint packed around the blower housing can reduce airflow enough to overheat the dryer
The right repair order
If you want the fuse to stop blowing, fix problems in the order that removes the most common causes first and verifies airflow before you buy a pile of parts.
Step 1: Fix the venting
- Pull the dryer out and check the vent hose for kinks and crushing.
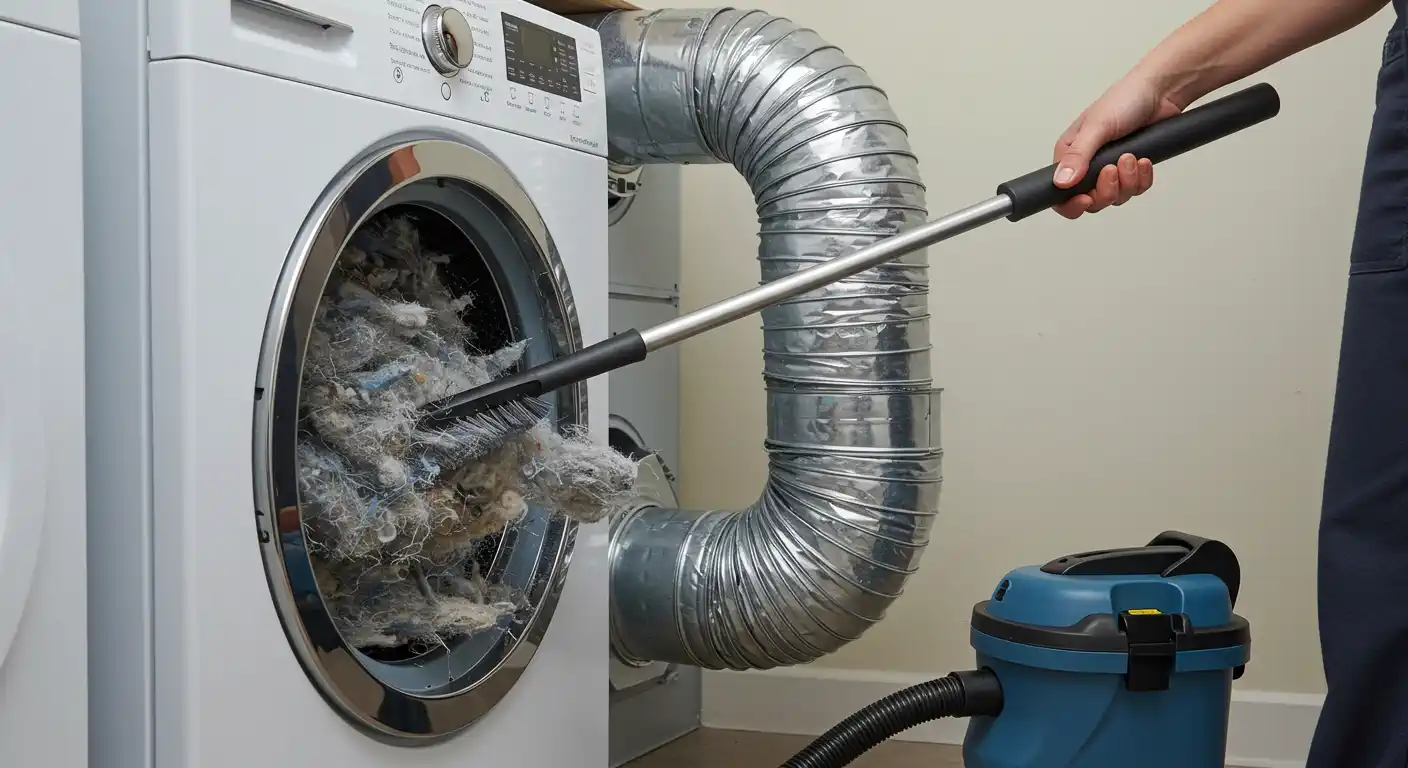
- Disconnect the vent hose and clean it fully or replace it if it is foil accordion style. Rigid metal is best where possible. Semi-rigid metal is a good choice for a short transition. Follow local code and manufacturer guidance.
- Clean the wall duct to the outside. Brush and vacuum, then confirm the exterior hood opens freely.
- Airflow check: On an electric dryer, you can run the dryer on air fluff for about 30 to 60 seconds with the vent disconnected to confirm a strong blast of air from the outlet. Keep it brief and expect lint and moisture in the room.
- Do not do this on a gas dryer. Never run a gas dryer unvented indoors because of combustion byproducts.
My thrifty rule: If airflow is even slightly questionable, do not move on yet. Most “mystery” fuse blowouts are solved here.
Step 2: Replace the blown thermal fuse
Many manufacturers sell a thermal fuse kit that includes the fuse and a high-limit thermostat. If your model offers a kit, it is often smart to replace both together, especially if the dryer is older and has overheated.
Use the exact model match. Thermal fuses can weaken with age, so replacing a blown one is normal, but repeat blowouts still point back to heat management.
Step 3: Test thermostats or the thermistor
With the dryer unplugged, you can test thermostats for continuity at room temperature and check terminals for heat damage. Some failures only show up when hot, so if you have repeated fuse failures after vent work, a suspect thermostat or thermistor is usually the next logical move.
Step 4: Inspect the heater or burner area
On electric dryers, inspect the element coil for contact with the metal housing and test for shorts to ground. On gas dryers, overheating is still commonly airflow-related, but you should also clean lint around the burner area and verify the flame is normal and not rolling out.
Step 5: Inspect wiring and connectors
Any burnt connector should be replaced, not pinched tighter and reused. Heat-damaged wiring near the heater box is a red flag that the issue has been going on for a while.
How to tell if you fixed it
Dry time and heat
- Normal loads should dry in a reasonable time again, not require two cycles.
- The dryer should not smell hot or feel unusually hot on the top panel.
Airflow outside
Go to the exterior vent hood while the dryer runs. You should feel a steady, warm stream of air. Weak airflow outside usually means there is still a restriction somewhere.
Common mistakes
- Replacing the fuse and stopping there. The fuse is a symptom, not the diagnosis.
- Cleaning only the lint screen. The vent pipe and the dryer’s internal exhaust path matter just as much.
- Using cheap foil flex duct. It crushes easily and grabs lint. Semi-rigid or rigid metal is the safer move. Follow local code.
- Ignoring a long vent run. Too many elbows and too much length can push a dryer past its design limits. Check your manual for maximum vent length.
- Bypassing safety parts. This is how dryers turn into fire risks.
When to call a pro
I love DIY, but I also like sleeping at night. Call an appliance tech if any of these are true:
- You see burnt wiring, melted connectors, or a scorched heater box
- The breaker trips in addition to the fuse blowing
- You have a gas dryer and smell gas or suspect a burner or venting issue
- You cannot access the vent run safely, like a long run through an attic or crawlspace
Quick checklist
- Clean and verify the full vent path, dryer to exterior hood
- Confirm the vent hose is not crushed when you push the dryer back
- Vacuum lint inside the cabinet around the blower and heater area
- Replace the thermal fuse with the exact model match
- Test or replace suspect thermostats if overheating continues
- Inspect the heating element for shorts to the housing (electric)
- Repair any burnt connectors or damaged wiring
If you work through that list in order, you will fix the cause, not just the symptom. That is the difference between a dryer that runs for one cycle and a dryer you can trust again.
About Marcus Vance
Content Creator @ Grit & Home
Marcus Vance is a lifelong DIY enthusiast and self-taught home renovator who has spent the last decade transforming a dilapidated 1970s ranch into his family's dream home. He specializes in budget-friendly carpentry, room-by-room renovations, and demystifying power tools for beginners. Through his writing, Marcus shares practical tutorials and hard-learned lessons to help homeowners tackle their own projects with confidence.