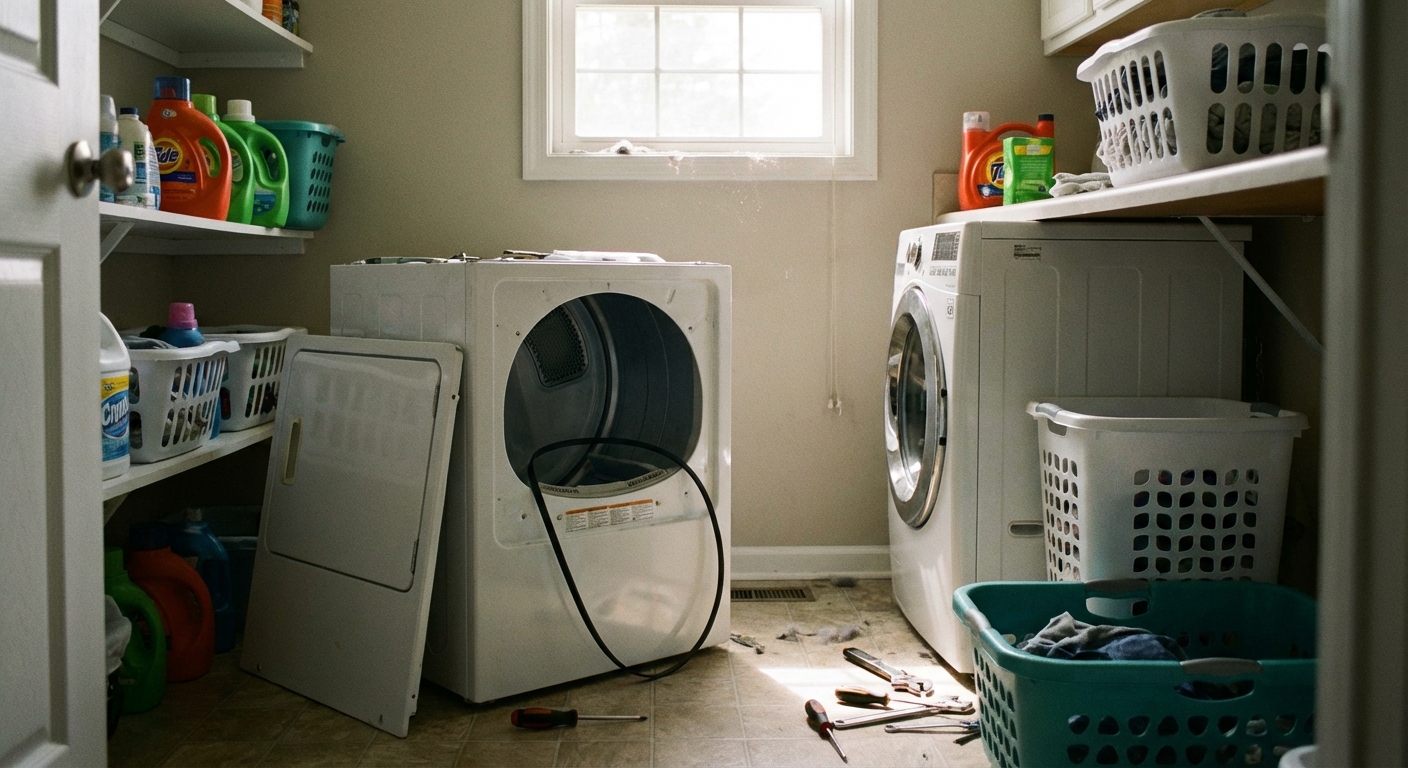
If your dryer turns on but won’t spin, you’re usually dealing with a mechanical problem, not a heating problem. The good news is that a non-spinning drum often comes down to a handful of parts that wear out over time. The even better news is that most of those parts are cheaper than a single service call.
In this walkthrough, we’ll check the five most common causes in a smart order, starting with the quick wins and ending with the more expensive, more involved repairs.
Safety first (quick, non-negotiable)
- Unplug the dryer before removing any panels.
- If it’s a gas dryer, shut off the gas at the valve and avoid tugging the flexible gas line.
- Wear cut-resistant gloves. Dryer cabinets are basically sheet-metal razor blades.
- Take photos as you go. Future-you will thank you during reassembly.
What to listen for (fast clues)
Before you grab tools, start the dryer for 5 seconds and pay attention:
- You hear the motor hum, but the drum doesn’t move: belt, idler pulley, rollers, glides, or a seized drum can be the culprit.
- You hear a click and nothing else: door switch, start switch, thermal fuse, or control issues (we’re focusing on spin-related causes here).
- The drum spins by hand very easily, like there’s no resistance: classic broken belt symptom (or the belt slipped off).
- Loud squealing, thumping, or grinding before it quit spinning: rollers, glides, bearings, or the idler pulley often wave the white flag with noise first.
Fix 1: Broken drive belt
This is the most common reason a dryer “runs” but the drum won’t turn. The motor is doing its job, but the belt that wraps around the drum has snapped or slipped off.
One important nuance (broken belt switch)
Many popular models (especially Whirlpool-built brands like Whirlpool and many Kenmore units) use a broken belt switch. When the belt snaps, the switch drops and cuts power to the motor. In that case, the dryer may look totally normal (lights, timer, beeps), but the motor will be completely silent. No hum, no attempt to spin.
Signs it’s the belt
- The dryer starts, but the drum stays still (on models without a broken belt switch, you may still hear the motor).
- The drum turns easily by hand (with the dryer off).
- You may find belt debris, a loose belt, or the belt sitting in the bottom of the cabinet.
What it typically costs
- Drive belt: $10 to $35
How to confirm (basic method)
Unplug the dryer, remove the front or top (varies by brand), and look for the belt around the drum. If it’s broken, you’ll usually find it lying in the bottom of the cabinet.
Marcus tip: If your dryer is already open, consider replacing the belt and the idler pulley together. They’re cheap, and you’re already doing the hard part.
Fix 2: Worn drum rollers (or glides and bearings)
Most dryers use rollers to support the drum. When they wear flat, seize up, or wobble, the drum can bind and refuse to turn. Sometimes the belt survives and just slips, and sometimes the motor struggles and shuts down to protect itself.
Brand note: Some GE and Frigidaire models use front drum glides/slides and a rear drum bearing instead of front rollers. When those wear out, you get the same symptoms: thumping, scraping, binding, and a drum that feels rough when you turn it by hand.
Signs it’s the rollers (or glides/bearing)
- Thumping, rumbling, or a rhythmic bump before the dryer stopped spinning.
- The drum feels rough, tight, or “notchy” when turned by hand.
- You see rubber dust near the roller area, or plastic dust near the front glide area.
- Metal-on-metal scraping can point to a worn rear bearing (model-dependent).
What it typically costs
- Drum rollers: $8 to $25 each (often replaced in pairs)
- Roller kit (rollers + shafts/clips): $20 to $60
- Front drum glides/slides (pair): $10 to $35
- Rear drum bearing kit: $15 to $50
How to check
With the drum removed or lifted, spin each roller by hand. A good roller spins smoothly and quietly. If it wobbles, squeals, barely turns, or feels gritty, replace it.
For glide-style designs, inspect the glide pads at the front of the drum. If they’re worn through, missing, or you see shiny metal where plastic should be, replace them. For rear-bearing designs, check for play, grinding, or obvious wear at the bearing point.
My mistake, so you don’t repeat it: I once replaced only one noisy roller. Two weeks later the “quiet” one started barking too, and I got to take the dryer apart twice. If one is worn, the others are usually not far behind.
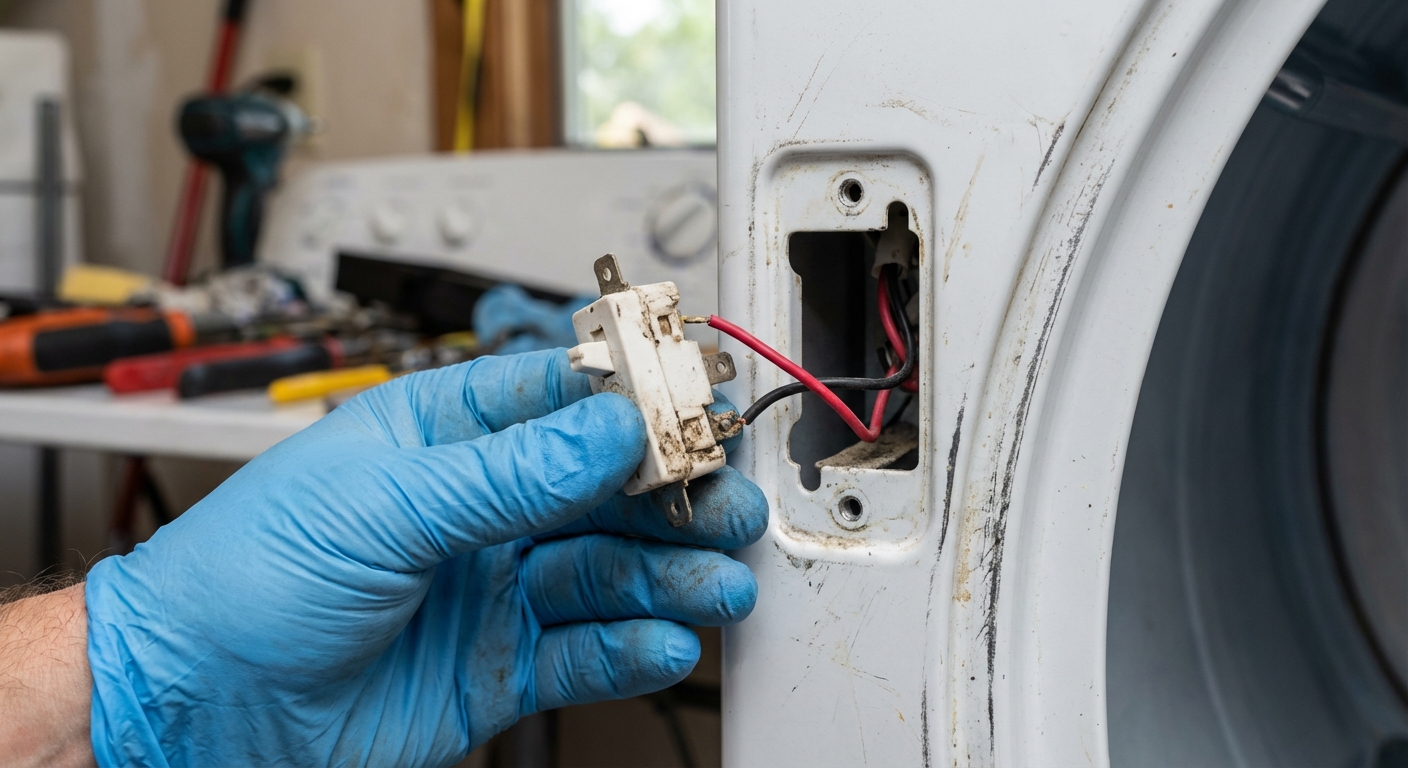
Fix 3: Faulty door switch
Your dryer is designed not to spin with the door open. A worn or broken door switch can trick the machine into thinking the door is open even when it’s shut. In most models, the door switch directly interrupts the drive motor circuit, so if it fails you usually get a dryer that looks alive (lights, display, timer) but is dead quiet when you press Start.
Signs it’s the door switch
- The dryer does nothing when you press start, or it starts and stops immediately.
- The door doesn’t “click” like it used to when shutting.
- Interior light behavior is odd (some models keep the light on if the switch is bad).
What it typically costs
- Door switch: $10 to $35
How to test
Unplug the dryer. Remove the switch (usually accessible near the door frame). Use a multimeter on continuity. When pressed, the switch should change state. No change usually means it’s time to replace it.
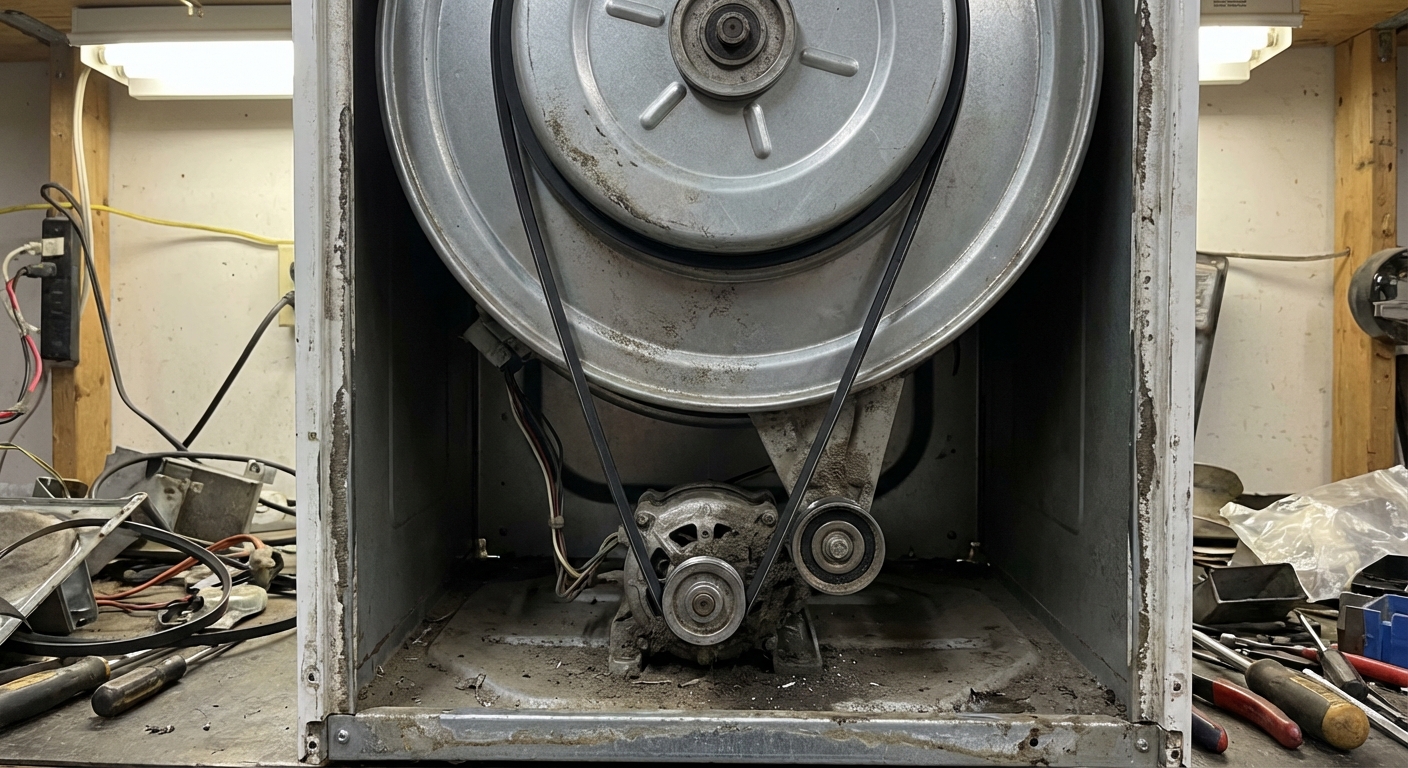
Fix 4: Idler pulley failure
The idler pulley keeps tension on the belt. When it seizes, the belt can’t move. When it breaks, the belt can slip off and the drum stops turning. This is another very common failure and a frequent partner to a broken belt.
Signs it’s the idler pulley
- Loud squeal right before the dryer stopped spinning.
- Belt looks glazed or shredded.
- The pulley wheel doesn’t spin freely by hand.
What it typically costs
- Idler pulley: $15 to $45
- Maintenance kit (belt + idler + rollers for some models): $25 to $90
How to check
With the dryer open, locate the idler pulley near the motor and belt path. Spin it. It should rotate smoothly without wobble or squeal. If it feels stuck or crunchy, replace it.
Fix 5: Bad drive motor (or a motor that’s struggling)
If the belt, rollers (or glides/bearing), and idler pulley check out, you may be looking at a failing motor. Dryer motors can wear out, develop dead spots, or overheat and stop under load. This repair is more expensive and more involved, but it’s still sometimes worth it depending on the dryer’s age and condition.
Signs it’s the motor
- Motor hums but won’t start the drum turning, even with a good belt and free-spinning drum.
- The dryer starts for a moment, then shuts off (overheating motor can trip protection).
- Burning smell or repeated breaker trips (stop using it if this happens).
What it typically costs
- Drive motor: $90 to $250 (model-dependent)
- Motor pulley (if separate and worn): $10 to $30
Reality check before you buy a motor
Before ordering a motor, confirm the drum turns freely by hand with the belt removed. If the drum binds, the motor might be fine and the real issue is rollers, glides, a rear bearing, or a seized pulley. Also check for lint buildup that could be causing overheating.
Tools and parts to have on hand
- Phillips and flathead screwdriver
- 1/4-inch and 5/16-inch nut driver (common for dryer panels)
- Pliers
- Vacuum and a crevice tool (lint will be everywhere)
- Work gloves
- Multimeter (helpful for door switch and motor diagnostics)
Part ordering tip: Use your model number from the inside of the door or the rear label. Dryer parts look similar across brands, but “almost right” is usually wrong.
When to stop and call a repairman
- You smell burning, see smoke, or the breaker trips repeatedly.
- You’re not comfortable working around gas connections.
- The motor replacement cost pushes you close to the price of a decent new dryer.
- The dryer is stacked in a tight closet and you cannot safely access panels.
If you’ve made it through the belt, rollers (or glides/bearing), door switch, and idler pulley checks, you’ve already done the same logical troubleshooting a tech will do first. Even if you end up calling for service, you’ll be an informed homeowner, not a guess-and-hope customer.
Quick cost recap (parts only)
- Drive belt: $10 to $35
- Drum rollers: $8 to $25 each (or $20 to $60 for a kit)
- Front drum glides/slides (pair): $10 to $35
- Rear drum bearing kit: $15 to $50
- Door switch: $10 to $35
- Idler pulley: $15 to $45 (or $25 to $90 for a maintenance kit)
- Drive motor: $90 to $250
Note: Prices vary by brand and whether you buy OEM or aftermarket parts. For most common models, a belt plus an idler pulley is still usually less than a single diagnostic fee.
A thrifty next step
If you want the most bang-for-your-buck approach: open the dryer once, vacuum out the lint, then inspect the belt, idler pulley, and drum supports (rollers or glides, plus the rear bearing if your model uses one) together. If any of them look questionable, a maintenance kit is often the cheapest way to reset the whole drum support system in one weekend.
About Marcus Vance
Content Creator @ Grit & Home
Marcus Vance is a lifelong DIY enthusiast and self-taught home renovator who has spent the last decade transforming a dilapidated 1970s ranch into his family's dream home. He specializes in budget-friendly carpentry, room-by-room renovations, and demystifying power tools for beginners. Through his writing, Marcus shares practical tutorials and hard-learned lessons to help homeowners tackle their own projects with confidence.