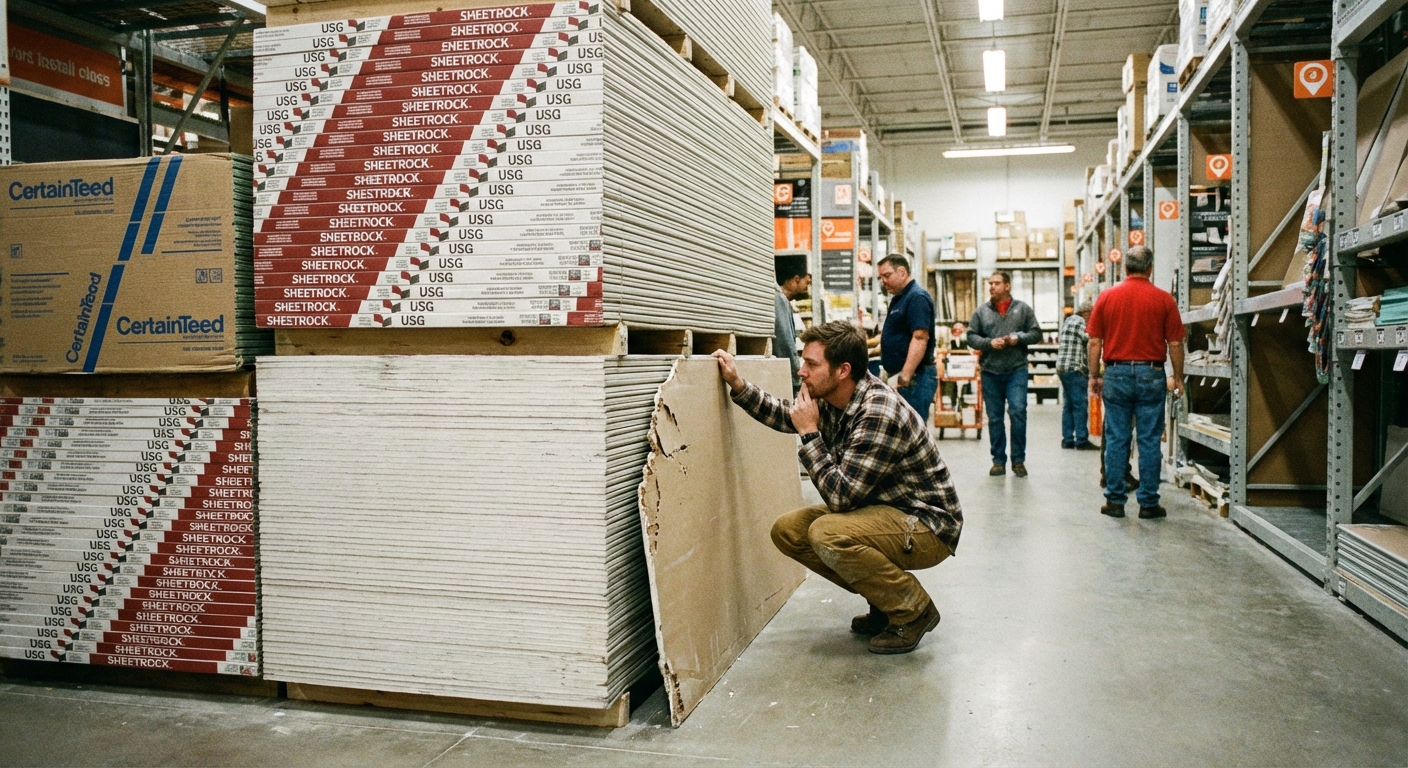
I still remember my first drywall run like it was yesterday. I walked into the store feeling confident, then got humbled fast by a whole aisle of panels that looked identical until you read the tiny print. If you have ever stood there thinking, “Okay, but which one goes where?” this page is for you.
We are going to cover the drywall types you will actually see in a lumber yard or big box store, the thicknesses that matter, and the few places where using the wrong board costs you real time and money.
The two decisions that matter
Drywall shopping feels complicated, but most projects boil down to two choices:
- Type: standard, moisture-resistant, mold-resistant, or fire-rated.
- Thickness: usually 1/2 inch or 5/8 inch, with a few special cases.
Make those two calls correctly and you can stop overthinking the rest.
Drywall thicknesses
Thickness affects stiffness, sag resistance, sound, and fire performance. It also affects how miserable the sheet is to lift. Here are the common sizes and where they make sense.
1/4 inch drywall
Best for: covering ugly walls, gentle curves, and repairs where you need to match a thin existing layer.
- Common use: laminating over plaster or heavily textured walls you do not want to demo.
- Not great for: ceilings. It is too floppy and sags easily.
3/8 inch drywall
Best for: patching older homes where 3/8 inch is already on the walls.
In most modern work, 3/8 inch is a niche thickness. If you are not matching existing material, you can usually skip it.
1/2 inch drywall (the everyday default)
Best for: most interior walls with studs spaced 16 inches on center.
- It is widely available and typically the most budget-friendly.
- It is easier to hang solo than 5/8 inch, especially on walls.
Lightweight “UltraLight” 1/2 inch drywall
Best for: the same jobs as standard 1/2 inch, but with less strain.
This is what you will see a lot of in big box stores now. It hangs and cuts like regular drywall, but it is easier on your back. If the label says UltraLight or lightweight and it is the same thickness and type you need, it is usually a great pick for DIY work.
5/8 inch drywall (stiff, heavy, and useful)
Best for: ceilings, many fire-rated assemblies, better sound control, and walls with studs at 24 inches on center.
- It resists sagging on ceilings better than 1/2 inch.
- Many 1-hour fire-rated assemblies call for 5/8 inch Type X drywall (a gypsum board with added glass fibers for better fire performance). Some Type X products also come in 1/2 inch, so always match the tested assembly or local requirement.
- It is heavier, so plan on a drywall lift for ceilings.

Ceilings: when 1/2 inch is okay
Plenty of ceilings can use 1/2 inch drywall if the framing is 16 inches on center and the product is rated for ceiling use. At 24 inches on center, 5/8 inch (or a specific sag-resistant ceiling board) is usually the safer play. When in doubt, read the stamp and the manufacturer specs.
Sheet size: 4x8 vs 4x12
The longer sheets reduce seams, which means less taping and a smoother finished wall. The tradeoff is handling.
- 4x8: easiest to transport and maneuver in tight hallways.
- 4x12: fewer butt joints, great for long walls and ceilings if you can move them safely.
My thrifty rule: pay for delivery or borrow a proper trailer once, rather than cracking sheets in the parking lot and buying twice.
Tapered edge vs square edge
Most drywall is sold with tapered long edges. That taper creates a shallow valley so tape and mud can sit flush, which is why factory seams are easier to finish. The short ends are typically square (butt) edges, and when two butt edges meet you get a hump that takes more work to hide. That is a big reason longer sheets can feel like “cheating” because fewer butt joints means less time fighting finish work.
Drywall types at the store
Here is what the different boards are designed to do, in plain language.
Standard drywall (white or gray face)
Use it for: living rooms, bedrooms, hallways, and most dry interior spaces.
This is the baseline gypsum board. It is cost-effective and finishes nicely. If the area stays dry and does not need a fire rating, standard drywall is often the correct answer.
Moisture-resistant “green board”
Use it for: bathrooms and laundry areas where humidity is common.
Green board is designed to handle moisture, not direct water. Think steamy air, occasional splashes, and day-to-day humidity.
- Good behind paint in a powder room.
- Often used on bathroom walls outside the shower or tub surround.
Important: Green board is not a substitute for a real waterproof shower system. In a shower, you still need a proper tile backer (cement board or foam backer) and/or a waterproofing membrane approved for that use.
Also, some codes and manufacturers restrict green board on ceilings in wet areas unless the framing spacing and the specific product rating allow it. Always check the label and local requirements.

Mold-resistant drywall (often purple)
Use it for: bathrooms, basements, and any room that trends damp or musty.
Mold-resistant board varies by brand. Some have a treated core, some have treated paper facers, and some use fiberglass mats. The goal is the same: make the board less inviting for mold than standard paper-faced drywall.
If your basement has a history of humidity, I would rather see mold-resistant drywall plus a dehumidifier than standard drywall and wishful thinking.
Fire-rated drywall (Type X and Type C)
Use it for: garages, furnace rooms, and anywhere your local code requires a fire-rated wall or ceiling assembly.
Fire-rated drywall uses glass fibers and additives to hold together longer during a fire. The most common is 5/8 inch Type X. Type C is a step up in some rated assemblies.
Quick reality check: Fire rating is about the entire assembly, not just the board. Stud size, fastener spacing, joint treatment, and insulation all matter. If you are doing a garage wall shared with the house, match a tested assembly (often UL or GA) and check your local code or call your building department. It is worth the five minute conversation.
Sound-dampening drywall
Use it for: bedrooms next to a living room, home offices, or media rooms.
Some products are denser or laminated to reduce sound transmission. They work, but they are pricey. For most DIY budgets, you get a bigger bang for your buck from:
- 5/8 inch drywall instead of 1/2 inch
- Mineral wool insulation in the stud bays
- Good sealing with acoustic caulk at gaps and penetrations
Impact-resistant drywall
Use it for: hallways, kids rooms, stairwells, and anywhere that takes abuse.
It is tougher than standard drywall and resists dents. If you have ever patched the same corner three times, this option starts to look cheap.
What to buy by room
If you want a simple cheat sheet, here is what I typically buy for a normal house with 16 inch on-center framing. Where code is involved, treat this as common practice in many areas, not a universal rule. Always defer to local requirements.
Bedrooms and living areas
- Walls: 1/2 inch standard drywall (often lightweight)
- Ceilings: 1/2 inch ceiling-rated board at 16 inches on center, or 5/8 inch if you want extra sag resistance
Bathrooms
- Walls outside wet zones: mold-resistant (or green board where allowed and appropriate)
- Ceiling: mold-resistant, especially if ventilation is mediocre. If you are tempted to use green board on a ceiling, confirm it is allowed and rated for your framing spacing.
- Inside shower or tub surround: use a proper tile backer (cement board or foam backer) and a waterproofed system, not plain drywall unless your specific system calls for it
Kitchen
- Walls and ceiling: 1/2 inch standard drywall is usually fine
- If you have frequent moisture: consider mold-resistant behind sinks or in problem corners
Laundry room
- Walls: green board or mold-resistant
- Ceiling: standard or mold-resistant depending on humidity
Basement
- Walls: mold-resistant drywall is a smart upgrade
- Tip: control moisture first. Drywall does not fix a damp basement.
- Also: think through insulation and vapor control for your climate so you do not trap moisture behind the wall. When in doubt, follow local best practice or ask an insulation pro.
Garage
- Walls and ceiling: requirements vary. Many areas require at least 1/2 inch gypsum on the garage side of walls shared with the house, and commonly 5/8 inch Type X on ceilings under living space. Check your local code and match the required assembly.

Ceilings in general
When people ask me what I regret on drywall projects, a common one is trying to “save my back” by using thinner board on a ceiling that really wanted something stiffer. Sagging and wavy seams are a lot harder to fix later than picking a ceiling-rated board and the right thickness on day one.
How to read the label
Do not rely on color alone. Different brands can look similar under warehouse lighting. Flip the sheet edge or face and look for:
- Thickness (1/2, 5/8, etc.)
- Type (standard, MR, Type X)
- Weight class (UltraLight or lightweight is common)
- Intended use (walls, ceilings, or both)
- ASTM standard markings (common on many boards)
If you are shopping for a fire-rated application, also look up the specific assembly requirement. Matching “Type X” is not always enough if the assembly calls for multiple layers, a certain framing setup, or a specific fastener schedule.
Buying checklist
- Measure twice: calculate sheet count and add 10 to 15 percent for waste, more for lots of small rooms or angled ceilings.
- Choose thickness first: 1/2 inch for most walls, 5/8 inch for many ceilings and rated assemblies (or 1/2 inch ceiling board where approved for your framing spacing).
- Choose the environment: standard for dry areas, mold-resistant for damp areas, and Type X where required.
- Match screws to thickness: common picks are 1-1/4 inch drywall screws for 1/2 inch board, and 1-5/8 inch drywall screws for 5/8 inch board (adjust for layering and framing).
- Plan the transport: drywall cracks easily. Bring straps, corner protectors if you have them, and a helper. Sheets are heavy, so lift smart and protect your back.
- Basic safety: gloves help with sharp edges, and eye protection is a good idea when cutting or snapping sheets.
- Do not forget the small stuff: drywall screws, joint compound, tape, corner bead, and a couple of spare blades.
Mistakes I have made
- Using green board where waterproofing was needed: it is moisture-resistant, not waterproof. I learned that lesson with a soft wall spot that should have never happened.
- Buying 1/2 inch for a ceiling to save weight: it finished, but it was fussier and more prone to waves. Next ceiling got a ceiling-rated product and behaved much better.
- Ignoring stud spacing: 24 inch on-center framing really benefits from thicker or ceiling-rated board. If you are not sure, measure.
Quick FAQ
Is thicker drywall always better?
Not always. It is heavier and more expensive. Use 5/8 inch where it solves a problem, like ceilings, sound, or fire ratings. For standard interior walls, 1/2 inch is usually the sweet spot.
Can I use mold-resistant drywall everywhere?
You can, but it costs more. I like it in basements and baths. In dry bedrooms, I would rather spend that money on better primer, paint, or a good fan for the bathroom down the hall.
Do I need fire-rated drywall in a garage?
Many homes do have requirements for garage-to-house separation, but the exact details vary. Some areas allow 1/2 inch gypsum on the common wall, while ceilings under habitable space often require 5/8 inch Type X. Check local code and match a tested assembly when one is required.
What drywall should I use behind tile?
For showers and tub surrounds, use a tile backer (cement board or foam backer) plus a waterproofing method approved for that wet area. For backsplashes in normal kitchens, drywall is typically fine because it is not a constantly wet environment.
The simplest rule
If you only take one thing with you to the store, take this: match the room. Dry rooms get standard drywall (often lightweight), damp-prone rooms get mold or moisture-resistant, and garages and shared walls follow fire code. Then pick a thickness and a ceiling rating that will not sag or fail the application.
Once you do it a couple times, drywall shopping goes from intimidating to automatic. And that is a good feeling, because hanging it is challenge enough.
About Marcus Vance
Content Creator @ Grit & Home
Marcus Vance is a lifelong DIY enthusiast and self-taught home renovator who has spent the last decade transforming a dilapidated 1970s ranch into his family's dream home. He specializes in budget-friendly carpentry, room-by-room renovations, and demystifying power tools for beginners. Through his writing, Marcus shares practical tutorials and hard-learned lessons to help homeowners tackle their own projects with confidence.