The high-temperature reset button on an electric water heater is not a nuisance button. It is a safety switch, often called the high-limit switch or the energy cut-off (ECO) , and it trips when the tank gets hotter than it should. If you are pressing it every few days (or every morning), the heater is telling you something is wrong.
The good news is most causes are predictable and testable: a thermostat stuck closed, a heating element starting to fail, a loose connection creating resistive heating, or heavy sediment that makes heating less efficient and sometimes contributes to nuisance trips.
First, a quick safety check
- If you smell melting plastic, see scorch marks, or hear sizzling from wiring: turn off the breaker and stop. That is a call-a-pro situation.
- Turn off power at the breaker before opening any access panels. Do not trust the switch alone.
- Confirm power is off before touching anything. A non-contact voltage tester is a helpful screening tool, but it can be wrong. If you can, verify with a multimeter and test it on a known-live circuit first.
- Let the water cool if the tank recently overheated. Very hot water can cause scalding fast.
My rule: if I cannot verify the breaker is off and the area is dry, I do not put my hands in there.
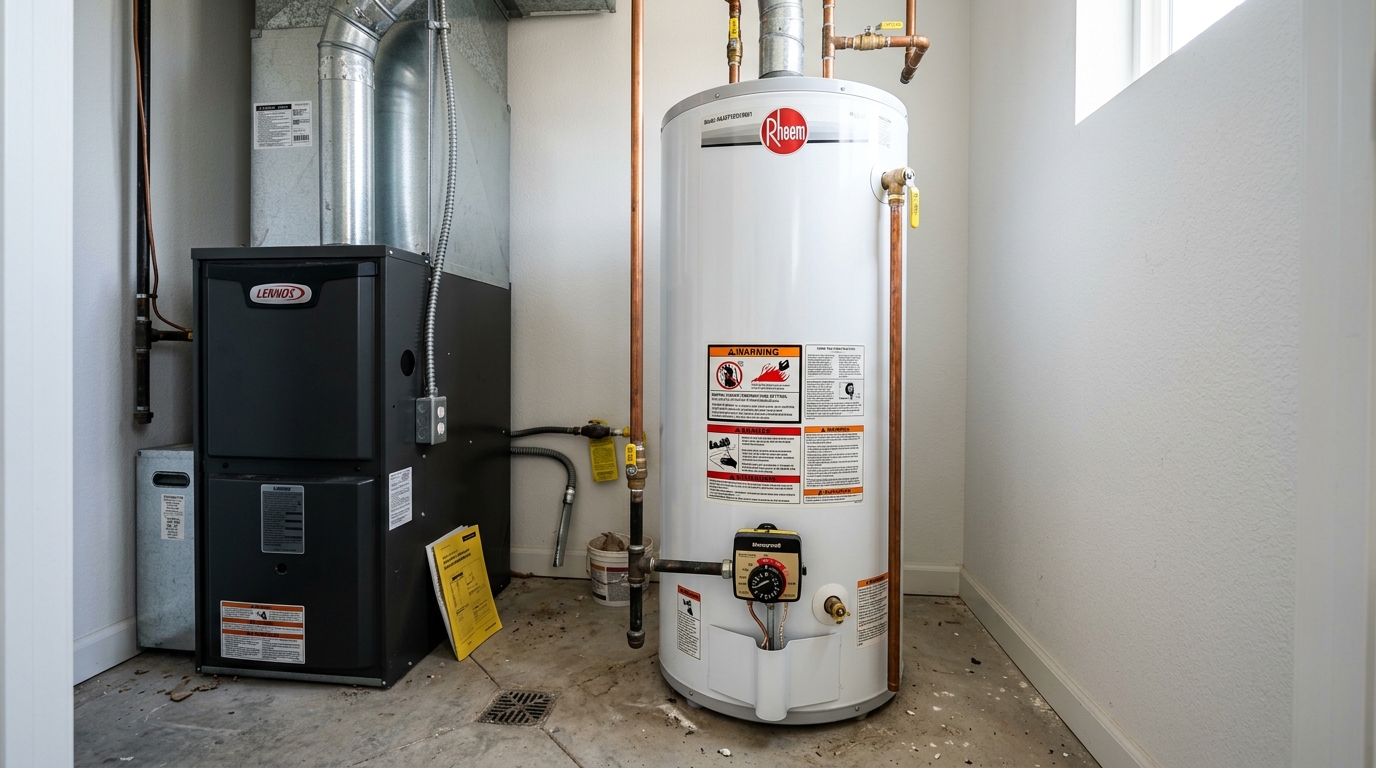
Where the reset is and how to reset it
On most electric water heaters, the reset button is behind the upper access panel. It is usually a small red button on the upper thermostat (the high-limit switch/ECO is typically part of that assembly).
- Turn off the breaker.
- Remove the upper access panel screws.
- Fold back the insulation and the plastic vapor barrier carefully.
- Press the red reset button firmly until it clicks.
- Reinstall the vapor barrier, insulation, and cover.
- Turn the breaker back on.
If it trips again, do not keep resetting it. Repeated trips usually mean the water is truly overheating or there is an electrical fault that can damage the heater .
Why the high-limit trips
The reset trips when the heater exceeds a safe internal temperature, usually due to temperature control failure or an electrical problem. Here are the most common culprits in homeowner-friendly order.
1) A bad upper thermostat (most common)
The upper thermostat is the “traffic cop.” It decides whether the upper or lower element gets power. If it sticks on, fails to sense temperature, or has a burnt contact, it can overheat the tank and trip the high-limit/ECO.
2) A lower thermostat failing in a way that overheats
The lower thermostat controls most of your day-to-day hot water. If it sticks calling for heat when the water is already hot, the lower element can keep heating until the safety trips.
3) A heating element fault (open, shorted, or leaking to ground)
An element can fail open (no heat), short internally, or leak current to the metal tank (a ground fault). A ground fault often trips a breaker or GFCI. If it does not, it is still an unsafe condition and the element should be replaced .
4) Loose, damaged, or overheated wiring
Loose connections act like a bottleneck. They build resistance, resistance makes heat, and that heat can damage thermostats, trip the high-limit, or create a real fire risk.
5) Sediment buildup (a contributor, not always the cause)
In hard-water areas, sediment settles at the bottom. The lower element ends up buried, runs hotter, and heats less efficiently. That can create hot spots and temperature swings and, in some cases, contribute to nuisance high-limit trips.
6) Thermostat set too high
If the thermostats are set unusually high, you are closer to the safety limit all the time. A small control error can push it over. Most households are comfortable and safer around 120°F.
Tools you will want
- Non-contact voltage tester (screening tool)
- Multimeter (with ohms and continuity)
- Phillips or nut driver for access panels
- Small flat screwdriver for thermostat adjustment
- Work gloves and safety glasses
Step-by-step troubleshooting
I like to troubleshoot in a sequence that avoids replacing parts blindly.
Step 1: Check the wiring diagram first
Most tanks have a wiring diagram sticker under the upper access cover. Before you move any wires, take a clear photo and compare what you see to the diagram. That one sticker prevents a lot of “how did I end up with extra wires” moments.
Step 2: Set both thermostats to a sane temperature
With power off and covers removed, check the temperature dials. Set both upper and lower to the same temperature, typically around 120°F . If one is cranked higher than the other, the system can behave strangely.
Step 3: Look for evidence of overheating
- Browned insulation, melted plastic, scorched wire jackets
- Loose spade connectors or wire nuts
- Moisture inside the access area (a leak can damage electrical parts)
If you see burnt wiring or a melted thermostat, stop and call a qualified service technician (often electrician-forward when wiring is damaged). That is not “reset and hope.”
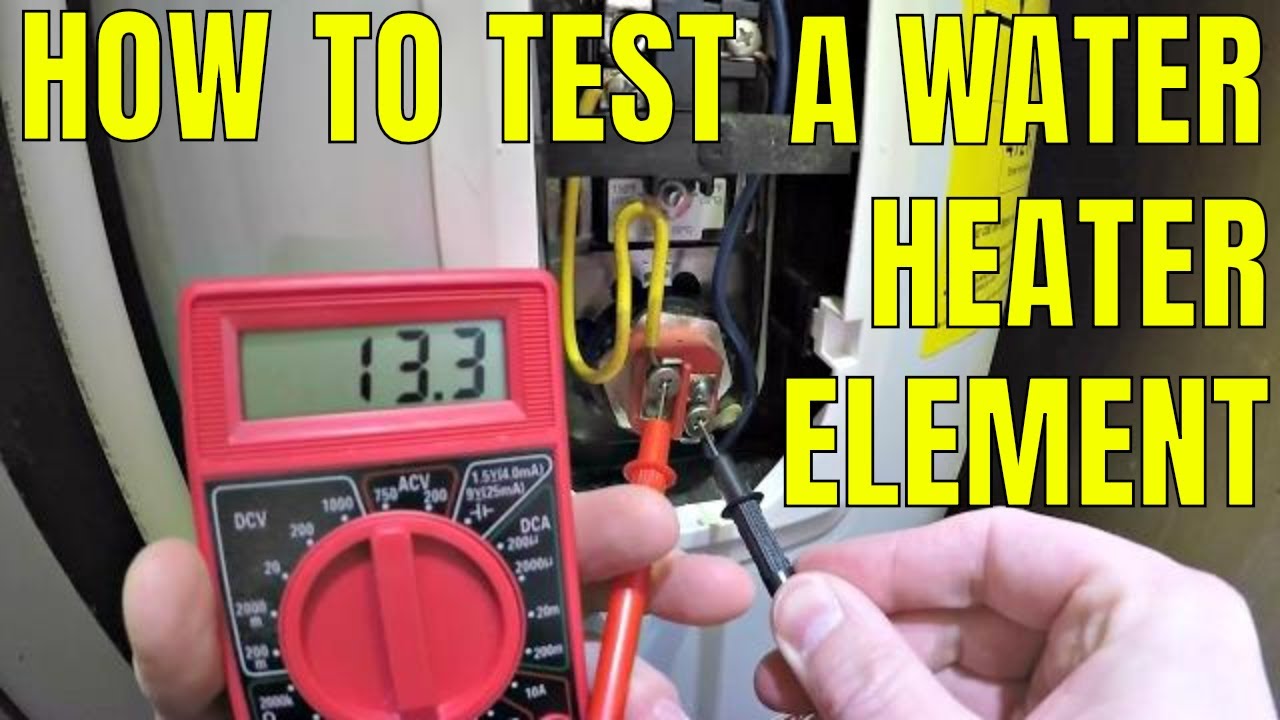
Step 4: Test the heating elements (power off)
To test each element, you will typically remove one wire from the element screw terminals so you are not reading through the rest of the circuit.
- Continuity/ohms test across the two element screws: A healthy element shows resistance. A broken element shows no continuity (open circuit).
- Short-to-ground test: Put one probe on an element screw and the other on the metal tank. You should read open or no continuity. Any continuity suggests the element is leaking to ground and should be replaced.
Typical resistance ranges vary by wattage, but as a quick reference: a 4500W element often reads around 12 to 13 ohms, and a 5500W element around 10 to 11 ohms. The exact number matters less than consistency and no short to ground.
Step 5: Test the thermostats (basic check)
Thermostats are trickier to test perfectly without a controlled temperature setup, but you can still catch common failures.
- Use the wiring diagram to identify which terminals are the thermostat switch contacts for your model.
- With the tank cool and calling for heat, the thermostat switch should show continuity.
- When satisfied (water hot), it should open the circuit.
If the reset trips and your element tests good, a thermostat that sticks closed is a prime suspect. In many cases, replacing the upper thermostat (often sold with the high-limit/ECO) is the practical fix.
Step 6: Check for loose connections
With power off, gently tug each wire connector to confirm it is snug. Look for discoloration on terminals. If you find a loose spade connector, replace it. If a wire is heat-damaged, cut back to clean copper and re-terminate correctly. If that feels outside your comfort zone, this is exactly where an electrician earns their keep.
Sediment and nuisance trips
Sediment is sneaky because the heater still “works,” just badly. The lower element ends up cooking in a bed of minerals, which can cause:
- Longer heat cycles (elements run longer)
- Popping or rumbling sounds
- Localized overheating near the lower element
- Premature element failure
A basic tank flush can help if the drain valve works and the sediment is not cemented in. If you open the drain and get a weak trickle, you may have heavy buildup.
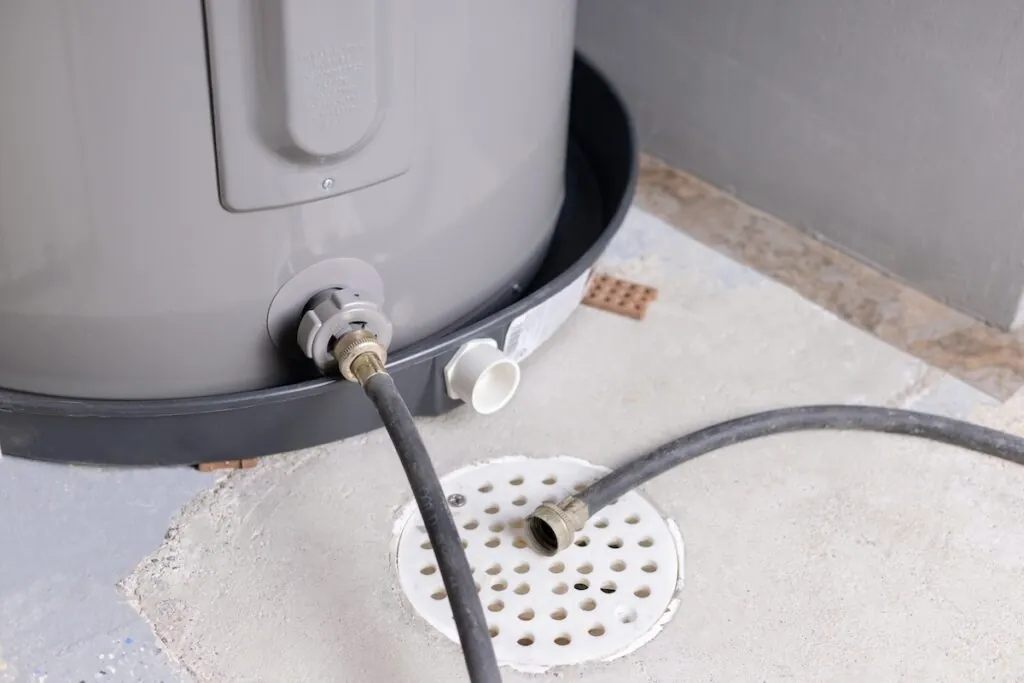
Basic flush
- Turn off power at the breaker.
- Let the water cool if needed. Draining very hot water can scald and can damage flooring or drains.
- Shut off the cold water supply to the tank.
- Attach a garden hose to the drain valve and run it to a safe discharge location (floor drain or outside).
- Open a hot faucet in the house to let air in.
- Open the drain valve and drain several gallons or until it runs clearer.
- Close the drain, open cold supply to refill fully, purge air, then restore power.
Important: never turn power back on until the tank is full of water. Dry-firing an element can burn it out fast.
Common scenarios
- Water is dangerously hot at faucets: thermostat stuck or miswired, usually upper. Stop resetting and troubleshoot immediately. If you have a mixing valve or a recirculation setup, check that too.
- Not enough hot water and reset trips: lower element may be failing, or heavy sediment around the lower element causing hot spots and long recovery cycles.
- Reset trips after long hot shower streaks: sediment, long recovery cycles, or a thermostat drifting out of calibration.
- Reset trips randomly with no pattern: loose wiring or intermittent thermostat failure.
When to replace parts
In a typical two-element electric water heater, the most common repair path is:
- Replace the upper thermostat/high-limit (ECO) assembly if the reset is tripping and elements test good.
- Replace the failed element if it is open or leaking to ground.
- Replace the lower thermostat if you suspect it is sticking and you have ruled out elements and wiring.
If your heater is older and has heavy sediment plus multiple failing parts, you may be throwing good money after bad. I have been there, buying “just one more” part for a tank that was already on borrowed time.
When to call a pro
Get professional service if any of the following are true:
- The breaker trips along with the reset, or you see any arcing or burned wiring (electrician-forward)
- You find moisture inside the electrical compartments, suggesting a leak (plumber-forward)
- The tank is rusting, weeping, or nearing the end of its typical lifespan (often 10 to 15 years)
- You are not comfortable testing circuits, or your panel and wiring situation is questionable
- You have a hybrid/heat pump water heater, control board issues, or a timer/energy management device in the mix, because troubleshooting is different
A leaking tank is not repairable in a meaningful way. At that point, the smartest money is usually on replacement, not more parts.
Quick FAQ
Is it safe to keep pressing the reset button?
No. Once as a temporary measure while you investigate is one thing. Repeated trips mean overheating or an electrical fault that can damage the heater and create safety risks.
Should I replace both thermostats and both elements at once?
If the heater is newer and you can pinpoint the failed part, replace the failed part. If it is older with heavy sediment and you are already draining it, a full tune-up can make sense. But compare the total parts cost to the cost of a new unit.
What temperature should I set my electric water heater to?
Most homes do well at 120°F. Hotter settings increase scald risk and can worsen overheating issues if a control starts drifting.
My neighbor-to-neighbor checklist
- Reset once, then investigate if it trips again
- Confirm both thermostats are set around 120°F
- Check the wiring diagram under the upper cover before moving wires
- Inspect for burnt wiring or moisture
- Test elements for proper resistance and no short to ground
- Suspect the upper thermostat/high-limit (ECO) if elements check out
- Flush sediment if you have rumbling and slow recovery
- Call a pro if you see heat damage, arcing, or leaks
If you want, tell me your heater’s brand, approximate age, and whether the water at the tap is getting unusually hot. Also tell me if you have a mixing valve, recirculation system, or a timer. Those details narrow the problem fast.
About Marcus Vance
Content Creator @ Grit & Home
Marcus Vance is a lifelong DIY enthusiast and self-taught home renovator who has spent the last decade transforming a dilapidated 1970s ranch into his family's dream home. He specializes in budget-friendly carpentry, room-by-room renovations, and demystifying power tools for beginners. Through his writing, Marcus shares practical tutorials and hard-learned lessons to help homeowners tackle their own projects with confidence.