🚨 In a DIY emergency or rush?
Skip the details and jump straight to our 30-second cheat sheet for the most crucial info.
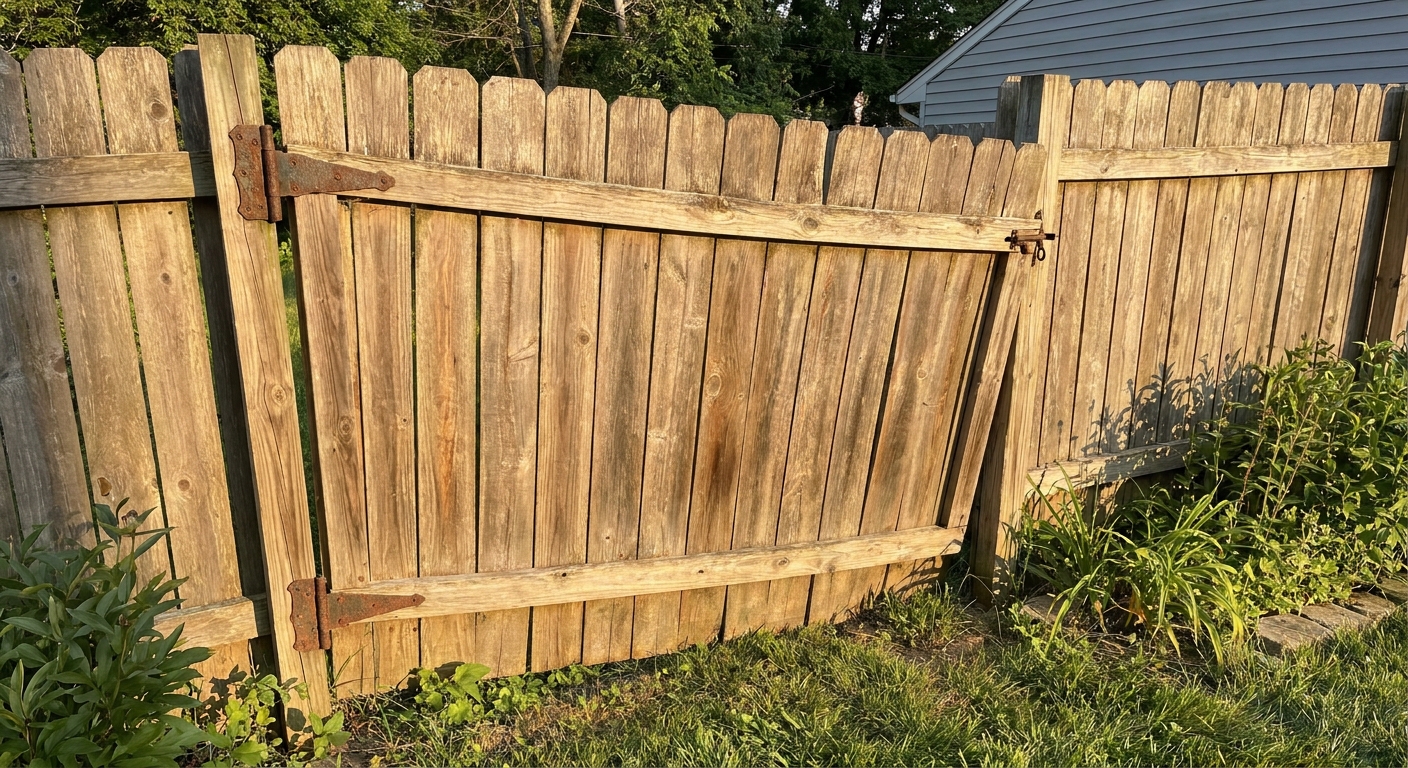
A sagging gate is one of those problems that feels small until you are shoulder-checking it shut with a grocery bag in each hand. The good news is that most gate sag and latch issues come down to a handful of repeat offenders: loose hinges, a twisting gate frame, a settling hinge post, or a latch that is out of alignment because of seasonal swelling.
Below I will walk you through fast checks first, then the fixes that actually hold up. I will also tell you when to stop fiddling with hardware and admit the post is the real problem.
Quick diagnosis: what is actually moving?
Before you buy new hinges, figure out whether the gate is sagging because the gate is racking or because the post is leaning. The fix is different.
The 2-minute check
- Lift test: Open the gate halfway. Grab the latch-side corner and lift straight up. If it moves up easily and you see hinge screws shifting, you likely have loose/undersized fasteners or worn hinge holes.
- Gap check: Look at the gap between the gate and the latch post. If the gap is tight at the top and wide at the bottom, that is classic sag.
- Post plumb check: Hold a 4-foot level against the hinge post (or use a phone level app on a straight board). If the post is out of plumb, hardware adjustments will only be a temporary band-aid.
- Diagonal measurement: Measure corner-to-corner diagonals on the gate frame. If the diagonals are not equal, the gate is racked (out of square).
My rule: If the post is solid and plumb, focus on hinges and bracing. If the post is leaning or wobbly, start at the post or you will be redoing this in a month.
Hinge fixes: from quick wins to durable upgrades
1) Tighten and upgrade screws (the cheapest “real” fix)
On most sagging gates I see, the hinge screws are short and biting into soft, weathered wood. Replace them with longer, beefier fasteners that actually grab the post framing.
- Swap short screws for 3 to 4 inch exterior structural screws (not drywall screws).
- If your hinge is mounted through a fence picket into nothing, add blocking or move the hinge so fasteners land in solid wood.
- If holes are stripped, plug them with exterior wood glue + hardwood dowels, let cure, then re-drill pilot holes.
Tip: Pre-drill pilots in the post. It prevents splitting and makes the hinge cinch tight instead of “cam-ing out” the screw head.
2) Reposition hinges for better leverage
Hinges work best when they are spread far apart. If your hinges are too close together, the gate has more leverage to twist and sag.
- Place the top hinge as high as practical on the gate frame.
- Place the bottom hinge as low as practical.
- If you have a heavy gate, consider adding a third hinge centered between the others.
3) Swap to heavier hinges when the gate is simply too much for the hardware
If your gate is wide, built from thick material, or has started dragging badly, light strap hinges may be under-sized.
- Upgrade to heavy-duty strap hinges sized for your gate width and weight.
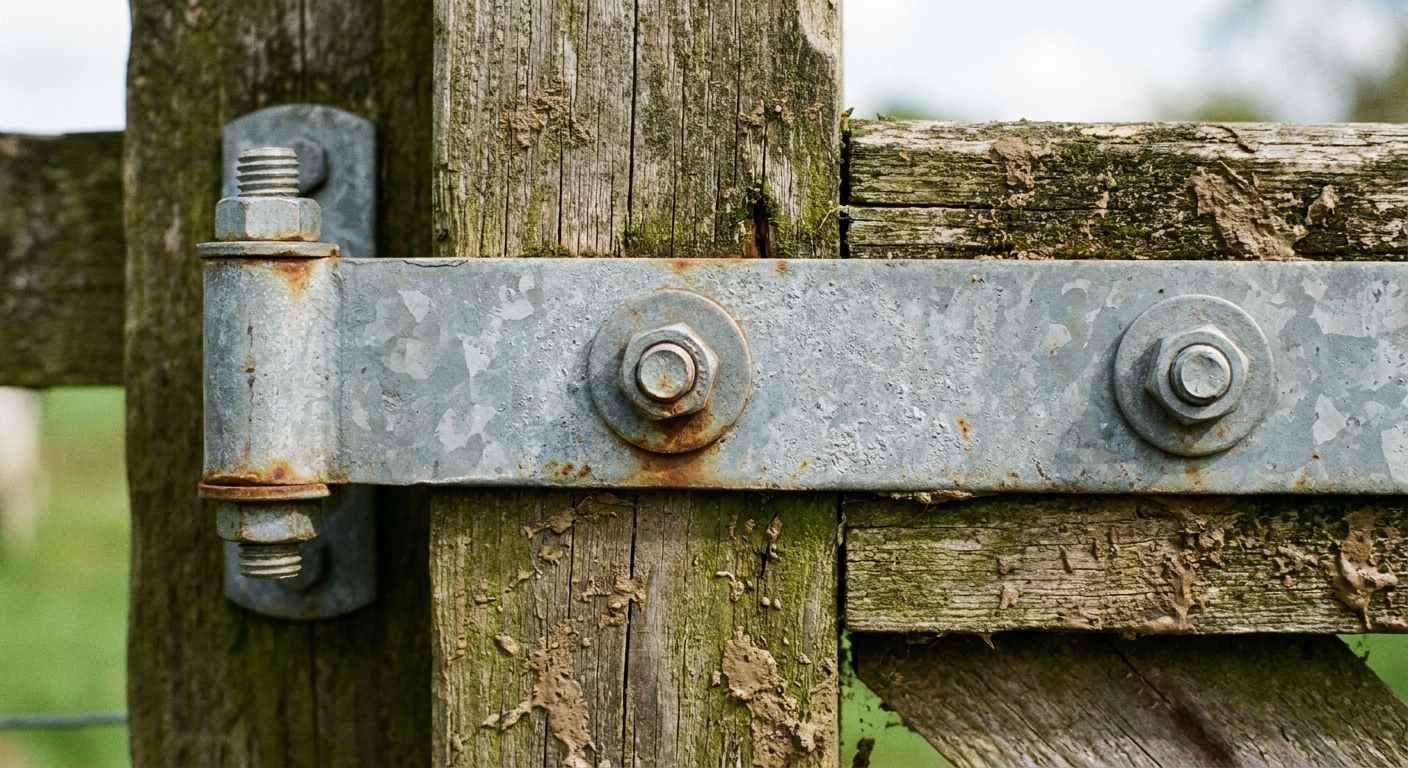
- For wood gates, look for hinges with through-bolt capability (carriage bolts + washers + nuts). Through-bolting resists loosening far better than screws alone.
- Use hot-dipped galvanized or stainless hardware outdoors. Painted indoor hardware will rust and bind.
4) Add a gate wheel only as a helper, not a crutch
A small gate wheel can reduce load and prevent dragging, but it does not fix a racked frame or a leaning post. If you use one:
- Choose a pneumatic or spring-loaded wheel for uneven ground.
- Set the wheel so the gate still swings freely without lifting the latch side excessively.
Anti-sag kits and diagonal bracing that actually work
If the post is solid but the gate is racking, bracing is your long-term friend. Think of it like telling the gate which way it is allowed to flex.
Anti-sag cable kit (fast and adjustable)
An anti-sag kit uses a steel cable and a turnbuckle to pull the gate back into square.
- Run the cable from the top hinge-side corner to the bottom latch-side corner.
- Tighten the turnbuckle until the latch-side corner lifts back into position.
- Do not over-tighten. You can crush wood fibers or bow the frame.
Best for: Lighter to medium wood gates that have started to rack over time.
Diagonal wood brace (the most “set it and forget it” option)
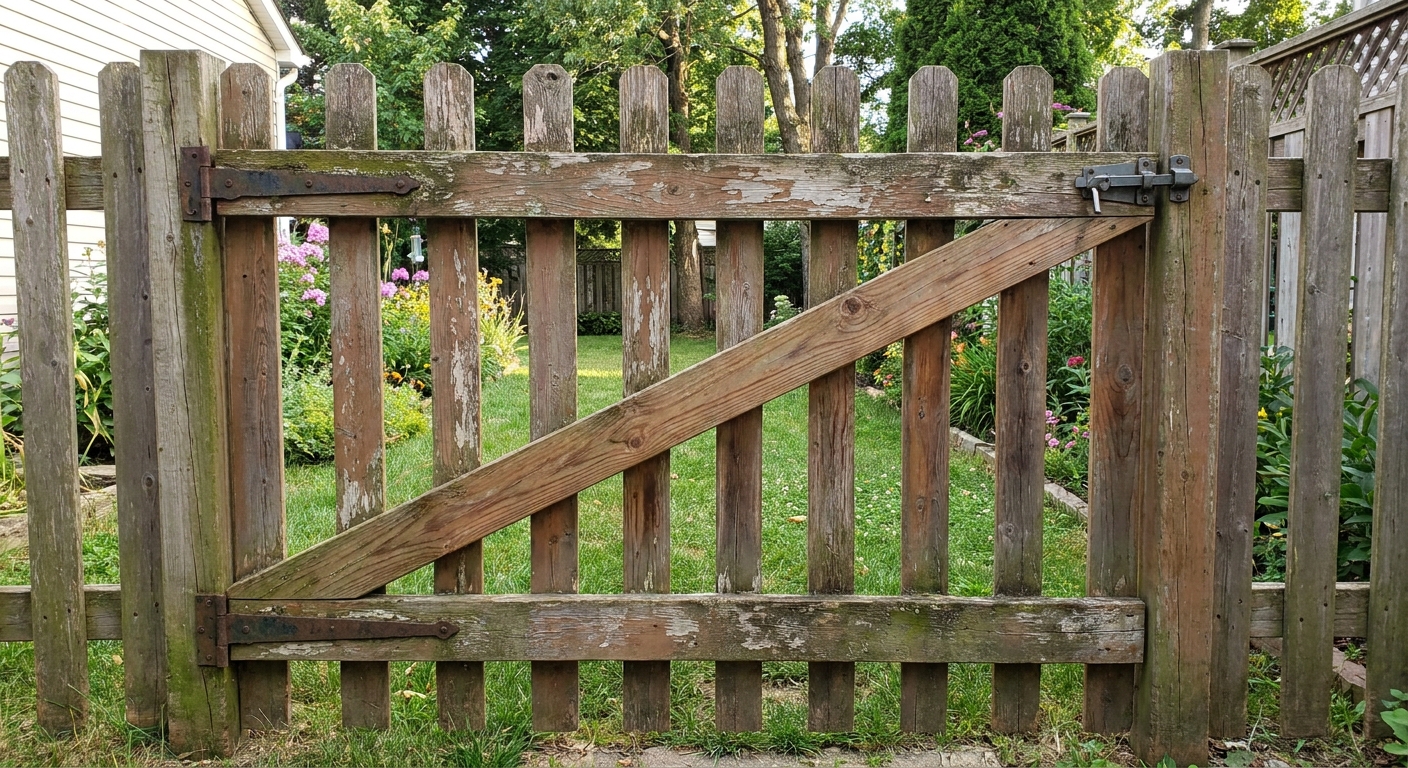
A proper diagonal brace turns a floppy rectangle into a stiff triangle.
- The brace should run from the bottom hinge side up to the top latch side. That orientation puts the brace in compression, which wood handles well.
- Use straight, dry lumber and fasten into the gate frame, not just pickets.
- If your gate frame is flimsy, add a horizontal rail first so the brace has solid attachment points.
Corner brackets and frame reinforcement
If your gate is built like a picture frame with minimal joinery, corner reinforcement helps.
- Add galvanized corner brackets at the corners of the frame.
- Better yet, rebuild corners with half-lap joints or blocking and through-bolts if you are comfortable with basic carpentry.
Latch won’t catch? Adjustments for seasonal swelling and sag
Sometimes the gate is fine. It is the latch alignment that is off by a quarter inch because the wood swelled, the ground shifted, or the striker got bumped.
1) Mark the strike point
Close the gate gently and see where the latch hits the striker. A pencil mark tells you whether you need to move the striker up/down or in/out.
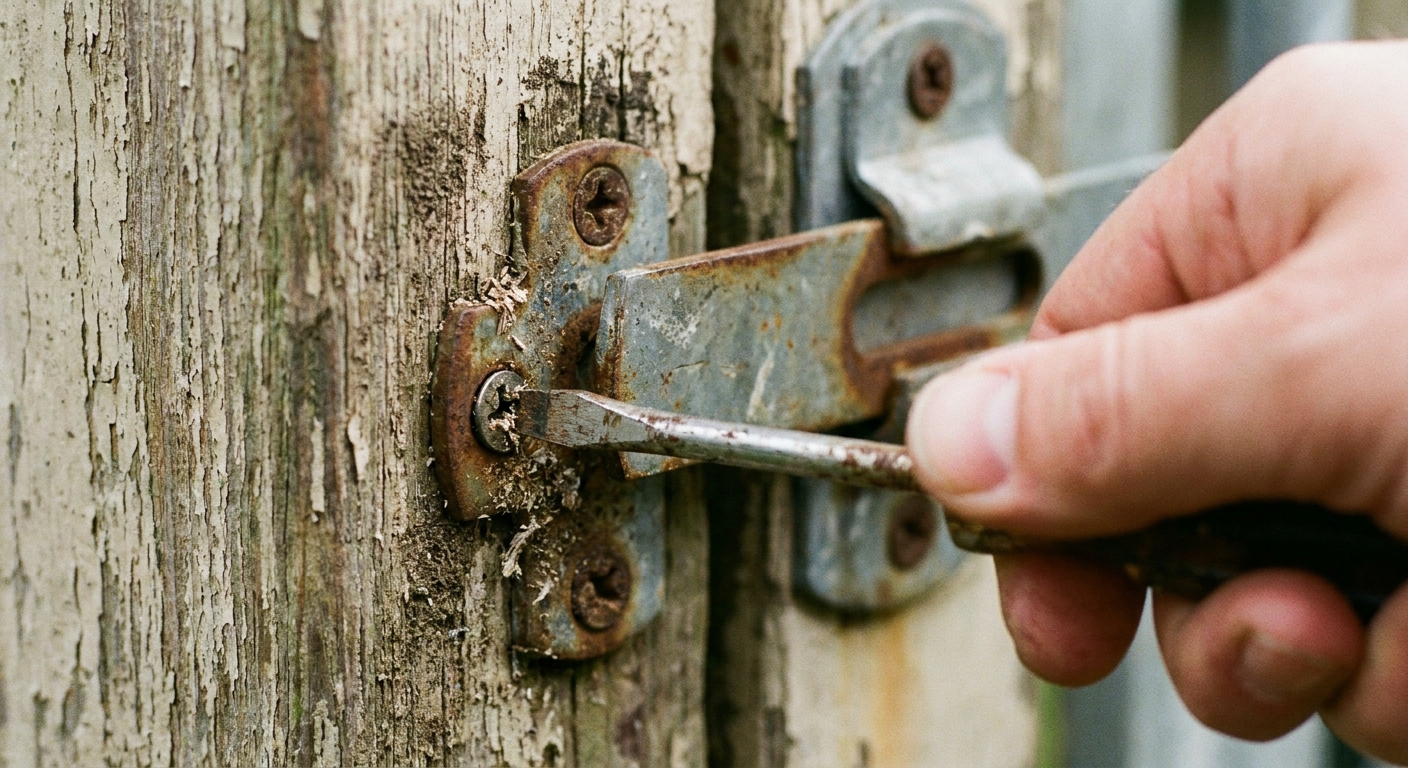
2) Move the striker plate (usually 5 minutes)
- Loosen the striker screws and nudge it into alignment.
- If you need a larger move, re-drill pilot holes and reset it.
- If screw holes are wallowed out, plug with dowel and glue, then re-screw.
3) Give yourself seasonal “wiggle room”
Wood gates move. In humid months, the latch side can swell enough to bind.
- Choose a latch with a bit of tolerance, not a tight, finicky mechanism.
- If the gate rubs the post, plane or sand the rubbing edge and seal the fresh wood.
- Check that the latch post is not crowned with soil or mulch pushing water into the wood.
4) If the latch lines up only when you lift the gate
That is not a latch problem. That is sag. Go back to hinges and bracing first, then fine-tune the striker last.
When the hinge post is the culprit: quick checks and lasting resets
A leaning hinge post causes the whole gate to drop and swing out of alignment. You can install the fanciest hinges in the world and it will still sag because the “hinge wall” itself is moving.
Signs your post is settling or failing
- The top of the hinge post leans toward the latch side.
- You can wiggle the post by hand.
- Cracked, crumbling concrete at the base.
- Soil around the post stays wet or spongy.
Reset option A: re-pack with compacted gravel (drainage-friendly)
If you are in a wetter yard or clay soil, drainage matters. A gravel base helps water move away from the post.
- Remove the gate and any nearby fence panel tensioning the post.
- Dig around the footing enough to move the post back plumb.
- Set the post plumb and brace it with scrap boards.
- Add 3/4 inch crushed stone in lifts (about 3 to 4 inches at a time), compacting each lift firmly with a tamper or a 2x4.
- Finish with soil sloped away from the post.
Best for: Posts that are mostly sound but shifted due to soft soil and poor drainage.
Reset option B: re-set with concrete (strong, but do it right)
Concrete can be a great fix when the post is structurally sound and you need rigidity. The key is keeping water from sitting against the wood.
- Dig to below frost depth if you have freezing winters.
- Set the post on a few inches of compacted gravel for drainage.
- Slope the top of the concrete away from the post like a little dome so water sheds.
- Brace the post plumb until the concrete cures.
Note: If the post is rotted at ground line, replacing it is usually faster than trying to “save” it with more concrete.
Don’t skip this: check the latch post too
If the latch post leans, the gate can appear sagged even when it is square. Put a level on both posts before you start moving hardware around.
Step-by-step: a durable sag fix in the right order
If you want the “do it once” approach, here is the order that keeps you from chasing your tail.
- Check posts for plumb and wobble. Fix the hinge post first if it is moving.
- Square the gate. Measure diagonals, then add an anti-sag cable or diagonal brace to hold it square.
- Upgrade hinge fasteners. Longer structural screws or through-bolts into solid framing.
- Adjust hinge position if needed. Spread hinges apart, add a third hinge for heavy gates.
- Set the latch striker last. Align it to the gate that is now hanging correctly.
I have made the mistake of adjusting the striker plate five different ways because it felt easier than admitting my hinge post had leaned. Save yourself the frustration and start with the structure.
Tools and materials you will actually use
- 4-foot level (or straight board + phone level)
- Tape measure
- Drill/driver + bits
- Exterior structural screws (3 to 4 inch) or carriage bolts with washers and nuts
- Wood glue + hardwood dowels (for stripped holes)
- Anti-sag kit and/or 2x4 for diagonal brace
- Post hole digger or shovel (if resetting a post)
- Crushed stone and tamper, and optionally concrete mix
Common mistakes that make sag come right back
- Using deck screws or drywall screws for hinges. They snap or strip.
- Fastening hinges into pickets instead of the gate frame or solid blocking.
- Over-tightening a cable kit until the gate bows.
- Bracing the wrong direction with a wood brace that does not carry compression where it should.
- Ignoring drainage around posts, especially on the hinge side where load is highest.
When to replace, not repair
Repairs are great, but sometimes the best budget move is replacing the part that is truly failing.
- Replace the hinge post if it is rotten at ground line or wobbles even after bracing.
- Replace the gate frame if it is badly warped, split at joints, or built without a real frame.
- Replace hardware if it is rusted, binding, or visibly bent.
If you are not sure, take a picture of the hinge side and the latch side and look for this: solid wood plus solid fasteners equals a gate that behaves.
The 30-Second Cheat Sheet
Essential takeaways for: Fence Gate Sagging or Won’t Latch? Fixes That Last
Fast diagnosis
- If the gate only latches when you lift it: it is sagging. Fix hinges and bracing first, then adjust the latch.
- If the hinge post is leaning or wobbly: hardware tweaks will not last. Reset or replace the post.
- If the diagonals on the gate are different: the gate is racked. Add an anti-sag kit or diagonal brace.
Fix order that lasts
- Check hinge post and latch post for plumb and movement.
- Square the gate (anti-sag cable from top hinge side to bottom latch side, or a wood brace from bottom hinge side to top latch side).
- Upgrade hinge fasteners (3 to 4 inch exterior structural screws, or through-bolts).
- Spread hinges farther apart or add a third hinge for heavy gates.
- Move the latch striker plate to match the now-correct gate position.
Quick latch fix for seasonal swelling
- Mark where the latch hits the striker, then move the striker up/down or in/out.
- If the gate rubs the post in humid months, lightly plane/sand the rubbing edge and seal the fresh wood.
Post reset notes
- Compacted gravel is great for drainage: add in 3 to 4 inch lifts and tamp hard.
- Concrete is strong, but slope the top away from the post and add gravel under the post for drainage.
Avoid these common failures
- Do not use drywall screws for hinges.
- Do not mount hinges into thin pickets without solid framing or blocking.
- Do not over-tighten anti-sag cables until the gate bows.
💡 Tip: Scroll up to read the full article for detailed, step-by-step instructions.
⬆️ Back to topAbout Marcus Vance
Content Creator @ Grit & Home
Marcus Vance is a lifelong DIY enthusiast and self-taught home renovator who has spent the last decade transforming a dilapidated 1970s ranch into his family's dream home. He specializes in budget-friendly carpentry, room-by-room renovations, and demystifying power tools for beginners. Through his writing, Marcus shares practical tutorials and hard-learned lessons to help homeowners tackle their own projects with confidence.