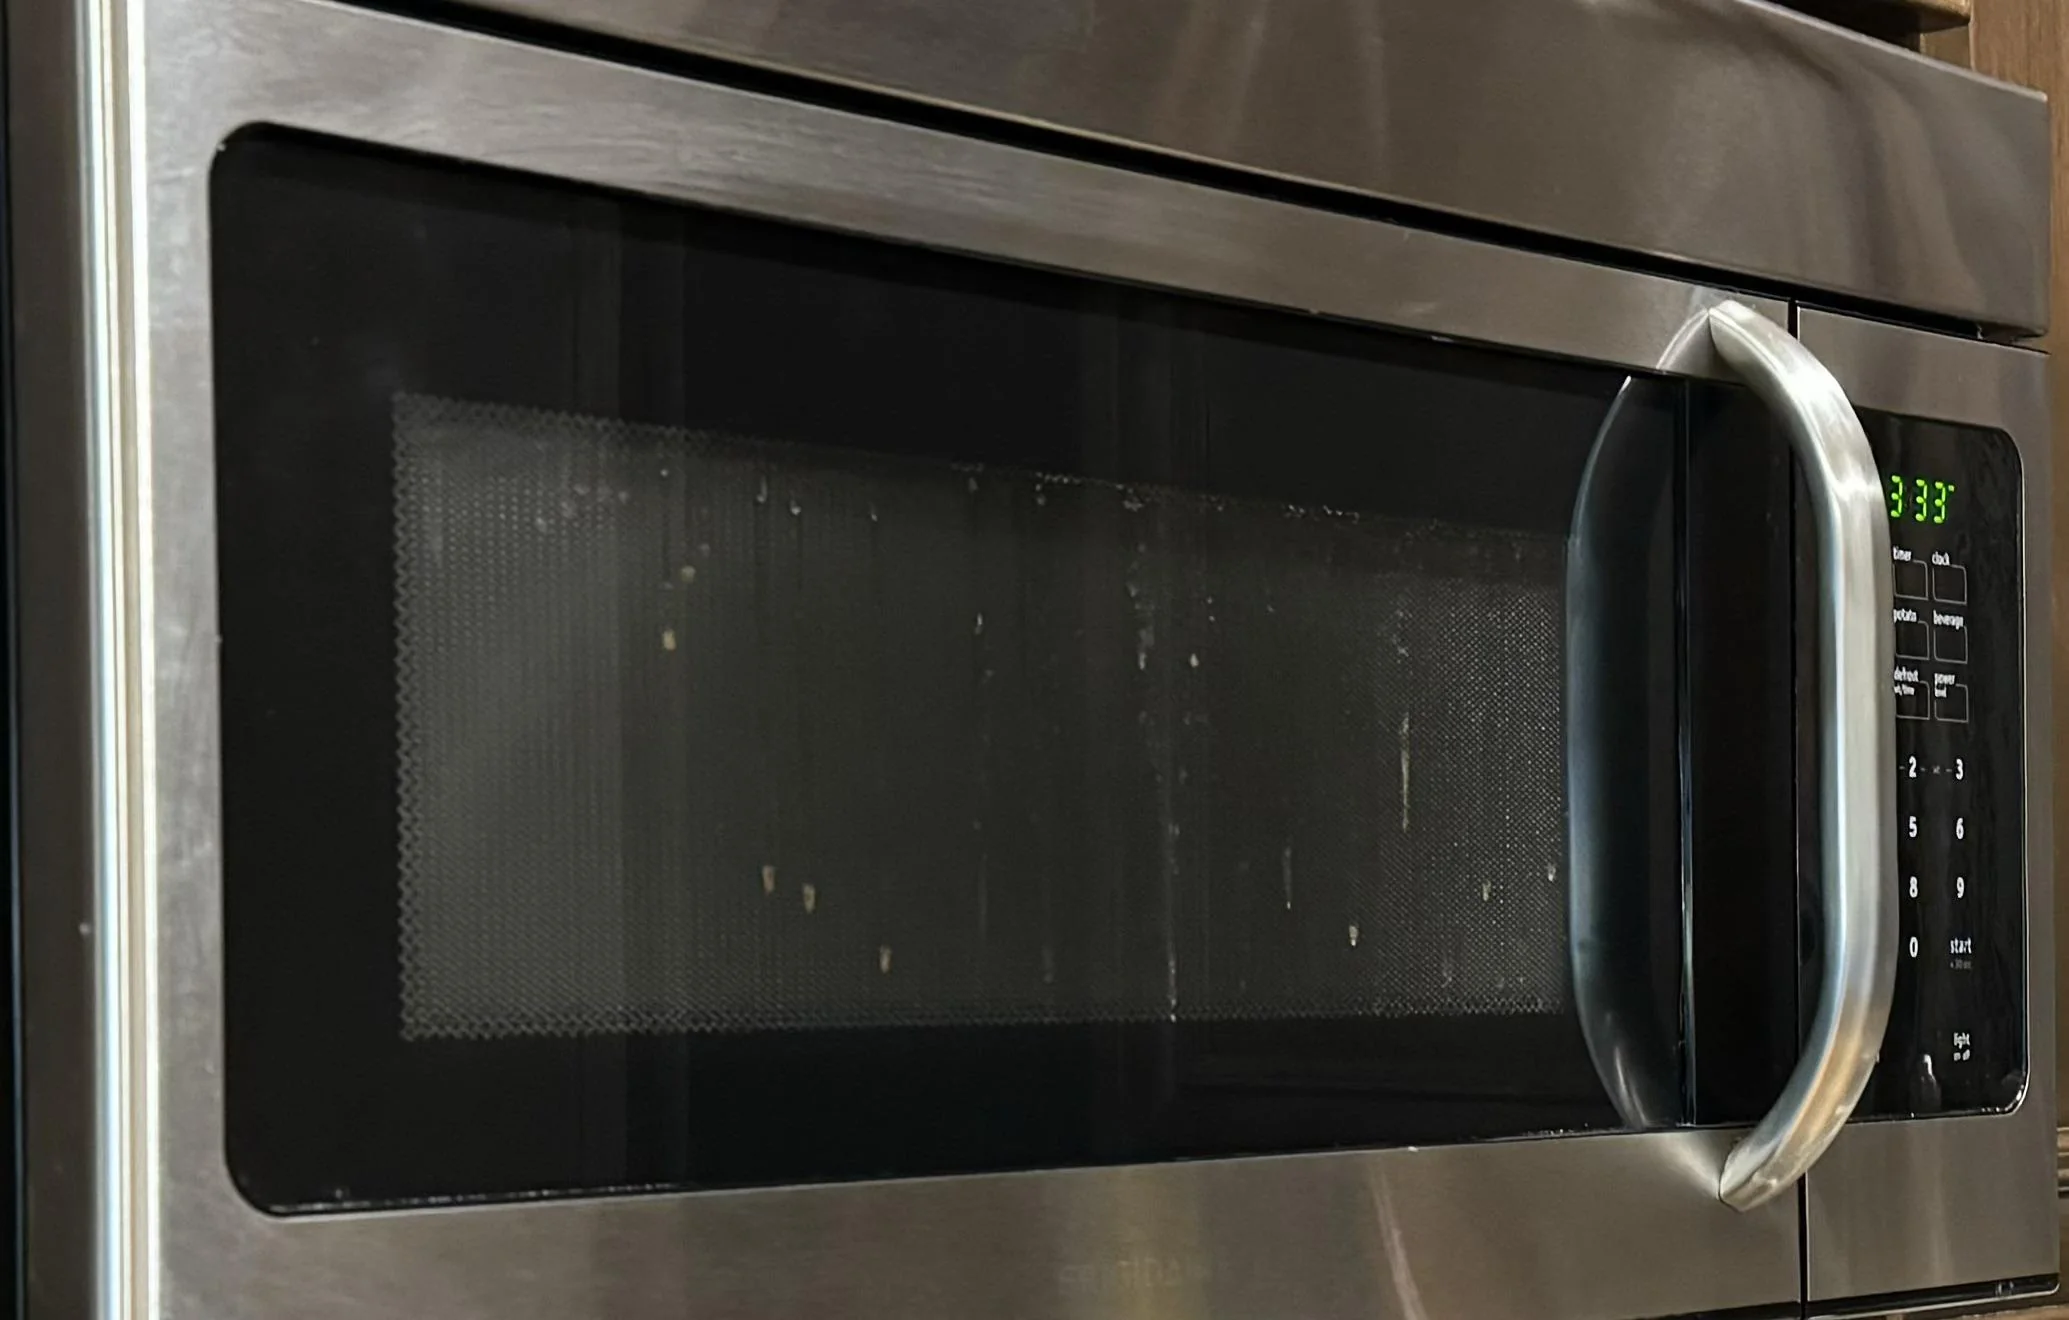
If your oven door looks like a foggy bathroom mirror, but only between the panes, you are not imagining it. Modern oven doors are usually a multi-layer “sandwich” of glass with small air gaps and venting paths. Ideally, that space stays mostly clear. When airflow, alignment, or glass separators are compromised, you can get haze, water droplets, or greasy mist that you cannot wipe off from either side.
Good news: this problem is usually fixable. The trick is figuring out why moisture is getting in, and whether you are dealing with normal venting plus buildup, a shifted separator, or a damaged piece of glass.
What “fog between panes” means
Oven doors commonly have two or three pieces of glass:
- Outer glass (what you see from the front)
- Inner glass (faces the oven cavity and takes the heat)
- Middle glass (on some models, for extra insulation)
These panes are held in a frame with spacers, clips, and sometimes felt strips or edge gaskets. Unlike home windows, many oven doors are intentionally vented for cooling, so the door is not perfectly airtight. Still, the design is supposed to keep hot air, steam, and cooking grease from freely migrating into the glass cavity and parking there.
When you see fog between panes, one of two things is happening:
- Moisture or vapor is entering the cavity (steam from roasting, boiling, or self-cleaning) and condensing as the door cools.
- Grease-laden air is entering the cavity, leaving a film that looks like permanent haze.
Why it can happen without a “failure”
Sometimes nothing is “broken.” If your model uses venting to keep the exterior cooler, a little humid air can move through the door during steam-heavy cooking. Over time, that can leave mineral haze or a thin grease film inside the glass cavity, especially if the door edges and vents are already dirty.
That said, sudden fogging, heavy dripping, or rapid repeat buildup often points to a separator, clip, or gasket issue.
Common causes (and what they look like)
1) Glass separators or edge gaskets out of place
This is a very common culprit on models that use felt strips, edge gaskets, spacers, or clips to manage airflow and keep the glass layers properly separated. These parts can shrink, harden, or get pinched during cleaning and reassembly. Once there is an easier pathway, steam and aerosolized grease will find it.
- Symptoms: fogging after high moisture cooking, haze that gets worse over weeks, sometimes a faint greasy drip line at the bottom edge inside the door.
- Why it happens: age, heat cycling, harsh cleaners, or a door that has been disassembled before.
Quick clarification: the big rope-like oven door gasket seals the door to the oven frame. The small felt strips or edge gaskets (when present) help separate and cushion the glass panes and trim. They are different parts with different jobs.
2) Cracked inner glass or damaged spacer
A crack can be sneaky. The inner pane can develop a hairline fracture that does not fully shatter but still breaks the barrier. A warped spacer or broken clip can also create a gap.
- Symptoms: fogging appears suddenly, you may hear a faint rattle in the door, or the fog is concentrated near one corner or edge.
- Quick check: with the oven off and cool, shine a flashlight across the inner pane at a low angle. Hairline cracks often show up as a thin bright line.
Quick diagnostics
Do the cool-down test (informal)
This is not a manufacturer test, just a simple heuristic that makes moisture behavior obvious. Run the oven at 350 F for 20 to 30 minutes with a shallow pan of water on a rack. Keep it stable so it cannot slosh or spill. Turn the oven off and watch the door as it cools. Be careful around hot steam when you open the door.
- If fog forms as it cools and clears later: you likely have moisture entering the cavity (often venting plus a bit of buildup), but not a heavy grease problem yet.
- If fog never fully clears and looks oily: you likely have grease contamination between panes. Cleaning plus fixing the separator path is the usual fix.
Check the door frame and bottom vents
Many doors have vent areas that allow limited airflow for cooling. If these are packed with grease, they can redirect vapor into places it should not sit.
- Look for baked-on grime along the bottom edge of the door.
- Look for torn or flattened felt strips or edge gaskets around the glass opening (if your model has them).
Rule out simple surface haze
It sounds obvious, but I have been fooled by this one. Clean both the exterior glass and the interior glass facing the oven cavity first. Use a non-scratch pad and a degreaser suitable for glass, then dry fully. If the haze is unchanged, it is truly between-pane.
What you can clean without disassembly
Most of the time, you cannot reach the between-pane cavity from the front or the oven side. But you can improve the situation by cleaning the areas that feed grime into that cavity.
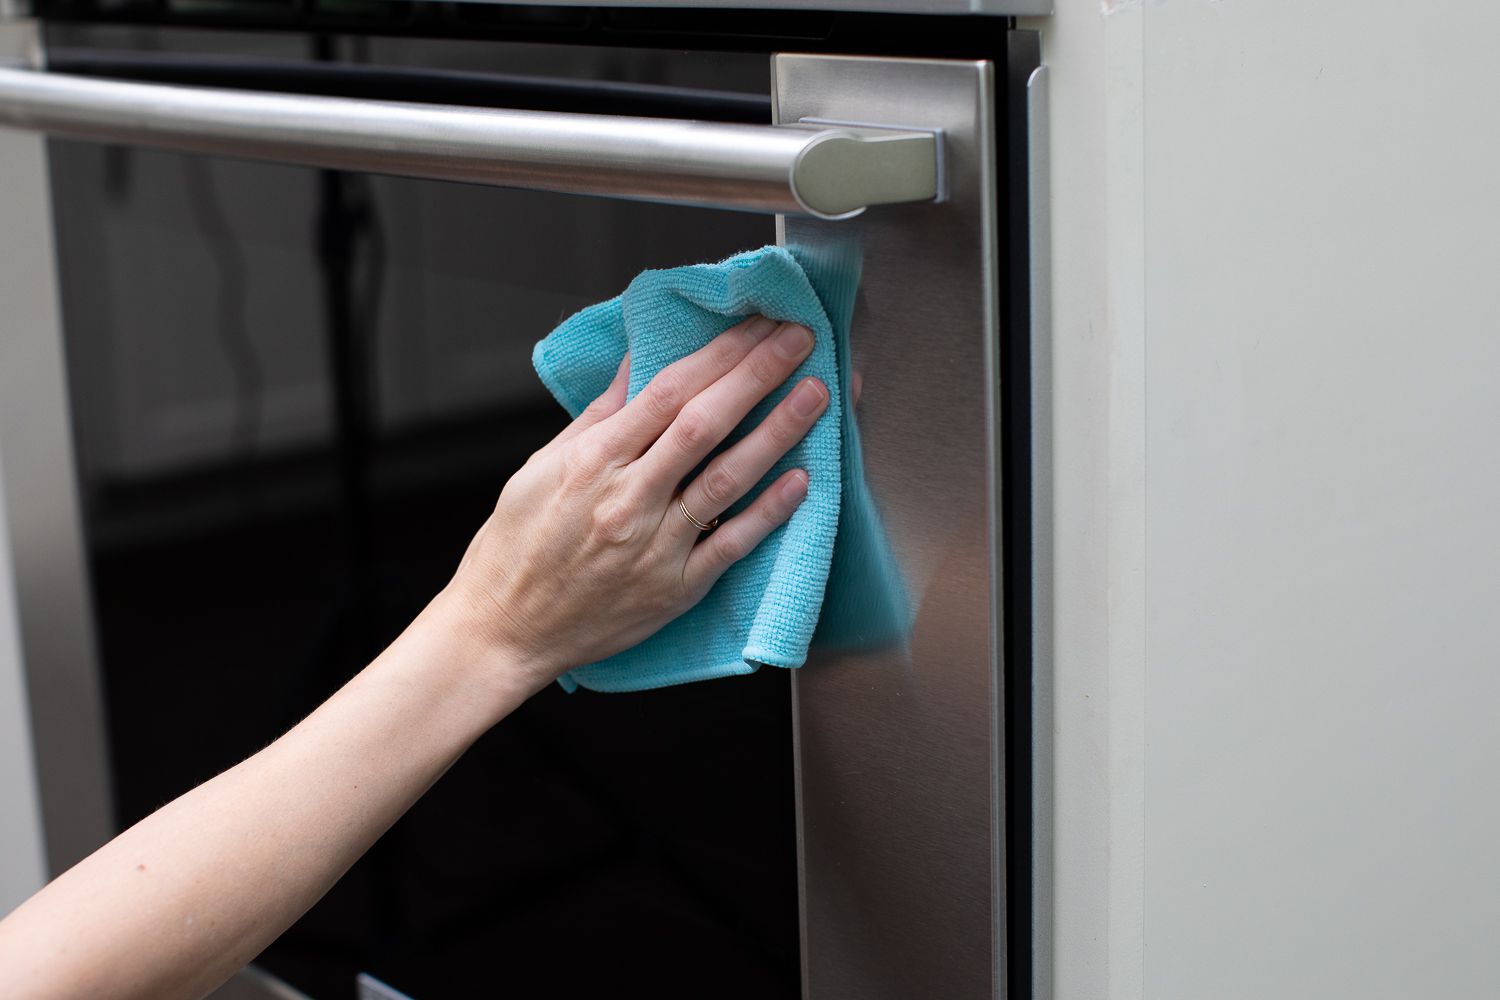
Step 1: Clean the door perimeter
- With the oven cool, wipe the entire door edge, especially the bottom edge, with hot soapy water.
- Follow with a mild degreaser and a microfiber towel.
- Dry thoroughly so you are not adding moisture to the area.
Step 2: Clean accessible vent slots and crevices
- Use a soft brush and a vacuum nozzle to remove crumbs and carbon.
- Use cotton swabs or a folded paper towel to get into corners.
Avoid: spraying cleaner into seams and hoping it “wicks in.” That often makes the fog worse by adding liquid to a space you cannot dry.
The real fix: clean between panes
If moisture or grease is already trapped inside the door, the lasting fix is usually to separate the door layers, clean the glass surfaces, then replace any damaged felt strips, spacers, clips, or edge gaskets so it does not return.
Expectation check: plan on 30 to 90 minutes, a basic screwdriver set, a towel-covered work surface, and ideally a helper for handling the door. Door designs vary a lot, so look up your model’s exploded parts diagram before you start. Some doors use hidden clips, hinge locks, and specific screw lengths.
Safety first
- Kill power at the breaker for electric ovens. For gas ovens, turn off power and avoid disturbing gas connections.
- Let the oven cool completely.
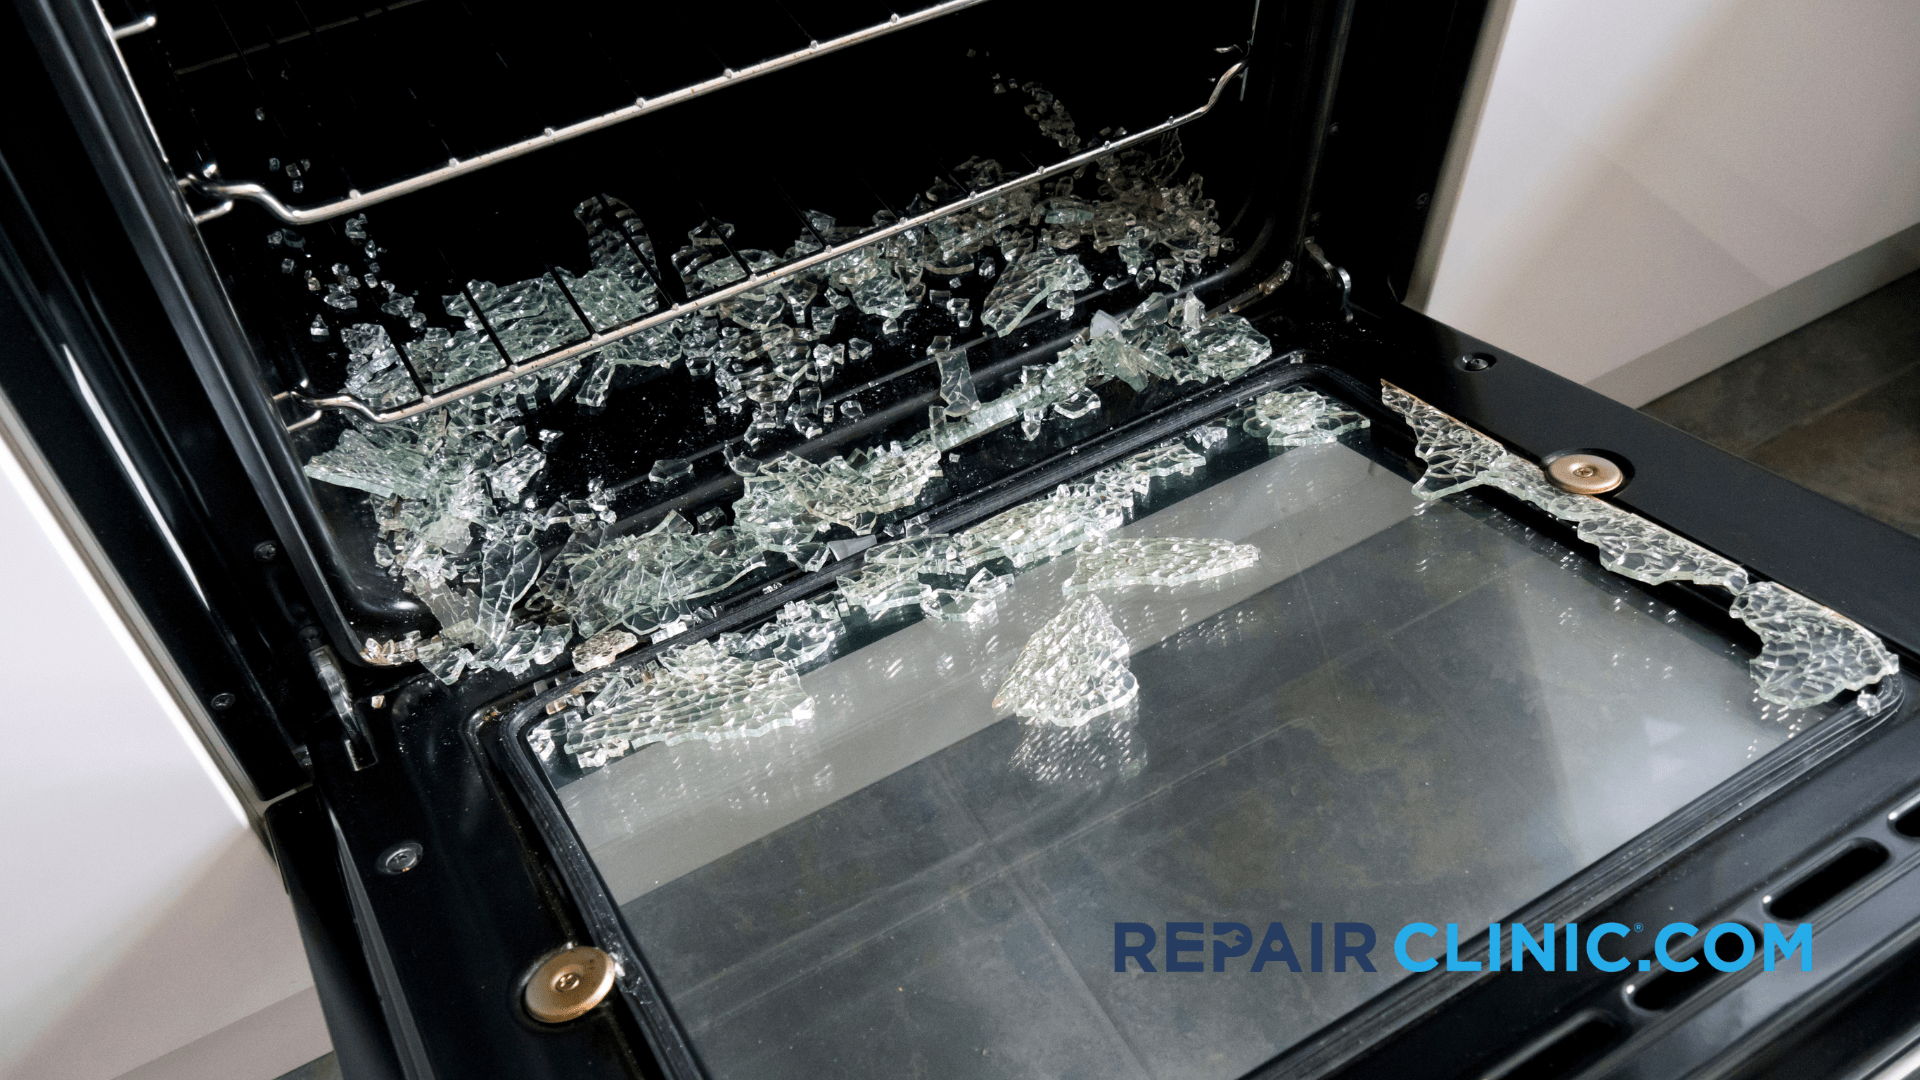
- Wear eye protection and cut-resistant gloves if you have them. Tempered glass can shatter unexpectedly.
- Lay a thick towel or cardboard on a sturdy table to protect the glass. Do not set glass directly on a hard surface.
- Take photos as you go. Door assemblies are simple, but easy to forget in reverse.
Basic approach (varies by brand)
Most ovens follow a similar pattern:
- Remove the door from the hinges if your model allows it. Many doors have small hinge locks or flip tabs that must be engaged first. Check your manual or diagram.
- Remove screws along the inner door panel or perimeter trim.
- Lift off the inner panel to access glass retainers and spacers.
- Clean each glass surface with a non-scratch cleaner and dry completely.
- Inspect and replace worn felt strips, edge gaskets, rubber bumpers, spacers, or clips.
- Reassemble carefully without pinching seals. Snug is good. Cranked is not.
My honest mistake: the first time I did this on a wall oven, I “snugged” the screws like I was building a deck. That was too much. Over-tightening can stress glass and warp trim, which can create gaps that invite fog.
Cleaning products that work (and what to skip)
- Good: hot soapy water, glass cleaner on a cloth, 50/50 vinegar water for light haze, a cooktop-safe razor scraper for baked-on spots on accessible glass surfaces.
- Skip: abrasive powders, steel wool, and anything that leaves oily residue behind.
If the fog is from mineral deposits, finish by wiping with distilled water and drying with a clean microfiber towel.
Seal issue vs cracked glass
Signs it is separators or gaskets
- Fogging builds gradually over time
- No visible crack lines
- Door still feels solid, no rattles
- Moisture appears after steam-heavy cooking and clears partially
Typical solution: disassemble, clean, and replace the glass edge gasket, felt strip, or spacer parts if they are compressed or damaged (if your model uses them).
Signs the inner glass is cracked
- Fogging begins suddenly after a slam, impact, or high heat cycle
- You can see a hairline crack with a flashlight
- You hear rattling inside the door
- You see sharp chips on an edge or corner
Typical solution: replace the damaged glass pane. Cleaning alone will not solve it, and continuing to use a cracked inner pane is a safety risk.
Repair vs replace
I am all for repair, but ovens are a place where safety and heat tolerance matter. Here is how I decide.
Repair makes sense when
- The oven is under 10 years old and otherwise works well
- You can find OEM parts by model number
- The issue is clearly a spacer, clip, felt strip, edge gasket, or dirty glass cavity
- The glass panes are intact
Replacement makes sense when
- The inner glass is cracked and the replacement part is expensive
- Multiple door components are warped or missing
- Parts are discontinued
- The door has been previously repaired and keeps fogging again
Cost reality check: a replacement inner door glass panel can range from affordable to “ouch” depending on brand and availability. If the part cost climbs toward a significant chunk of the oven’s value, replacing the whole oven can be the smarter long-term move.
When to call a pro
- You find a crack in any pane and are not confident handling tempered glass
- You smell burning insulation or see scorch marks inside the door
- The door does not close squarely after reassembly
- You have a high-end unit where door alignment is finicky
There is no shame in calling for help here. A door that does not seal properly can run hotter on the outside and can be a burn risk.
Keep it from coming back
- Keep the bottom edge clean: grease buildup near the lower trim is a repeat offender.
- Do not spray cleaner into seams: spray onto the cloth instead.
- Let steam escape: after roasting covered dishes or baking with lots of water, crack the door slightly after shutoff for a minute or two if your manual allows it.
- Be gentle with the door: slamming can shift spacers and stress glass over time.
Quick FAQ
Is moisture between oven door glass dangerous?
Usually it is more annoying than dangerous. But if it is caused by a cracked inner pane or the door is not closing and venting correctly, it can become a safety issue. Treat visible cracks as a stop-using-it-until-repaired situation.
Will self-cleaning fix fog between panes?
No. Self-cleaning can stress components and may discolor or damage door trim or gaskets. It also will not remove moisture or residue trapped inside the door cavity.
Can I drill a hole to “vent” the door like foggy windows?
I would not. Oven doors are engineered for insulation and safe exterior temperatures. Altering the door can create heat issues and safety risks.
If you want the next step, grab your oven’s model number from the frame (usually inside the door jamb), look up the exploded parts diagram, and identify the exact glass, gasket, spacer, and clip parts. That one little diagram turns this from a mystery into a straightforward Saturday project.
About Marcus Vance
Content Creator @ Grit & Home
Marcus Vance is a lifelong DIY enthusiast and self-taught home renovator who has spent the last decade transforming a dilapidated 1970s ranch into his family's dream home. He specializes in budget-friendly carpentry, room-by-room renovations, and demystifying power tools for beginners. Through his writing, Marcus shares practical tutorials and hard-learned lessons to help homeowners tackle their own projects with confidence.