What’s happening when the door won’t seal
When a freezer door will not stay shut or you spot frost sneaking in around the edge, it usually comes down to a few common mechanical issues: a dirty or deformed gasket, a door that is out of alignment, worn hinge hardware (including a closing cam), or a door that is slightly twisted. The good news is most of these fixes are inexpensive and very DIY-friendly.
This page stays focused on door seal mechanics. If your freezer is not cooling at all, or you have heavy ice buildup from a defrost failure, that is a different troubleshooting path.
Quick note on variations: Upright freezers, chest freezers, and fridge and freezer combos all use slightly different hinges, stops, and trim. Use the steps below as a framework, then confirm the exact hinge and cam setup in your manual.
Quick safety and tool checklist
- Unplug the freezer if you will be adjusting hinges, removing the door, or using any heat source near the gasket.
- Protect the floor with a towel if you are working near the bottom hinge.
- Tools that cover most situations: Phillips screwdriver, 1/4 inch nut driver, adjustable wrench, level, flashlight, microfiber cloth, warm soapy water, and a hair dryer.
Confirm it’s a seal problem
1) The dollar-bill pull test
Close the door on a dollar bill so half is inside and half is outside. Gently pull. You want firm resistance. Test all four sides, especially the top corners and hinge side. Easy pull in one spot usually means the gasket is dirty, flattened, or the door is misaligned.
2) The flashlight leak test
Turn off the room lights. Put a flashlight inside the freezer pointing toward the gasket line and close the door. If you see light leaking out around the perimeter, that points to a gap.
Small nuance: a faint glow at a corner can happen on some gasket designs. Confirm the spot with the dollar-bill test before you start bending parts.
Fix #1: Check for simple obstructions
Before you adjust anything, make sure something is not physically holding the door open. This one is more common than people like to admit, and I include myself in that group.
- Look for a box corner, bag, or frozen pizza edge sticking out past the shelf.
- Check drawers and bins. A mis-seated drawer can stop the door early.
- If you have an ice bucket or ice maker bin, make sure it is seated fully.
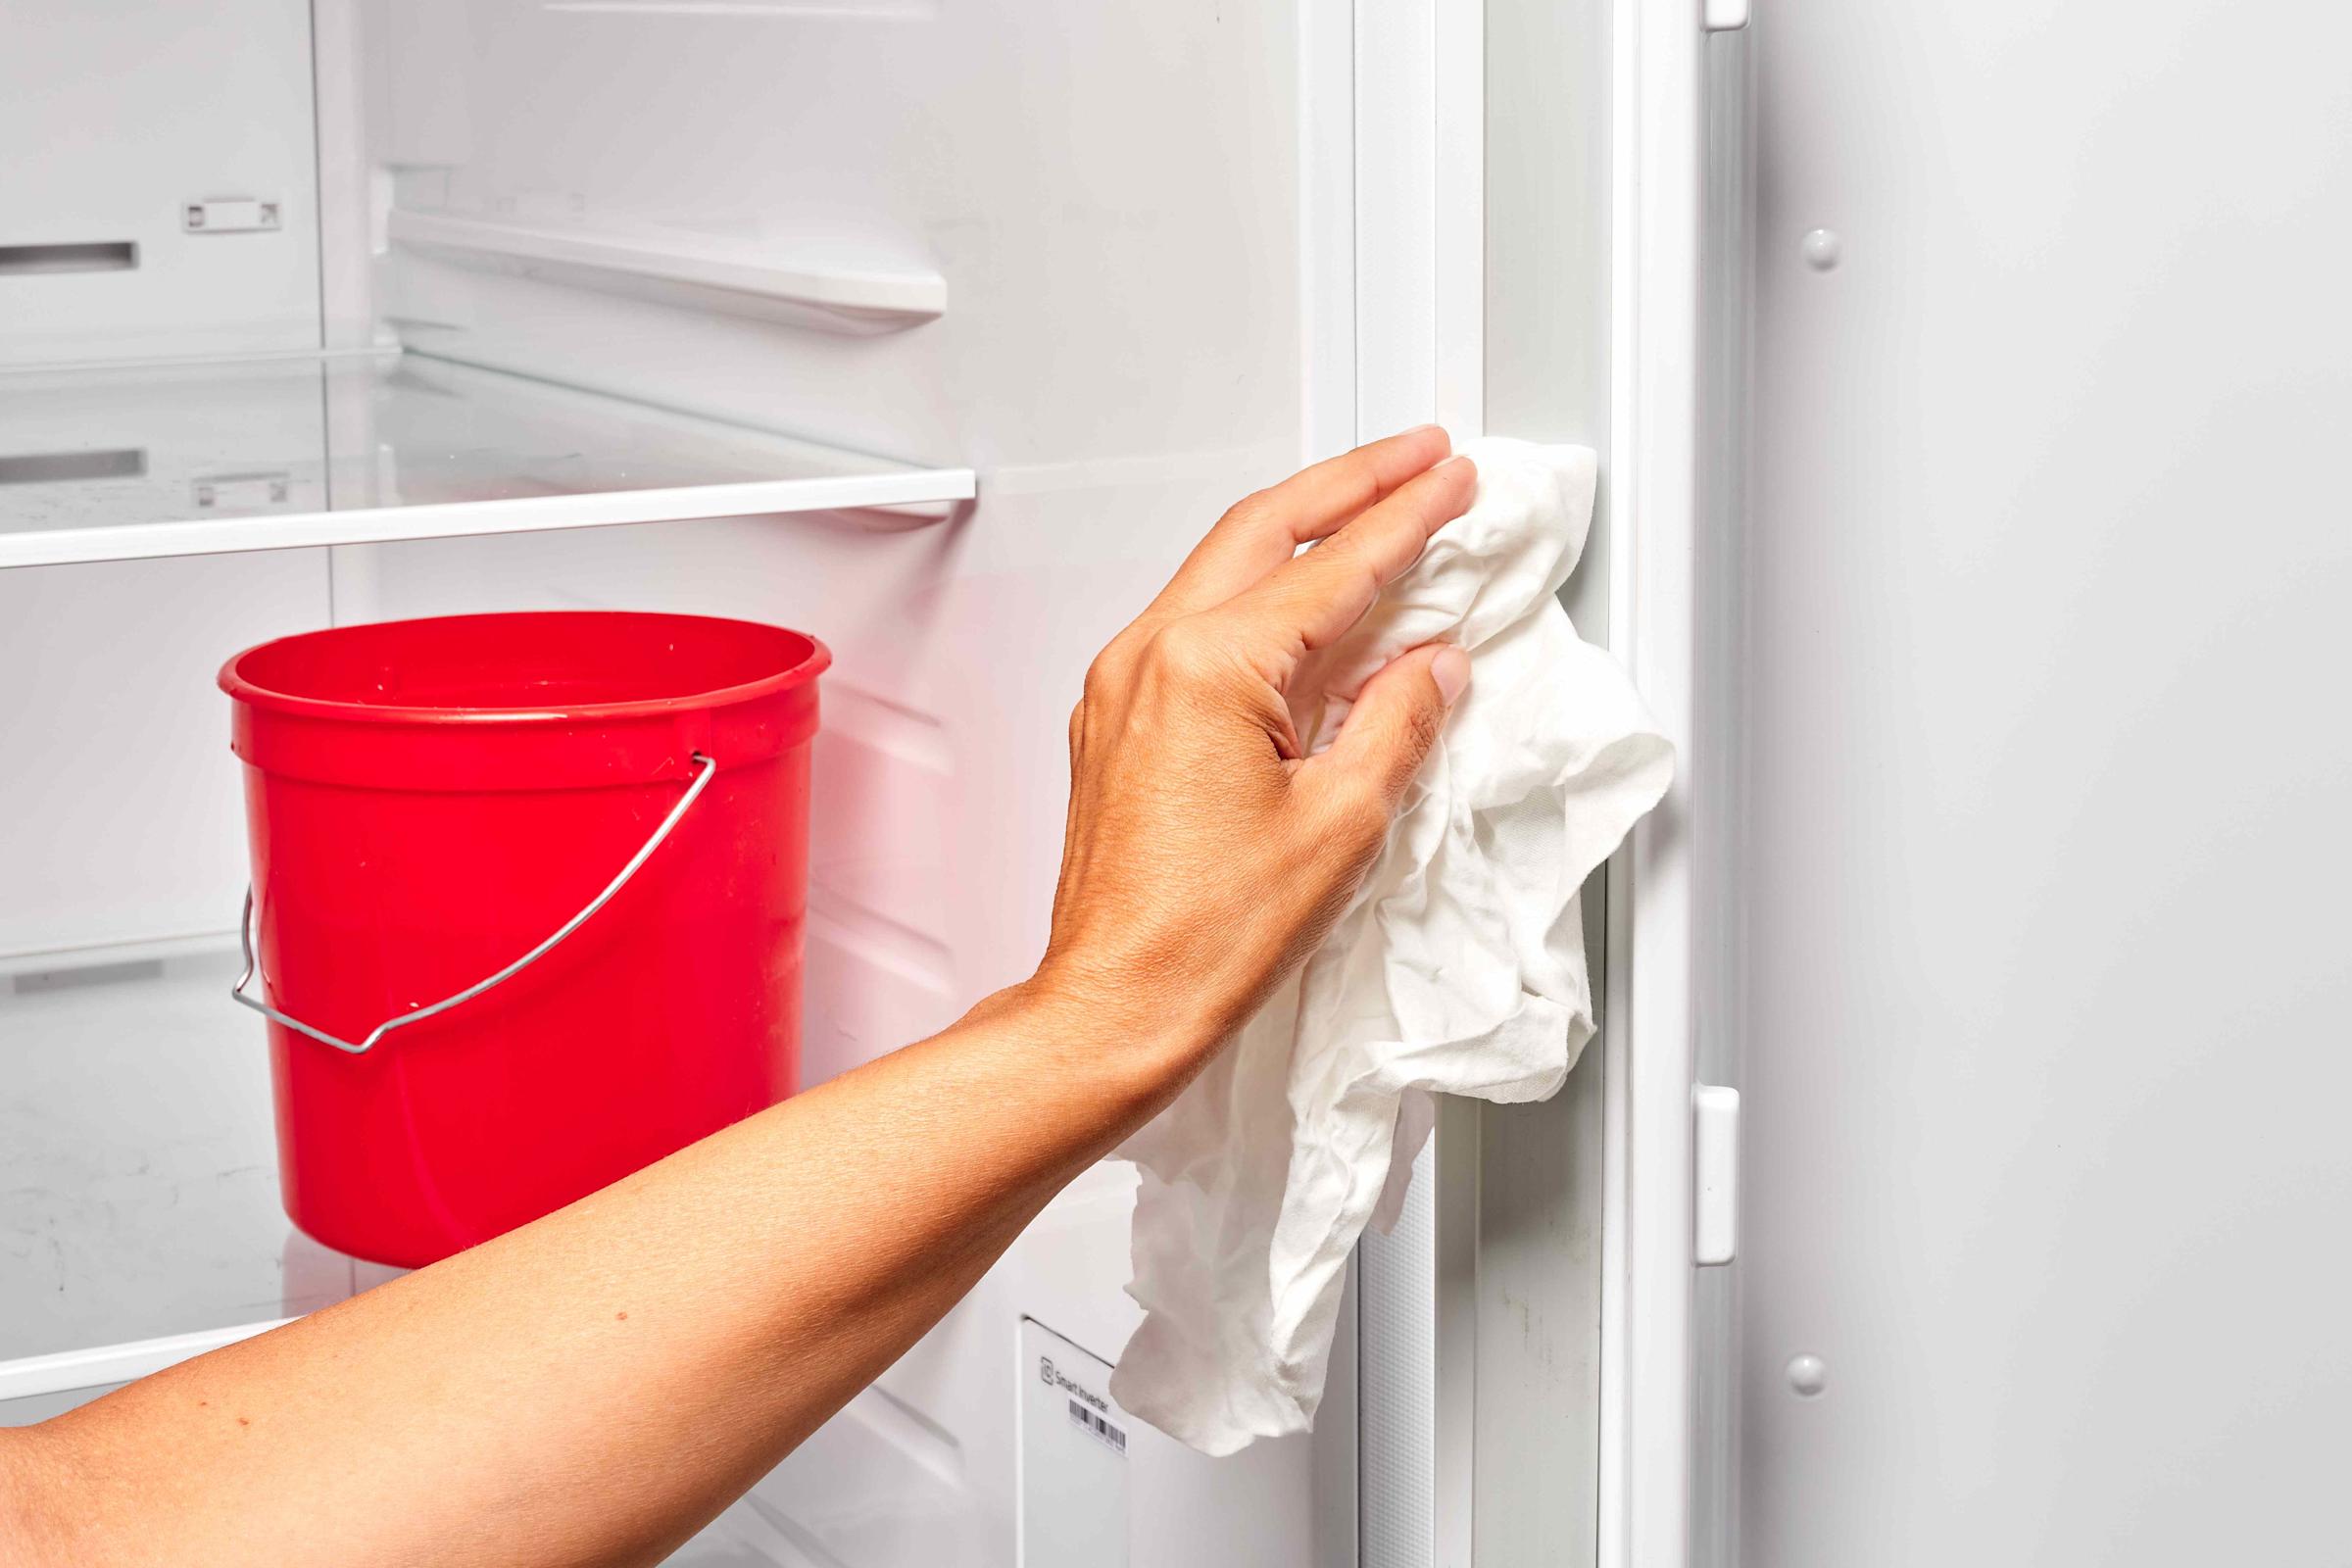
Fix #2: Clean the gasket and cabinet lip
This is the most common fix, and it is also the cheapest. A thin film of grease, syrup, pet hair, or kitchen dust can keep the gasket from grabbing the cabinet face.
Step-by-step
- Mix warm water with a few drops of dish soap.
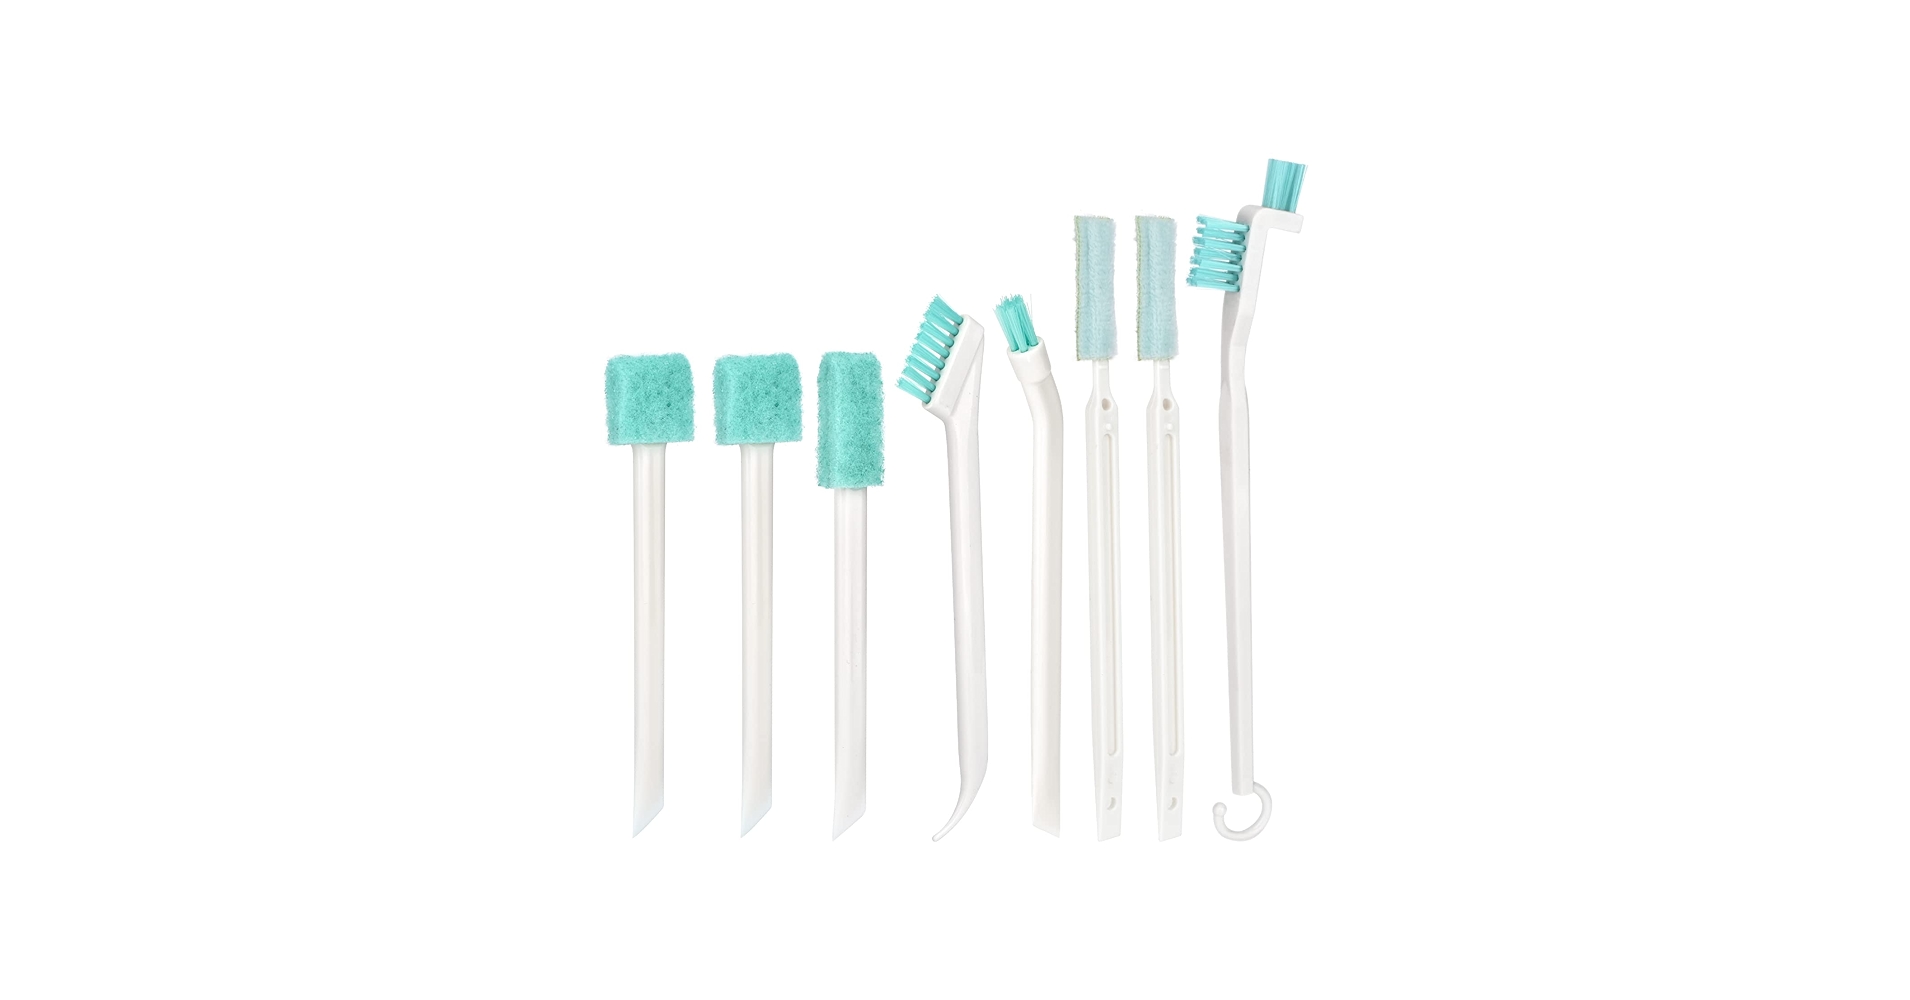
- Wipe the gasket folds thoroughly. Use a soft toothbrush for the deep grooves.
- Wipe the cabinet surface the gasket touches, too. That lip gets grimy.
- Dry everything fully with a clean towel.
Skip harsh cleaners. Bleach and strong solvents can dry out rubber and shorten the gasket’s life.
Fix #3: Warm and reshape the gasket
If the gasket looks fine but does not spring back, it may be cold-stiff, flattened, or slightly warped. I have seen this after a door was left ajar overnight, or after a big grocery load where boxes pressed on the gasket.
Reshape method (no parts needed)
- Unplug the freezer if you have not already.
- Warm the problem section using a hair dryer on low, held 6 to 10 inches away.
- Keep the air moving. Do not concentrate heat on one spot.
- As it warms, gently pull and massage the gasket so it sits squarely and evenly against the cabinet.
- Close the door and keep it closed for 30 to 60 minutes so it sets in the right position.
Manufacturer note: Most vinyl and PVC-style gaskets can be reshaped with gentle heat, but they can also deform if overheated. If your manual gives specific guidance, follow that first.
My mistake to help you avoid: the first time I tried this years ago, I held the dryer too close and overheated one corner. It did not melt, but it did get shiny and less grippy. Low heat, keep it moving, and be patient.
Fix #4: Check door alignment
A freezer door can sag over time, especially on units that get tugged open all day. When the door is low, the gasket may touch early on one side and never fully compress on the other. That can also cause the door to bounce open.
What to look for
- The gap between the door and cabinet is uneven from top to bottom.
- The door rubs slightly when opening or closing.
- You have to lift the handle a bit to get it to close.
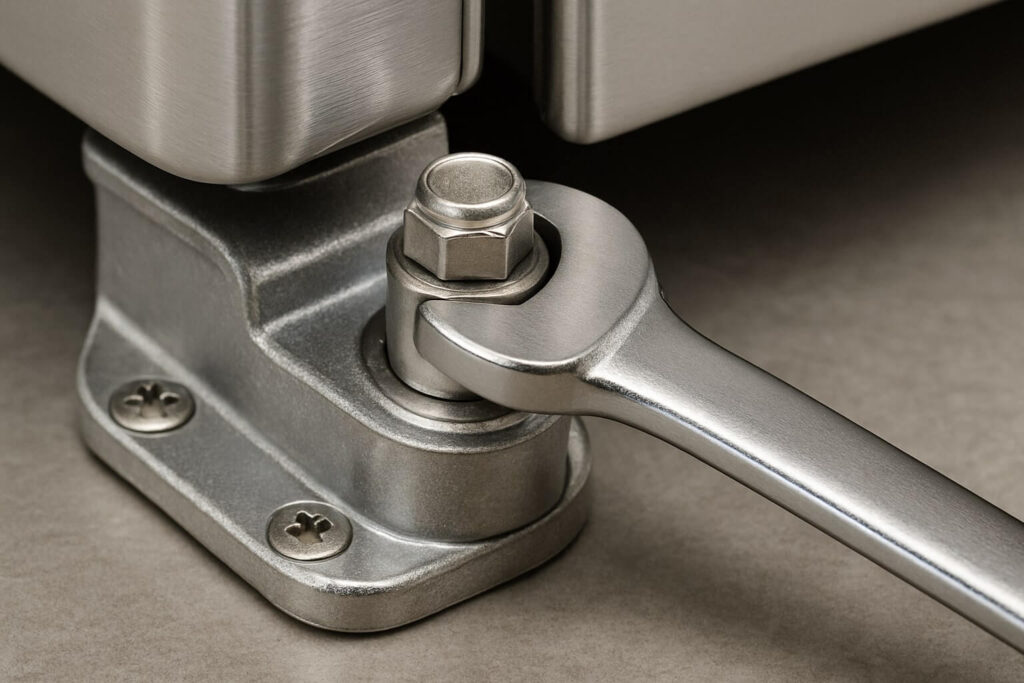
How to adjust (typical approach)
- Find the hinge bolts. Depending on the design, adjustment points may be at the top hinge, bottom hinge, or both.
- Slightly loosen the hinge bolts, just enough that the door can shift.
- Square the door to the cabinet. Use a level or measure gaps as a reference.
- Tighten bolts firmly, then re-test the seal.
Manual tip: Some models use shims, spacers, or cams to set height and side-to-side position. Check your manual for the exact procedure and hardware order so nothing goes back in wrong.
Safety tip: If the door is heavy, have someone hold it while you snug the hinge bolts. You want alignment, not a wrestling match.
Fix #5: Correct a twisted door
A twisted door shows up as one corner that never seals, even after cleaning and hinge adjustment. Sometimes it is from someone leaning on the door, an overloaded door bin, or a door that was reinstalled slightly torqued after a move.
Signs of a twist
- Three corners pass the dollar-bill test, one corner fails consistently.
- The gasket looks fine, but that corner sits proud of the cabinet.
- The door looks slightly racked when you sight down the edge.
What you can do
- Unload heavy door shelves and see if the seal improves. Too much weight can pull the door out of plane.
- Check that all hinge screws are tight and the hinge is seated flat against the door and cabinet.
- If your model has them, adjust any door height or side-to-side cams per the manual.
If the door itself is warped (rare, but it happens), no gasket in the world will fully compensate. In that case, you may be looking at a door replacement or a professional evaluation.
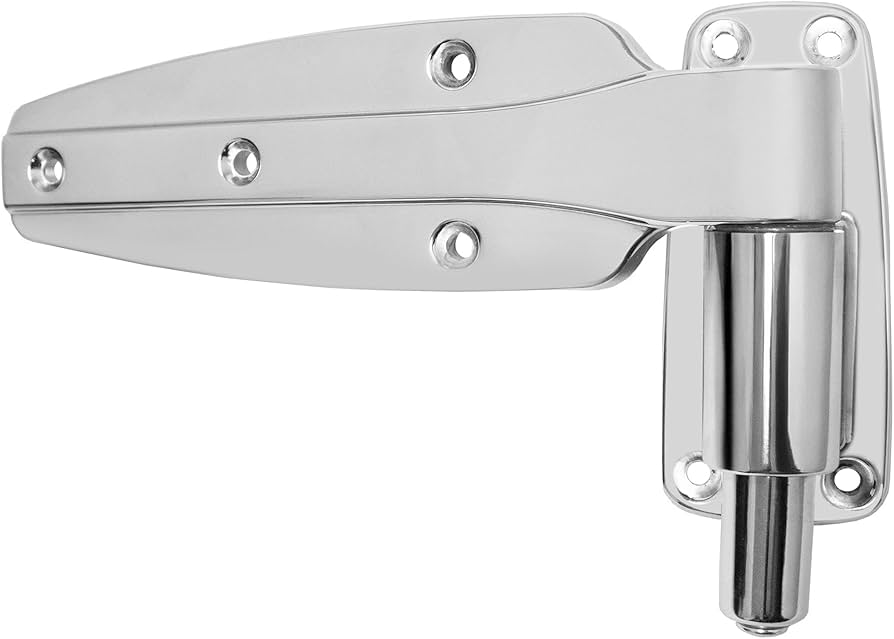
Fix #6: Inspect hinges and the closing cam
Many freezers use a small plastic or metal cam that helps pull the door into the closed position. When that cam wears down or cracks, the door may not self-close, and it may even drift open a half inch after you let go. A bent hinge can cause similar behavior.
Common symptoms
- The door closes, then slowly pops back open.
- You feel a rough spot or click when closing.
- The door no longer self-closes from a slightly open position.
What to check
- Look for cracked plastic at the hinge area, especially near the bottom hinge.
- Check for missing spacers or washers.
- Make sure hinge mounting screws are not stripped and are fully seated.
Budget reality: Hinge cams are often inexpensive and model-specific. If your freezer is otherwise healthy, replacing a worn cam is usually money well spent.
When to replace the gasket
Cleaning and reshaping work when the gasket is basically intact. Replace the gasket when the rubber has physically failed or lost its ability to hold shape.
Replace it if you see these
- Tears or missing chunks, especially at corners.
- Hardened, brittle rubber that stays deformed when you press it.
- Mold embedded in cracks that keeps coming back after cleaning.
- Persistent leaks that remain after alignment and cam checks.
Buying the right gasket
- Use your appliance model number, usually found on an interior label. Location varies by unit type.
- Order the exact gasket for that model. Close enough rarely seals well.
- Plan for a short break-in period. New gaskets may look wavy until they warm up and relax.
DIY note: Many gaskets are held in with a retaining channel or screws under the inner door liner. Take photos as you go, work one side at a time, and do not overtighten screws. Over-tightening can warp the liner and create new gaps.
About folded gaskets: Some arrive folded in the box. Many manufacturers recommend letting the gasket relax at room temperature before installation. If your instructions mention warm water or gentle warming to remove folds, follow their directions rather than guessing.
Habits that keep the door sealed
- Do not overload door bins. Extra weight encourages sagging.
- Keep the gasket clean and dry. A quick wipe once a month prevents grime buildup.
- Level the appliance. Many units seal best with a slight backward tilt, but follow the manual and use the leveling feet to set it correctly.
- Avoid overpacking. A stuffed freezer can block airflow, create frost, and eventually interfere with closing or sealing.
- Watch for box corners. One item sticking out can hold the door open just enough to make frost.
After you fix it
- Re-run the dollar-bill test around all four sides.
- Over the next 24 to 48 hours, watch for new frost lines or condensation around the door edge.
- If you used heat to reshape the gasket, re-check the problem corner once everything is fully cold again.
Call for service if you see these
- The door is aligned but the cabinet face is bent or damaged.
- Hinge mounting points in the door or cabinet are cracked.
- You replaced the gasket and still fail the dollar-bill test in multiple areas.
- The door is so twisted that it will not sit flush even with hinges loosened and re-seated.
Those problems can be structural, and forcing it can crack liners or strip hinge mounts. At that point, a pro opinion can save you from chasing the wrong part.
Fast troubleshooting recap
- Clear obstructions: bins, drawers, ice bucket, and food sticking out.
- Start simple: clean gasket and cabinet lip, then re-test.
- Warm and reshape: hair dryer on low, keep it moving, gently massage the seal.
- Align the door: correct sag and uneven gaps, follow the manual for shims and cams.
- Inspect hardware: hinge bolts tight, cam not worn or cracked.
- Replace gasket: when it is torn, hardened, or cannot hold shape.
If you work through that order, you will fix the majority of freezer doors that will not seal or that pop open without throwing parts at the problem.
About Marcus Vance
Content Creator @ Grit & Home
Marcus Vance is a lifelong DIY enthusiast and self-taught home renovator who has spent the last decade transforming a dilapidated 1970s ranch into his family's dream home. He specializes in budget-friendly carpentry, room-by-room renovations, and demystifying power tools for beginners. Through his writing, Marcus shares practical tutorials and hard-learned lessons to help homeowners tackle their own projects with confidence.