
🚨 In a DIY emergency or rush?
Skip the details and jump straight to our 30-second cheat sheet for the most crucial info.
The first time my freezer started turning ice cream into a literal pry-bar project, I assumed it was doing its job too well. Turns out, freezers are supposed to be cold, but they are not supposed to overshoot the setpoint so hard that everything becomes rock solid and hard to scoop, slice, or portion.
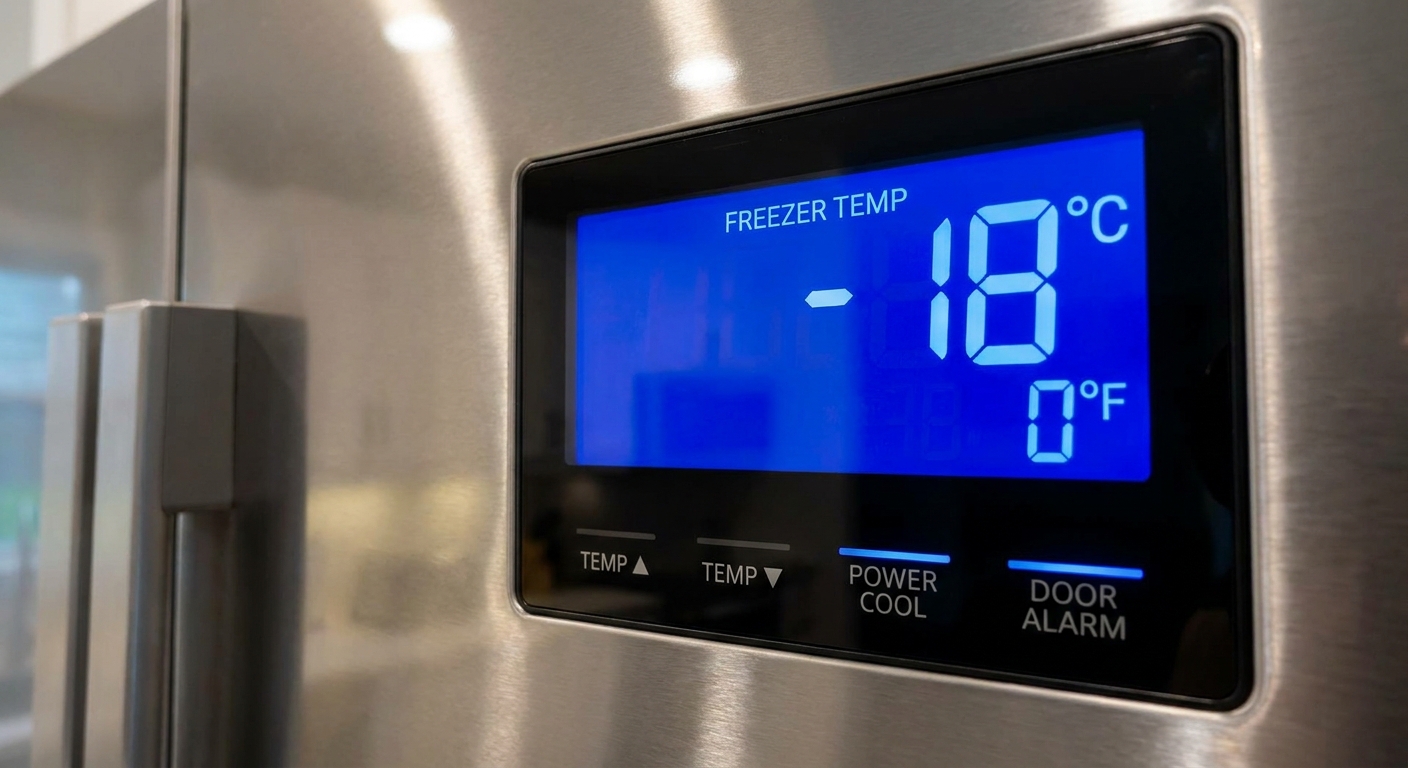
Most home freezers should hover around 0°F (about -18°C). If you are down in the -10°F to -20°F range, you will notice it fast: ice cream is like concrete, bread is shatter-prone, and meat feels like it was cryogenically stored.
This guide stays focused on why a freezer runs too cold. If you have heavy frost, icing, or a snow globe of ice buildup, that is usually a seal or defrost issue. It can also be pushed along by frequent door opening or humid air getting in, so usage matters too.
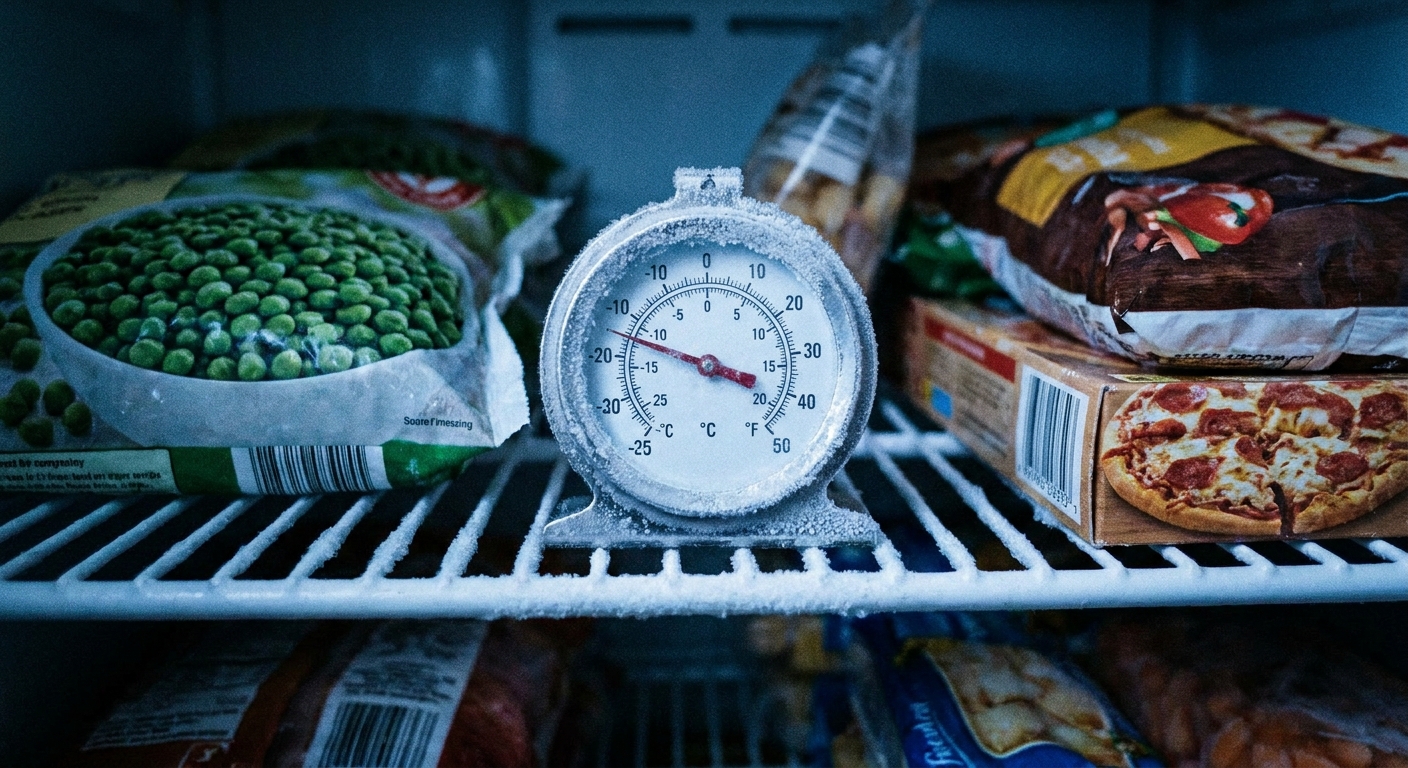
Quick safety and first checks
Before you start poking around, do a couple quick things that save a lot of wasted time.
One note up front: any change you make (settings, modes, loading) can take a full 24 hours to stabilize enough to judge.
1) Verify the temperature with a real thermometer
Do not rely on the dial number or the digital display alone. Put a freezer thermometer in the center of the freezer (not in the door), shut the door, and check it after 12 to 24 hours.
- Normal target: 0°F
- Often “too cold” in real life: consistently below about -5°F (and especially below -10°F), confirmed by a thermometer
2) Know what kind of freezer you have
- Standalone freezer (upright or chest): simpler controls, fewer air-path parts
- Fridge freezer combo (top-freezer, bottom-freezer, side-by-side, French door): more likely to have an air damper, multiple sensors, and shared cooling logic
Unplug power before removing covers, testing parts, or putting hands near a fan or wiring.
Also, if you are dealing with ice buildup, do not go at it with a knife, screwdriver, or chisel. Puncturing an interior liner or refrigerant line is a “new fridge” level mistake.
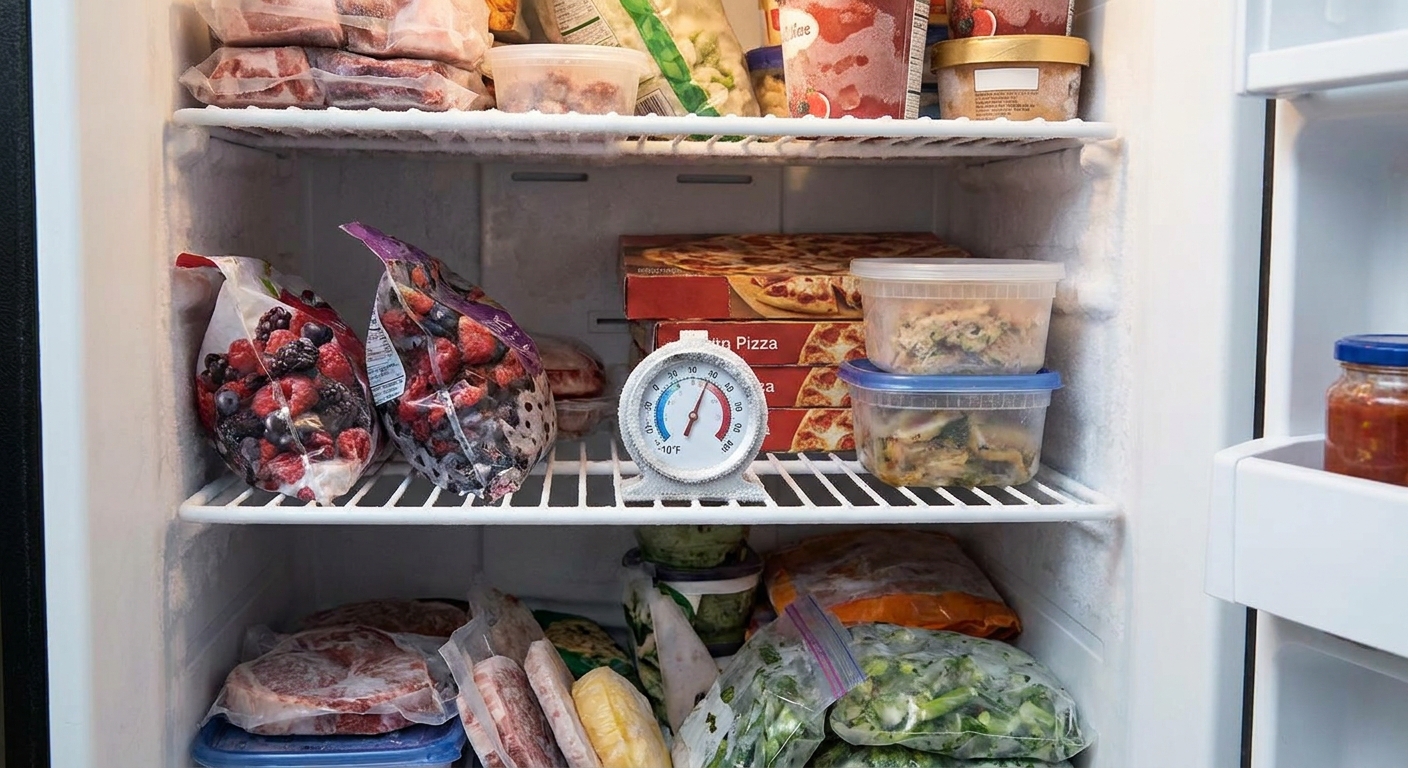
Most common: setting is too cold
I know this sounds almost too obvious, but it is number one for a reason. Dials get bumped during loading, kids spin knobs, and some freezers ship from the factory set closer to “max cold” than “everyday normal.”
Mechanical dial
On many units, a higher number usually means the compressor runs longer. If yours is on the max setting, dial it back one step at a time.
- Move the dial one notch warmer.
- Wait 24 hours.
- Recheck your thermometer and repeat if needed.
Digital control
Make sure the freezer is set to 0°F. If you are set to -6°F or -8°F because you thought “colder is safer,” it is safe, but it is also overkill for most households and it makes food miserable to use.
Tip: If you recently had a power outage, some models revert to a default setting or a “quick freeze” behavior. Double-check the setpoint after any reset.
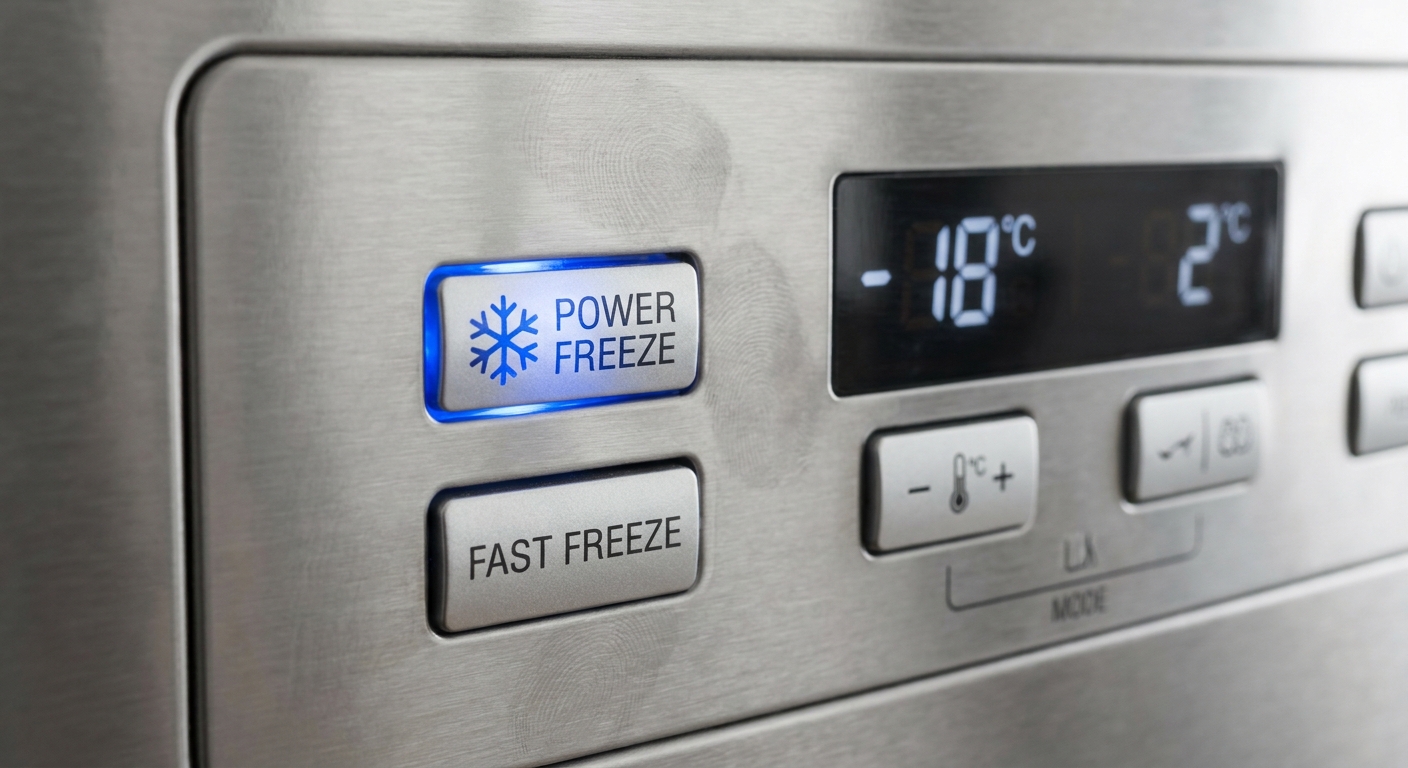
Check Fast Freeze mode
Many modern refrigerators and freezers have a feature meant for quickly freezing a large grocery haul. It is great when you need it, but awful when it is left on.
- Look for buttons labeled Fast Freeze, Power Freeze, Quick Freeze, or Super Freeze.
- On some models, it is a touch button that is easy to bump.
- Some units time out after 24 to 72 hours, but not all.
If you find it enabled, turn it off and give the freezer time to settle before you judge the result.
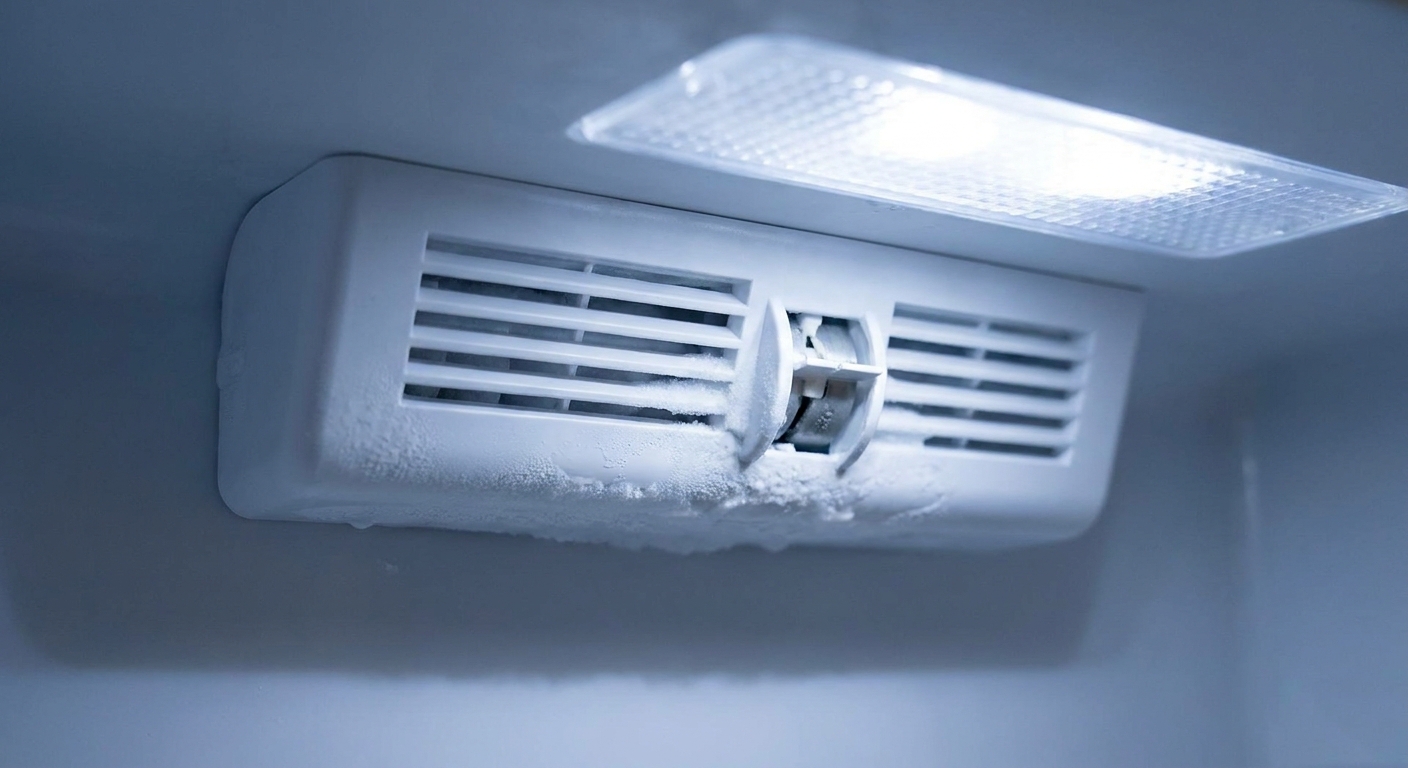
Combo units: airflow and damper issues
On many combo units, cold air is produced in or near the freezer and then shared with the fresh food side through an air damper.
Here is the key idea: airflow problems can make the machine run longer than it should. If the refrigerator compartment cannot reach its target temperature (because the damper is stuck closed, blocked, iced up, or vents are obstructed), the unit may keep calling for cooling. Extended run time can drive the freezer colder than normal.
On the flip side, a damper stuck open more commonly overcools the refrigerator, so pay attention to which compartment is actually misbehaving.
Signs airflow is involved
- The refrigerator side is warm while the freezer is extremely cold.
- You hear a constant airflow hiss at the refrigerator vent, or no airflow at all.
- Temps swing a lot, especially after loading groceries.
What you can do without parts swapping
- Clear vents: Make sure bags, pizza boxes, or bins are not blocking the freezer air outlets or the refrigerator air inlet vents.
- Look for obvious ice at vents: If you see heavy frost packed into the vent area, stop here and address the underlying icing issue separately.
- Reset the controls: Set freezer to 0°F and fridge to about 37°F, then give it a day.
If the refrigerator side cannot cool properly, the freezer can end up doing all the work. Fixing the airflow problem often fixes the “freezer too cold” complaint right along with it.
Bad sensor or thermostat
If your settings are reasonable and no special modes are enabled, the next likely suspect is the part that tells the unit when to stop cooling.
- Older mechanical control: a thermostat that can stick or drift out of calibration
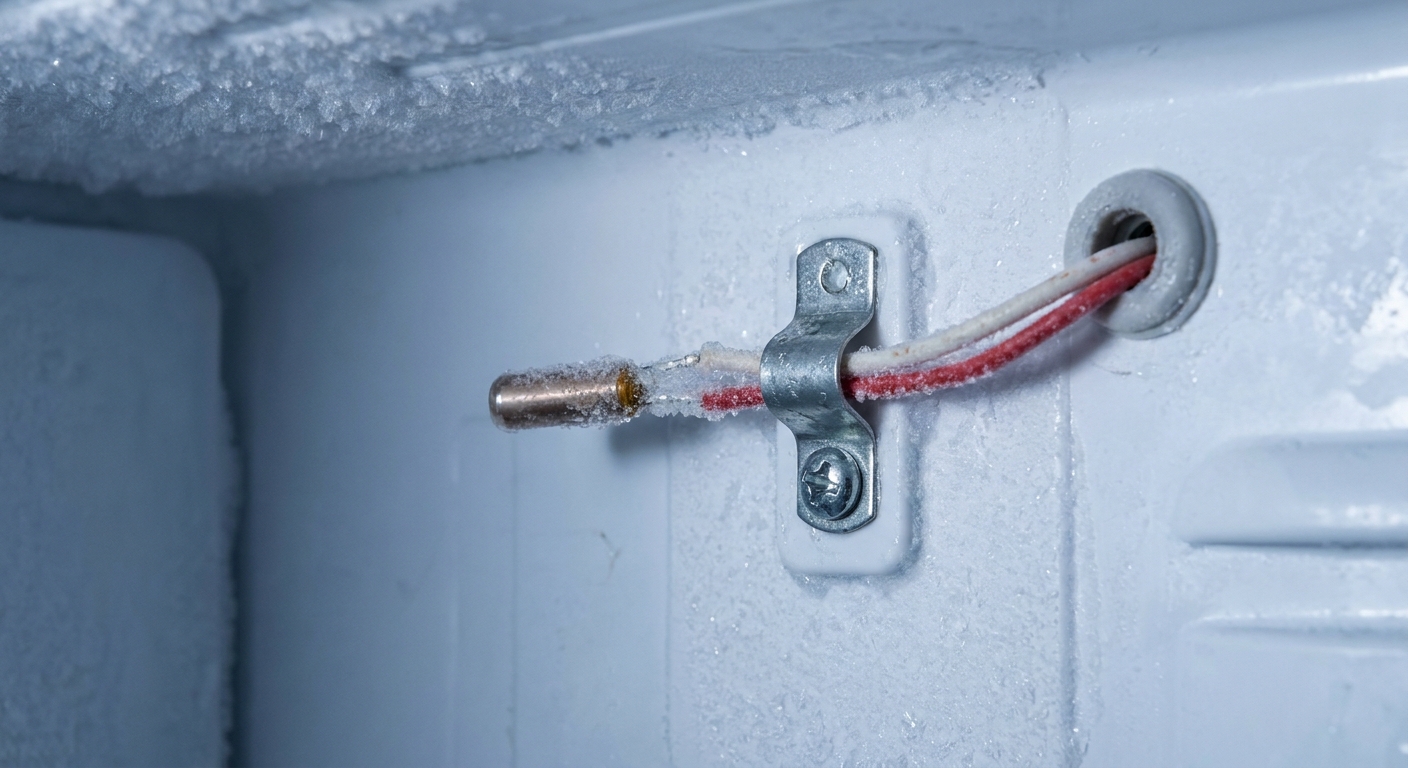
- Modern electronic control: a thermistor (temperature sensor) feeding a control board
Some models use multiple sensors and a little logic to decide when to run, so the exact symptoms vary. But the overall pattern is the same: the freezer does not seem to get the message to stop.
Clues you might have a sensor issue
- The freezer temp is far below your setpoint and stays there, confirmed by a thermometer.
- The compressor seems to run almost constantly.
- The displayed temperature (if you have one) seems wrong compared to your thermometer.
Simple DIY checks
- Do a thermometer reality check: If the display says 0°F but your thermometer says -15°F, something is lying.
- Inspect sensor placement: On some units, a sensor can pop out of its clip and start reading warmer air than the cabinet really is, which makes the freezer overcool trying to compensate.
Replacing a thermistor is often a reasonable DIY repair if you can access it without major disassembly. If the sensor checks out, the control board becomes a possibility, including failures like a stuck relay that keeps the compressor running.
Air circulation and loading
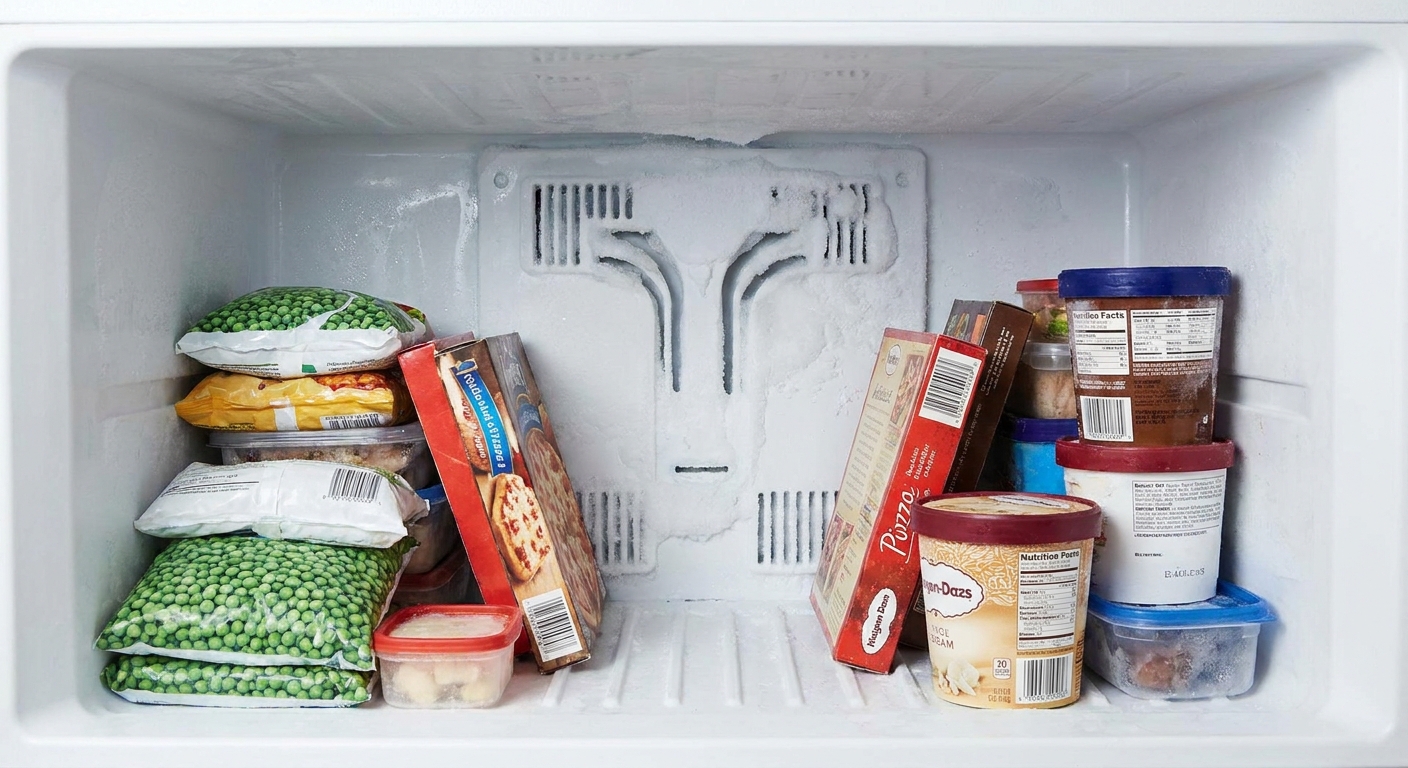
Sometimes the freezer is not dramatically below 0°F overall, but certain items are getting blasted with the coldest air and turning into bricks while other areas are fine.
Common setup issues
- Food jammed against the back wall: The coldest spots are often near the evaporator area or air outlets. Pull food forward slightly.
- Overpacked shelves: Air cannot circulate, so you get pockets of extreme cold near vents.
- Empty freezer: This sounds backwards, but a mostly empty freezer can have larger temperature swings. A few jugs of water (frozen solid) can help stabilize temps.
My rule is simple: leave a little breathing room around vents and walls. Freezers like airflow more than they like being stuffed to the gills.
Door and gasket checks
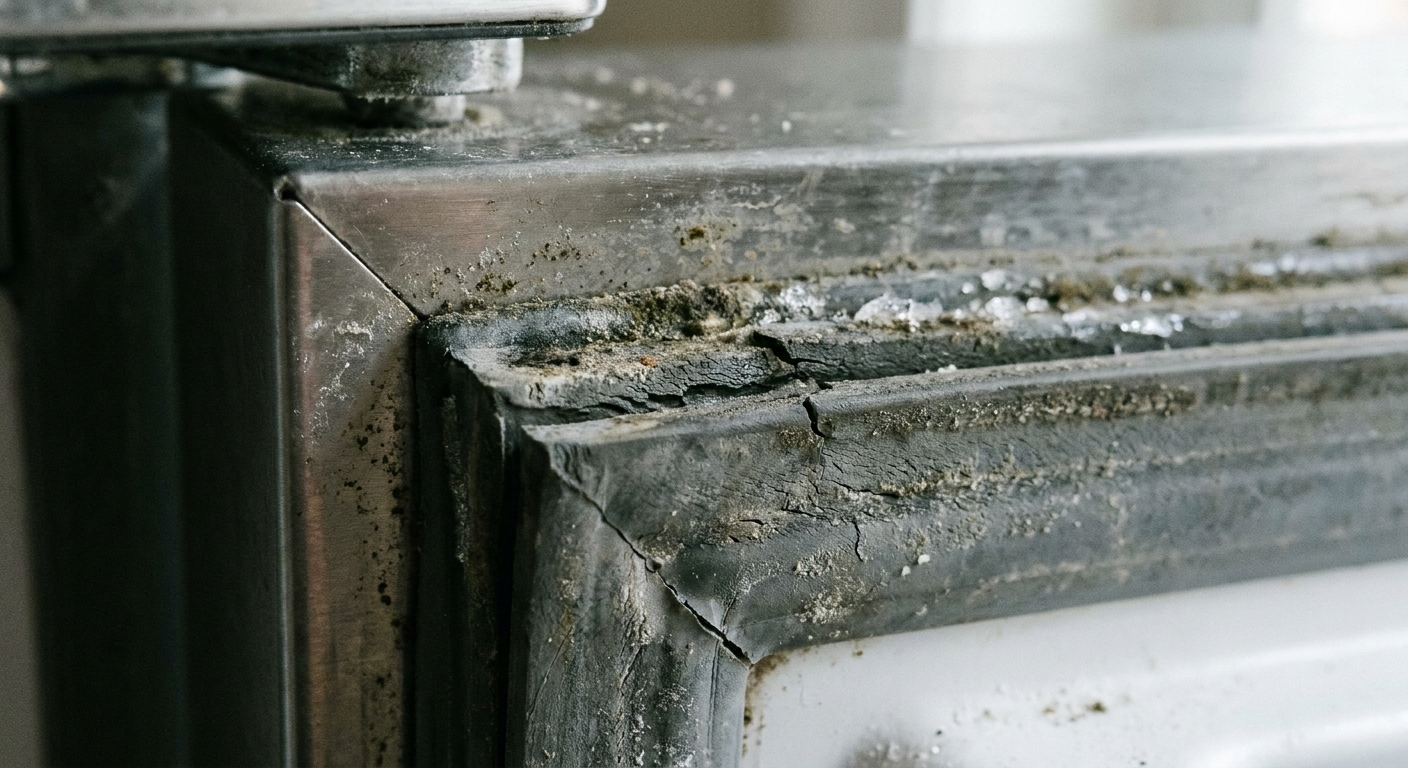
A poor door seal is most famous for causing frost buildup. But even before you see heavy frost, a leaky seal can create temperature instability and longer run times, which can contribute to overcooling in some conditions.
Two quick tests
- Visual sweep: Look for torn gasket corners, hardened sections, or areas that do not sit flat against the cabinet.
- Dollar-bill test: Close the door on a bill. You should feel steady resistance pulling it out. Test a few spots around the door.
If the seal is dirty, clean it with warm soapy water and dry it. If it is torn or permanently warped, replacement is the real fix.
What is probably not the cause
People love to blame dirty condenser coils for everything, and yes, you should keep them reasonably clean. But dirty coils more commonly lead to warm temps, not a freezer that is too cold. If your only symptom is overcooling, I would chase settings, modes, sensors, and airflow first.
When to call service
I am all for DIY, but there is a point where you are better off getting a technician involved, especially if food safety is on the line.
- The freezer is below -10°F and will not respond to control changes after a full day.
- The compressor runs nearly nonstop and the cabinet is unusually cold.
- You suspect a control board problem (including a stuck relay) or wiring issue.
- You find burn marks, melted connectors, or you smell electrical odor.
At that point, diagnosis often requires model-specific service information and electrical testing you do not want to guess at.
FAQ
Is it bad if my freezer is colder than 0°F?
Colder is not inherently dangerous for the appliance, but it can mean wasted energy, harder-to-use food, and sometimes an underlying control problem. For most homes, 0°F is the sweet spot. The key is a consistent thermometer reading, not a one-time dip right after loading groceries.
Why is my ice cream rock hard but everything else seems normal?
Ice cream is sensitive to cold spots. If it is sitting near an air outlet, the back wall, or right in the path of the cold-air stream, it can turn into a brick even if the average freezer temp is fine. Try moving it to the center of a shelf, away from vents and walls, and confirm the overall cabinet temperature with a thermometer. If you keep it in the door, note that the door is often a warmer, swingier zone, which can cause texture issues in a different direction.
How long should I wait after changing the freezer setting?
Give it at least 24 hours for a meaningful read. Opening the door frequently slows down stabilization.
Could this be a defrost problem?
A defrost failure typically shows up as frost and ice buildup on walls, vents, or the back panel. If you are seeing that kind of icing, tackle that issue specifically rather than chasing “too cold” settings.
The 30-Second Cheat Sheet
Essential takeaways for: Freezer Too Cold? Why Everything Is Rock Hard
What “too cold” usually means
- Normal freezer target is 0°F.
- If your thermometer shows below -5°F consistently, you are often overcooling (or the sensor/display is reading differently than the cabinet).
Fast checks (do these first)
- Confirm with a freezer thermometer (center shelf, 12 to 24 hours).
- Turn off Fast Freeze / Power Freeze if enabled.
- Dial it back: move the control 1 step warmer and wait 24 hours.
If it is a fridge-freezer combo
- If the fridge side is warm but the freezer is extremely cold, suspect airflow or damper issues that can keep the unit running too long.
- Clear blocked vents and make sure food is not packed against air outlets.
Likely parts when settings are correct
- Thermistor / temperature sensor reading wrong
- Thermostat (older mechanical controls) sticking
- Control board or a stuck relay (if sensor seems fine and the unit still overcools)
Stop DIY and call service if
- Freezer stays below -10°F after 24 hours with correct settings.
- Compressor runs almost constantly.
- You notice electrical smell, scorched connectors, or melted wiring.
💡 Tip: Scroll up to read the full article for detailed, step-by-step instructions.
⬆️ Back to top
About Grit
Content Creator @ Grit & Home
Grit is Grit & Home’s little blue clay courier, delivering big questions about the place you call home. Expect practical ideas, a raised eyebrow, and a satchel full of curiosity.