🚨 In a DIY emergency or rush?
Skip the details and jump straight to our 30-second cheat sheet for the most crucial info.
A garage door that starts to close, then reverses is usually doing exactly what it was designed to do: protect people, pets, and property. The trick is figuring out what it thinks it hit. In general, it reverses for two reasons: the safety beam is getting interrupted, or the opener is sensing too much resistance.
This is my “do it in order” checklist, starting with the safest, most common fixes you can try yourself.
Safety first (two minutes that can save a hand)
- Keep people and pets out of the opening while testing.
- Do not loosen or remove any spring hardware, center brackets, bottom brackets, or lift cables.
- If you need to touch the opener settings, use a sturdy step ladder and keep fingers away from the rail, trolley, and door sections.
- If the door is half closed and stuck, do not force it down. Hit the wall button to open it, then troubleshoot.
Start with the easy stuff: sensors, sun, and the door’s path
1) Clear the opening and the tracks
Before blaming the opener, do a quick sweep:
- Remove any storage items that could be barely clipping the door as it closes.
- Check for a rock, dried mud, or a screw in the vertical tracks near the floor.
- Look at the bottom seal. Occasionally, a folded-up rubber seal can catch the slab and trip reversal on some openers.
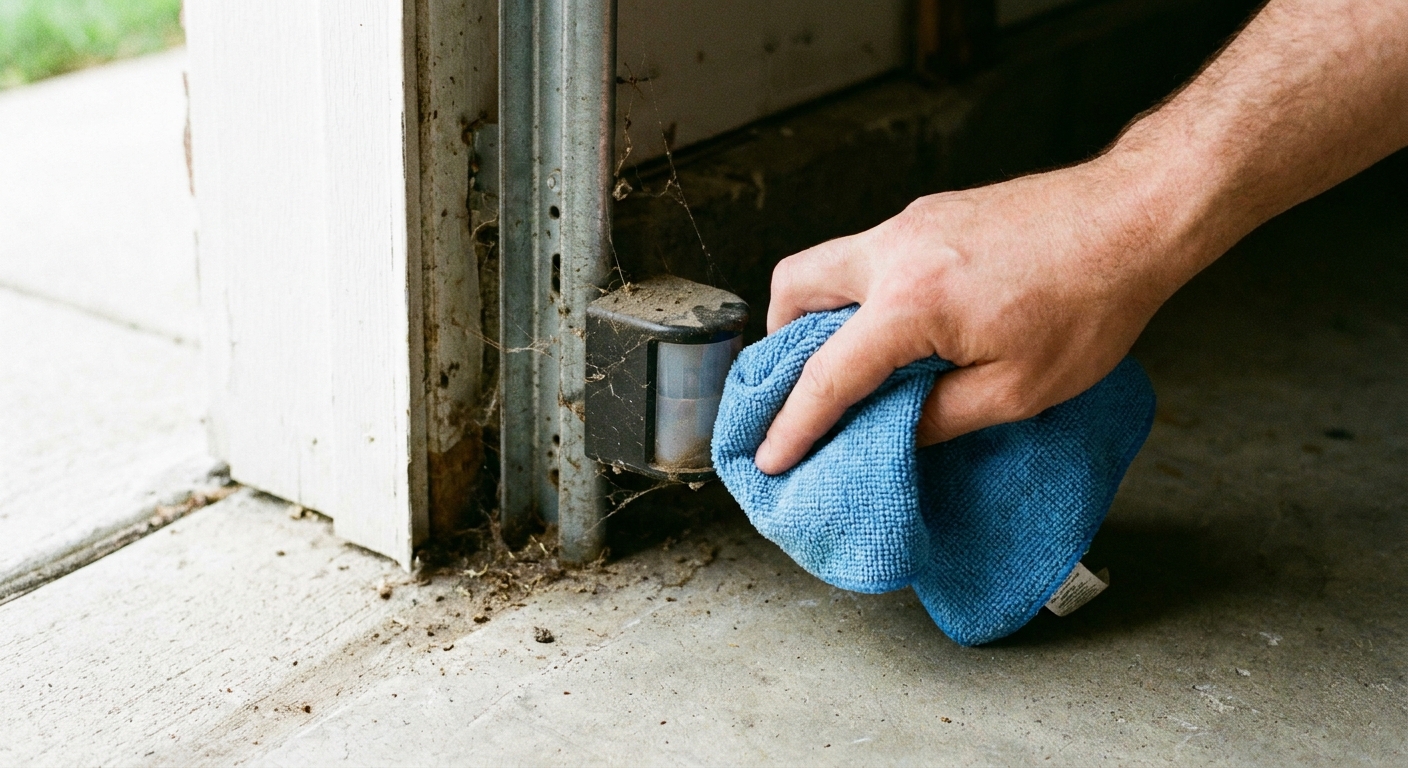
2) Inspect and clean the photo-eye safety sensors
Most modern openers use two photo-eye sensors mounted low on each side of the door opening, typically about 4 to 6 inches off the floor (sometimes higher depending on the bracket or brand). If the beam is blocked or the sensors are misaligned, the door will close briefly and then reverse.
- Wipe each lens with a soft cloth. Dust, cobwebs, and pollen are enough to cause intermittent issues.
- Check that both sensor brackets are solid. If one is loose, vibration can knock it out of alignment mid-close.
- Look at the indicator lights on the sensors, but don’t assume one universal pattern. Check your model’s LED legend. Commonly, a steady light means aligned and blinking means misaligned or blocked, but brands vary.
3) Fix sensor alignment the simple way
If the sensor LEDs suggest misalignment, try this:
- Loosen the wing nut or screw on one sensor bracket just enough that it can pivot.
- Gently aim it toward the opposite sensor until the indicator light becomes steady (or shows the “aligned” status per your manual).
- Tighten the bracket while holding it in place, then test the door.
Thrifty tip: If the bracket keeps drifting, a small shim behind the bracket or replacing a bent bracket is cheaper than chasing the problem for months.
4) Rule out the sunlight glitch
This one surprised me the first time I ran into it. If your door reverses at certain times of day, direct sun can wash out one photo-eye sensor, making it “think” the beam is broken.
- Watch the sensor LED during the failure. If it flickers when the sun hits, you found a likely culprit.
- Try closing the door while blocking the sun with a piece of cardboard for a moment. If it works, sunlight is the trigger.
- Fixes include slightly repositioning the sensor on the bracket, adding a small sun shield, or in some systems swapping sensors side to side. Only do this if your sensors are identical and interchangeable. Many setups have a dedicated sender and receiver that cannot be swapped.
5) Check sensor wiring and connections
If the lights are acting weird, or the problem is intermittent, treat it like a wiring issue until proven otherwise.
- Look for sensor wires that were stapled too tight, pinched, or nicked.
- Check for loose connections at the sensor terminals and at the opener head.
- If terminals look corroded or crusty, that can cause random dropouts.
6) Check the wall control lock feature
Some wall consoles have a “lock” or “vacation” feature. Depending on the model, it may prevent remote closing, or cause confusing behavior that looks like an opener problem. If the door works from the wall button but not from remotes, check the wall console for a lock indicator and toggle it off.
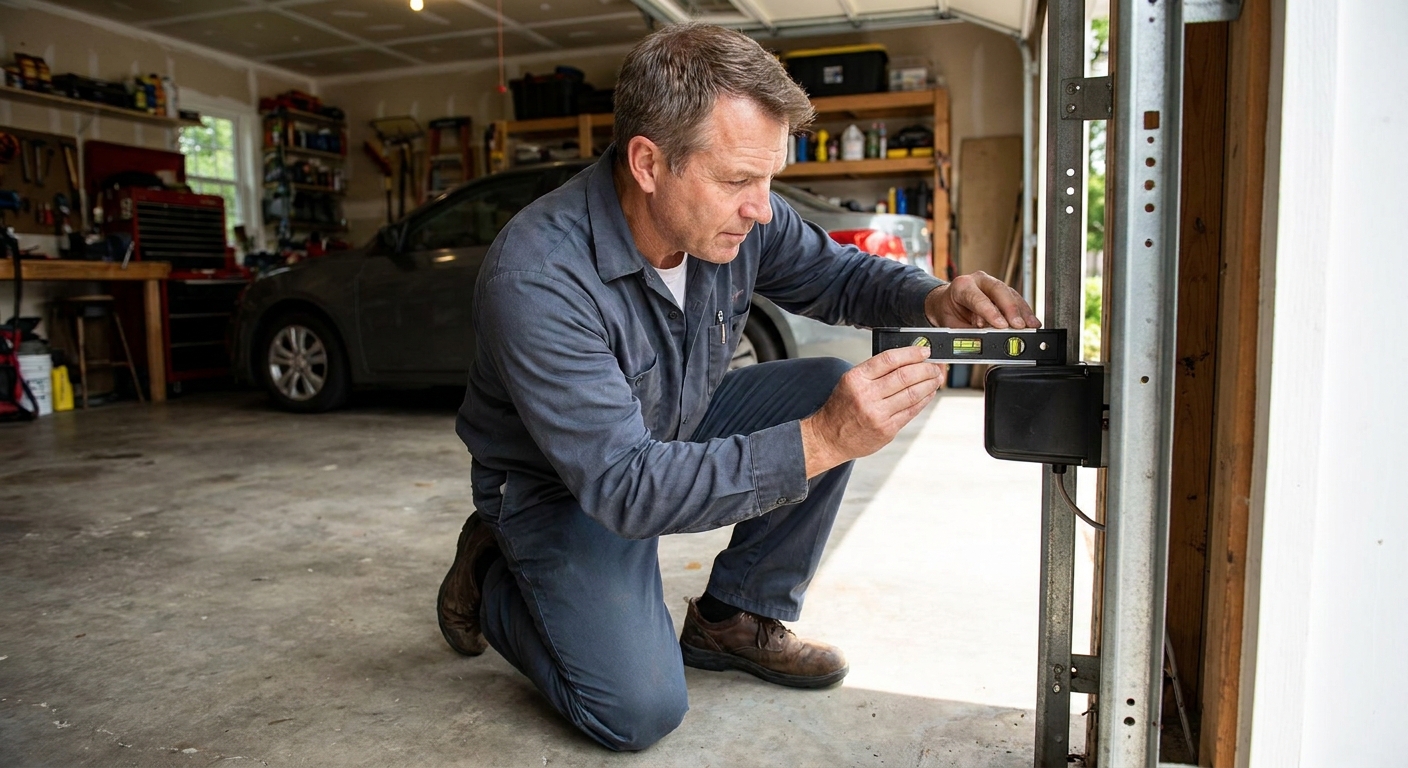
If sensors look good: check travel limits and force settings
If the photo-eye sensors are clean and aligned and the door still reverses, the opener may be stopping because it thinks it hit the floor too early, or it is sensing too much resistance.
Limits vs force
- Travel limits tell the opener where “fully closed” and “fully open” are.
- Force settings control how much resistance the opener tolerates before it stops and reverses.
On newer openers, these may be physical dials, buttons with a learn mode, or in-app settings. Your opener’s manual matters here, but the troubleshooting logic is the same across brands.
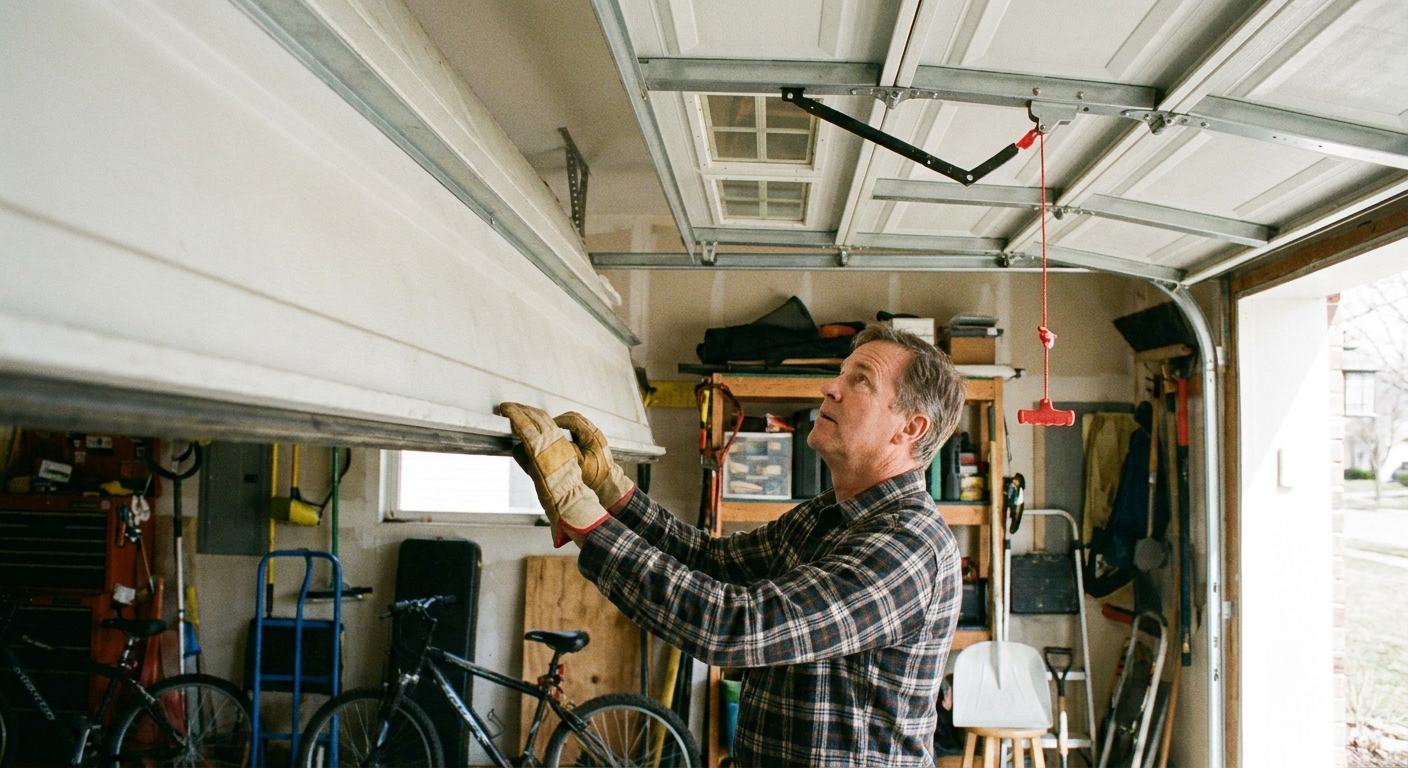
7) Test the door manually (this is the big clue)
Pull the emergency release cord (with the door closed if possible) and move the door by hand.
- The door should lift smoothly and not feel like it weighs a thousand pounds.
- It should stay near halfway open. A well-balanced door might drift slightly, but it should not slam down or shoot up.
If the door feels heavy or drops quickly, stop. That points to spring or cable problems, and that is pro territory.
8) Adjust the close travel limit if the door is overtraveling or undertraveling
Common symptom patterns:
- Reverses before the door touches the floor: close limit may be set too high (not enough travel), or there is binding.
- Hits the floor, then reverses: close limit may be set too low (too much travel) so the opener keeps pushing after contact.
Adjust in small increments, then test. I mean small: tweak, test, repeat.
9) Only then, fine-tune the close force (and do it carefully)
If the door moves smoothly by hand and your limits are correct, but it still reverses, the close force may be set too low. Increase force in small steps only.
- After any force adjustment, perform the opener’s safety reversal test per the manual.
- Never crank force up as a way to “power through” a sticking door. That is how doors get damaged and people get hurt.
If you have to increase force a lot to get reliable closing, you likely have a mechanical issue that needs attention.
10) Temporary close override (only if your manual allows it)
Some openers let you hold the wall button to close the door even if the photo-eye sensors are blocked or misbehaving. This can help you secure the door temporarily, but it is not a fix.
- Use this only if you can see the full door path and keep people and pets completely clear.
- If you cannot confirm the opening is clear, do not use any override feature.
Mechanical causes that make an opener reverse
Even with perfect sensors and settings, the opener will reverse if the door binds. Here are the common culprits you can inspect without touching springs or cables.
11) Track issues: bent spots, loose bolts, or misalignment
- Look for a dent in the track near the bottom where bumpers and bikes love to hit.
- Check that track mounting bolts are snug. A loose track can flex and pinch rollers under load.
- Listen for a sharp squeal or “pop” mid-close. That often points to a roller binding or track pinch.
Minor track cleaning is fine. Major track straightening and realignment is doable for an experienced DIYer, but if you are not confident, call a door company. Track alignment mistakes can make the door unpredictable.
12) Roller or hinge binding
Steel rollers wear, nylon rollers crack, and hinges can loosen. If a roller is seized, the opener senses the added resistance and reverses.
- With the door disconnected and moved by hand, feel for a sticky section.
- Look for rollers that do not spin freely.
- Lightly lubricate metal roller bearings and hinges with a garage-door-rated lubricant. Do not grease the tracks.
13) Cold weather, swollen seals, and a stuck-to-the-floor door
In winter, a bottom seal can freeze to the slab or the rubber can stiffen. The opener starts to close, meets resistance, then reverses.
- Check for ice at the threshold and along the bottom seal.
- Clear the ice and consider a silicone-based protectant on the bottom seal to reduce sticking.
14) Opener rail, trolley, or door arm problems
- Make sure the door arm is not bent and the fasteners are tight.
- Check the opener rail for obstructions and the trolley for rough movement.
- If the chain or belt is overly loose or overly tight, it can create jerky motion. Use the manual’s tensioning procedure.
15) When the opener itself is the issue
If the photo-eye sensors are solid, the door runs smoothly by hand, and limits and force are reasonable, the opener may be the problem. Things like a failing logic board, RPM sensor issues, or an aging motor can cause random reversals. At that point, it is usually faster (and safer) to have an opener tech diagnose it.
Red lines: when to stop and call a pro
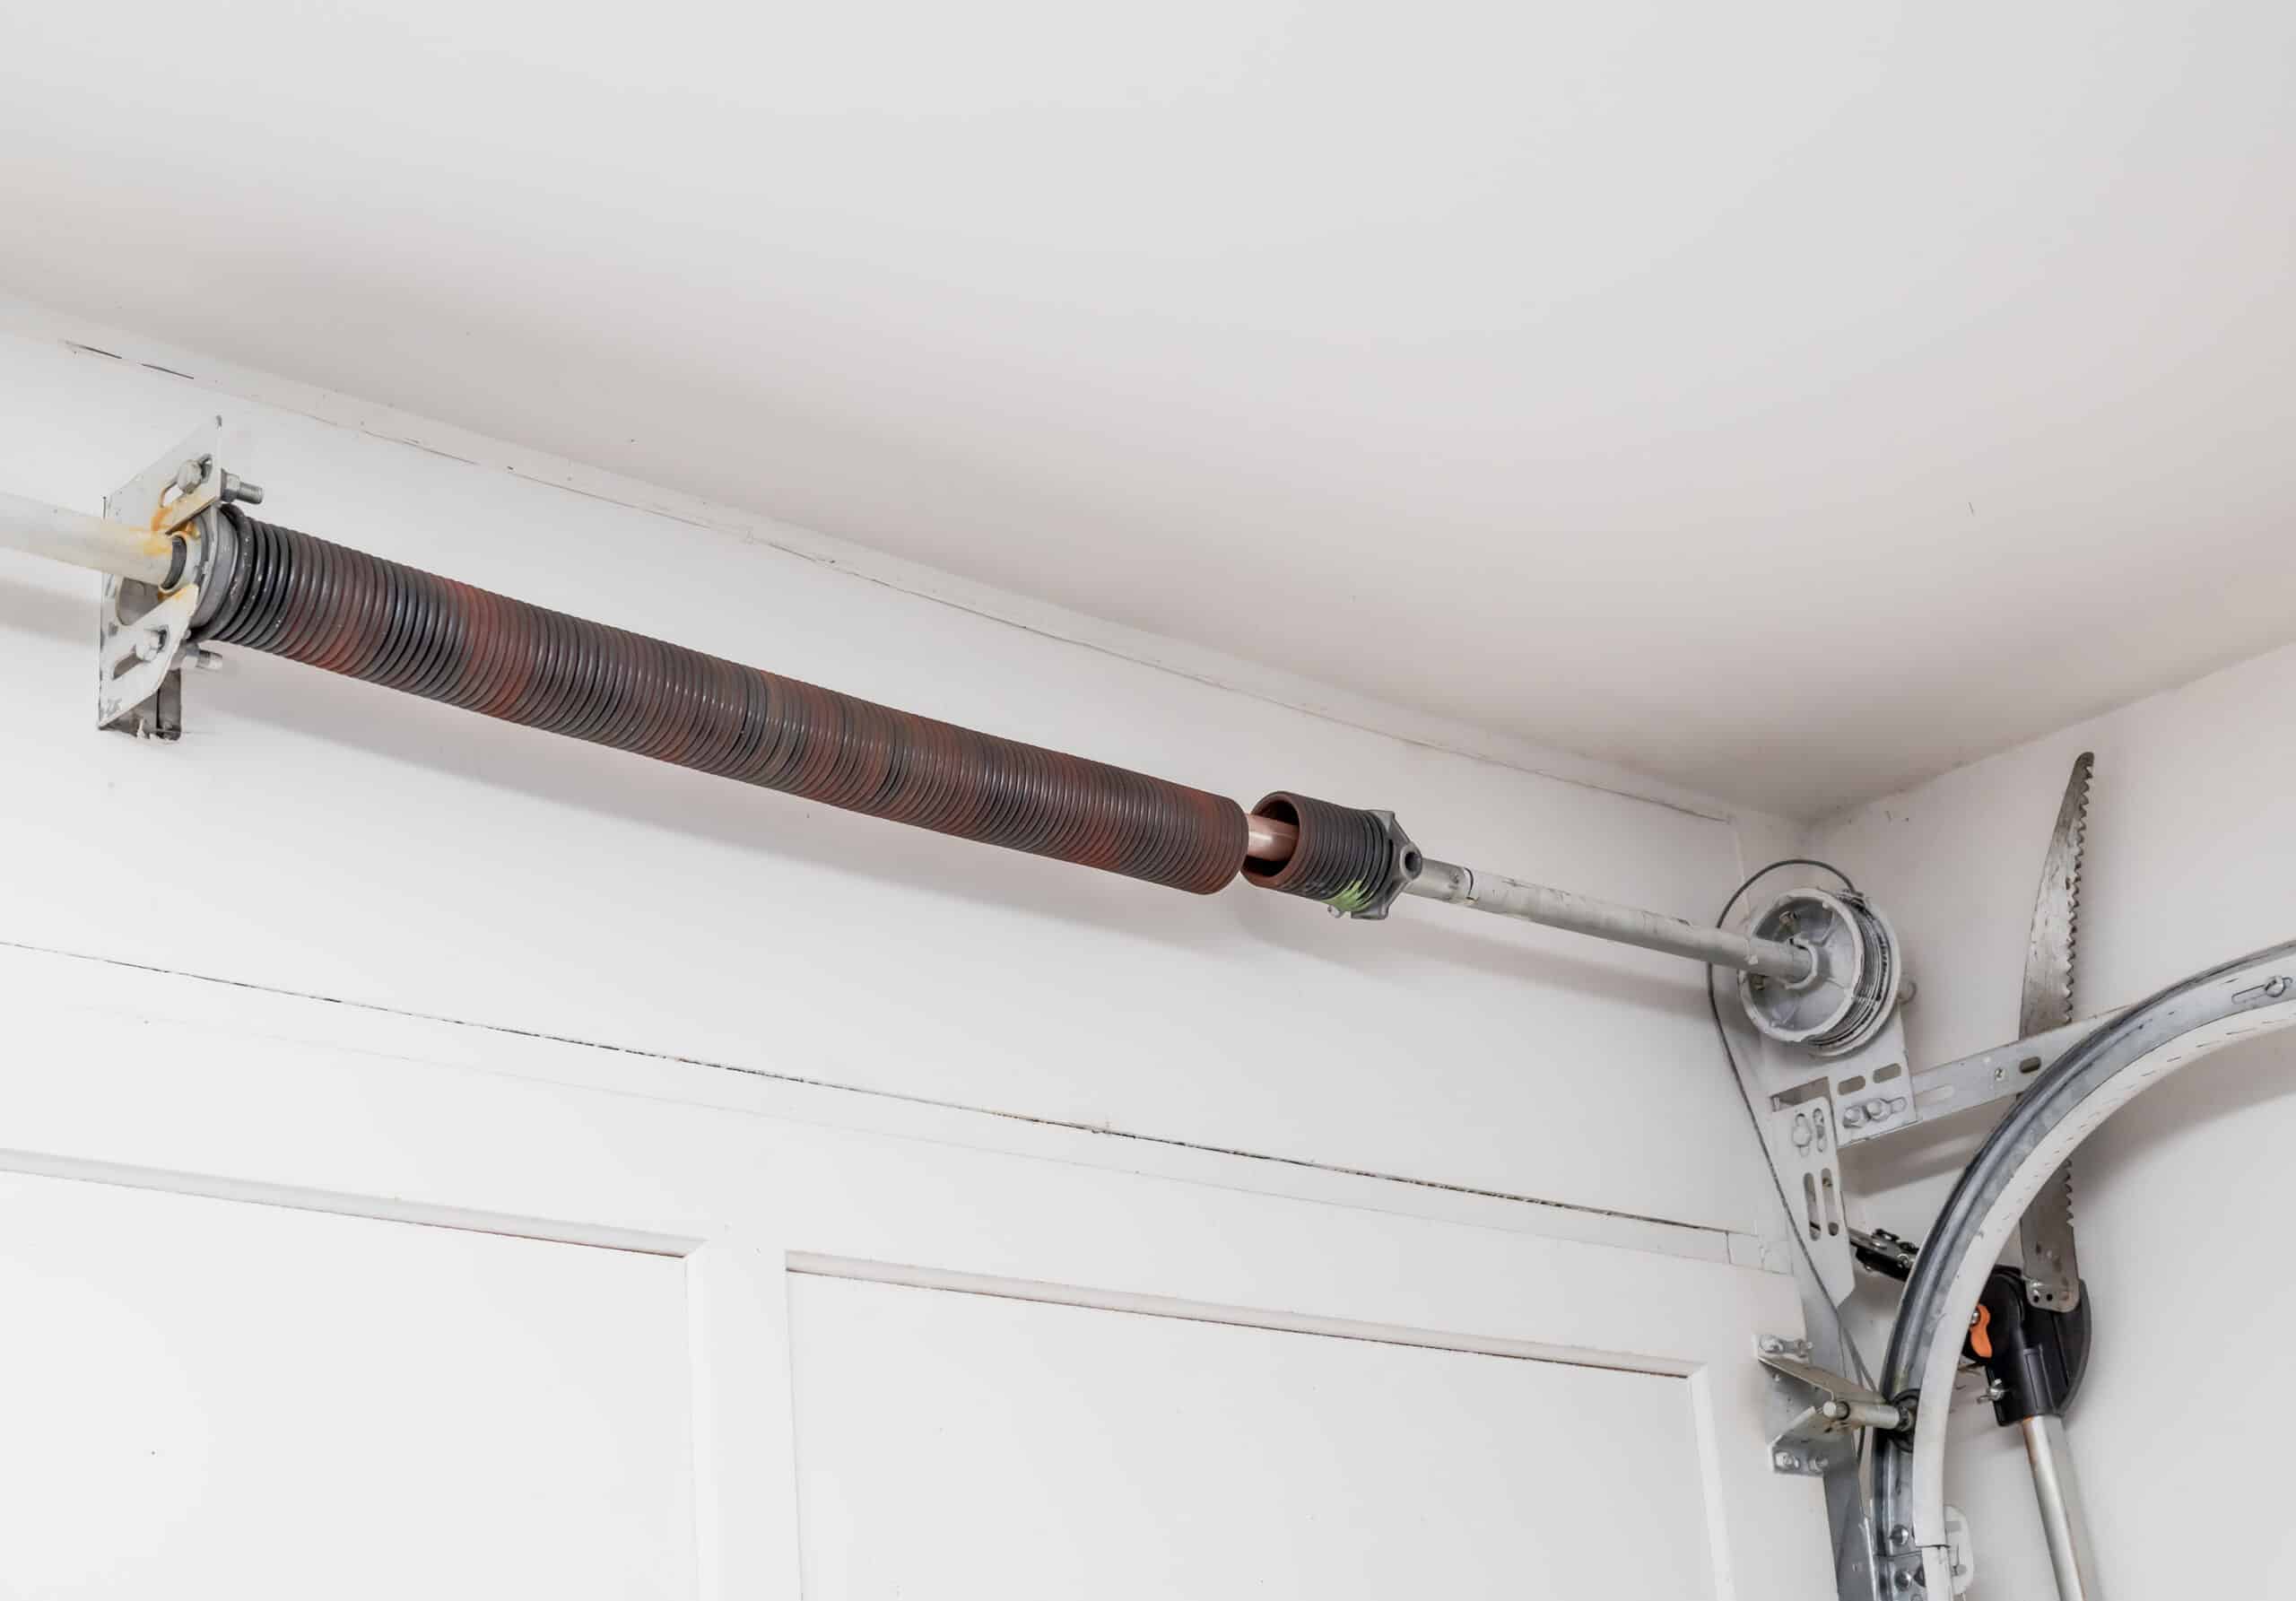
I am all for sweat equity, but garage doors have a couple components that can seriously injure you. Call a professional if you see any of these:
- Broken spring: a visible gap in the torsion spring above the door, or a door that suddenly feels extremely heavy.
- Frayed or off-drum lift cable: cables near the sides are loose, frayed, or uneven.
- Crooked door: one side is higher than the other, or the door jams in the tracks.
- Loud bang from the garage followed by reversal or a door that will not lift.
- Bottom bracket issues: anything loose near the bottom corners where the cables attach.
My quick troubleshooting order (what I’d do at your house)
- Clear the door opening and track area.
- Clean photo-eye sensor lenses.
- Align sensors and secure brackets.
- Check sensor wiring for pinches, loose connections, or corrosion.
- Test for sunlight interference.
- Check the wall control lock feature.
- Disconnect the opener and move the door by hand to check for binding and balance.
- Adjust close travel limit in small increments.
- Fine-tune close force only if the door moves smoothly by hand.
- If the door is heavy, crooked, cables look wrong, or everything checks out and it still reverses, call a pro.
FAQ
Why does my garage door close halfway then open back up?
The most common causes are a photo-eye sensor beam issue (dirty, misaligned, sunlight interference, wiring problems) or the opener sensing resistance from binding rollers, track issues, or incorrect close travel limits.
Can I just increase the force so it closes?
You can make small force adjustments, but using force to overpower a mechanical bind is a bad idea. The door will keep getting worse, and you can damage the opener or create a safety hazard.
How do I know if it’s the springs?
Disconnect the opener and lift the door by hand. If it feels very heavy, will not stay near mid-travel, or you see a broken torsion spring gap or cable issues, stop and call a garage door pro.
The 30-Second Cheat Sheet
Essential takeaways for: Garage Door Starts to Close Then Reverses
Do this first (fast and safe)
- Clear the opening and tracks: remove any object and check for rocks, screws, or debris in the vertical tracks.
- Clean the photo-eye sensor lenses with a soft cloth.
- Align the sensors: indicator lights vary by brand, but a steady light often means the beam is good. Tighten loose brackets.
- Rule out sunlight: if it fails at the same time of day, shade the sensor temporarily to confirm.
- Check for wiring issues: look for a loose wire, a pinched cable, or corroded terminals at the sensor brackets or opener head.
If sensors are fine
- Test the door by hand: (pull the release cord): it should move smoothly and feel balanced.
- Adjust close travel limit in tiny steps if the door stops short or pushes into the floor then reverses.
- Adjust close force only slightly, and only if the door moves smoothly by hand.
Common mechanical causes
- Bent or loose tracks
- Seized rollers or binding hinges
- Bottom seal sticking to the floor (often winter)
- Opener rail or trolley moving rough
Stop and call a pro if you see this
- Door is very heavy by hand, will not stay near mid-travel, or you see a broken spring gap
- Frayed, loose, or off-drum cables
- Door is crooked in the opening or binds hard
- Anything loose near the bottom brackets where cables attach
💡 Tip: Scroll up to read the full article for detailed, step-by-step instructions.
⬆️ Back to topAbout Marcus Vance
Content Creator @ Grit & Home
Marcus Vance is a lifelong DIY enthusiast and self-taught home renovator who has spent the last decade transforming a dilapidated 1970s ranch into his family's dream home. He specializes in budget-friendly carpentry, room-by-room renovations, and demystifying power tools for beginners. Through his writing, Marcus shares practical tutorials and hard-learned lessons to help homeowners tackle their own projects with confidence.