A backed-up garbage disposal can feel like a kitchen-stopping emergency. Water sitting in the sink, nasty smells, and that nagging worry that you are about to make it worse with one wrong move.
I have been there. Early on in our fixer-upper, I treated the disposal like a magical blender and paid for it with a full sink of murky water and a Saturday afternoon I will never get back.
In this guide, we are going to do two things: figure out what kind problem you have, and then clear it using the safest, most likely-to-work steps first. No guesswork, no risky shortcuts.
First: identify what is actually happening
Different symptoms point to different fixes. Take 30 seconds here. It saves an hour later.
1) Full backup (standing water in one or both basins)
- What it looks like: Water is not going down at all, or it drains painfully slowly even with the disposal off.
- Most likely cause: A clog in the P-trap, the branch drain in the wall, or a blockage in the dishwasher drain line.
2) Slow drain (water goes down, but sluggish)
- What it looks like: The disposal may run, but the sink still holds water for a while.
- Most likely cause: Grease buildup, soft food sludge, or partial blockage in the trap or downstream.
3) Disposal hums but does not spin
- What it looks like: You flip the switch, it hums, maybe trips the reset, but nothing turns.
- Most likely cause: The motor is jammed by something in the grinding chamber, not a drain clog.
If you have a humming disposal, do not keep flipping the switch. That can overheat the motor. Jump to the reset and jam-clearing steps below.
Safety first (this is not optional)
Garbage disposals are great tools, but they are still power tools bolted to your sink.
- Turn off power. Switch the disposal off, then unplug it under the sink. If it is hardwired, turn off the breaker.
- Never put your hand inside. Not even “just to feel around.” Use tongs or pliers if you must remove something.
- Avoid chemical drain cleaners. They can damage plumbing, ruin disposal seals, and make a later trap removal dangerous.
- Have a bucket and towels ready. If we open the trap, water is coming out.
Step-by-step: clear the backup (start easy, then get more hands-on)
Step 1: Try a proper plunge (yes, it works on disposals)
If your sink is backed up, plunging is often the fastest fix, especially for soft clogs near the trap.
- Use a cup plunger (the flat-bottom sink kind), not a toilet plunger.
- If you have a double-basin sink, plug the other drain with a stopper or a wet rag so you build pressure.
- Add enough water to cover the plunger cup, then plunge with firm, even strokes for 20 to 30 seconds.
- Lift the plunger and see if the water starts moving. Repeat 2 to 3 rounds.
When plunging is a bad idea: If you recently used drain chemicals, do not plunge. You do not want that stuff splashing back.
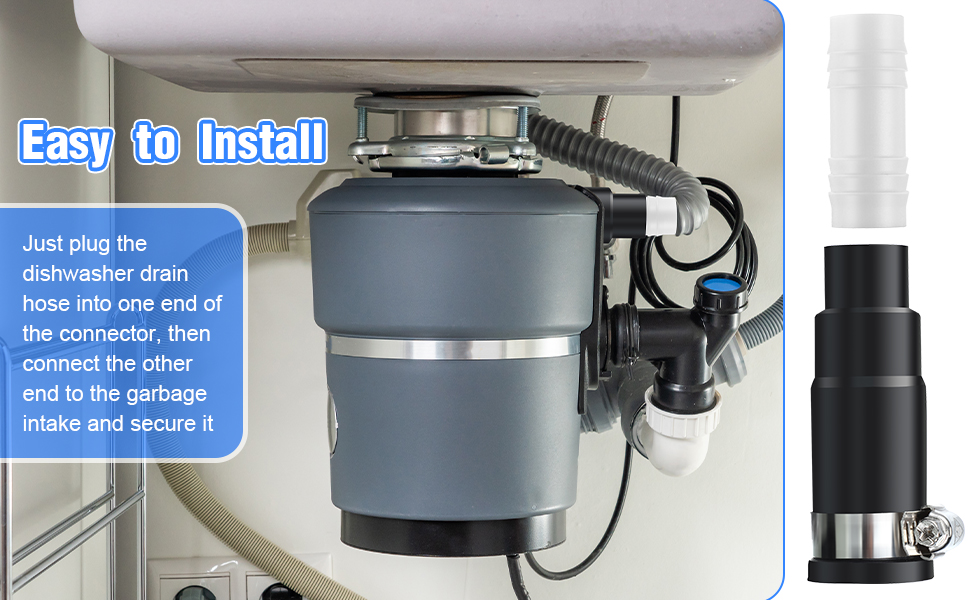
Step 2: Check the dishwasher drain connection (common culprit)
If you run the dishwasher and the sink backs up, or you see water coming into the sink when the dishwasher drains, the issue may be at the dishwasher hose or the disposal inlet.
- Power off and unplug the disposal.
- Under the sink, find the dishwasher drain hose connected to the small side inlet on the disposal.
- Place a bowl under the connection, loosen the clamp, and slip the hose off.
- Look for gunk at the hose end and at the disposal inlet. Clean what you can with a bottle brush.
Important: If this is a new disposal install and the dishwasher suddenly will not drain, you may have a forgotten step: the knockout plug inside that inlet. It must be knocked out for dishwasher drainage. If you are not sure, stop and confirm your model instructions, because forcing anything can crack the housing.
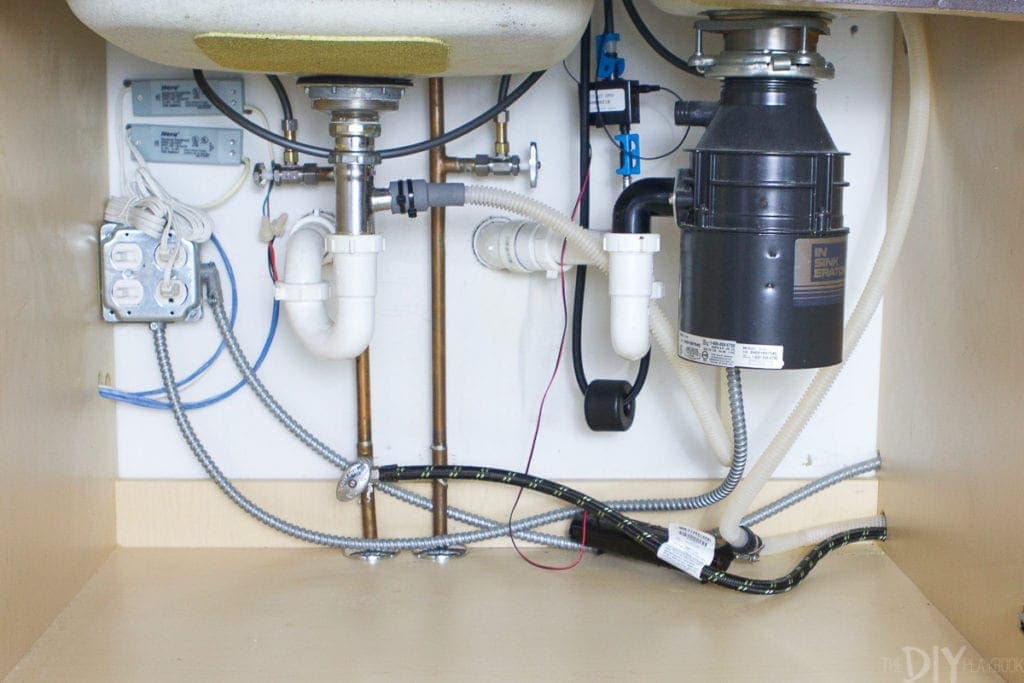
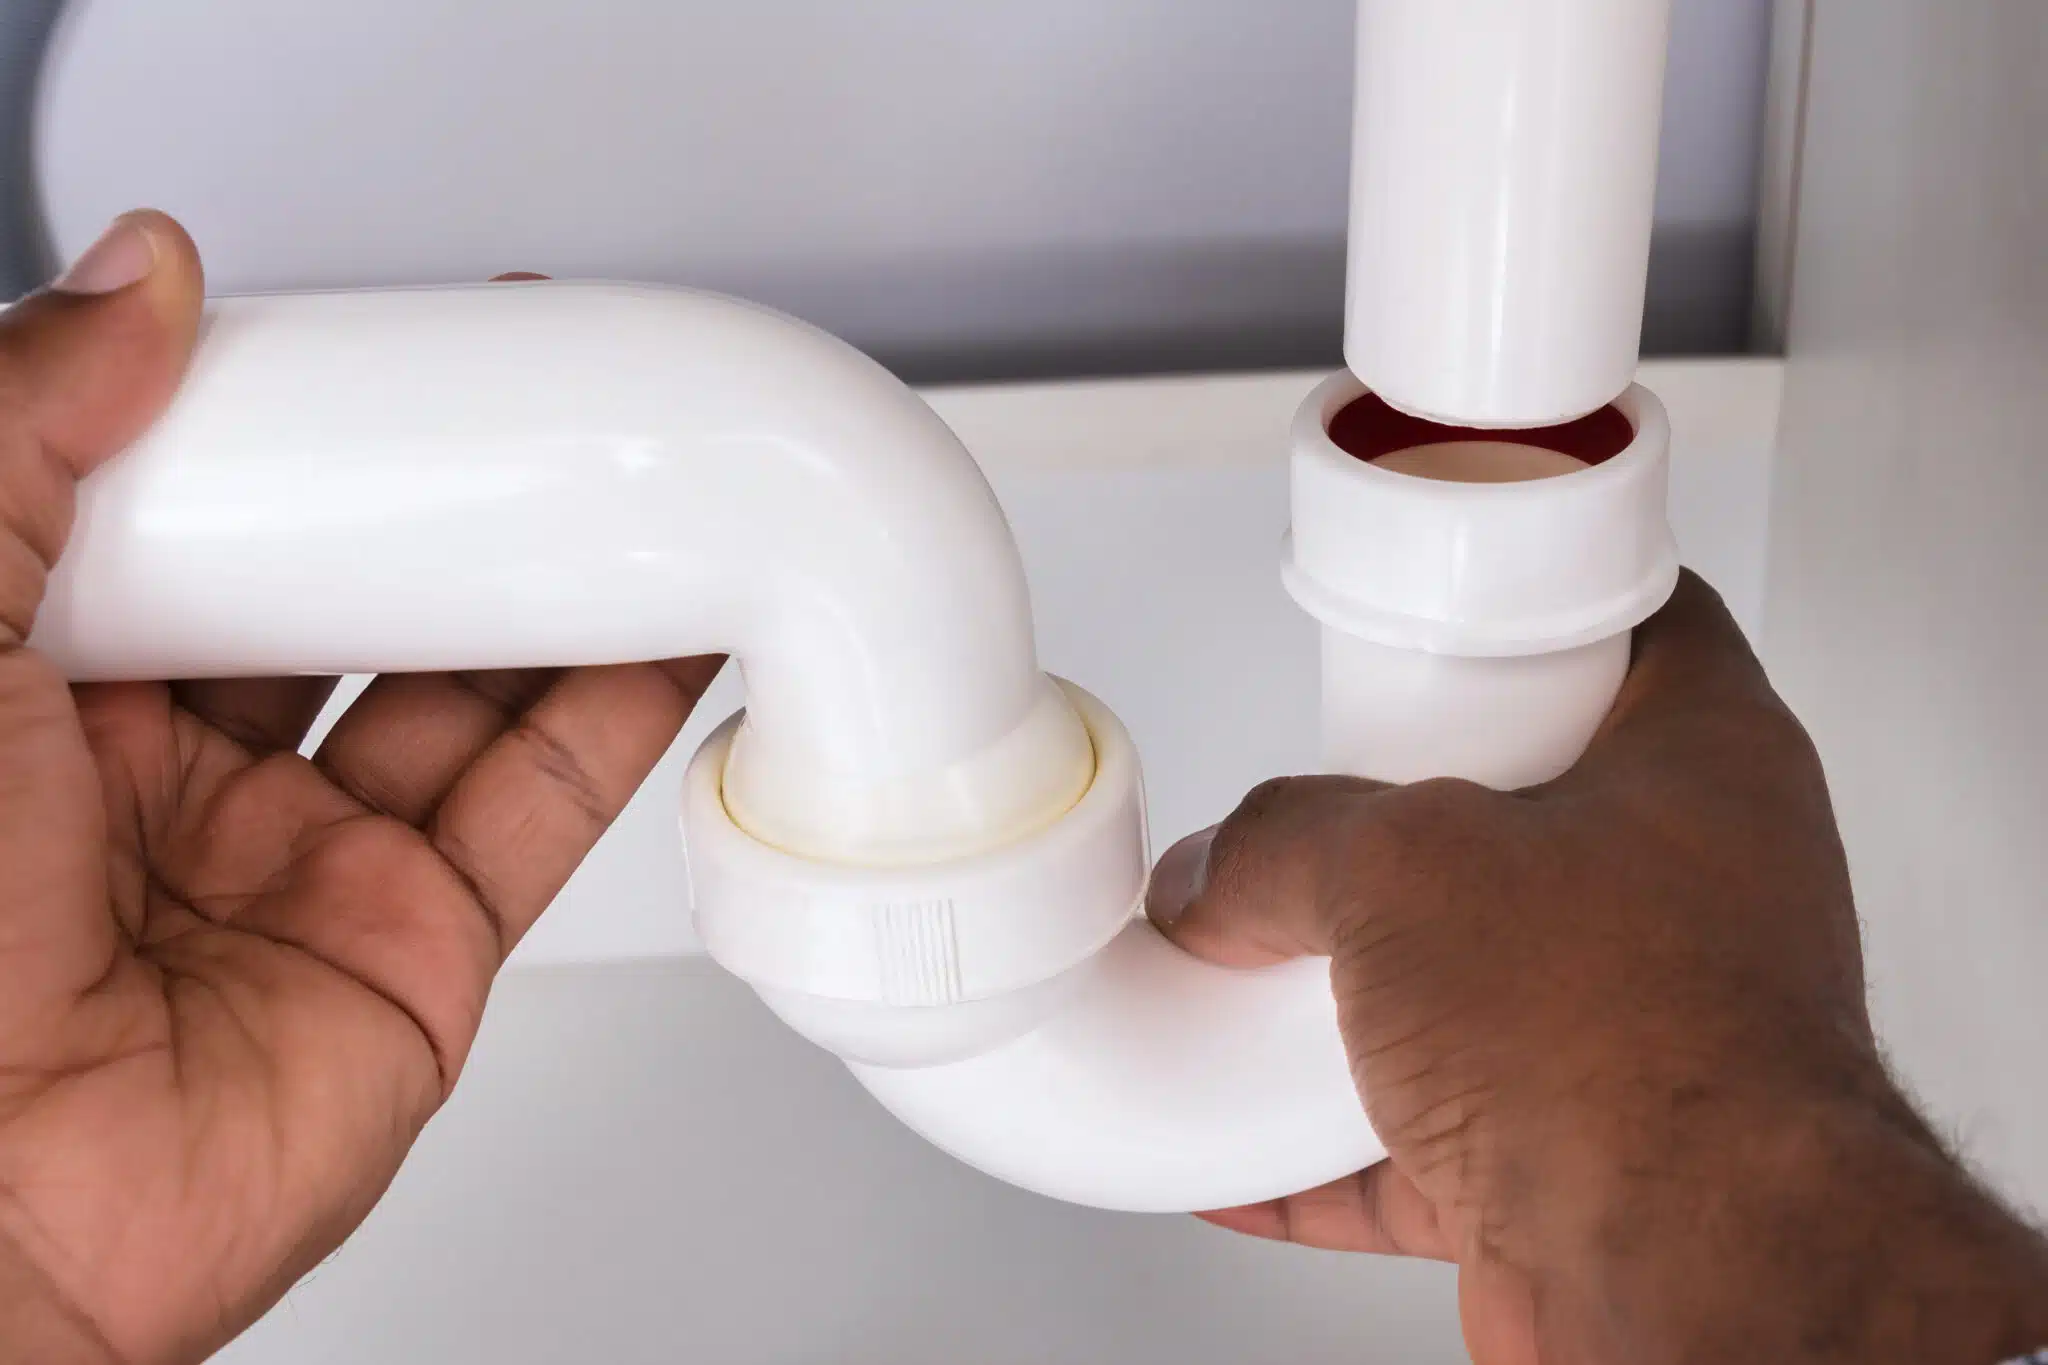
Step 3: Remove and clean the P-trap (best bang for your effort)
If plunging did nothing, the clog is often sitting right where you can reach it: the P-trap. This is the curved section of pipe under the sink designed to hold water and block sewer gases.
- Put a bucket under the trap and lay towels around it.
- Loosen the slip nuts by hand. If they are tight, use channel-lock pliers gently.
- Lower the trap and dump it into the bucket.
- Pull out sludge and debris. A bottle brush works great here.
- Check the straight pipe sections too. Food paste loves to pack into those.
- Reinstall the trap, hand-tighten, then snug slightly with pliers.
Pro tip from my own mistakes: Do not over-tighten slip nuts. That can warp the washers and create a slow leak you only notice when the cabinet floor swells.
Step 4: Snake the drain past the trap (when the clog is in the wall)
If the trap is clean and the sink still will not drain, the clog may be further down the line.
- With the P-trap removed, insert a small hand auger (drain snake) into the wall drain.
- Crank and feed slowly. When you feel resistance, work it back and forth to break through.
- Pull the snake out and clean it into the bucket. Repeat until it comes back mostly clean.
- Reassemble the trap and test with hot water.
Stop if: you hit a hard stop that will not budge, or the snake keeps coming back with greasy paste and the drain still does not improve. That can indicate a bigger line issue that is better handled with professional equipment.
If the disposal hums: unjam and reset it
A humming disposal usually means the motor is trying to turn but the grinding plate is stuck. The good news: many jams are fixable in 5 minutes.
Step 1: Cut power and inspect safely
- Unplug the disposal or shut off the breaker.
- Use a flashlight to look down into the disposal.
- Remove visible objects with tongs or needle-nose pliers. Common offenders are bones, fruit pits, utensil handles, and bottle caps.
Step 2: Free the grinding plate
- Most disposals have a hex socket on the bottom. Insert the correct Allen wrench and work it back and forth until it turns freely.
- If yours does not, you can often use a wooden spoon handle from above to nudge the plate. Still no hands inside.
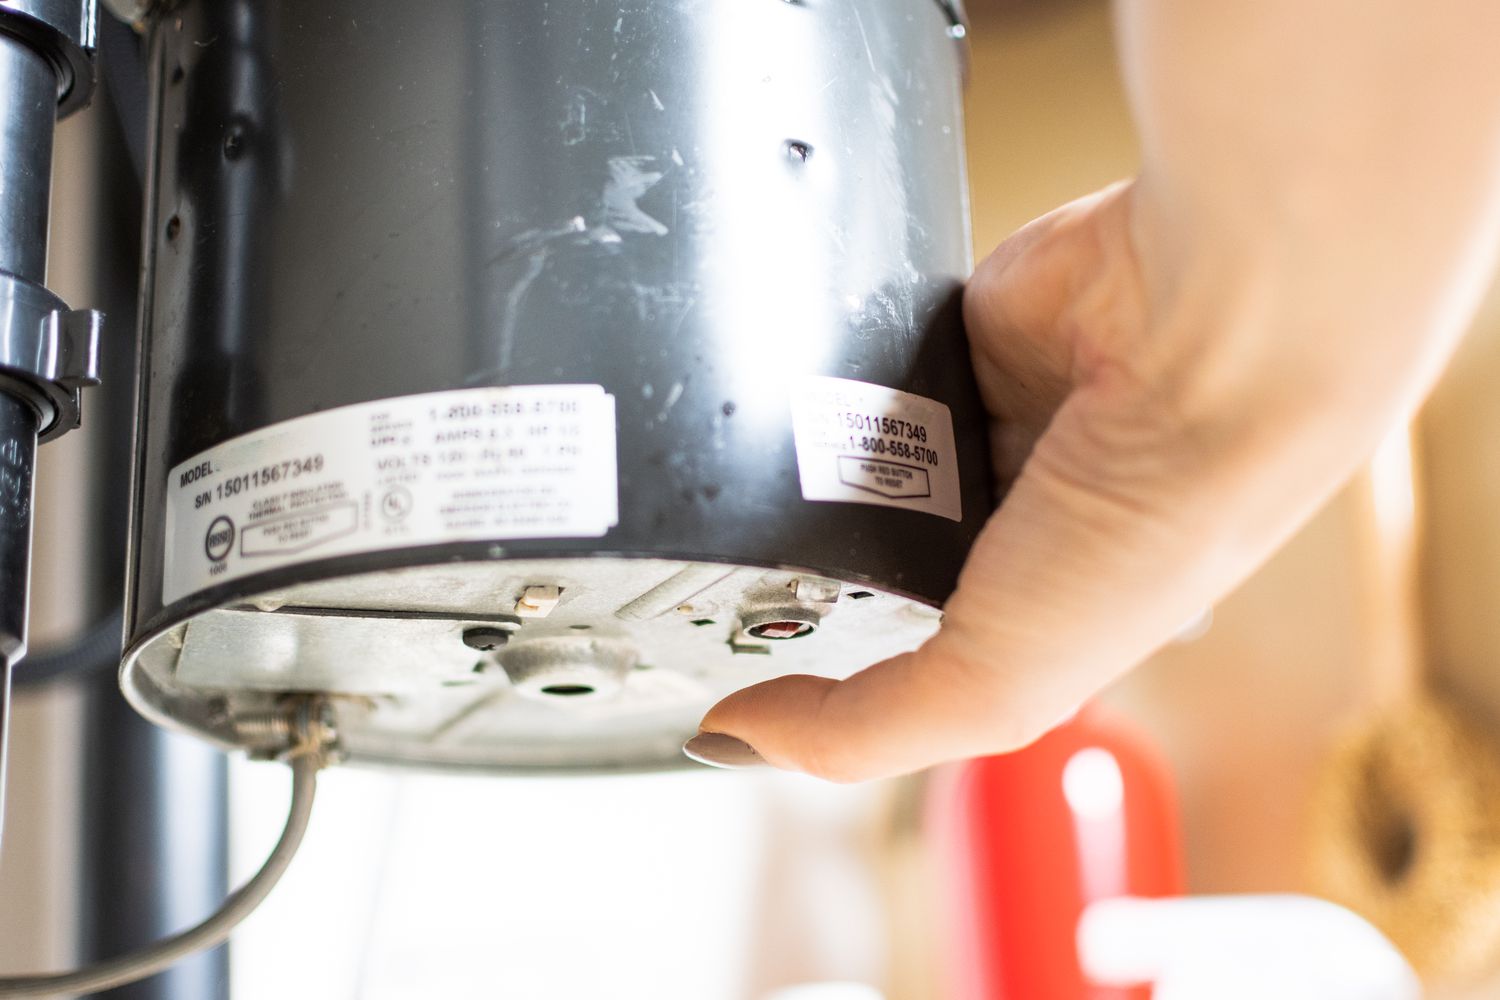
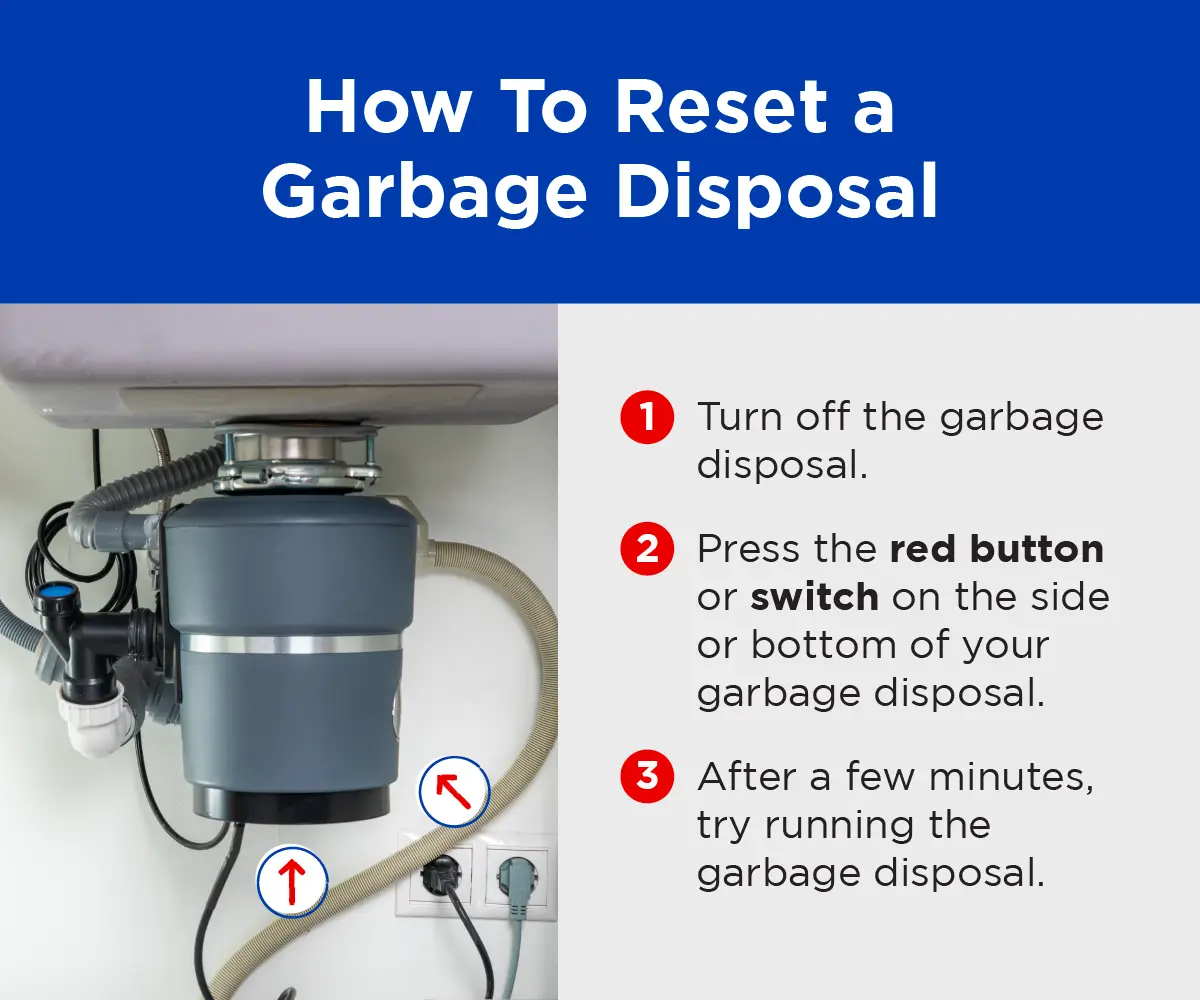
Step 3: Press the reset button
On the bottom of the disposal there is usually a small red button.
- Wait 5 to 10 minutes if the unit feels hot (let it cool).
- Press the reset button until it clicks.
- Restore power, run cold water, then test briefly.
If it hums again: shut it off immediately. There is still a jam, or the motor is failing.
How to test after you clear it (without re-clogging)
- Run cold water first and keep it running.
- Flip the disposal on for 5 to 10 seconds.
- Watch the sink. You want a strong vortex and quick drainage.
- After it clears, keep cold water running for another 10 to 15 seconds to carry debris through.
If you opened the P-trap, check for leaks by wiping the joints dry, then running water for a full minute and feeling around each slip nut.
Common causes (and how to prevent a repeat)
What clogs disposals most often
- Grease and oil: coats pipes and grabs food particles.
- Starchy foods: rice, pasta, and potato peels turn into paste.
- Fibrous foods: celery, onion skins, corn husks can wrap and stall the plate.
- Coffee grounds: build up like wet sand.
- Eggshells: the membrane can tangle and the grit can settle in traps.
Simple habits that help
- Use the disposal for small scraps, not as a trash can.
- Always run cold water when grinding food.
- Cut bigger scraps into smaller pieces before sending them in.
- Once a week, grind a few ice cubes to help knock residue loose, then flush with cold water.
When to stop and call a plumber
I am all for DIY, but some situations are your cue to tag in a pro.
- The sink backs up into multiple fixtures (tub, shower, other sink). That can suggest a main line issue.
- You see leaks from the disposal body itself, not just the drain connections.
- The disposal repeatedly trips the reset, smells like hot electronics, or will not spin even after unjamming.
- You snaked the line and still have a full backup, or you suspect a broken or bellied pipe.
- You have old, brittle plumbing and the slip nuts or trap arm feel like they could crack.
Calling a plumber for a stubborn clog is not a failure. It is protecting your cabinets, your flooring, and your weekend.
Quick checklist: what to try in order
- Confirm the symptom: full backup vs slow drain vs humming.
- Cut power before touching anything under the sink.
- Plunge (seal the other basin).
- Check the dishwasher drain hose and disposal inlet.
- Remove and clean the P-trap.
- Snake the wall drain if needed.
- If humming: unjam with hex wrench, then reset.
- Test with cold water, check for leaks.
About Marcus Vance
Content Creator @ Grit & Home
Marcus Vance is a lifelong DIY enthusiast and self-taught home renovator who has spent the last decade transforming a dilapidated 1970s ranch into his family's dream home. He specializes in budget-friendly carpentry, room-by-room renovations, and demystifying power tools for beginners. Through his writing, Marcus shares practical tutorials and hard-learned lessons to help homeowners tackle their own projects with confidence.