
Why your disposal smells (and why it comes back)
Most garbage disposal odors are not a mechanical problem. They come from food residue stuck in three places that stay damp: under the rubber splash guard (also called the baffle), in the grinding chamber, and in the drain connection right below the unit. That gunk turns into biofilm buildup, and every time you run the disposal the odor gets stirred up and pushed back into the sink.
The good news: you usually do not need special chemicals or a new disposal. You need a quick scrub in the right spots, a solid rinse, and a couple habits that keep scraps from building up again.
Before you start: quick safety checklist
- Power off for hands-on cleaning. Turn the wall switch off and unplug the disposal under the sink if you can. If it is hardwired, flip the breaker.
- Never put your hand inside. Use a brush, tongs, or a cloth over a long utensil.
- Skip harsh drain cleaners. Caustic chemicals can damage rubber parts and are rough on older plumbing (and septic systems).
Fast fixes (start here)
1) Ice and salt scour (for lingering funk)
This is my go-to because it is cheap and it helps scour and knock loose buildup inside the chamber and around the ring area. The ice chips away at residue while the salt adds grit.
- Run cold water first.
- Turn on the disposal.
- Add 2 cups of ice gradually (a handful at a time).
- Add 1/2 cup coarse salt (kosher salt works well).
- Let it run for 20 to 30 seconds.
- Keep the cold water running for another 15 to 30 seconds to flush.
Why cold water? It helps keep fats more solid so they are more likely to break up and flush away instead of smearing around. That said, cold water does not make grease “safe” for disposals. The best move is still to keep grease and fat out of the sink.
2) Baking soda and vinegar flush (for deodorizing)
This helps knock down odors and loosen grime in the throat of the drain. It is not a clog remover, but it is a solid, sink-safe refresher.
- Turn the disposal off.
- Pour 1/2 cup baking soda into the drain.
- Add 1 cup white vinegar and let it fizz for 10 minutes.
- Flush with very hot tap water for 30 seconds.
- Finish by running the disposal with cold water for 10 seconds.
3) Citrus peel grind (quick refresh)
Citrus oils help with odor, but think of this as the final touch after you actually clean. If you only do citrus on top of old gunk, it turns into lemon-scented trash.
- Cut a lemon, lime, or orange peel into 1 inch pieces.
- Run cold water, turn on the disposal, and feed peels slowly.
- Flush with cold water for 15 to 20 seconds.
Tip from my own mistakes: Do not dump a whole pile of peels at once. That is how you get a jam and a very frustrating Saturday morning.
Clean the part most people miss: the splash guard
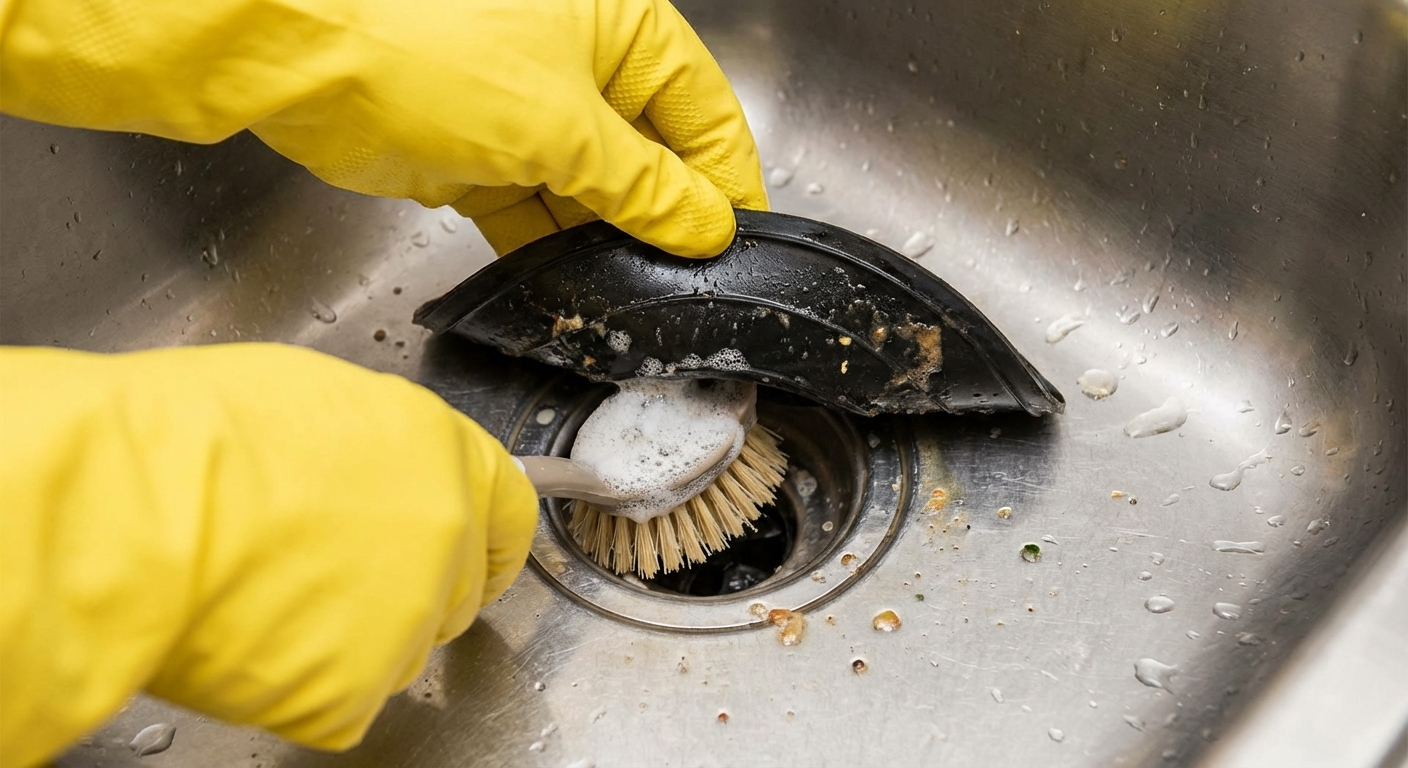
If your disposal smells like rotten food even after you run it, the rubber splash guard (baffle) is often the culprit. Food paste loves to hide underneath those flaps.
How to clean it
- Cut power to the disposal.
- Lift the rubber flaps and scrub the underside with a dish brush and hot soapy water.
- For stubborn slime, sprinkle baking soda on the brush and scrub again.
- Rinse, then restore power and flush with cold water for 20 seconds.
If yours is removable: Some splash guards twist out. If you can remove it, soak it in hot water with a little dish soap for 10 minutes, scrub, then reinstall.
Deep clean: the drain connection under the sink
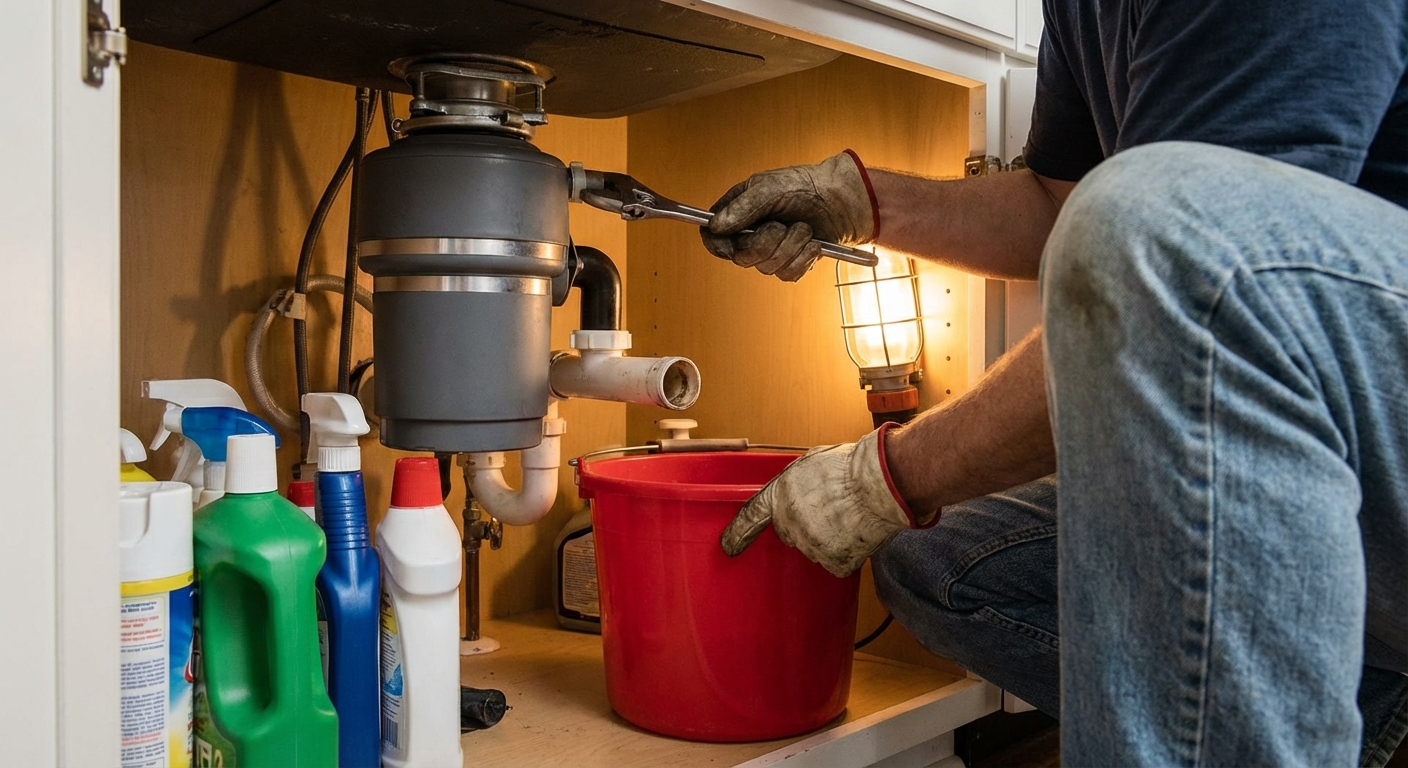
If the smell returns quickly, or you get a whiff when you run water even with the disposal off, you may have buildup in the discharge pipe or the P-trap. This is where stagnant residue can sit and stink.
What you need
- Bucket or shallow pan
- Towel or small rag
- Channel-lock pliers (optional)
- Bottle brush or old toothbrush
- Dish soap
Step-by-step
- Cut power to the disposal.
- Place a bucket under the P-trap.
- Loosen the slip nuts and remove the P-trap. Let it drain into the bucket.
- Scrub the inside of the trap and the disposal’s discharge tube with hot soapy water.
- Rinse the trap thoroughly.
- Reinstall, hand-tighten the slip nuts, then snug gently. Do not over-tighten plastic fittings.
- Run water and check for leaks for a full minute.
When to stop and call a pro: If your pipes are corroded metal, you see active leaks, or the slip nuts will not budge without serious force, it is easy to turn a smell problem into a plumbing problem.
If you also have a jam
Odors and jams tend to show up together. If the disposal hums, trips, or will not spin, check your manual first. Many units can be freed by turning the bottom hex fitting with an Allen wrench, then pressing the red reset button on the underside. If you are not sure what model you have, do not force it. Manufacturer instructions are the safest play.
Check the dishwasher connection
If your dishwasher drains into the disposal, odor can come from that pathway too. Look for buildup at the dishwasher inlet on the disposal, and make sure the drain hose has a proper high loop (or an air gap where required). A low, sagging hose can hold funky water that feeds smells back into the sink.
What not to put in your disposal
Most “disposal stink” is really “this should have gone in the trash or compost.” Here are the repeat offenders I see in real homes.
- Grease and fat: It coats the chamber and traps food particles.
- Fibrous scraps: Celery, corn husks, onion skins. They can wrap around the impellers.
- Starchy foods: Potato peels, rice, pasta. They can turn into paste.
- Coffee grounds: They can pack into sludge.
- Eggshells: The membrane can tangle, and the shell grit can contribute to sediment in the trap over time.
- Large amounts at once: Even “safe” scraps can overwhelm the system.
Prevention habits that work
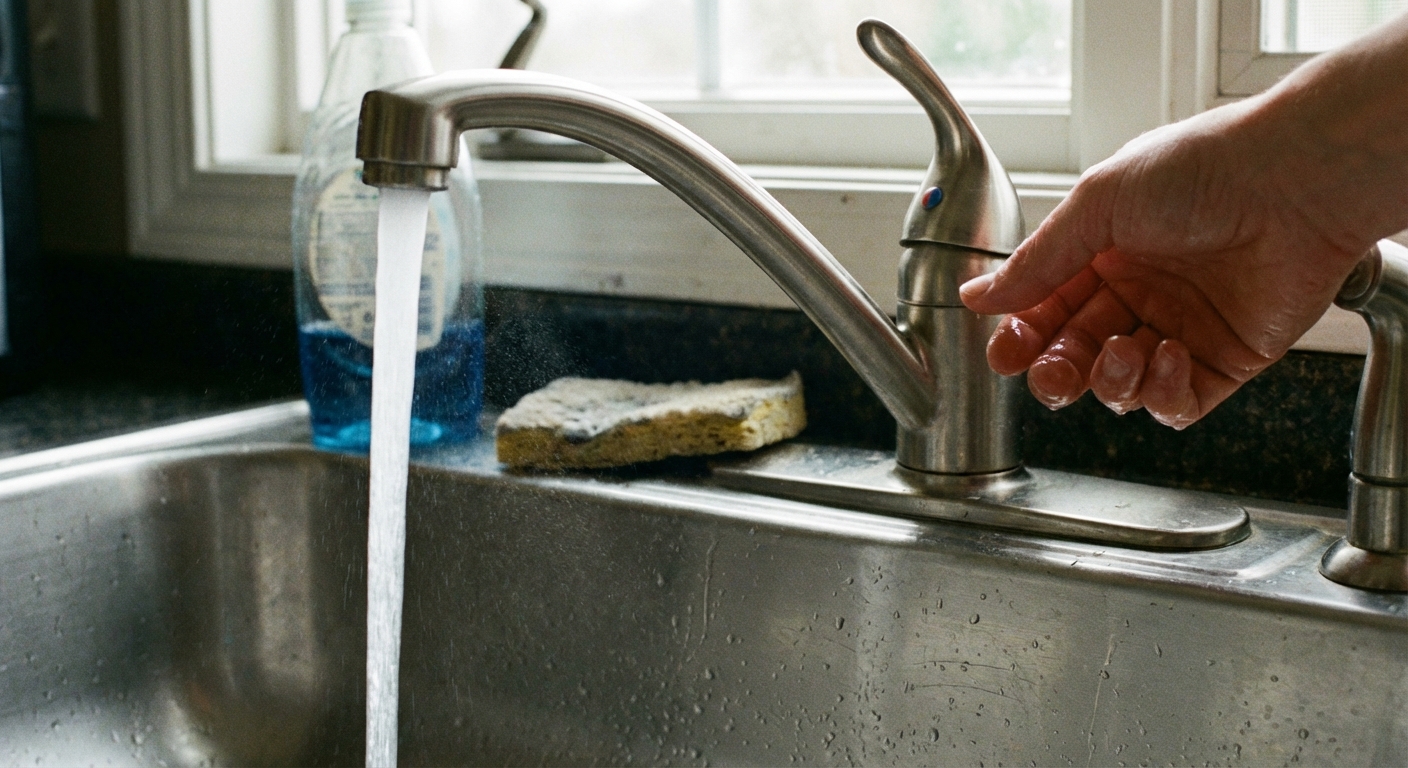
- Run cold water before, during, and after. I do 10 seconds before, the whole time while grinding, then 20 seconds after.
- Feed scraps slowly. Think “a few pieces at a time,” not “dump the plate.”
- Do a weekly quick clean. Ice and salt takes under two minutes and helps prevent buildup.
- Scrub the splash guard monthly. This is the odor hotspot in most sinks.
- Keep a sink strainer in place. Let the disposal handle the small bits, not the whole meal.
- If you have a septic system: Be extra strict about keeping grease, harsh chemicals, and big loads of food waste out of the drain.
Troubleshooting: what the smell means
Sewage smell (not just old food)
This can point to buildup in the trap, a venting issue, or a dry P-trap (rare at a kitchen sink you use daily). Start with the P-trap clean-out steps above. If the smell is strongest in multiple drains, consider a plumber.
Burnt or electrical smell
Stop using it and cut power. That smell is not food. It can indicate a failing motor, overheating, or a wiring issue.
Mildew smell from the sink area
Check for a slow leak under the sink, wet particle board, or a damp cabinet floor. A disposal can be clean and the cabinet can still stink.
My simple 5-minute reset routine
If you just want a repeatable plan that works for most homes, do this:
- Scrub the splash guard with hot soapy water.
- Run ice and salt with cold water for 20 to 30 seconds.
- Flush with cold water for 20 seconds.
- Optional: grind a few small citrus peel pieces to freshen the scent.
That is usually enough to take a disposal from “something died in there” to neutral again without buying anything fancy.
FAQ
Can I use bleach in a garbage disposal?
A small diluted rinse is unlikely to destroy a disposal, but I avoid it. Bleach does not remove the gunk that causes the smell, and it can be hard on rubber parts and septic systems. Physical cleaning plus flushing works better.
Is it okay to pour boiling water down the disposal?
Hot water is fine for flushing, but I skip straight boiling water, especially with PVC plumbing and slip-joint washers. Use very hot tap water instead, then finish with cold water while running the disposal.
How often should I clean my disposal?
Light maintenance weekly (ice and salt) and a splash-guard scrub monthly keeps most disposals odor-free. If you cook a lot at home, you may want to do both a little more often.
About Marcus Vance
Content Creator @ Grit & Home
Marcus Vance is a lifelong DIY enthusiast and self-taught home renovator who has spent the last decade transforming a dilapidated 1970s ranch into his family's dream home. He specializes in budget-friendly carpentry, room-by-room renovations, and demystifying power tools for beginners. Through his writing, Marcus shares practical tutorials and hard-learned lessons to help homeowners tackle their own projects with confidence.