🚨 In a DIY emergency or rush?
Skip the details and jump straight to our 30-second cheat sheet for the most crucial info.
If your gutters are overflowing in a hard rain, that is often a volume problem (clogs, undersized gutters, too-steep roof valleys, not enough downspouts). It can also happen when the gutter run has bad slope or sagging, or when a downspout is partially clogged and the gutter backs up.
But if you are seeing a steady, pinpoint drip from one spot even in a light rain, you are most often dealing with a joint leak at a seam, corner miter, end cap, outlet, or downspout elbow. (There are a few look-alikes I will help you rule out below.)
This guide is all about those small, maddening leaks. We are going to reseal the joint, re-secure the gutter if it is moving, confirm the gutter has the right slope, then test it with water so you are not guessing.
Before you start: Is it really a seam leak?
Here is the quick tell. A seam leak usually leaves a single drip line and a small stain on the fascia or siding right under a joint. Overflow tends to leave a wider wash pattern and water marks that spread out over a larger area.
Common leak locations
- Seams where two gutter sections overlap (often at a splice plate or inside sleeve).
- Outside and inside corners (miters).
- End caps at the end of a run.
- Downspout drop outlet (the hole and fitting where the downspout connects).
- Downspout elbows and joints in the downspout itself.
Quick check from the ground
- Look for a drip that starts at a joint, not the gutter edge.
- Check if the gutter looks slightly pulled away from the fascia near the leak.
- Note whether the leak happens only when water passes that spot (during a hose test) versus anytime it rains.
Common look-alikes
- Pinhole in the gutter floor (often corrosion or a tiny puncture). This can drip like a seam leak.
- Fastener penetration leak at a spike, screw, or hanger location.
- Water running behind the gutter from a drip edge or fascia flashing issue. It can exit at a seam and fool you.
- Downspout backup: a clogged or undersized downspout can force water up and out at otherwise decent joints.
Tools and materials
You do not need a shop full of specialty stuff. You do need the right sealant, a clean, dry surface, and a ladder setup that does not wreck your gutters.
What I keep in my gutter repair tote
- Stable ladder and gloves
- Safety glasses
- Ladder standoff or stabilizer (keeps the ladder off the gutter so you do not crush thin aluminum)
- Plastic putty knife or old credit card (for scraping)
- Wire brush (light use) or Scotch-Brite pad
- Rags and paper towels
- Bucket of warm, soapy water
- Isopropyl alcohol or denatured alcohol for final wipe (or whatever your sealant calls for)
- Caulk gun
- Gutter sealant (more on compatibility below)
- Self-tapping sheet metal screws (typically #8 with a 1/4 inch hex drive head, about 1/2 to 3/4 inch long, or match what is already installed)
- Nut driver or drill with adjustable clutch
Sealant compatibility
The goal is a sealant that stays flexible, grabs metal, and survives sun and temperature swings.
- Butyl rubber gutter sealant: My go-to for aluminum gutters and joints. It stays flexible and bonds well.
- Polyurethane sealant: Excellent durability and adhesion, but messier. Great for exterior metal.
- 100% silicone: Works in some cases, but it can fail sooner on dirty or slightly damp metal. Also, once silicone is on there, future sealants may not stick well unless you remove it completely.
Rule of thumb: If you are resealing over old material, identify what is there. New sealant does not reliably bond to old silicone. If you see a rubbery, glossy bead that peels off in stretchy strips, assume silicone and plan to remove it thoroughly.
Surface prep note: Follow the sealant manufacturer surface-prep guidance, especially on painted or coated gutters. Some products prefer an alcohol wipe. Some warn against certain solvents. Mineral spirits can leave residue if it is not fully flashed off.
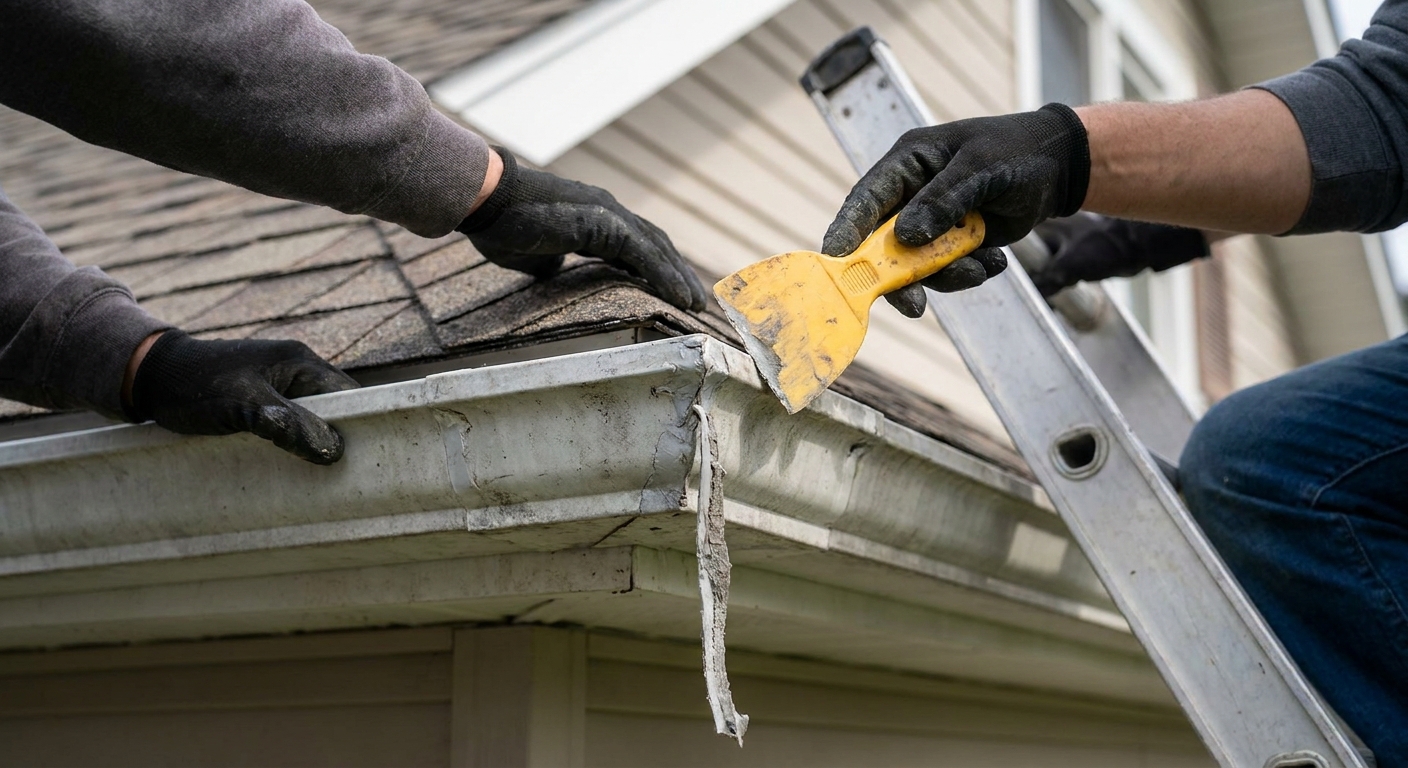
Step 1: Clean the joint
Most gutter reseals fail because someone tries to caulk over wet leaves, gritty roof sediment, and old cracked sealant. Sealant is not a magic eraser.
How to prep seams, corners, and end caps
- Scoop debris away from the joint so water can drain while you work.
- Scrape old sealant with a plastic putty knife. Take your time at corners and around outlets.
- Lightly scuff the metal where the new bead will sit (Scotch-Brite is usually enough).
- Wash with warm, soapy water, then rinse and wipe dry.
- Final wipe with the cleaner your sealant manufacturer recommends (often isopropyl or denatured alcohol). Let it flash off.
Step 2: Dry it completely
If you seal a damp seam, the bead may look fine for a week, then lift at the edges and leak again. I have made this mistake more times than I care to admit.
Drying options that work
- Pick a dry day with no rain in the forecast for at least 24 hours.
- Wipe and wait after cleaning, especially at corners where water hides.
- Use a hair dryer or heat gun on low (carefully) to chase moisture out of seams. Keep the tool moving and do not cook the paint finish.
Pro tip: If water keeps seeping out of a seam while you are prepping, that is a clue the gutter is holding standing water. That takes us to slope and hangers in a minute.
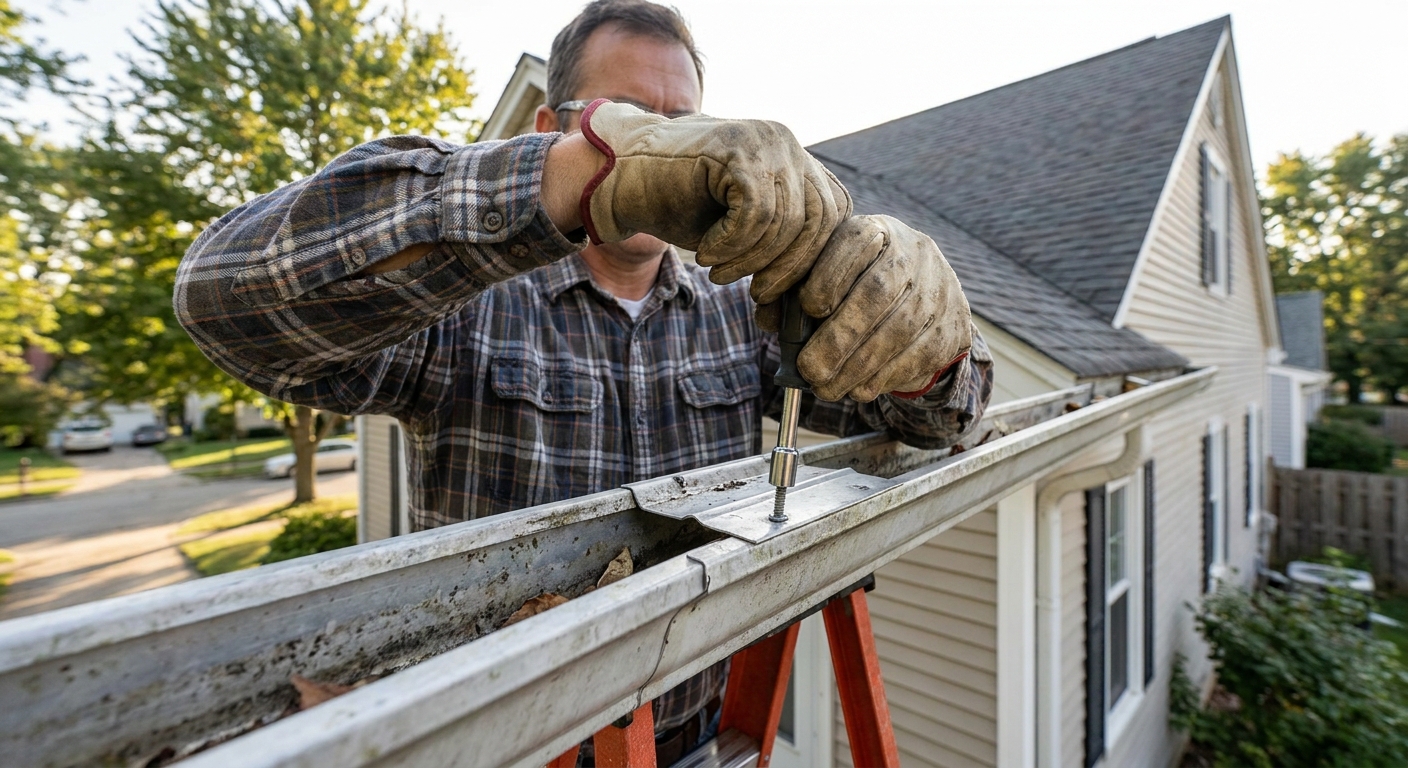
Step 3: Re-secure loose seams
Sealant cannot bridge movement forever. If the gutter sections wiggle, the joint will crack open again.
What to look for
- A seam that opens slightly when you push the gutter up and down
- Missing or rusted fasteners at a splice
- Hangers spaced too far apart, letting the gutter sag
How to tighten a loose seam
- If you have a splice plate or connector, snug its screws. Do not overtighten and strip thin aluminum.
- If the overlap is loose, add self-tapping sheet metal screws where they will not interfere with water flow (usually high on the side wall, not the gutter bottom). Match existing fastener size when you can.
- Add a hidden hanger near the joint if the gutter is flexing.
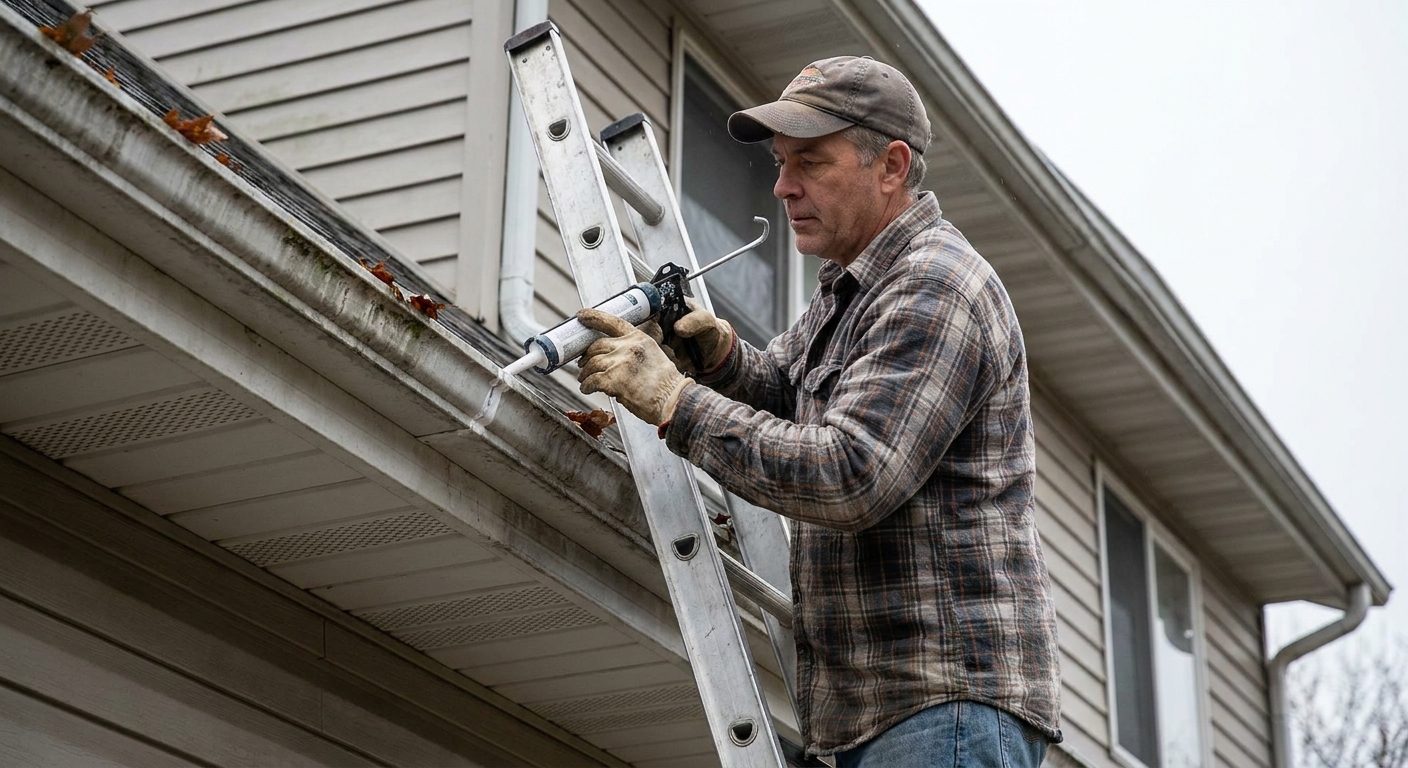
Step 4: Apply the sealant
For gutters, you want a bead that is thick enough to flex, but not so heavy that it creates a ridge that traps debris.
Where the sealant should go
- Seams: Run a continuous bead along the inside of the joint, covering the overlap edge.
- Corners (miters): Seal the inside corner thoroughly, especially where the miter meets the gutter bottom.
- End caps: Seal where the cap meets the gutter on the inside, not just the outer edge.
- Outlet drop: Seal around the inside edge where the outlet meets the gutter floor, and around rivets or screws.
My application method
- Cut the nozzle small and start conservative. You can always add more.
- Lay a steady bead, then tool it with a gloved finger or plastic spoon to press it into gaps.
- Feather the edges so water and debris do not catch on a sharp ridge.
Cure time matters: Many gutter sealants skin fast but need 24 to 48 hours to cure. Read the tube. Plan for longer cure time in cool or damp conditions.
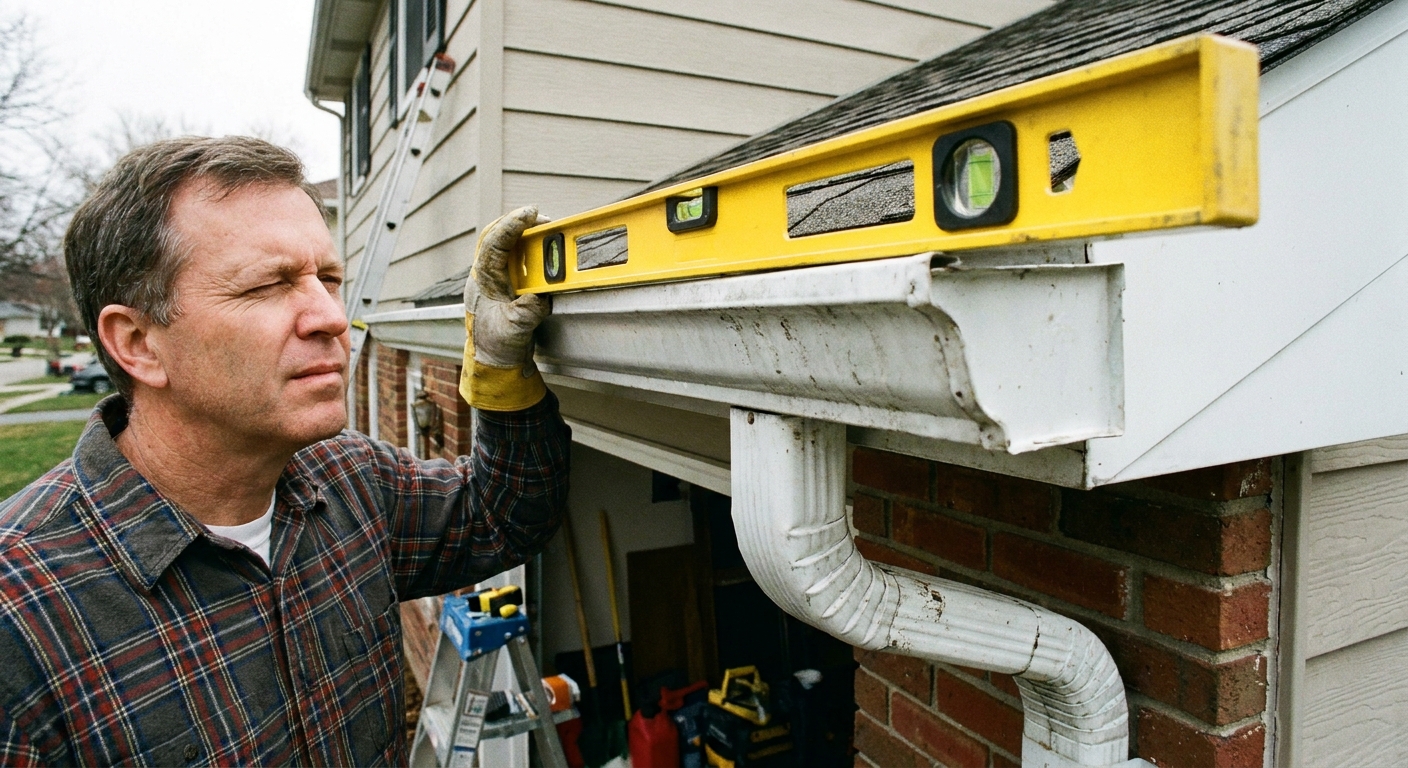
Step 5: Confirm the gutter slope
Even a perfectly sealed seam can leak if water stands against it for hours after every rain. Standing water finds pinholes and shortens the life of the sealant.
What slope should be
A common target is about 1/4 inch of drop for every 10 feet of gutter run toward the downspout. Some installs use less. The main goal is that water does not linger.
Easy slope checks
- After a rain, look for ponding in the gutter. Standing water after a few hours is a red flag.
- During a hose test, watch whether water moves steadily toward the downspout or stalls near the leaking joint.
- Use a 4-foot level. You are looking for a slight pitch, not dead level.
How to fix minor slope issues
- Adjust hangers: Often, you can raise or lower a hanger slightly to restore pitch.
- Add a hanger at a low spot: This is the most budget-friendly fix for a sag.
- Check fascia rot: If screws will not bite, the wood behind the gutter may be soft and needs repair before the gutter will hold slope.
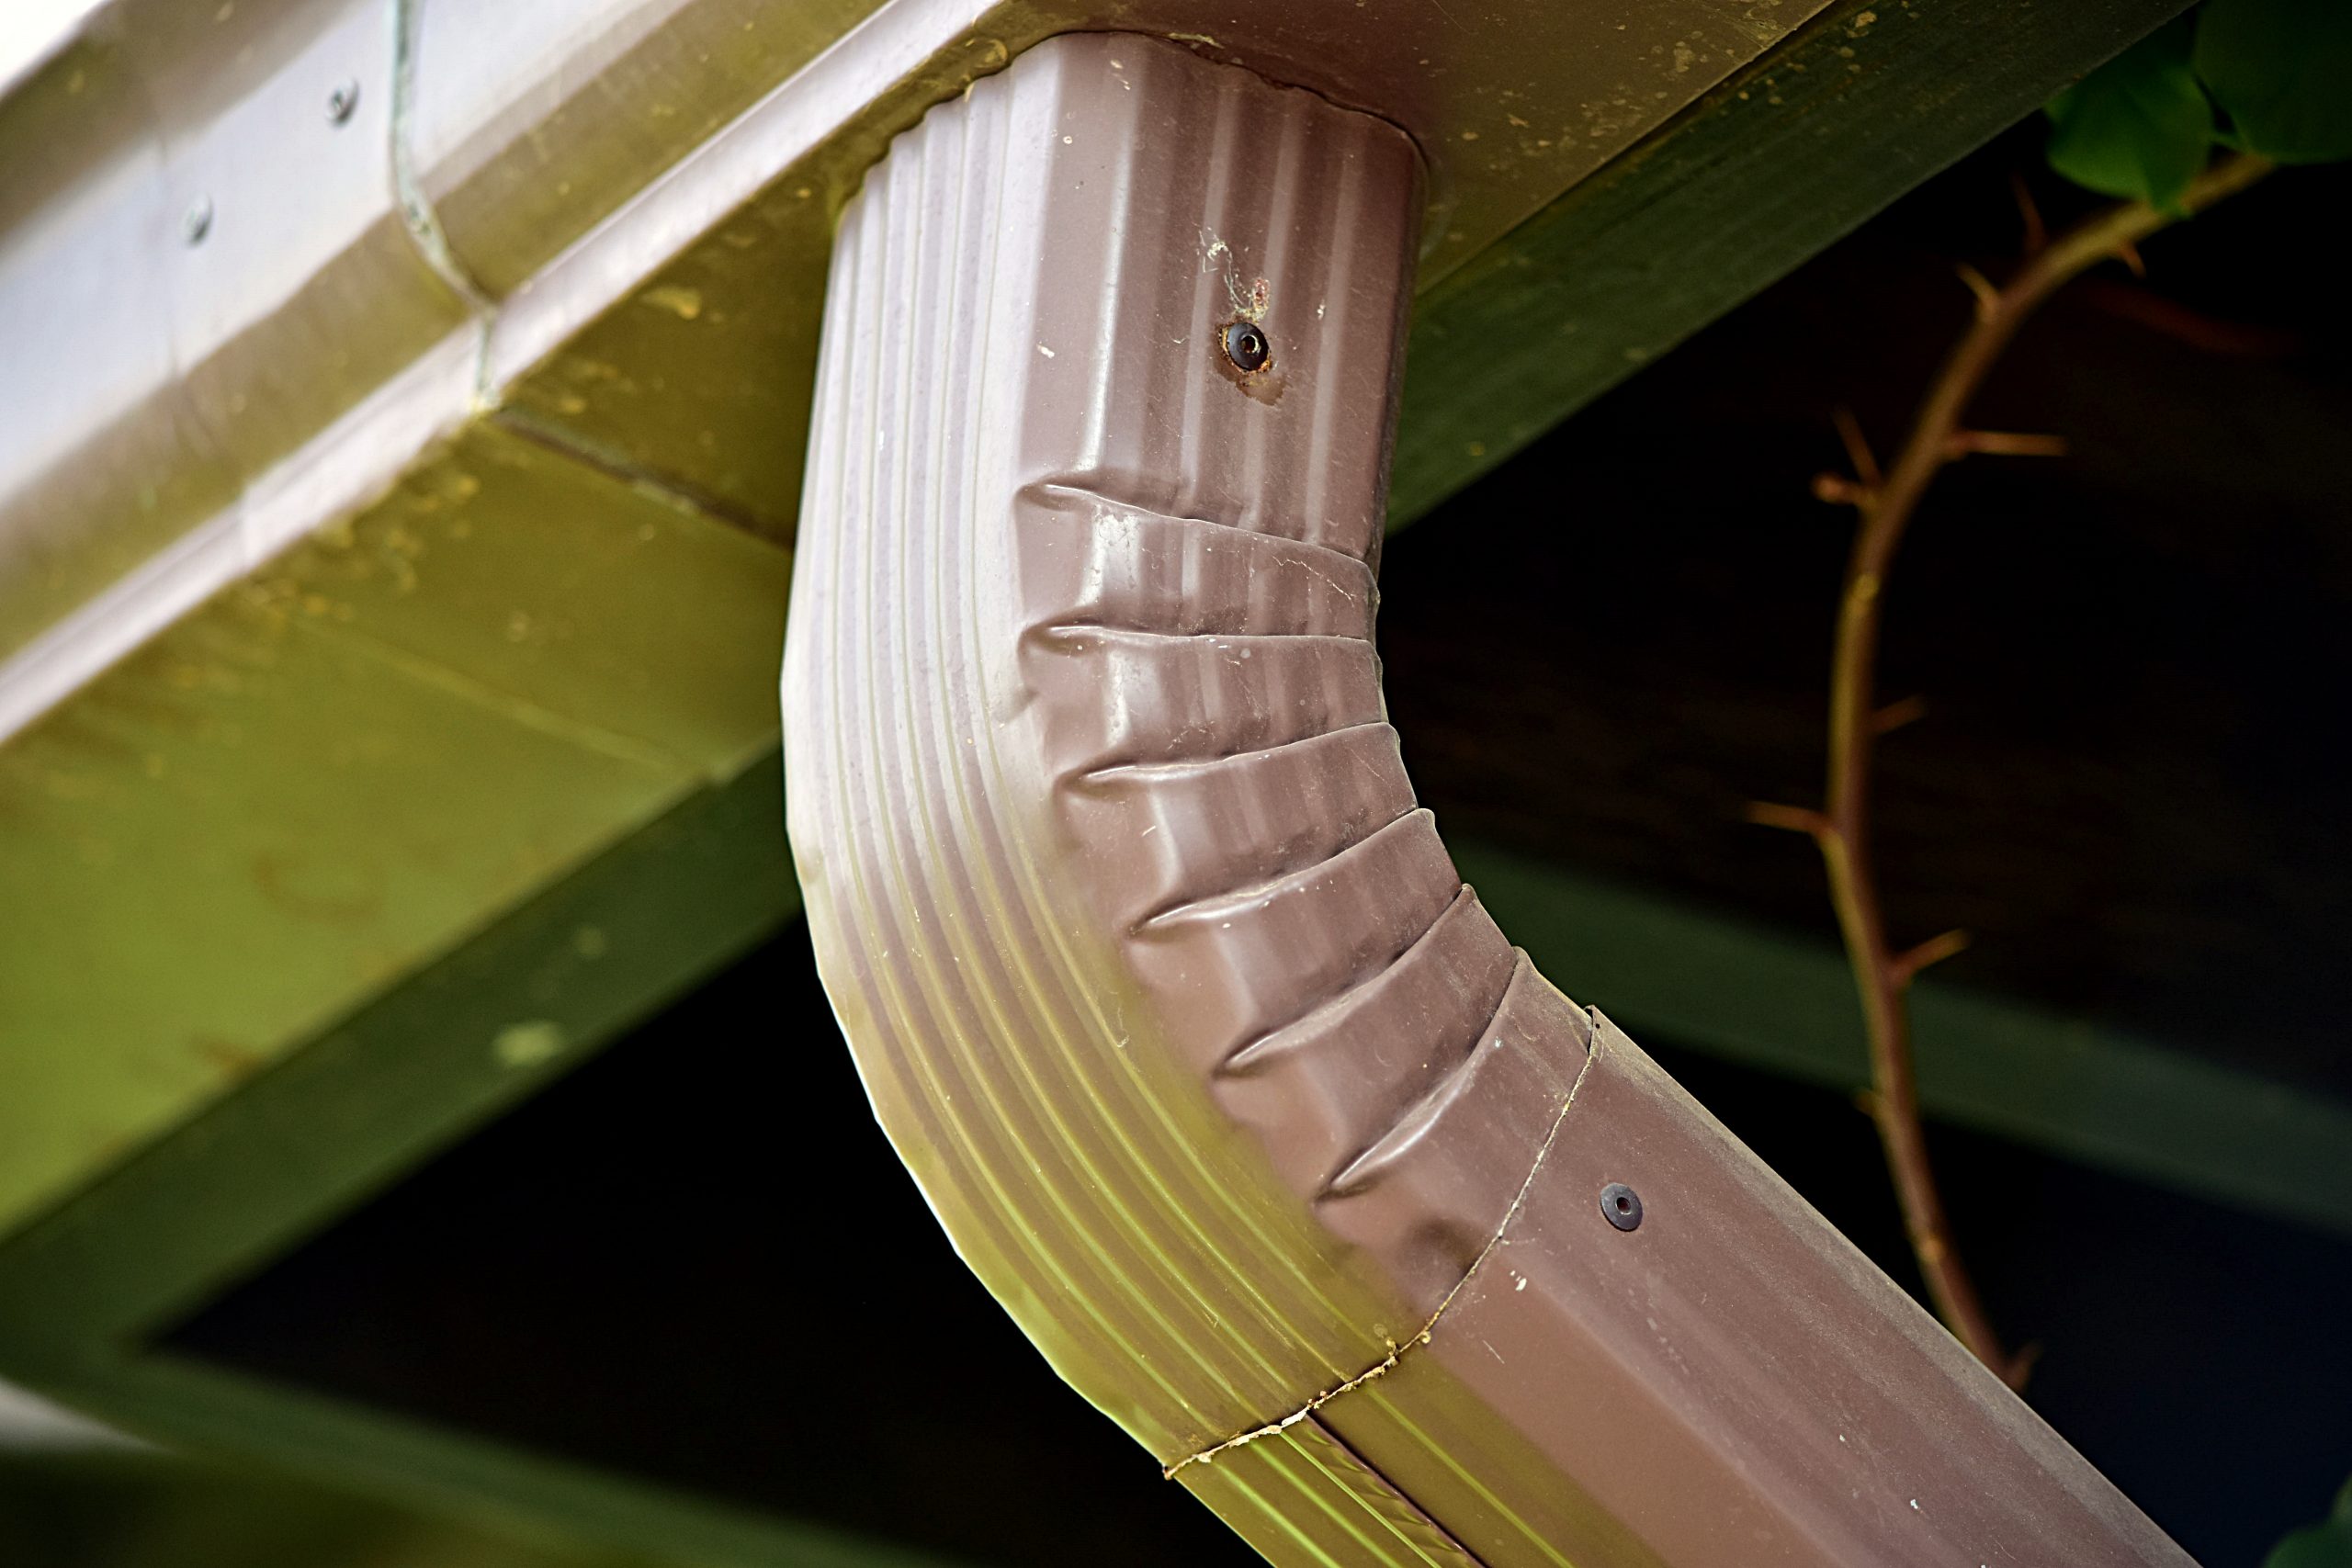
Step 6: Check elbows and downspout joints
Sometimes the gutter seam is fine and the drip is coming from the downspout elbow directly below it. Water hugs the metal and can fool you.
Typical elbow leak causes
- Loose slip-joint connection (not seated fully)
- Missing screw(s) at the elbow
- Cracked elbow seam from freezing or impact
- Water backing up because the downspout is clogged
Quick elbow fixes
- Remove the elbow, clean the mating surfaces, then reassemble tightly.
- Add three sheet metal screws evenly spaced around each joint (a common standard for downspouts). Use screws that do not protrude excessively inside and catch debris.
- If you must seal, use a small bead of compatible sealant at the joint, but mechanical fasteners should do the real work.
- If the elbow is split, replace it. They are cheap, and patching rarely lasts.
Step 7: Water test the repair
You are not done until you test. The trick is to test in a way that mimics rain flow, not a pressure washer blast.
How to run a smart hose test
- Wait for the sealant to cure per the tube instructions.
- Start at the high end of the gutter run.
- Use a garden hose at a steady flow, no nozzle jet.
- Let water run for 5 to 10 minutes so it reaches the downspout and loads the seams.
- Watch the exact joint you repaired, plus the area directly below it (downspout elbows love to play tricks).
If it still leaks
- Stop the test and check whether the drip is coming from above the joint. Water can sneak behind the gutter due to a missing, bent, or poorly tucked drip edge or fascia flashing.
- Confirm the seam is not moving. If it flexes, add fasteners or a hanger.
- Look closely for a pinhole or a fastener leak nearby. Water can travel along the gutter before it drops.
- If you sealed over old silicone, remove it fully and reseal with a compatible product.
When to replace parts
Resealing is great for small failures. But there are times when replacement is the thrifty move because you only want to climb that ladder once.
Replace parts if you see
- Cracked or deformed corner miter
- Multiple pinholes from corrosion
- Seam separation from bent metal
- Downspout elbows with splits or crushed sections
If your gutters are older and you are chasing leak after leak, step back and ask whether you have a system problem (wrong pitch, too few downspouts, chronic clogs) versus a single failed joint.
Safety notes
- Use a stable ladder on firm ground. Do not overreach. Climb down and move it.
- Use a ladder standoff or stabilizer so you do not crush or bend your gutter.
- Wear gloves. Old gutter edges are sharp.
- Eye protection matters when scraping overhead.
- If the gutter line is high, the ground is sloped, or you see significant fascia rot, consider hiring it out. A seam leak is not worth a fall.
The 30-Second Cheat Sheet
Essential takeaways for: Gutter Leaking at Seams, Corners, or Elbows? Reseal, Slope, and Test
What a seam or elbow leak looks like
- Pinpoint drip from a seam, corner miter, end cap, outlet, or downspout elbow.
- Usually leaves a single stain line under one joint. (Overflow leaves a broader wash pattern.)
Fix in 7 steps
- Clear debris so the joint is exposed.
- Scrape off failed sealant and gunk. New sealant will not stick to grime.
- Clean and dry completely. Pick a dry day. Use a hair dryer or heat gun on low if needed.
- Re-secure the joint first: tighten connector screws, add a hanger near the seam, or add short sheet metal screws high on the side wall.
- Seal from the inside: continuous bead over the seam or miter, then tool it smooth.
- Verify slope toward the downspout (about 1/4 in drop per 10 ft) so water does not sit on the repair.
- Water test after full cure: steady hose flow from the high end for 5 to 10 minutes.
Sealant pick (simple rule)
- Butyl or polyurethane are usually the best choices for gutters.
- Avoid sealing over old silicone unless you remove it thoroughly. Many products will not bond to it.
Downspout elbows
- If an elbow leaks, re-seat the joint and add three small screws around the connection.
- If the elbow is split or crushed, replace it. Patches rarely last.
If it still leaks
- Check that water is not getting behind the gutter (drip edge or flashing issue).
- Look for movement at the seam. Sealant cannot survive a wiggly joint.
💡 Tip: Scroll up to read the full article for detailed, step-by-step instructions.
⬆️ Back to topAbout Marcus Vance
Content Creator @ Grit & Home
Marcus Vance is a lifelong DIY enthusiast and self-taught home renovator who has spent the last decade transforming a dilapidated 1970s ranch into his family's dream home. He specializes in budget-friendly carpentry, room-by-room renovations, and demystifying power tools for beginners. Through his writing, Marcus shares practical tutorials and hard-learned lessons to help homeowners tackle their own projects with confidence.