If your heat pump is running but your house still feels sticky and warm, you are not alone. Cooling problems often come down to a few repeat offenders: a thermostat setting that got bumped, restricted airflow, dirty coils, or a refrigerant or reversing valve issue that needs a pro.
Here is the same order I use at home: quick, safe checks first, then the deeper stuff that tells you when to stop and call an HVAC technician.
Safety first (two rules that prevent expensive mistakes)
- Turn off power before opening panels: Use the disconnect box near the outdoor unit and switch off the breaker if you are removing any access panel.
- Do not vent or add refrigerant yourself: Refrigerant work requires certification and specialized tools (in the US, EPA Section 608). If you suspect a refrigerant problem, use the signs below to sanity-check it, then call a pro.
Quick triage: what exactly is it doing?
These quick observations will point you in the right direction.
- Outdoor unit running and indoor air handler running, but air is not cold: Often airflow, dirty coils, thermostat setup, or refrigerant charge.
- Indoor blower runs but outdoor unit is silent: Could be a tripped breaker, failed disconnect, capacitor issue, or control problem.
- Outdoor unit runs but indoor blower is weak or off: Filter, blower, motor, control board, or a clogged coil or drain causing shutdown.
- System cools at night but struggles during the day: Dirty outdoor coil, high heat load, low refrigerant, or an undersized system.
Now we will start with the easiest homeowner checks.
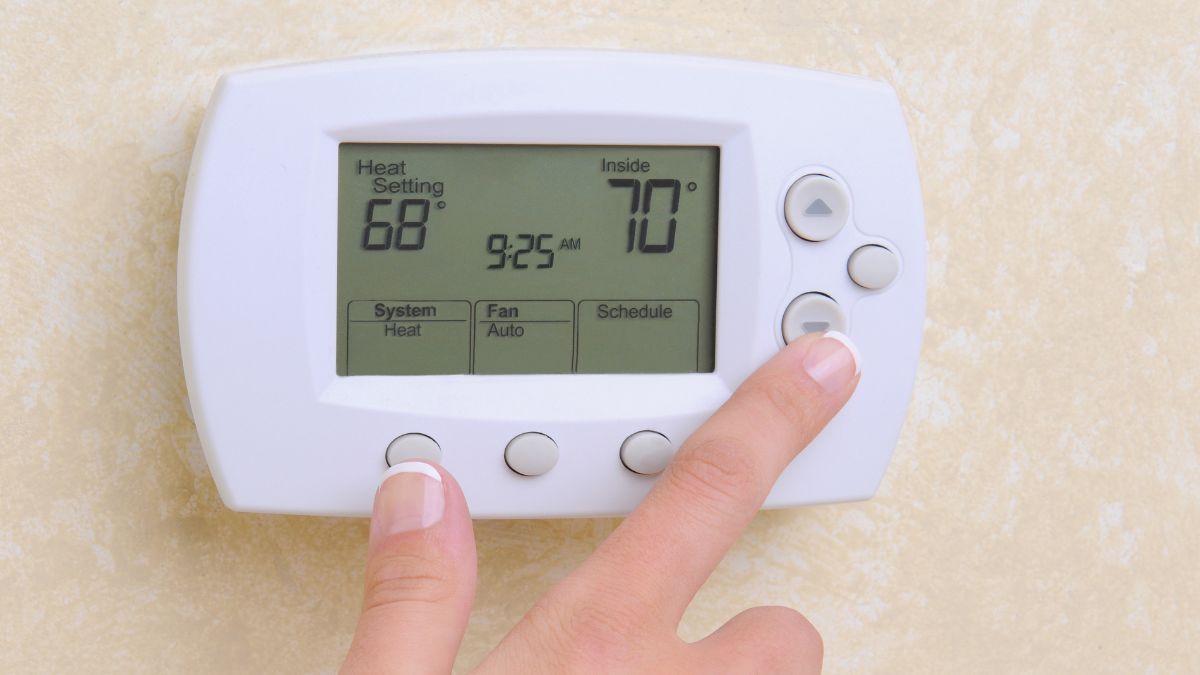
1) Thermostat settings that block cooling
Before you assume the heat pump is broken, confirm the thermostat is actually asking for cooling.
What to check
- Mode: Set to Cool (not Heat, not Off). If you use Auto, switch to Cool for troubleshooting.
- Fan: Set to Auto. “On” can make air feel warmer and more humid because the blower keeps running after the coil stops cooling.
- Setpoint: Lower it at least 3 to 5 degrees below room temperature to force a call for cooling.
- Schedule/eco settings: Smart thermostats love to “help.” Make sure you are not in away mode, eco mode, or a schedule setback.
- Power: Replace batteries if your thermostat uses them, and check the display for low power warnings.
- Heat pump setting (O/B): Especially after a thermostat swap. Many heat pumps use an O or B setting to control the reversing valve. If this is wrong, the system can act like it is in the wrong mode.
Quick test
Stand at a supply register and listen. When cooling kicks on, you should hear the indoor blower ramp and, within a few minutes, feel air that is noticeably cooler than room temp.
If you have a basic thermometer, a rough rule of thumb is that supply air is often about 15 to 25°F cooler than return air in cooling mode. It varies by humidity, airflow, and system design, so treat this as a clue, not a verdict.
2) Check breakers and switches
This takes 60 seconds and can save you a lot of guessing.
- Main panel: Check for a tripped breaker labeled AC, heat pump, air handler, or furnace. If it is tripped, reset it once. If it trips again, stop and call a tech.
- Outdoor disconnect: Make sure the disconnect near the outdoor unit is fully inserted and switched on.
- Service switch: Many indoor air handlers have a light-switch-style shutoff nearby. Make sure it is on.
3) Check your filter and airflow first
Heat pumps are picky about airflow. Restricted airflow is one of the fastest ways to end up with weak cooling, coil icing, and high energy bills.
Homeowner checks
- Air filter: If it looks gray, fuzzy, or bowed inward, replace it. For most homes, start with a MERV 8 filter unless your HVAC pro recommended otherwise.
- Supply registers: Make sure they are open and not blocked by rugs, furniture, or curtains.
- Return grilles: Make sure return air can get back to the system. A blocked return can choke airflow just like a dirty filter.
- Indoor doors: In homes with one main return, closing bedroom doors can reduce return airflow and make some rooms feel stuffy and warm. If that matches your layout, try leaving doors cracked.
- Indoor blower door: If the air handler or furnace panel is not seated properly, many units will not run correctly due to a safety switch.
My real-world mistake
I once “upgraded” to a high-MERV allergy filter in the summer, then wondered why the house felt clammy. The system was starved for air. Swapping back to a less restrictive filter fixed it the same day.
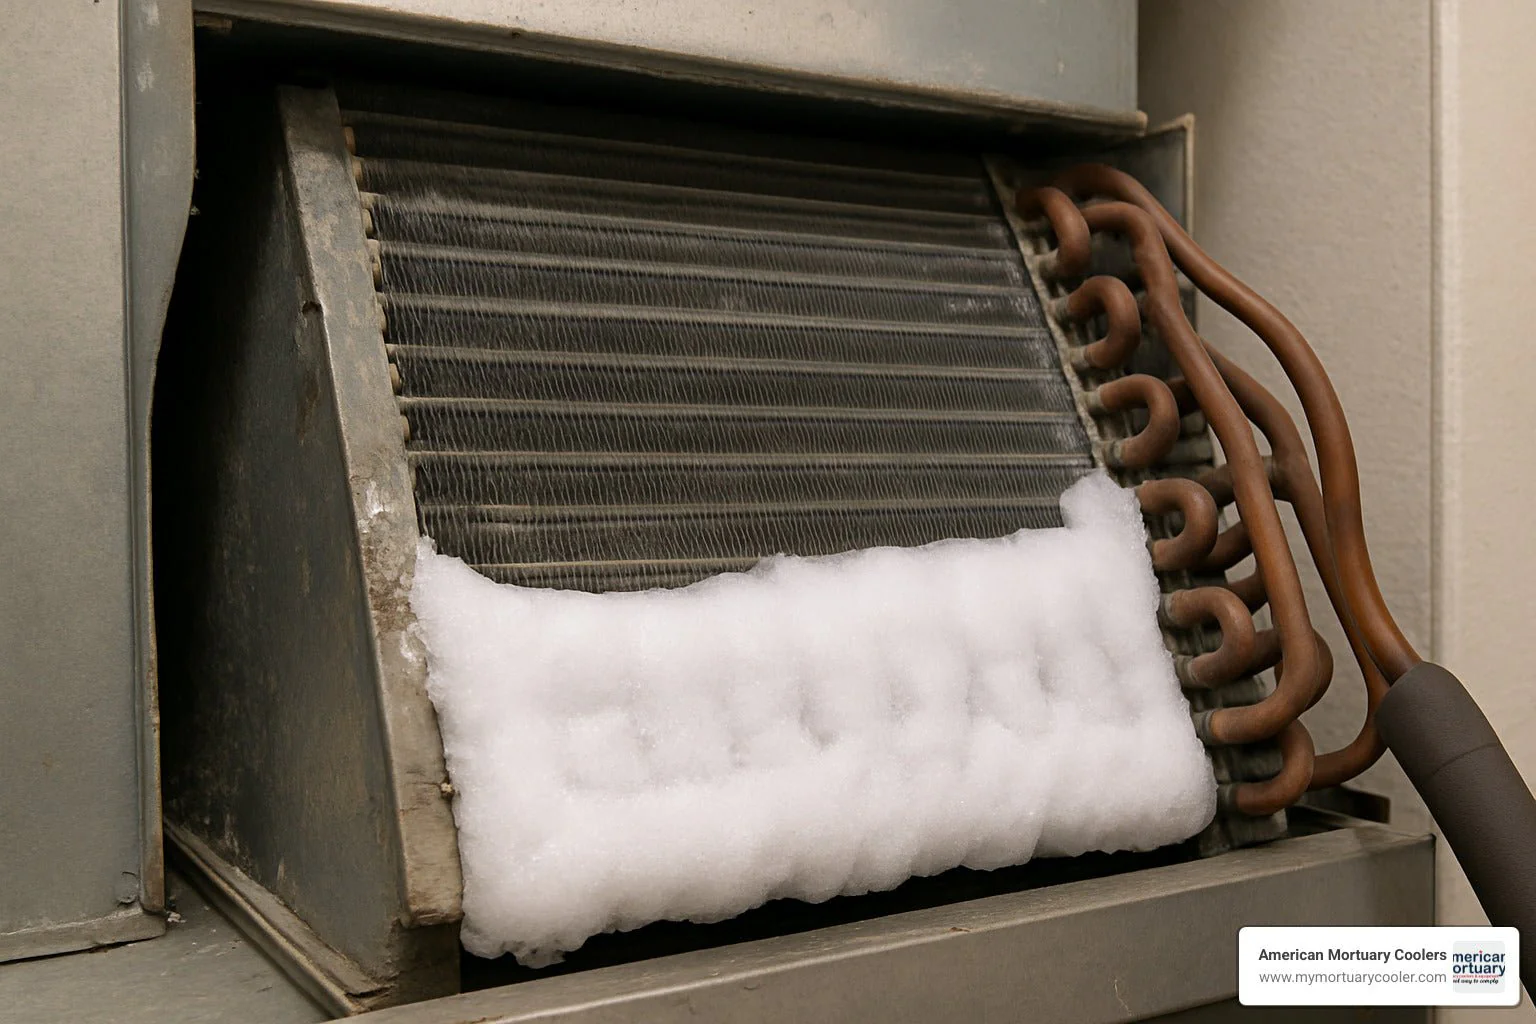
4) Look for a frozen indoor coil
If your heat pump is not cooling and your airflow is getting weaker over time, you might have ice building up on the indoor evaporator coil.
Signs of icing
- Weak airflow from vents even though the blower sounds like it is running
- Visible frost on the larger copper line near the indoor unit
- Water around the air handler after the system shuts off and melts
- Outdoor unit running constantly with little cooling indoors
What to do (safe steps)
- Set mode to Off to stop cooling.
- Set fan to On to move room air across the coil and speed thawing.
- Give it time: Thawing can take 1 to 3 hours.
- Replace the filter and open any closed registers while it thaws.
If it freezes again within a day or two, you likely have an underlying airflow issue or low refrigerant charge. That is when a tech visit is money well spent.
5) Clean the outdoor coil
In cooling mode, the outdoor unit needs to dump heat outside. If the outdoor coil is packed with cottonwood fluff, grass clippings, or dust, your system cannot breathe, and cooling capacity drops fast.
Homeowner-safe coil cleaning
- Shut off power at the outdoor disconnect.
- Clear vegetation: Keep at least 18 to 24 inches of clearance around the sides, or follow the manufacturer specs if you can find them on the data plate or in the manual.
- Remove loose debris: Use a soft brush or a vacuum with a brush attachment on the exterior fins.
- Rinse gently: Use a garden hose on low pressure. If you are rinsing from the outside, aim a gentle downward angle and work slowly to avoid driving debris deeper into the fins. The most effective rinse is often from the inside out, but that usually requires removing the top grille, which is best left to a technician if you are not comfortable.
- Let it dry and restore power.
Skip the pressure washer. I know it is tempting. It is also a great way to turn a coil into a soda can.

6) Check the outdoor fan and airflow
You can do this without removing anything.
- Fan spinning: With the system calling for cooling, the outdoor fan should be running and blowing air out the top on most units.
- Not recirculating hot air: Make sure the unit is not boxed in by tall weeds, a fence too close, or stacked items that cause hot discharge air to get pulled right back in.
- Humming, clicking, or fan not starting: Shut it down and call a pro. That can be a capacitor or motor issue, and running it can damage the compressor.
7) Indoor coil and drain issues
The indoor coil can get matted with dust if a filter was missing, installed backward, or badly leaking around the edges. A dirty indoor coil can restrict airflow and reduce cooling, and a clogged condensate drain can trigger safety switches on some systems.
What you can do without special tools
- Check for water in the drain pan: Standing water is a clue the drain is clogged.
- Inspect the condensate line: If you have a cleanout tee, you can often clear it with a wet/dry vac at the outside termination.
- Look for heavy dust: If you can see the coil through an access panel and it looks like a felt blanket, that is a pro cleaning job.
If you are not sure where your drain line exits, follow the small PVC pipe from the air handler. Many homes route it to a floor drain, laundry area, or out an exterior wall.
8) Reversing valve problems
A heat pump cools by reversing the flow of refrigerant. That direction change is handled by the reversing valve. If it fails or does not energize, your heat pump can run but not actually switch into proper cooling.
Clues the reversing valve might be involved
- Air feels warm or neutral even though the thermostat is set to Cool
- Outdoor unit sounds normal but the temperature drop indoors is poor
- Refrigerant lines feel “backwards” for cooling: For example, the line temperatures seem opposite of what you typically notice in summer. Do not grab refrigerant lines with bare hands. They can be hot or cold enough to burn skin.
- Problem appeared suddenly (not gradually like a dirty filter often does)
What you can safely check
- Thermostat setup: Re-check O/B configuration if you have access to installer settings, especially if the thermostat is new.
- Try a full power reset: Turn off the system at the thermostat, then shut off breakers for the indoor and outdoor units for 3 to 5 minutes. Restore power and call for cooling again.
If it is a true reversing valve failure, that is a technician repair. The valve sits in the refrigerant circuit and may require brazing plus refrigerant recovery and recharge.
9) Low refrigerant charge
Refrigerant is not “used up” like gas in a car. If the charge is low, that usually means there is a leak. A small leak can show up as gradually worse cooling over weeks or months. A bigger leak can feel like it failed overnight.
Common signs (none are required)
- Long runtimes with little cooling
- Indoor coil icing that comes back after thawing and filter replacement
- Hissing or bubbling near the indoor or outdoor unit (many leaks are silent)
- Less cooling during hot afternoons than the system used to provide
- Higher electric bills for the same weather
- Oil spots on refrigerant lines or at connections (not always present)
What not to do
- Do not buy a “top-off” kit. If you add refrigerant without fixing the leak, you are paying for the same problem twice and you can damage the compressor if the charge ends up wrong.
A good tech will locate the leak, discuss repair options, and charge by weight using manufacturer specs and measured system performance.
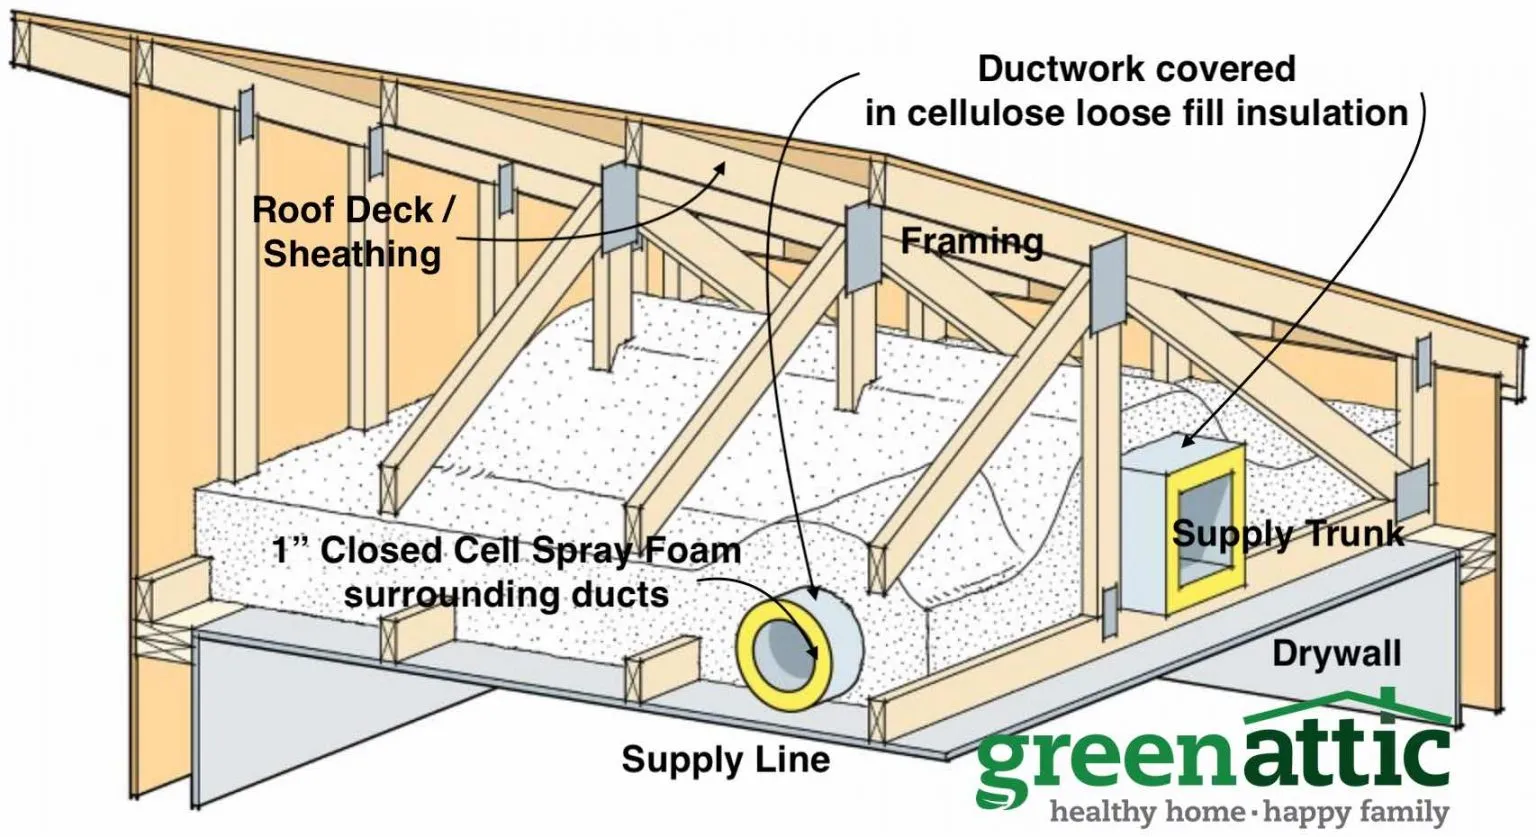
10) Blower and duct issues
Sometimes the heat pump is doing its job, but the cold air is not getting where you need it.
Check these airflow basics
- Weak airflow at all vents: Filter, blower problem, dirty indoor coil, or duct restriction.
- Some rooms cold, others hot: Closed dampers, crushed flex duct, disconnected duct runs, or leaky attic ducts.
- Air is cold at the air handler but warm at vents: Duct leakage in a hot attic or crawl space can steal a surprising amount of cooling.
If you can safely access your attic, look for obvious disconnects or crushed runs. Do not step off the joists. I keep a scrap of plywood in my attic just for crawling and distributing weight.
Heat wave reality check
During extreme heat, even a healthy system can struggle to hold a low setpoint, especially with poor insulation, big west-facing windows, or lots of cooking and showering. If your heat pump runs nonstop but keeps the house close to the target (even if not perfect), you might be seeing a load issue more than a mechanical failure.
When to call an HVAC tech
I am all for DIY, but there is a clear line with heat pump cooling issues. Call a pro if you notice any of the following:
- Breaker trips repeatedly when the outdoor unit starts
- Ice keeps coming back after you replaced the filter and confirmed vents are open
- Suspected refrigerant leak (oil spots, chronic poor cooling, icing that returns)
- Outdoor fan not spinning or the unit hums without starting (often capacitor or motor related)
- Reversing valve symptoms that do not resolve with thermostat setting correction and a power reset
- Burning smell, scorched wiring, or any sign of overheating
When you call, tell them what you already checked and what you observed. Techs love good clues, and it can shorten the diagnostic time.
Fast checklist
- Thermostat on Cool, fan on Auto, setpoint lowered 3 to 5 degrees
- Breakers and disconnects on, no repeat trips
- Filter replaced, returns and supplies open, doors not choking returns
- No ice on the indoor line or coil. If iced, thaw and recheck airflow
- Outdoor coil gently rinsed, clearance meets manufacturer guidance when available
- Outdoor fan running, unit not recirculating hot air
- Condensate drain not backing up
- Persistent issues point to refrigerant charge, reversing valve, blower, or electrical components
If you want one takeaway, it is this: airflow and clean coils solve a surprising number of “not cooling” calls. After that, the smartest money is usually on a professional diagnosis before the compressor takes the hit.
About Marcus Vance
Content Creator @ Grit & Home
Marcus Vance is a lifelong DIY enthusiast and self-taught home renovator who has spent the last decade transforming a dilapidated 1970s ranch into his family's dream home. He specializes in budget-friendly carpentry, room-by-room renovations, and demystifying power tools for beginners. Through his writing, Marcus shares practical tutorials and hard-learned lessons to help homeowners tackle their own projects with confidence.