
🚨 In a DIY emergency or rush?
Skip the details and jump straight to our 30-second cheat sheet for the most crucial info.
If your upstairs feels like a sauna while the downstairs stays chilly, you are not alone. Two-story temperature imbalance is a very common HVAC complaint, and it is one I have wrestled with in my own raised ranch after we finished the basement and changed how air moved through the house.
The good news: a lot of “hot upstairs, cold downstairs” problems are fixable with simple airflow tweaks and a few careful checks. The not-so-fun news: sometimes the system is undersized or the ductwork was never designed for the way your home is used today.
This guide walks you through the fixes to try first, in order, so you do not waste time or money.
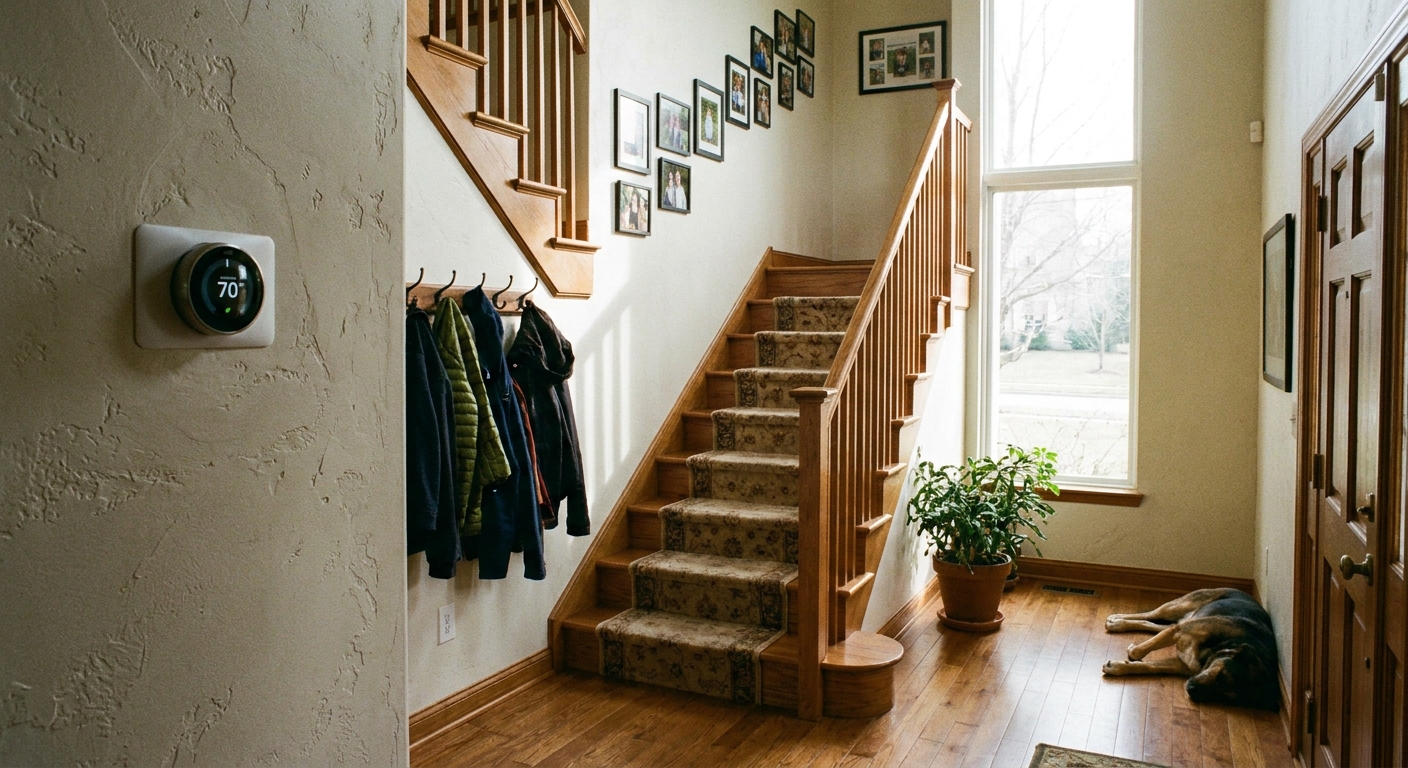
Why upstairs gets hotter
Before we touch the thermostat, it helps to understand what is fighting you.
- Heat rises. Warm air naturally migrates upward through stairwells, open foyers, and any gaps in the ceiling plane.
- Attics run hot. In summer, a poorly sealed or under-insulated attic turns your second floor ceiling into a giant radiant heater.
- Air takes the easiest path. Your blower will push air where resistance is lowest. If one run is short and wide and another is long and pinched, the short one wins.
- Return air matters as much as supply air. If upstairs air cannot get back to the return, it cannot get conditioned efficiently.
Safety and expectations
Most steps below are homeowner-friendly. You will typically need a pro if you are opening sealed refrigerant components, measuring static pressure, or redesigning ductwork.
- Turn power off at the thermostat or service switch before opening an air handler or furnace cabinet.
- If you smell gas, see soot, or feel dizzy or nauseated around the furnace, stop and call a licensed HVAC tech right away.
- If you have a heat pump in winter, expect supply air to feel cooler than a furnace. The real test is whether the room temperature holds steady.
Step 1: Check easy airflow blockers
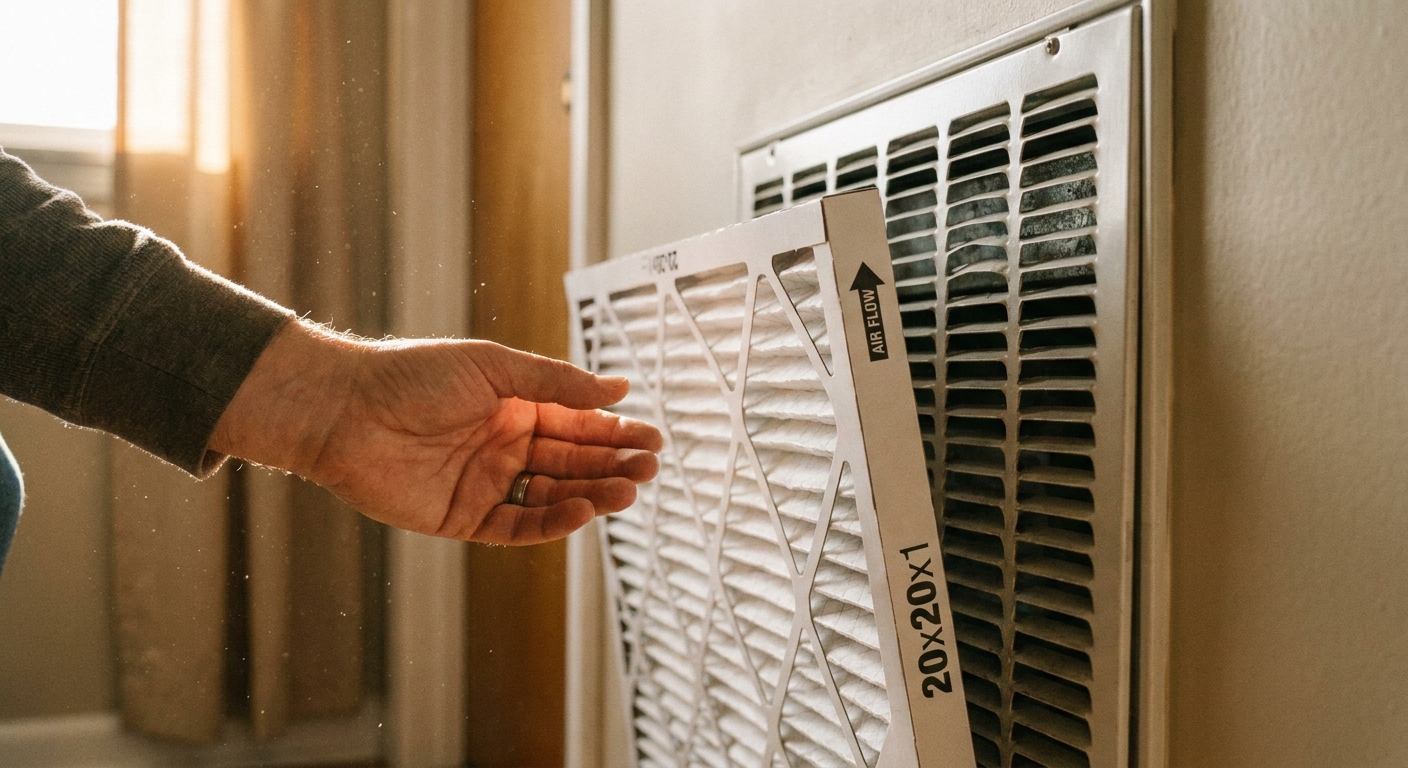
Replace or clean the air filter
A clogged filter reduces airflow everywhere, but it often shows up as “upstairs never catches up” because upper runs are usually longer and more restrictive.
- Shut the system off.
- Pull the filter and check its size and airflow arrow direction.
- If it looks gray and fuzzy, replace it. If it is a washable type, rinse and fully dry.
- Turn the system back on. Airflow at the register should improve right away if the filter was the main restriction. Room temperature can take 10 to 20 minutes (or longer) to noticeably improve because the room contents have to cool down.
Thrifty tip: Super high-MERV filters can be great for air quality, but some systems cannot handle them. If you have chronic imbalance, try a mid-range filter that your system is rated for and see if airflow improves.
Step 2: Let air in and out
Open all registers first, then balance
It is tempting to slam downstairs vents shut to “force air upstairs.” In real life, closing too many registers can increase system pressure, create noise, and sometimes reduce total airflow. In cooling season, it can even contribute to coil freeze-up in some setups.
Start here:
- Open all supply registers fully, upstairs and downstairs.
- Make sure rugs, furniture, and curtains are not blocking supplies or returns.
- Check for a return grille that is packed with dust or pet hair and vacuum it.
Cut solar heat gain with windows
If the upstairs roasts in the late afternoon, windows are often part of the story. This is one of the cheapest “try it today” fixes.
- Close blinds or shades on sun-facing windows before the room heats up.
- Use thermal curtains on west- and south-facing windows if you have them.
- If you can only do one thing, do the worst room first. That is usually the west side.
Confirm doors are not choking the return path
This is a big one in newer or remodeled homes with tight doors and carpet.
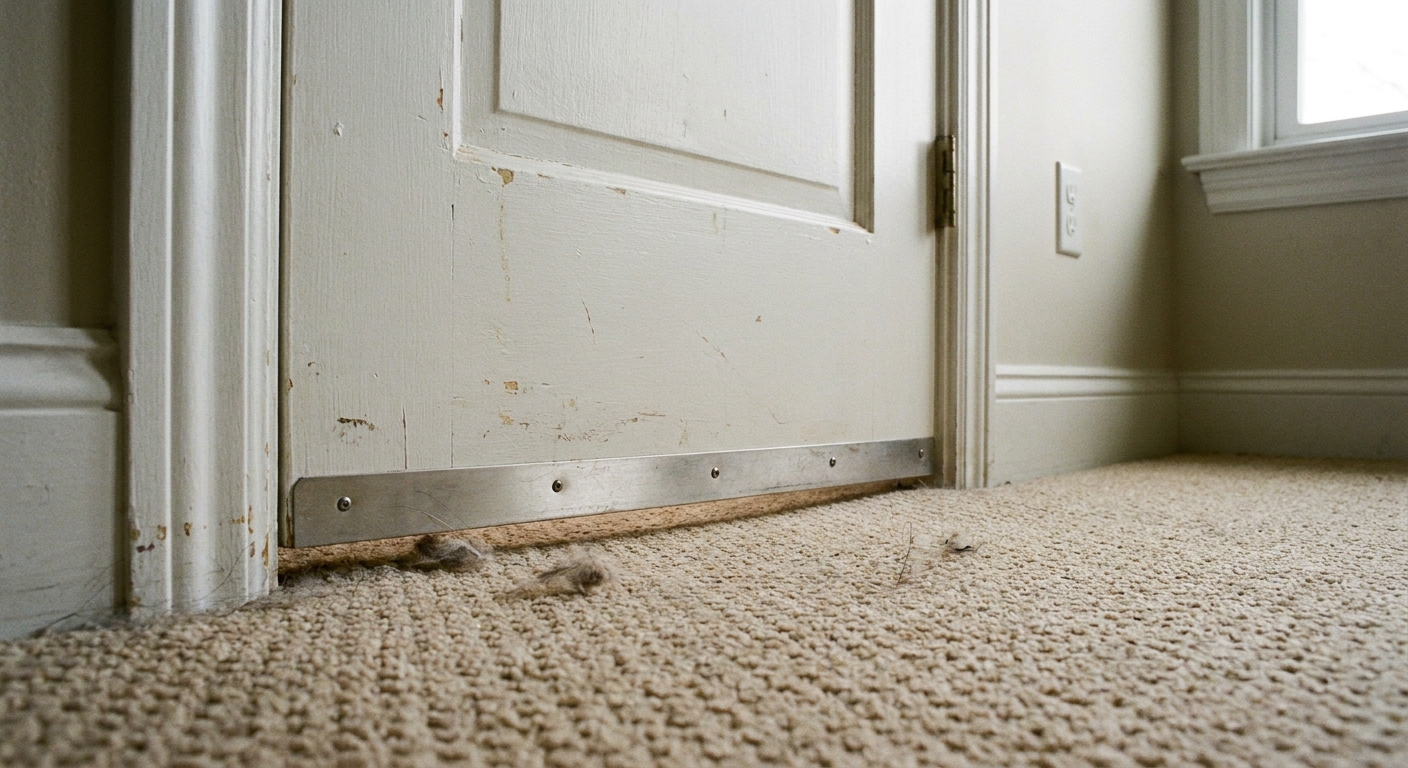
If a bedroom door upstairs is closed and that room has a supply register but no dedicated return, the room can become pressurized. That pressure makes it harder for supply air to enter, and the air that does enter often has to leak out under the door or through cracks instead of taking a clean path back to the return.
Quick test:
- With the system running, close an upstairs bedroom door.
- Hold a tissue near the bottom door gap on the hallway side.
- If the tissue barely moves and the door whooshes when you open it, the room may be return-starved.
Easy fixes to try:
- Keep doors cracked during the day.
- Trim the door slightly or adjust carpet if the gap is tiny.
- Install a transfer grille or jump duct (this is often a pro job, but it is straightforward carpentry and drywall for the right DIYer).
Step 3: Check dampers
Find manual dampers on trunk lines
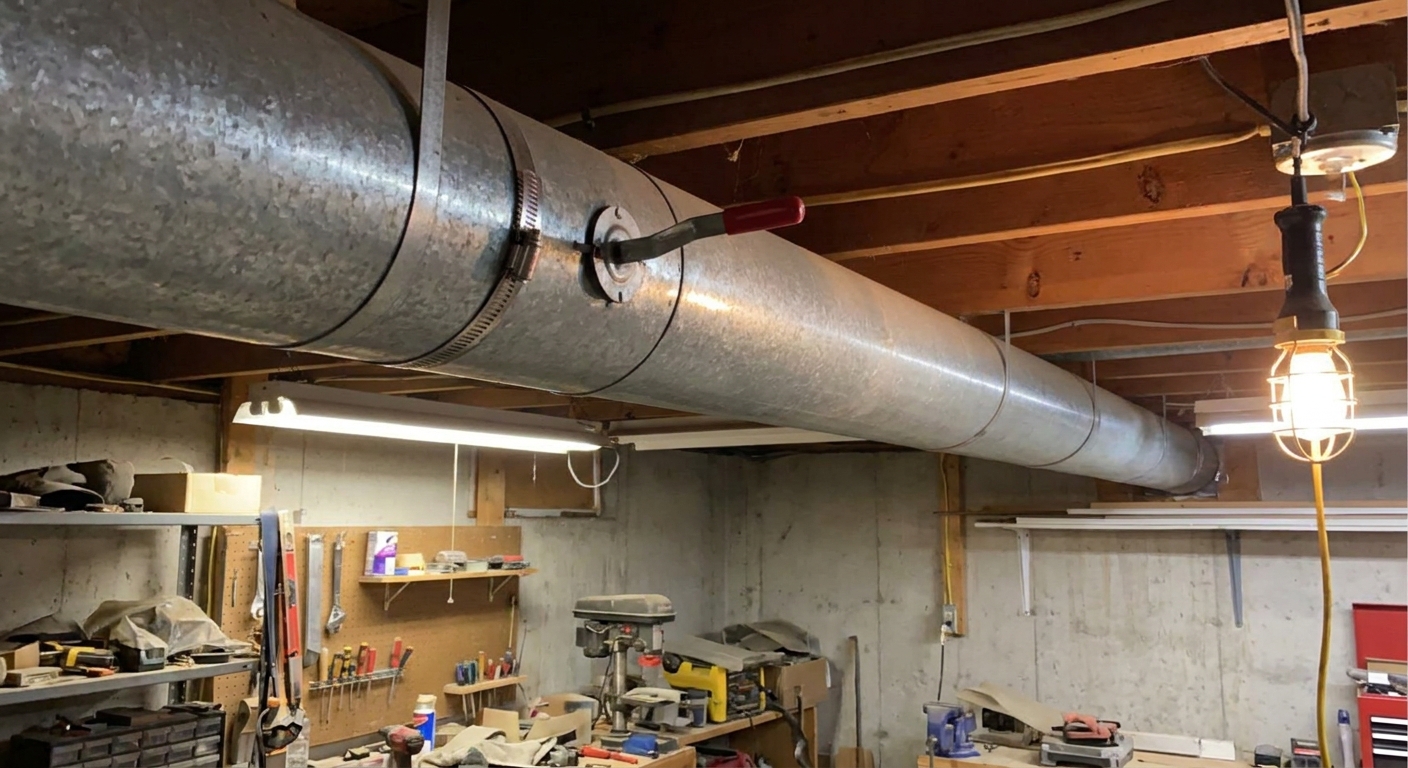
Many two-story homes have manual balancing dampers in the basement, crawlspace, attic, or mechanical room. They are usually a lever on a round duct or a wing nut on a rectangular duct.
What you are looking for, on most manual dampers:
- Lever inline with the duct usually means open.
- Lever perpendicular to the duct usually means closed.
If your upstairs is hot in summer, you generally want more cool air delivered upstairs. That can mean opening upstairs dampers more and slightly restricting downstairs, but do it in small moves.
A simple DIY balancing routine
- Mark current damper positions with a Sharpie so you can go back.
- Open upstairs dampers more.
- Slightly close downstairs dampers, about 10 to 20 percent at a time.
- Wait several hours to a day between changes if you can. Houses are slow to respond, and outdoor temps swing.
My hard-learned lesson: I once cranked a damper almost shut and thought I was a genius. The system got louder, airflow dropped, and the coil started flirting with freeze-up. Small adjustments win here.
Step 4: Thermostat and fan
Fan: Auto vs On
Most of the time, Auto gives you better dehumidification in summer because the blower shuts off and moisture can drain off the coil.
But if your main issue is temperature stratification, running the fan more can help mix air between floors.
- Try On for a day, or use a thermostat setting like “circulate” if available.
- Two tradeoffs: it can increase energy use, and in some systems it can increase humidity by re-evaporating moisture off the coil.
- If the house feels clammy, switch back to Auto.
Thermostat location matters
If your thermostat is downstairs, the system may satisfy before the upstairs ever gets comfortable. If it is upstairs, the downstairs may become an icebox while the thermostat chases upstairs heat.
Workarounds:
- Use a thermostat with remote room sensors and prioritize the problem rooms by schedule.
- In shoulder seasons, adjust setpoints a degree or two and see if comfort improves without overcooling the other floor.
Step 5: Fix the attic
If the upstairs is hot in summer, picture your attic like a cast-iron skillet on the stove. Even with decent AC, that heat bleeds downward all afternoon and into the evening.
In winter, the same leaks can supercharge the stack effect. Warm air escapes out the top, and colder air gets pulled in down low. That can make downstairs feel drafty and cold.
Clues the attic is the culprit
- Upstairs is hottest from late afternoon through bedtime.
- Ceilings feel warm to the touch.
- Rooms with west-facing walls or vaulted ceilings are the worst.
- You have recessed can lights, attic hatches, or bath fans that leak air.
DIY wins: air sealing, then insulation
Best bang-for-buck order:
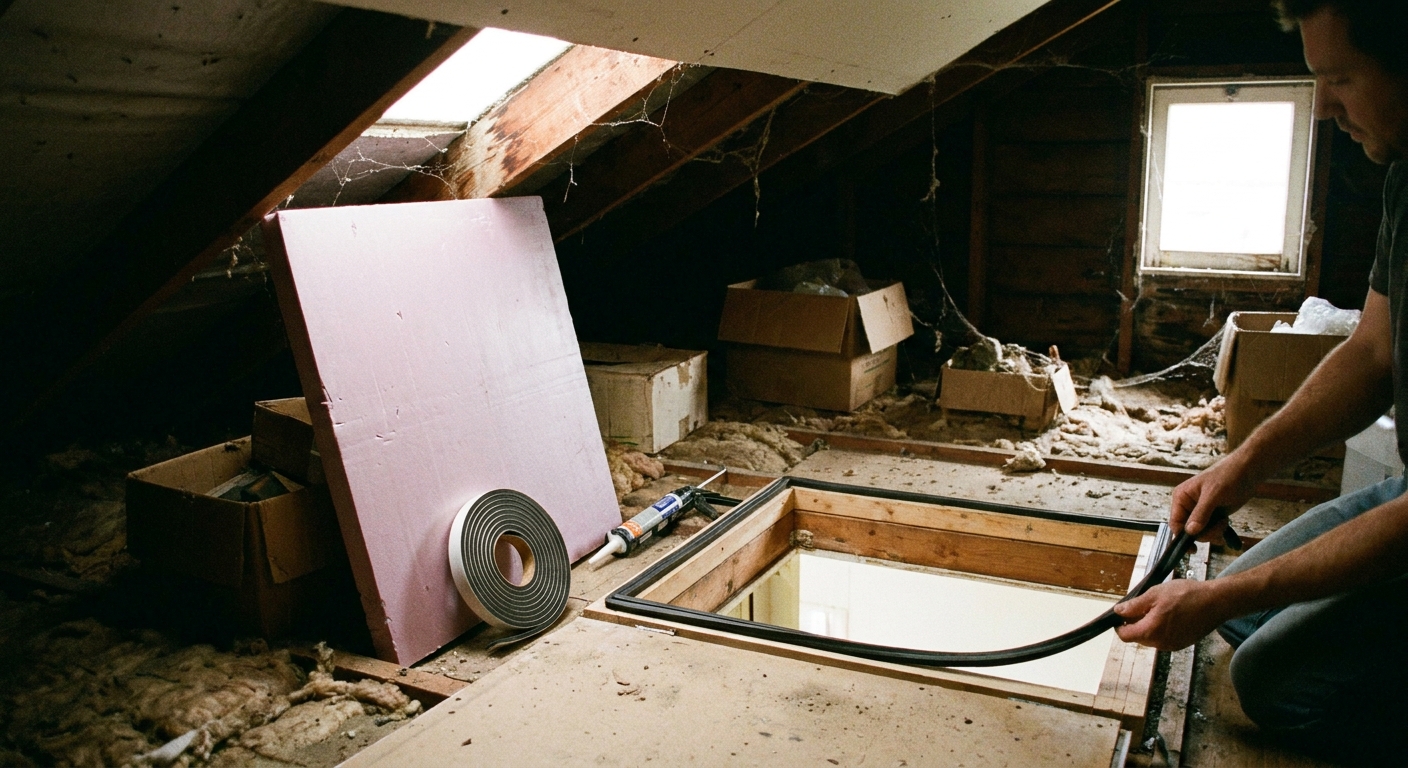
- Air seal the attic floor at penetrations: plumbing stacks, electrical holes, top plates, around attic hatches. Use foam or caulk where appropriate and fire-rated materials around chimneys or flues.
- Weatherstrip and insulate the attic hatch or pull-down stairs. This is a sneaky giant leak.
- Add insulation to meet your climate recommendations, keeping soffit vents clear with baffles.
If you only do one thing this weekend, seal the hatch. It is one of those “how was this allowed?” details in a lot of older homes.
Step 6: Use ceiling fans
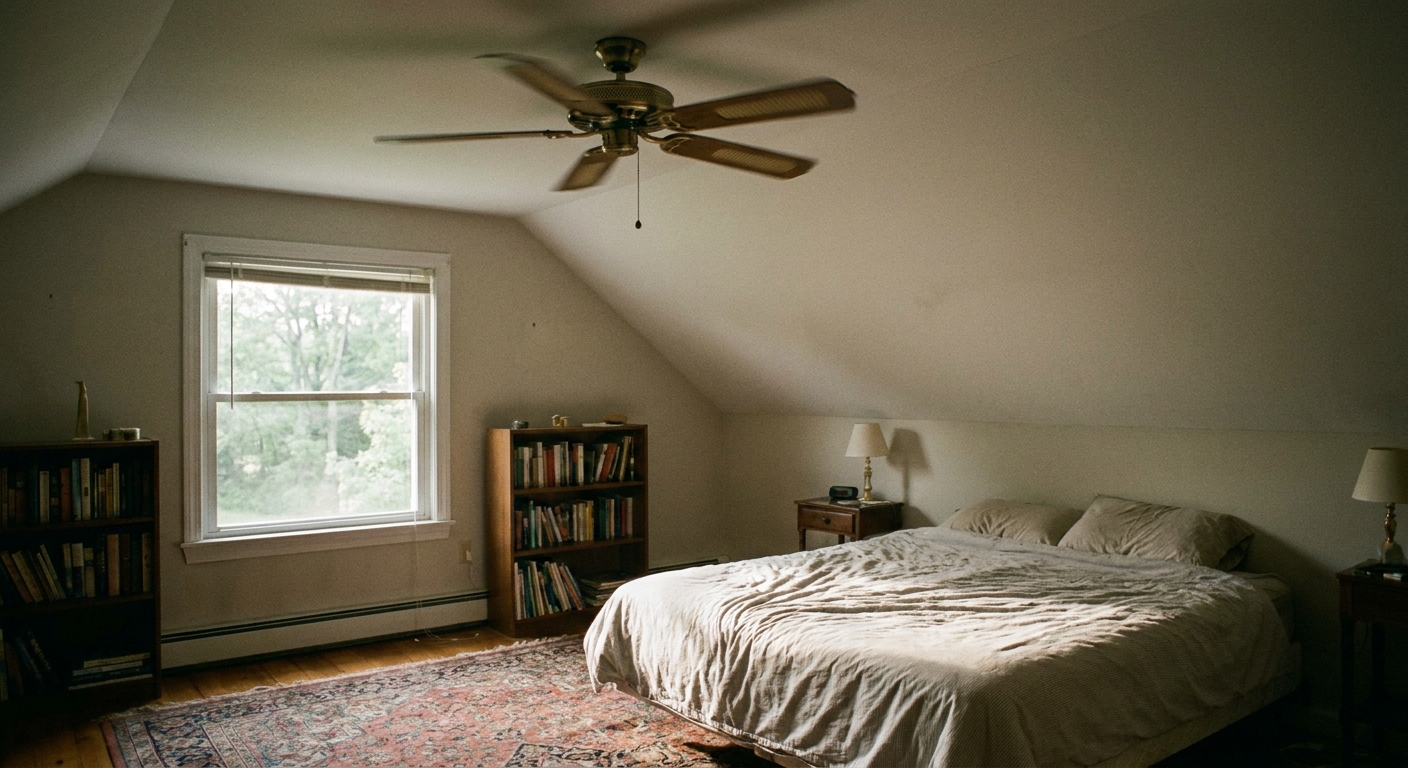
Ceiling fans do not change the air temperature, but they can make a room feel a few degrees cooler. Commonly this is around 3 to 5°F, depending on humidity and airflow.
- Summer: blades should run counterclockwise on most fans, pushing air down (some are wired opposite, so go by airflow, not the switch label).
- Winter: blades should run clockwise on low speed, pulling air up and mixing gently.
If your upstairs bedrooms have fans, this is an immediate comfort boost while you work on the bigger causes.
Step 7: Check ducts
Look for disconnected, crushed, or leaking ducts
If you have accessible ductwork in a basement, crawlspace, or attic, a quick visual inspection can catch big problems.
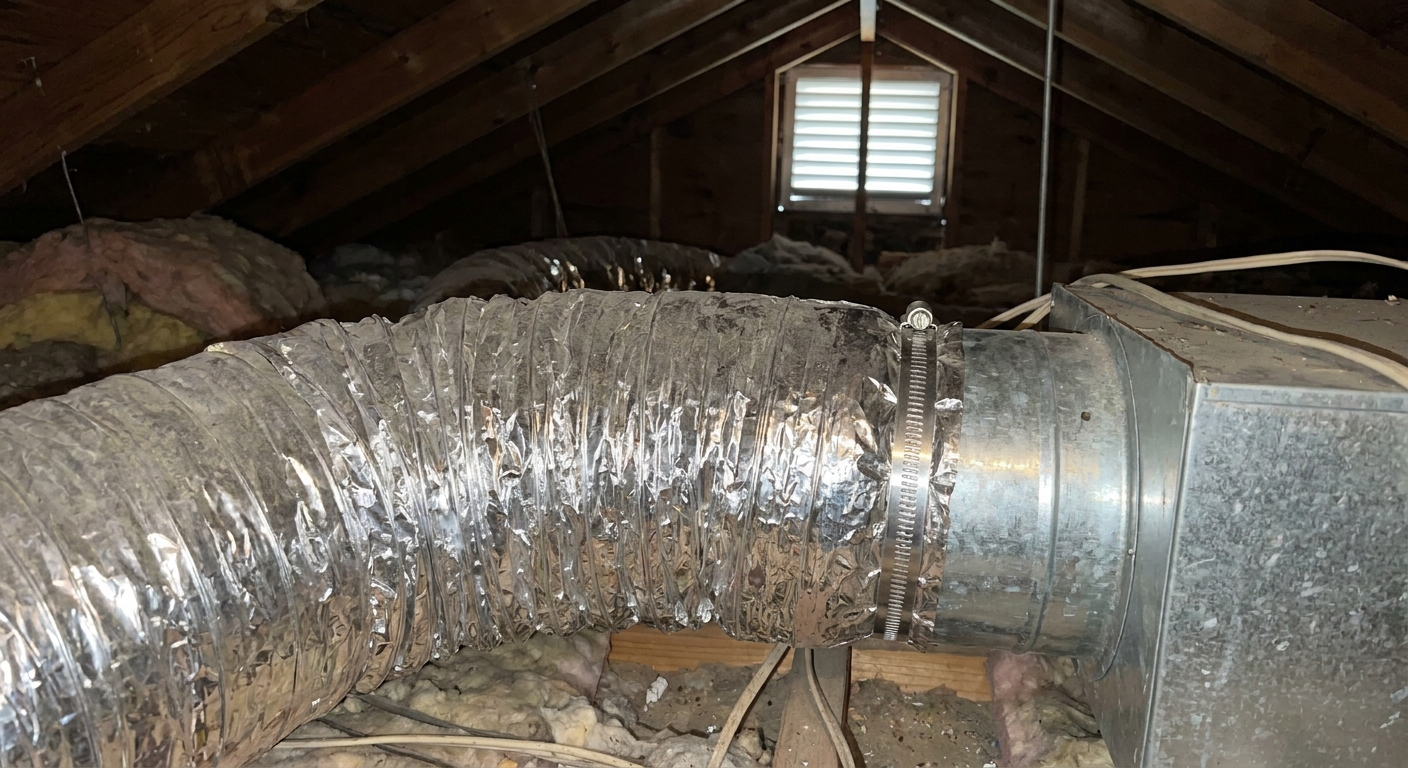
- Disconnected flexible duct in the attic is a classic. It dumps cold air into the attic and the upstairs stays hot.
- Crushed flex duct reduces airflow like stepping on a garden hose.
- Gaps at joints can leak a surprising amount.
DIY-friendly fixes:
- Reconnect flex duct with the correct collar, pull it tight, and secure with a clamp or zip tie, then seal with UL 181 foil tape or mastic.
- Support flex duct with wide straps to reduce sagging.
- Seal small leaks with mastic, not cloth duct tape.
Note: If ducts are in the attic, be careful where you step. One foot through the ceiling drywall will ruin your week.
Step 8: Zoning basics
If your home has one HVAC system serving two stories, you are asking one thermostat to solve two different heat loads. Zoning can help, but it is not always the first move.
Signs zoning might help
- The upstairs is consistently 5 degrees or more different even after airflow and attic improvements.
- Bedrooms upstairs need different schedules than the main floor.
- You plan to stay in the home long-term and want comfort, not constant tinkering.
What zoning involves
- Motorized dampers in ducts
- Multiple thermostats or sensors
- A zoning control board
It can be a great solution, but it needs proper design so you do not create excessive static pressure. This is typically a pro install.
When to call a pro
Sometimes the imbalance is a symptom of a bigger HVAC problem. Call a licensed HVAC contractor if you notice any of the following:
- Weak airflow at multiple upstairs registers even with a clean filter and open dampers
- Ice on the refrigerant lines or the indoor coil, or the AC short-cycles
- The system runs constantly and still cannot maintain temperature
- Major duct design issues like undersized trunks, too few returns, or long flex runs with lots of bends
Questions I like to ask so you get real diagnostics, not guesses:
- “Can you measure static pressure and confirm the blower is moving the right CFM?”
- “Can you check temperature split across the coil and verify refrigerant charge?”
- “Do you see duct leakage or return air problems upstairs?”
- “If you recommend zoning, how will you manage excess pressure when one zone closes?”
A good tech will talk in measurements, not vibes.
Weekend game plan
If you want the quickest path to improvement, here is the order I would follow in a normal two-story home:
- Replace the filter and open all registers.
- Close blinds or shades on sun-facing windows before the afternoon heat hits.
- Make sure returns are not blocked and doors have an air path back.
- Find and adjust any manual dampers, slowly.
- Try the fan set to On or Circulate for a day and watch humidity.
- Seal the attic hatch and obvious attic leaks.
- Inspect accessible ducts for disconnections and big leaks.
Give each change enough time to show results, and write down what you did. HVAC balancing is part science, part patience.
The 30-Second Cheat Sheet
Essential takeaways for: Hot Upstairs, Cold Downstairs? Fixes to Try First
Do this first (fast checks)
- Replace the HVAC filter and make sure it is installed in the correct direction.
- Open all supply registers (do not start by closing downstairs vents).
- Vacuum return grilles and remove furniture or rugs blocking airflow.
- Cut solar heat gain: close blinds or shades on sun-facing windows, especially late afternoon. Thermal curtains help.
Fix the upstairs return-air path
- If upstairs rooms have supplies but no returns, closed doors can trap air and create pressure that fights airflow.
- Try keeping doors cracked or confirm there is a decent gap under each door.
Check duct dampers
- Look for manual damper levers on ducts in the basement, attic, crawlspace, or mechanical room.
- Open upstairs dampers more, restrict downstairs slightly, and change only 10 to 20% at a time.
Thermostat and fan settings
- Try the fan on On or Circulate for a day to mix air between floors (note: it can also raise humidity and energy use).
- If it feels humid or clammy, go back to Auto.
Big comfort multiplier: the attic
- If upstairs is hottest in late afternoon, air-seal attic leaks and insulate the attic hatch.
- Add insulation after sealing, and keep soffit vents clear.
Call a pro if you see these
- Ice on refrigerant lines or the indoor coil
- Very weak airflow upstairs even with a clean filter and open dampers
- System runs nonstop and cannot hold temperature
- Suspected duct design issues, undersized returns, or refrigerant charge problems
💡 Tip: Scroll up to read the full article for detailed, step-by-step instructions.
⬆️ Back to top
About Marcus Vance
Content Creator @ Grit & Home
Marcus Vance is a lifelong DIY enthusiast and self-taught home renovator who has spent the last decade transforming a dilapidated 1970s ranch into his family's dream home. He specializes in budget-friendly carpentry, room-by-room renovations, and demystifying power tools for beginners. Through his writing, Marcus shares practical tutorials and hard-learned lessons to help homeowners tackle their own projects with confidence.