If your shower runs a little too cool, or your sink water feels hot enough to shock you awake, your water heater temperature is the first place I look. The good news is that adjusting it is usually a quick, cheap fix. The important news is that it can also be dangerous if you do it carelessly.
I have tuned the temperature on both gas and electric tanks in my own 1970s ranch, and I learned the hard way that “just crank it up” can lead to scalding water and higher bills. Let’s set it correctly, safely, and in a way that actually matches how your household uses hot water.
Quick note before we dive in: This guide is mainly for traditional tank-style water heaters (gas or electric). Tankless units usually change temperature on a digital control pad, and hybrid heat pump water heaters often use a digital interface or app. I cover both briefly below so you are not left guessing.
Before you touch anything: key safety warnings
- Scald risk is real. Water that feels “nice and steamy” can burn skin quickly, especially for kids and older adults. As a rough reality check, 120°F can still burn with enough exposure, and 140°F can burn much faster.
- Electric heaters can shock you. You will be opening access panels near wiring. Always shut off power at the breaker first.
- Gas heaters have flame and hot exhaust. You are usually adjusting an external control knob, but the burner area is still hot. Keep your hands clear of the combustion chamber and vent.
- When in doubt, stop. If you see melted wire insulation, water dripping onto electrical parts, a gas smell, or heavy corrosion, put the covers back on and call a pro.
If someone in your home is high-risk for burns (small children, elderly, limited mobility), I generally recommend keeping the tank at 120°F and improving comfort with safer fixes like cleaning or replacing a showerhead, servicing a sticky shower valve cartridge, insulating hot water pipes, or installing a thermostatic mixing valve.
What temperature should you set it to?
The common targets: 120°F vs 140°F
Most households do well at 120°F (49°C). It is hot enough for comfortable showers, reduces scald risk, and typically saves energy compared to higher settings.
140°F (60°C) is sometimes recommended for specific situations, most often for Legionella bacteria control (the organism behind Legionnaires’ disease) or where extra hot water capacity is needed. If you store water at 140°F, it is smart to pair it with a mixing (tempering) valve so your fixtures can still deliver a safer temperature, often around 120°F.
Tradeoffs to consider
- Safety: 120°F is generally safer at the tap. 140°F can scald quickly.
- Energy: Lowering the setpoint usually reduces standby heat loss and fuel use.
- Hot water “capacity”: A higher tank setting can make your shower feel longer because you mix in more cold water to hit a comfortable temperature.
- Sanitation: In some homes and high-risk settings, higher storage temperatures are used as part of a Legionella control strategy. That is typically done alongside a mixing valve to keep tap water safer.
- Dishwashing: Many dishwashers heat their own water, so you rarely need a 140°F tank just for dishes. Check your dishwasher manual if you are unsure.
My neighbor-style recommendation: Start at 120°F. If you run out of hot water often, try simple fixes first (sediment flush, check shower flow, stagger showers). If you still need more, bump it up a little and re-test at the tap.
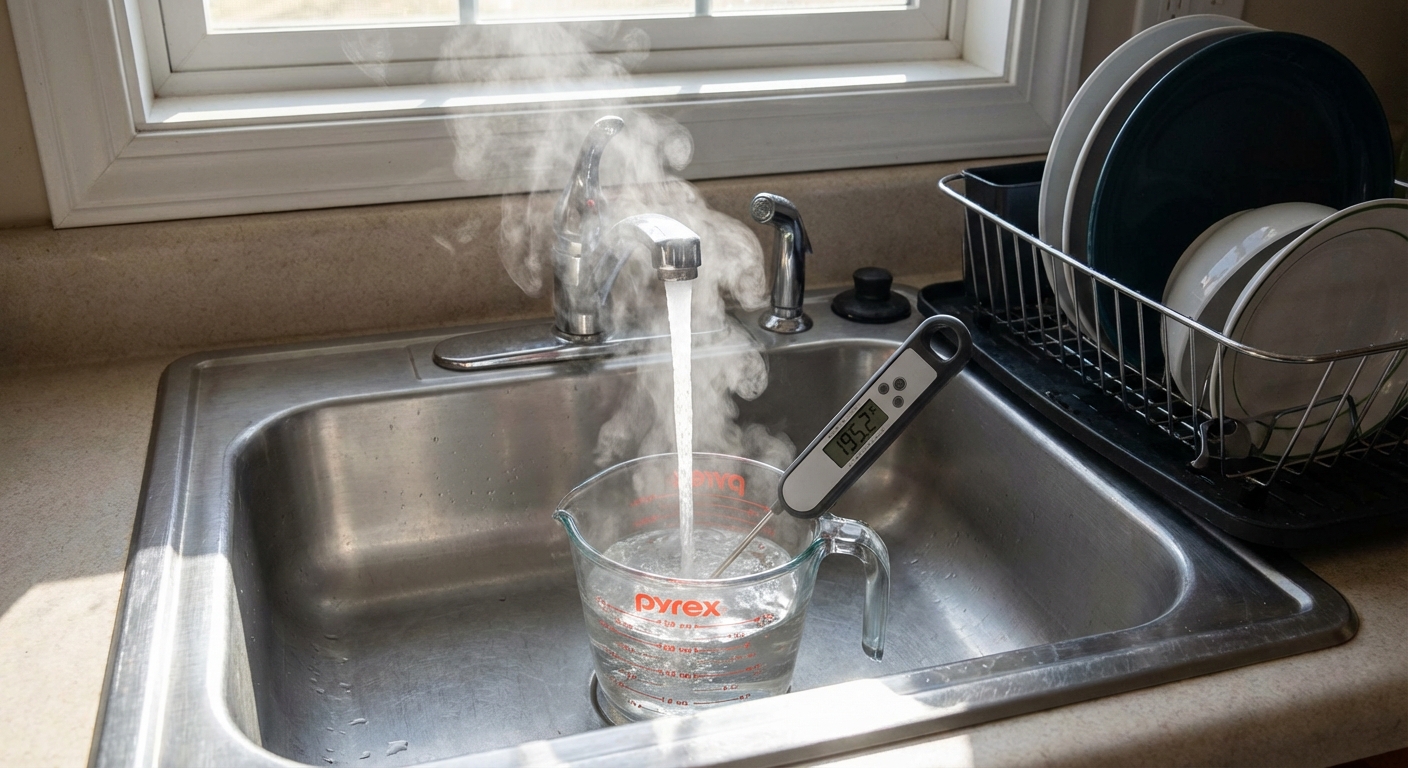
How to test your hot water temperature at the tap
Do this before and after any adjustment. It keeps you honest, because the dial markings on many heaters are vague and not always accurate.
What you need
- Instant-read thermometer (a basic kitchen thermometer works)
- A mug or heat-safe cup
- Timer or phone
Steps
- Choose a faucet close to the water heater (usually a nearby sink) to reduce heat loss in the pipe.
- Run hot water for 2 to 3 minutes until the temperature stabilizes.
- Fill your mug and measure the water with your thermometer.
- Record the reading so you can compare after adjustments.
Tip: If your water heater is far from the faucet, expect a slightly lower reading because the water cools in the line. That is normal. You are mainly looking for a safe, consistent temperature once it stabilizes.
Find your water heater type
Temperature adjustment depends on whether your heater is gas, electric, tankless, or a hybrid heat pump model.
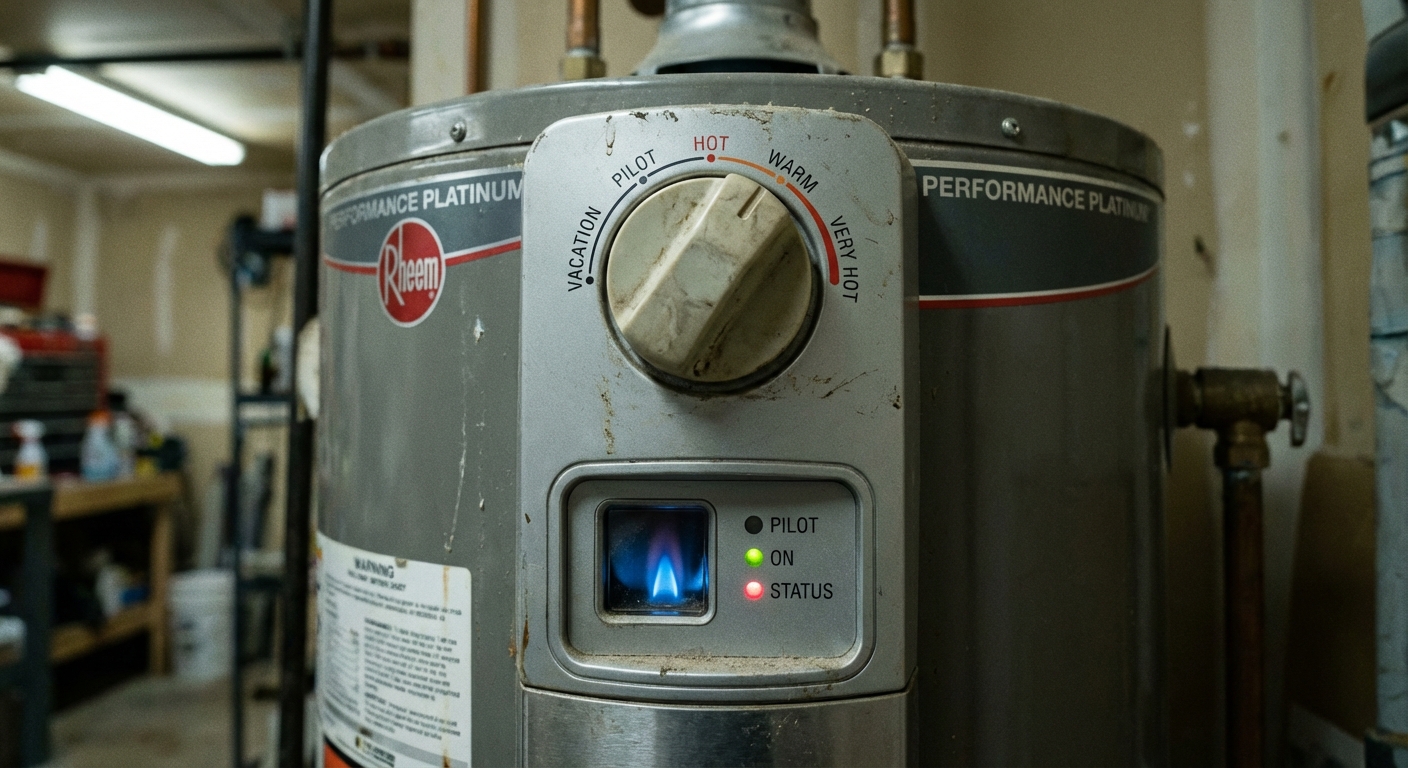
- Gas tank water heater: Has a gas line and a control knob on the outside, usually near the bottom front.
- Electric tank water heater: No gas line. Typically has one or two rectangular access panels on the side of the tank.
- Tankless water heater: Wall-mounted and compact, usually with a digital temperature display or remote controller.
- Hybrid heat pump water heater: Looks like a tank, but usually has a larger top section and a control screen for modes and temperature.
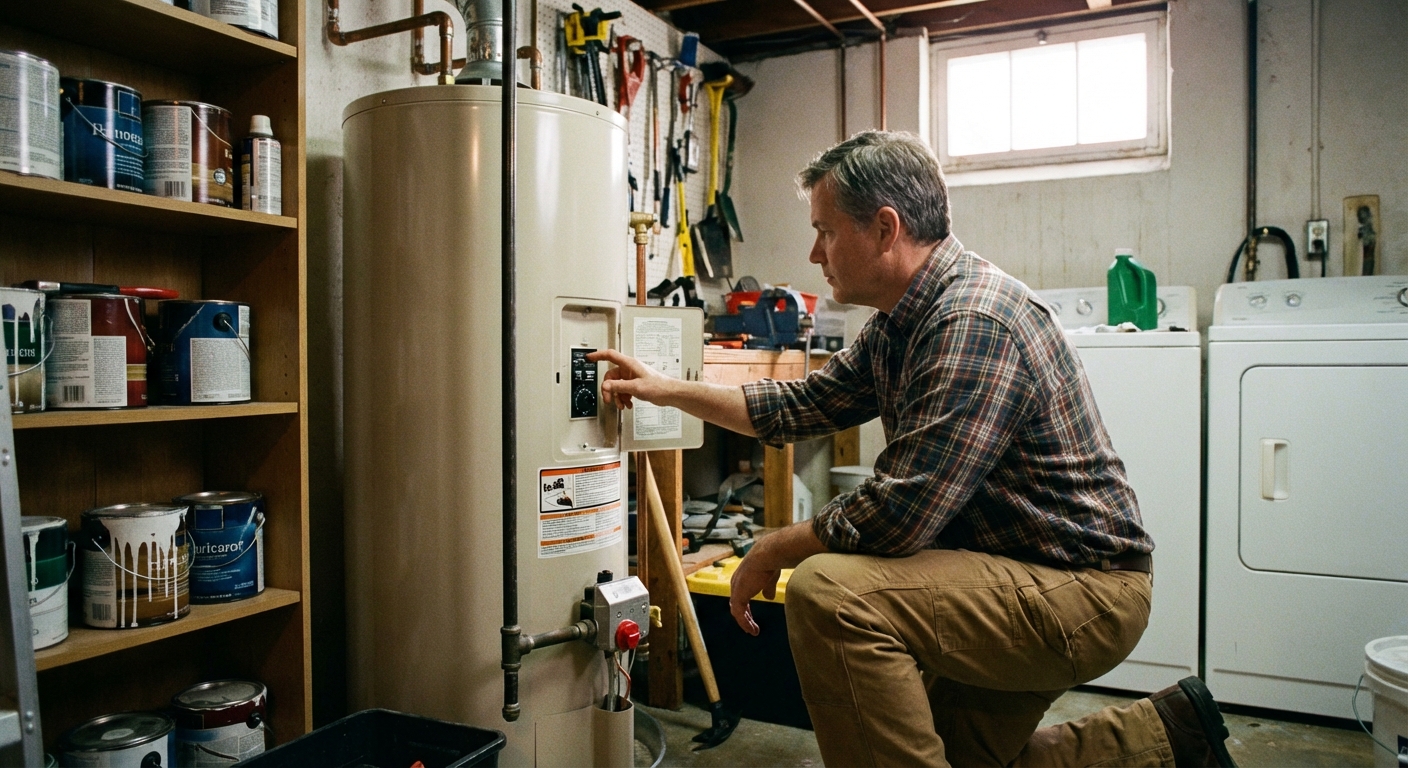
How to adjust a gas water heater temperature
Step-by-step
- Locate the control knob on the gas valve assembly. Many dials show settings like “Warm, Hot, A, B, C” instead of exact degrees.
- Turn the knob slightly toward a lower or higher setting. Small changes matter. If you are raising temperature, move up one small increment at a time.
- Wait for the tank to recover. It typically takes 2 to 4 hours to fully stabilize after an adjustment, depending on tank size, incoming water temperature, and hot water use.
- Test at the tap using the thermometer method above.
- Repeat if needed until you land near your target temperature.
Dial translation (roughly): This varies a lot by brand and even by model year. On many heaters, “Hot” is often around 120°F, and the lettered settings can climb into the 130°F to 160°F range. Some manufacturers publish dial-to-temperature charts in the manual. Either way, I treat the dial as a suggestion and verify with a thermometer.
One more thing: If your gas control has a Vacation or Away setting, that usually keeps the tank at a very low maintenance temperature to reduce energy use while you are gone. It is not meant for day-to-day comfort.
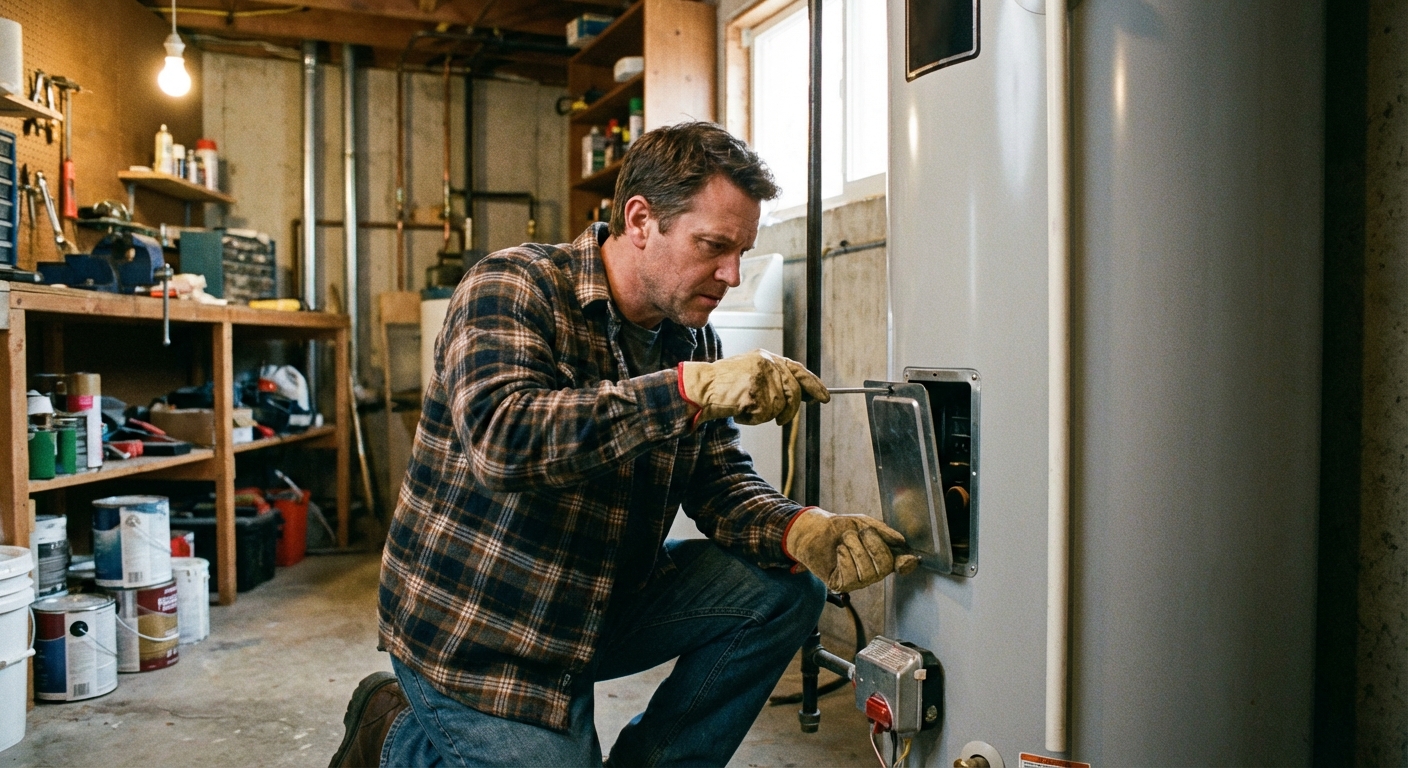
How to adjust an electric water heater temperature
Electric heaters usually have two thermostats behind access panels: an upper and a lower. For consistent performance, you generally want them set to the same temperature.
Tools you will want
- Phillips or flathead screwdriver (depends on panel screws)
- Non-contact voltage tester (highly recommended)
- Flashlight
Step-by-step
- Turn off power at the breaker labeled “Water Heater.” Do not rely on a wall switch.
- Confirm power is off with a non-contact voltage tester. After removing the panel, test at the wires or terminals inside the compartment (without touching metal). Testing “near” the area is not enough.
- Remove the upper access panel. You will usually see insulation and a plastic safety cover.
- Fold insulation aside and remove the plastic cover if present.
- Adjust the thermostat using the small dial. Many have a little indicator line on the dial. Use a screwdriver gently and set it to your target, like 120°F.
- Repeat on the lower thermostat behind the lower access panel. Match the upper setting.
- Reinstall plastic covers, tuck insulation back in place, and reattach both access panels.
- Turn the breaker back on.
- Wait a few hours (typically 2 to 4 hours), then test the hot water temperature at the tap.
Common DIY mistake I have made: forgetting to put the insulation back. Those panels are not just “covers.” Missing insulation can hurt efficiency and can even cause the thermostat to sense temperature incorrectly.
What about tankless and hybrid models?
Tankless water heaters
Most tankless units adjust temperature on a digital control pad on the unit or a wall remote. The general idea is simple: set the target temperature (often 120°F for most homes), then verify at the tap. The details vary by brand, and some units have separate settings for fixtures or recirculation systems.
Hybrid heat pump water heaters
Hybrid models are tank-style, but the controls are often digital. You usually set temperature through a screen, and you may also choose an operating mode (like Heat Pump, Hybrid, or Electric). If you are trying to balance comfort and efficiency, the mode can matter as much as the temperature setting.
How much can you save by lowering the temperature?
Even a modest reduction can lower energy use because your heater is constantly fighting heat loss through the tank and pipes. The exact savings depend on fuel type, tank condition, and how much hot water you use, but in general:
- Lower setpoint = less standby loss when no one is using hot water.
- Lower setpoint = less energy per gallon delivered at the tap.
If your water is currently set very high, dropping to 120°F is often one of the quickest “no-tools” ways to reduce your utility bill without changing your habits much.
Troubleshooting if the temperature still is not right
If the water is still too hot
- Re-test at a faucet closest to the heater to rule out unexpected mixing elsewhere.
- Check for a mixing (tempering) valve near the heater that may be misadjusted or failing. If you have one, it can control whole-house delivery temperature even if the tank is set hotter.
- On electric units, confirm both thermostats are set the same and that insulation and covers are properly installed.
If the water is still not hot enough
- Give it enough time. After changes, full recovery can take a few hours.
- Check for sediment buildup in the tank, especially in older units. Sediment reduces effective capacity and heat transfer.
- On gas units, if the burner is not firing normally or the pilot will not stay lit, stop and troubleshoot the gas system safely.
- On electric units, inconsistent heat can indicate a failing thermostat or heating element.
When it is time to call a pro
- You smell gas or suspect a gas leak
- Water is leaking onto electrical components
- Breaker trips repeatedly after turning the heater back on
- You cannot get stable temperatures after basic adjustments
Quick temperature checklist
- Target 120°F for most homes
- If you store at 140°F for Legionella control or capacity, use a mixing valve to deliver safer tap temps
- Adjust gas knob in small steps, then wait a few hours and re-test
- For electric, shut off breaker, set upper and lower thermostats the same, reinstall insulation
- Always verify at the tap with a thermometer after the tank has had time to recover
If you want to squeeze a little more comfort out of your current setup without raising temperature, look at flow and maintenance first. A cleaned showerhead, a serviced shower valve, or a flushed tank can make a surprising difference without increasing burn risk.
About Marcus Vance
Content Creator @ Grit & Home
Marcus Vance is a lifelong DIY enthusiast and self-taught home renovator who has spent the last decade transforming a dilapidated 1970s ranch into his family's dream home. He specializes in budget-friendly carpentry, room-by-room renovations, and demystifying power tools for beginners. Through his writing, Marcus shares practical tutorials and hard-learned lessons to help homeowners tackle their own projects with confidence.