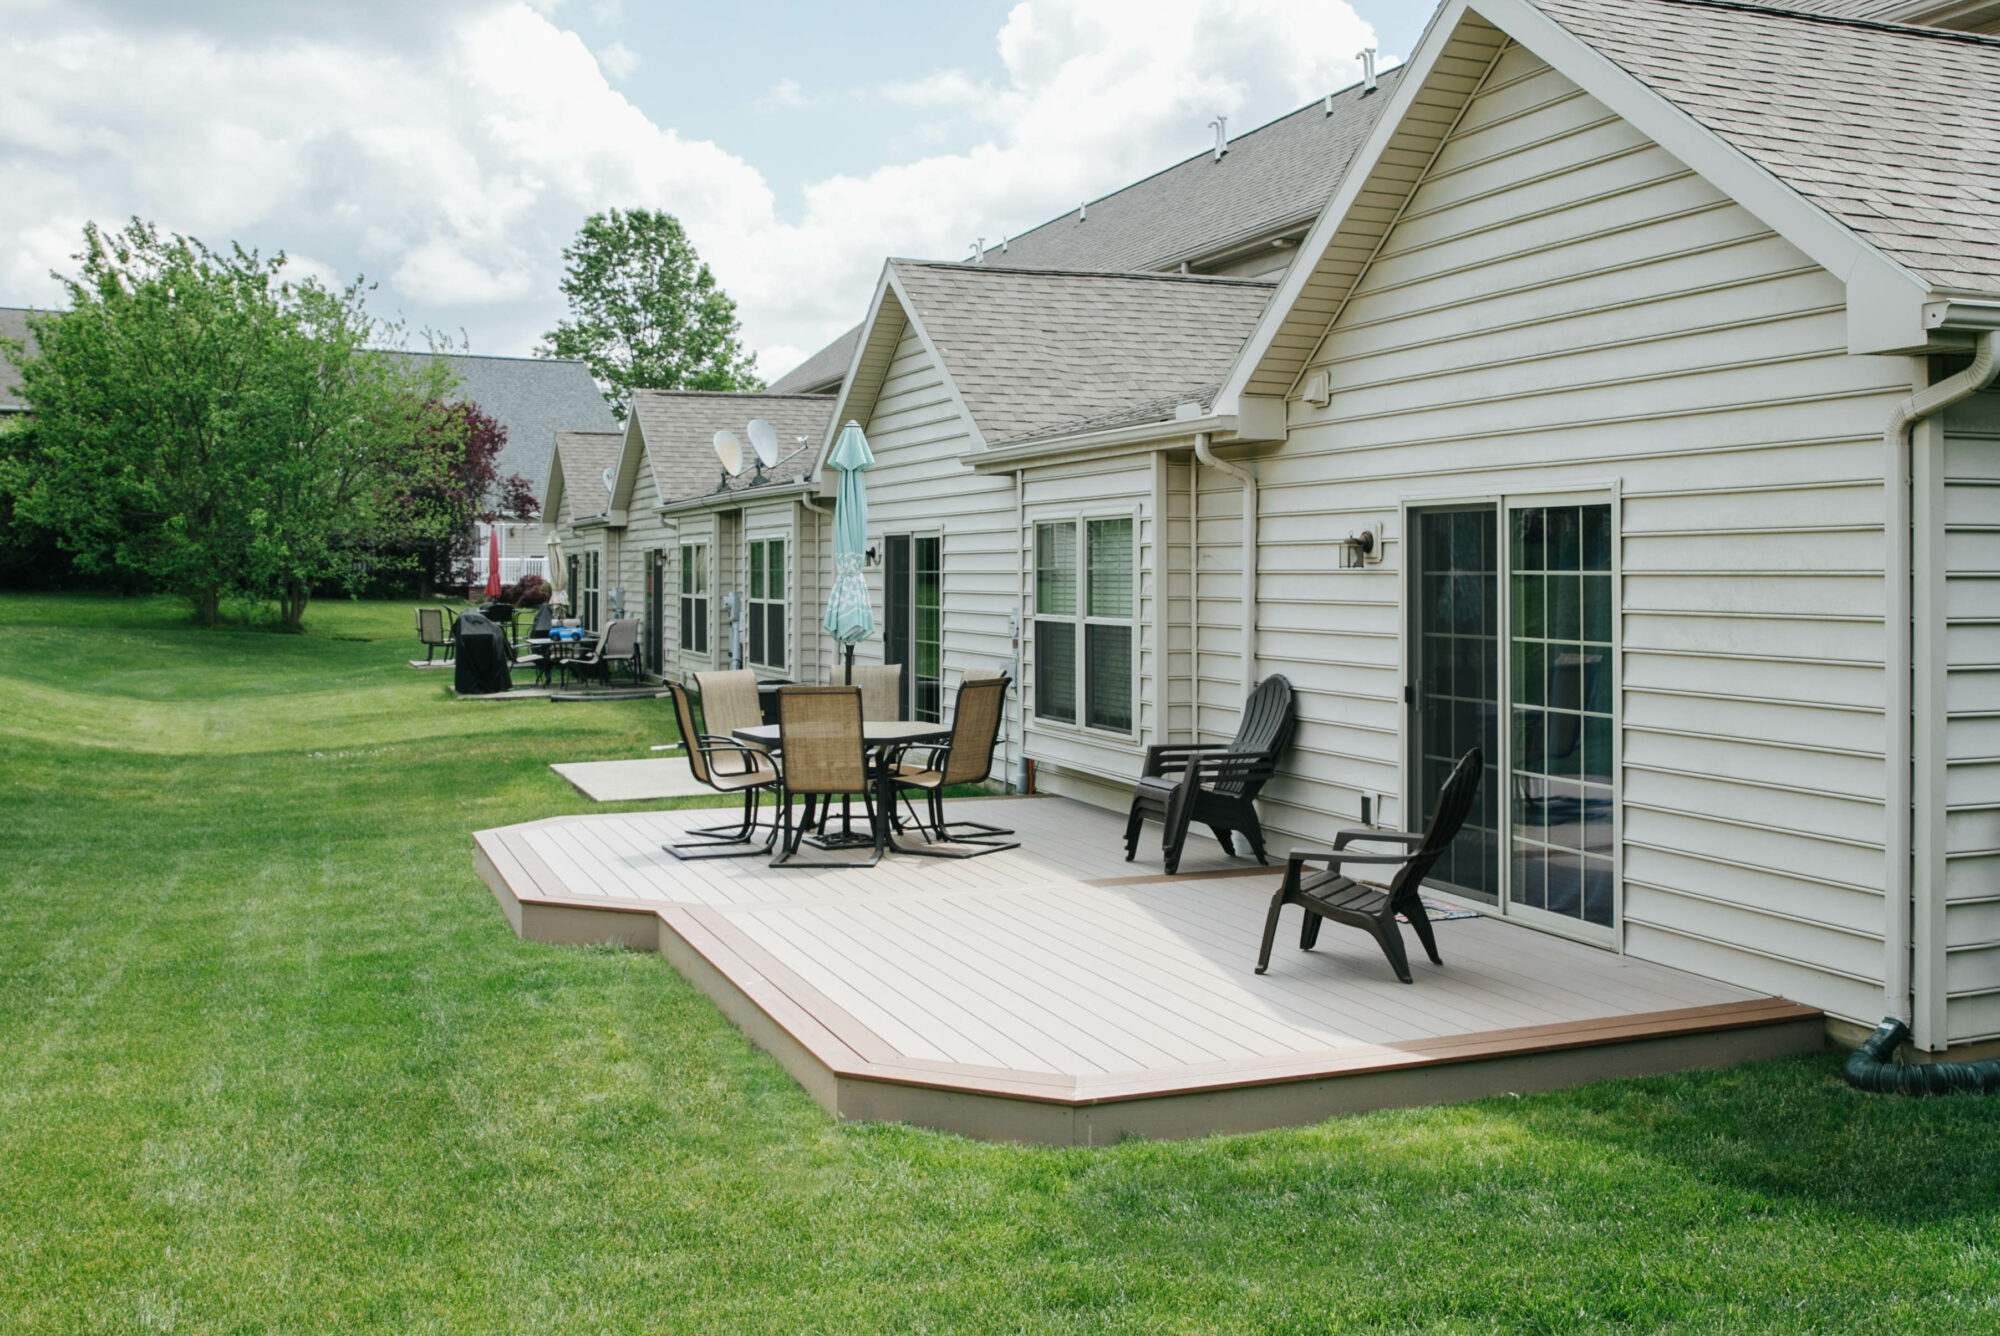
What a ground-level deck is (and why beginners love it)
A ground-level deck is a simple platform that sits close to the ground and does not attach to the house. You will often hear DIYers call this a floating deck. (Pros sometimes use “floating” for any freestanding deck, even taller ones, but the idea is the same: no ledger board on the house.) For a lot of first-time deck builders, it is the sweet spot: you get a clean outdoor “room” without the complexity of tall posts, deep footings, railings, or ledger flashing.
This guide focuses on a no-dig approach using deck blocks or surface-level footings. It is budget-friendly and approachable, but it is not a loophole around your local rules. Deck blocks are not allowed everywhere, and some areas require frost-depth footings for any deck. Always verify what your area requires.
- Best for: patios that feel too small, muddy backyard zones, fire pit seating areas, and freestanding dining decks.
- Use extra caution for: hot tub pads. Hot tubs are heavy, and many require engineered framing and footings. Check the tub’s filled weight and footprint, and consider talking with the manufacturer or an engineer before you build.
- Not ideal for: steep slopes, flood-prone spots, freeze-thaw zones with lots of heave, expansive clay, or anywhere drainage is poor.
Planning and permits
1) Call before you dig
Even if you plan to dig “just a little,” call your utility locating service first. In the US that is typically 811. You do not want to discover a cable line with a shovel.
2) Check local code and HOA rules
Many areas allow small, low decks with simpler requirements, but rules vary a lot. Ask your building department:
- Maximum size and height before a permit is required
- Whether deck blocks are allowed, and under what conditions (soil type, height limits, frost zones)
- Required setbacks from property lines
- Any requirements for stairs or railings (often triggered at specific heights)
- Whether specific connectors are required (joist hangers, post bases, etc.)
3) Decide the deck size with real furniture
Here is my thrifty trick: lay out your deck with a garden hose or string, then put your actual table and chairs inside the outline. Add at least 36 inches of walking space where people need to pass.
4) Pick a height for airflow and drainage
Too low and you invite splashback, trapped moisture, and critters. As a general guideline, I like the top of decking to sit at least 6 inches above surrounding soil when possible, with good airflow underneath. If you are using composite, also check the manufacturer’s minimum ventilation and clearance requirements, especially in damp climates.
5) Quick note on spans
Joist size, beam size, and block spacing are not “whatever looks sturdy.” They are based on span tables, wood species, grade, and your local code. If you are unsure, pull your local span table or ask your building department. It is much cheaper than rebuilding a bouncy deck.
Materials: pressure-treated vs composite
Both can work great. The “right” choice depends on your budget now versus your tolerance for maintenance later.
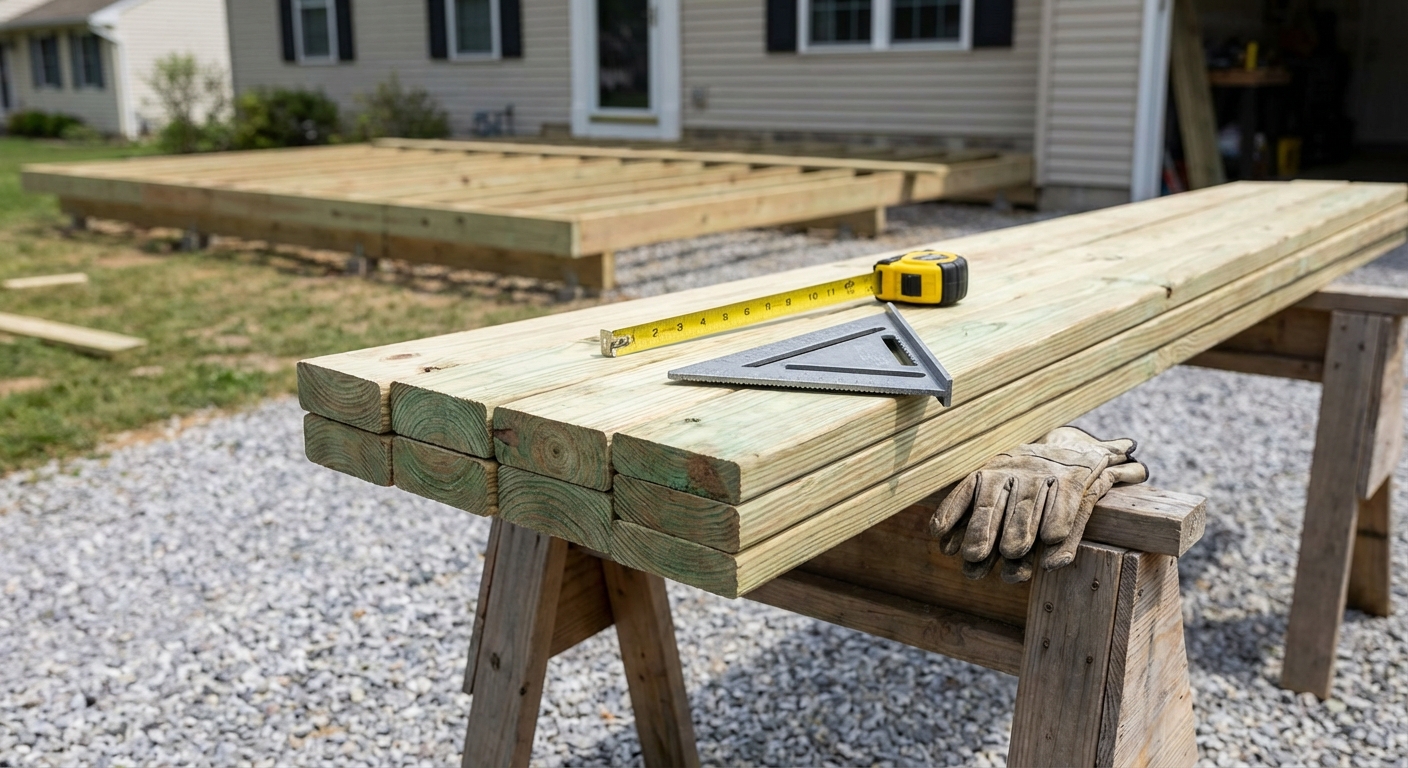
Pressure-treated (PT) lumber
- Pros: lowest upfront cost, easy to cut and fasten, widely available
- Cons: can warp as it dries, needs sealing or staining over time, splinters are real
- Best for: tight budgets, utility decks, DIYers comfortable with periodic upkeep
Composite decking
- Pros: low maintenance, consistent look, no splinters, long lifespan
- Cons: higher material cost, needs compatible fasteners and spacing rules, can get hot in direct sun
- Best for: “build it once” homeowners who would rather cook out than re-stain
Important: Even if you choose composite boards on top, most DIYers still frame with pressure-treated lumber below. Use ground-contact rated pressure-treated lumber anywhere that is close to soil or can stay damp.
Tools and supplies checklist
Safety gear
- Safety glasses
- Hearing protection
- Work gloves
- Dust mask (helpful when cutting composite or working around dry soil)
Common tools
- Tape measure, pencil, chalk line
- Speed square and a framing square
- 4-foot level (a longer straightedge helps too)
- Circular saw (or miter saw for cleaner repeated cuts)
- Drill and impact driver
- Shovel and rake (for grading and gravel)
- Clamps (helpful for pulling boards tight)
Supplies (typical)
- Deck blocks or surface footings
- Weed barrier fabric (optional), plus landscape staples
- Gravel for a drainage base
- Pressure-treated framing lumber (often 2x8 or 2x10 for joists, depending on span and code)
- Joist hangers and connectors as required by code
- Fasteners rated for PT lumber: hot-dip galvanized (HDG) or stainless steel screws, nails, and connector hardware
- Decking boards (PT or composite)
If you are brand new to power tools, an impact driver is the biggest quality-of-life upgrade. It turns the “driving screws” part of the day from misery into momentum.
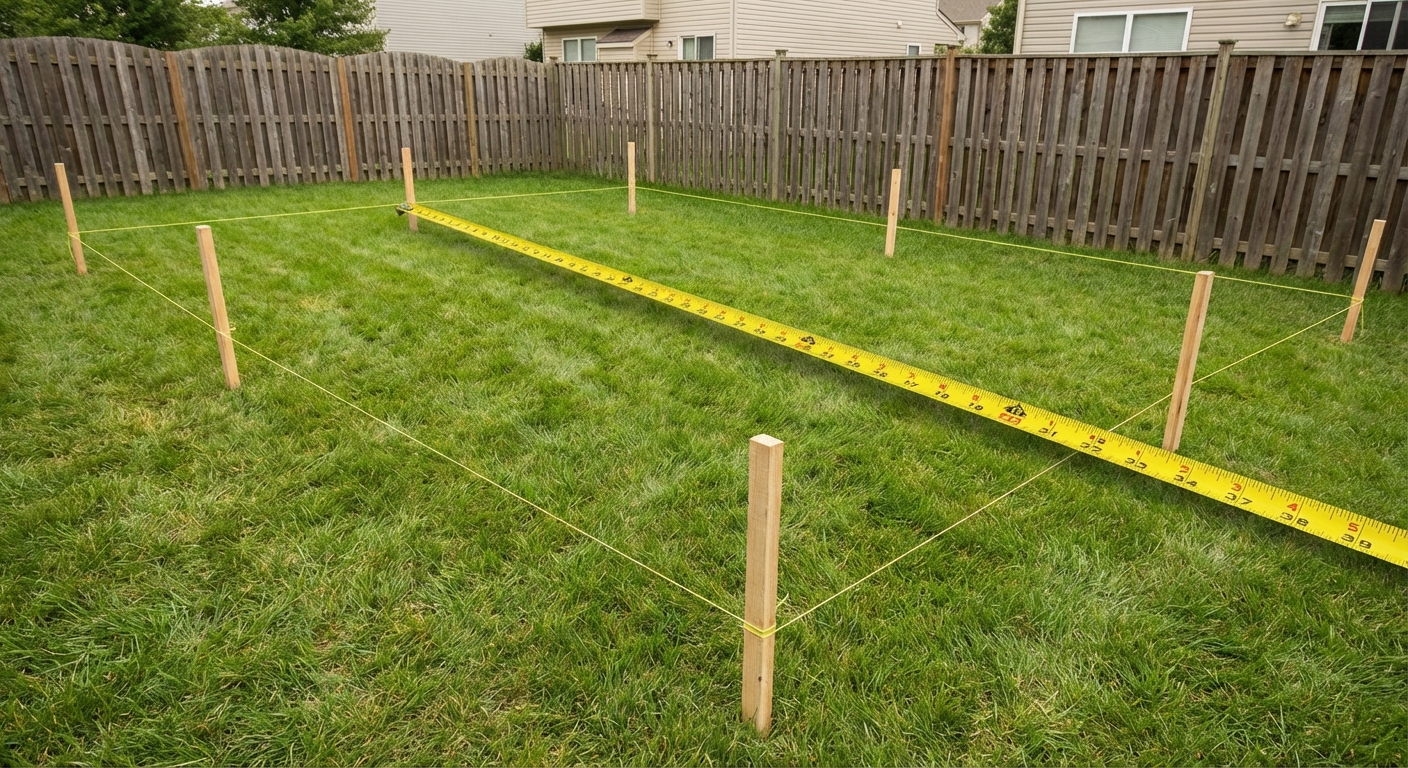
Step 1: Lay out the deck and square it up
This is the part that saves your sanity later. A deck that starts out square is a deck that finishes clean.
- Mark the perimeter with stakes and string.
- Establish one perfect corner using the 3-4-5 rule: measure 3 feet on one side, 4 feet on the other, and adjust until the diagonal between those marks is 5 feet. (Scale it up to 6-8-10 for longer lines.)
- Measure the diagonals corner to corner. When both diagonals match, your layout is square.
- Confirm elevations by walking the area with a long level or straight board. Identify high spots and low spots.
I have tried to “fix square” during decking more than once. You can, but you will waste boards and invent new swear words. Square it now.
Step 2: Prep the ground (fast, flat, drains well)
No-dig does not mean no prep. Your goal is stable support and good drainage.
Basic approach
- Remove sod where the deck will sit and where blocks will land.
- Rough-level the area with a rake and shovel.
- Lay weed barrier fabric if you want it, then put gravel on top. Fabric under gravel helps keep the gravel from slowly sinking into mud over time. (It also cuts down on weeds, but nothing stops everything.)
- Add a gravel pad under each block location. Gravel helps with drainage and reduces settling.
Do not create a bowl that collects water. Keep positive drainage so water can move away from the deck area. If your yard holds water after rain, take time to address grading first or consider a different location.
Also, avoid burying wood edges in soil. If the ground is high, bring it down. If the ground is low, build up the gravel base. Airflow is your friend.
Step 3: Place deck blocks and level them
Deck blocks are designed to support beams or joists without pouring concrete. They work best for small to medium decks that are truly ground-level and on reasonably stable soil.
When to skip deck blocks
- Areas with heavy freeze-thaw cycles where frost heave is common
- Expansive clay soils or very soft, wet soil
- Projects that require frost-depth footings by code
If any of those describe your yard, you might still be able to build the deck, but you may need proper footings or an engineered plan.
How to space blocks
Spacing depends on your design, spans, and local requirements. Many beginner builds use blocks under beams, and beams support joists. Another option is blocks supporting joists directly. Either way, follow local code guidance, span tables, and manufacturer recommendations.
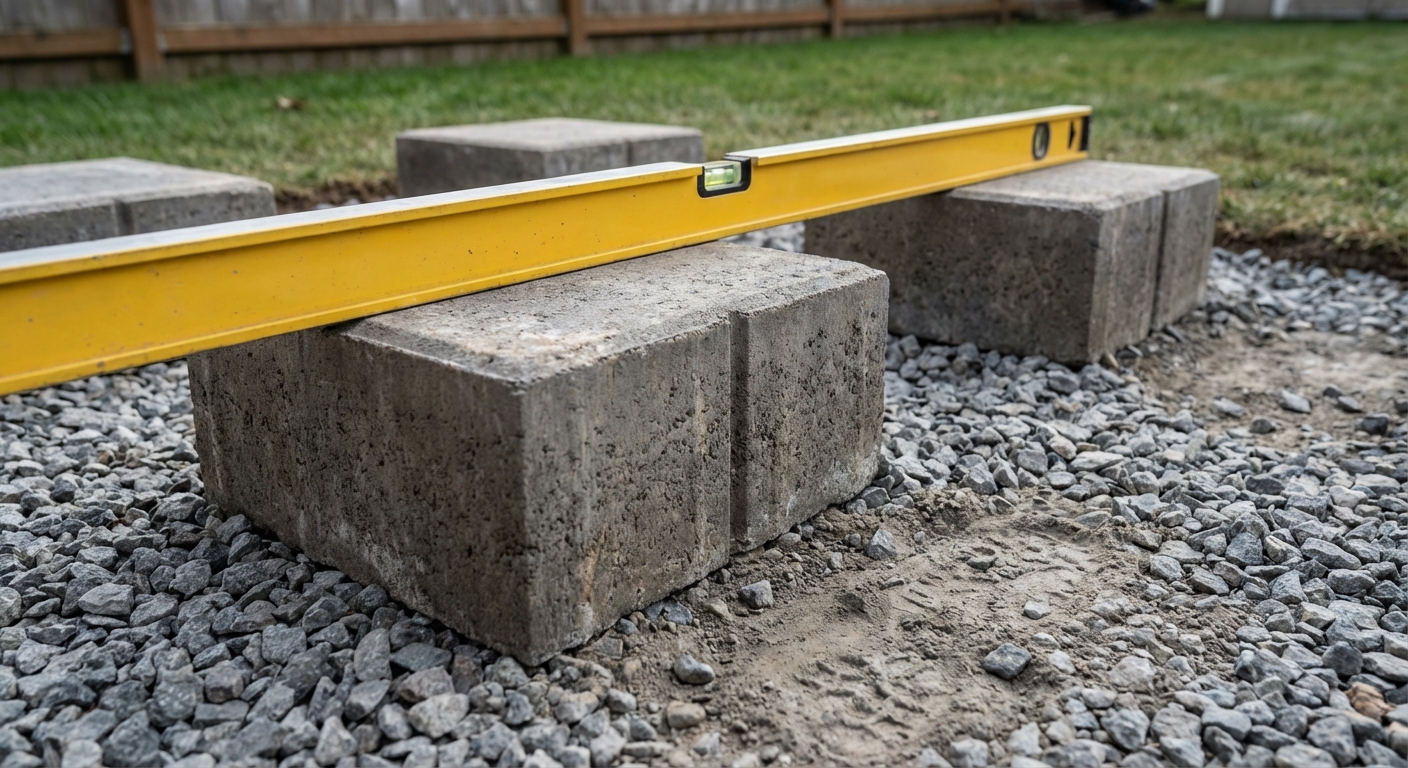
Leveling process
- Set your first block on a compacted gravel bed.
- Set the next block, then use a long straight board and level to check height between them.
- Add or remove gravel until both blocks are level with each other.
- Repeat across the layout, checking level in both directions.
My hard-learned lesson: do not trust your eyes. A deck that is “close” to level looks fine until you set a drink down and it tries to escape.
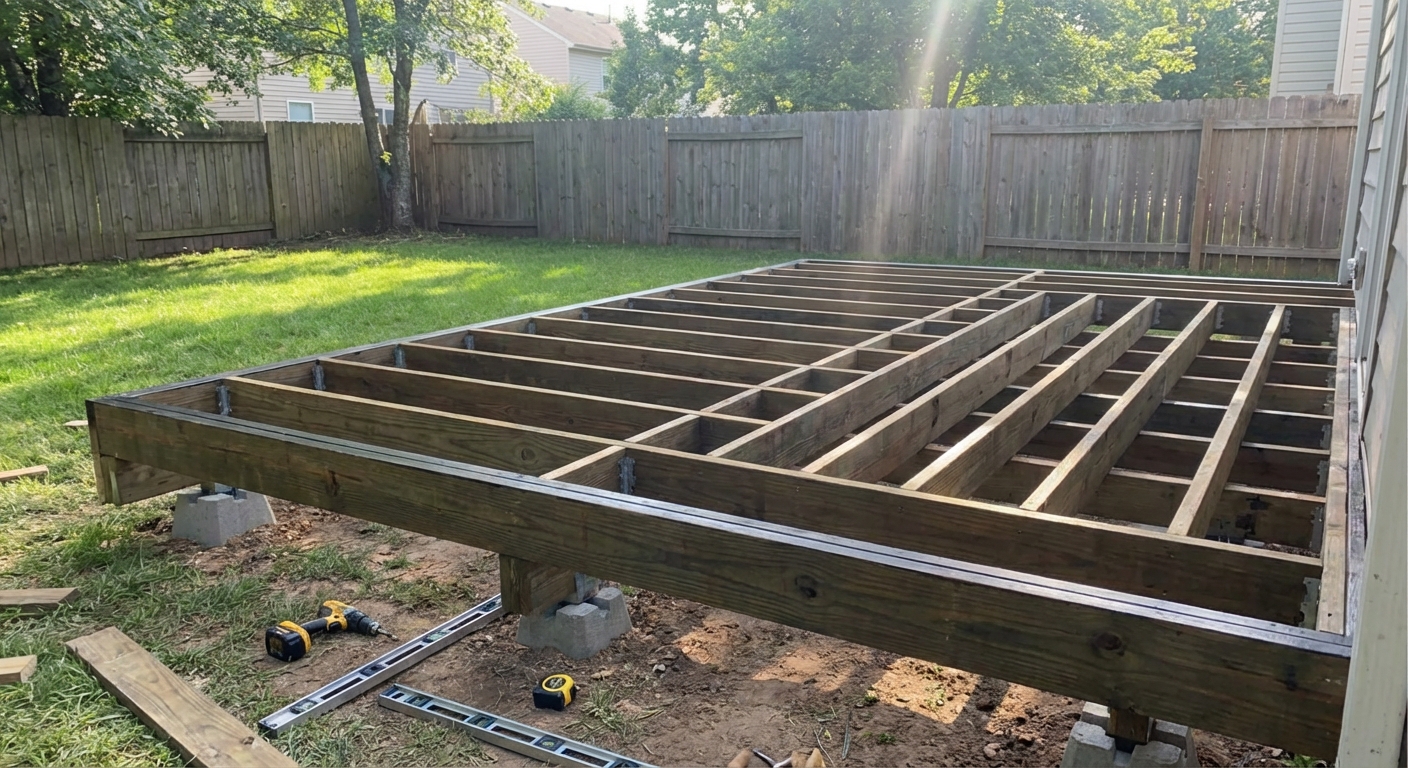
Step 4: Build the frame
The frame is the skeleton. Take your time here and the decking will go down like a zipper.
4A) Build a simple rectangular frame
- Cut your rim joists and end joists to length.
- Assemble the rectangle on a flat area, checking for square by measuring diagonals.
- Fasten corners with structural screws or bolts as appropriate for your lumber size and code.
4B) Add joists
Joist spacing is commonly 16 inches on center for many decking boards, but always confirm what your decking requires. Many composite lines call for 12 inches on center in certain situations (and some require it for diagonal installs), so check the manufacturer instructions.
- Mark your layout on the rim joists.
- Install joists using approved connectors where required by code (often joist hangers). Do not assume toe-screws are acceptable everywhere.
- Use the correct hanger nails or structural connector screws for hangers. Regular deck screws are not the move here.
- Add blocking where needed to stiffen the frame and reduce bounce.
4C) Set the frame on the blocks and re-check level
Place the frame so it sits correctly in the block notches. Check level and adjust block heights with gravel as needed.
Step 5: Install decking boards
Pick a clean starting edge
Start from the most visible side. Snap a chalk line if needed so your first board goes down dead straight. If your first board wanders, every board after it will look like it is trying to follow a bad GPS route.
Gapping rules
- Pressure-treated decking: aim for a small gap, about 1/8 inch, unless your boards are soaking wet and clearly going to shrink. Wood movement depends on moisture, so the safest play is: leave a little breathing room now so you are not dealing with buckling later.
- Composite decking: follow the manufacturer spacing requirements for side gaps and end gaps because composites move with temperature.
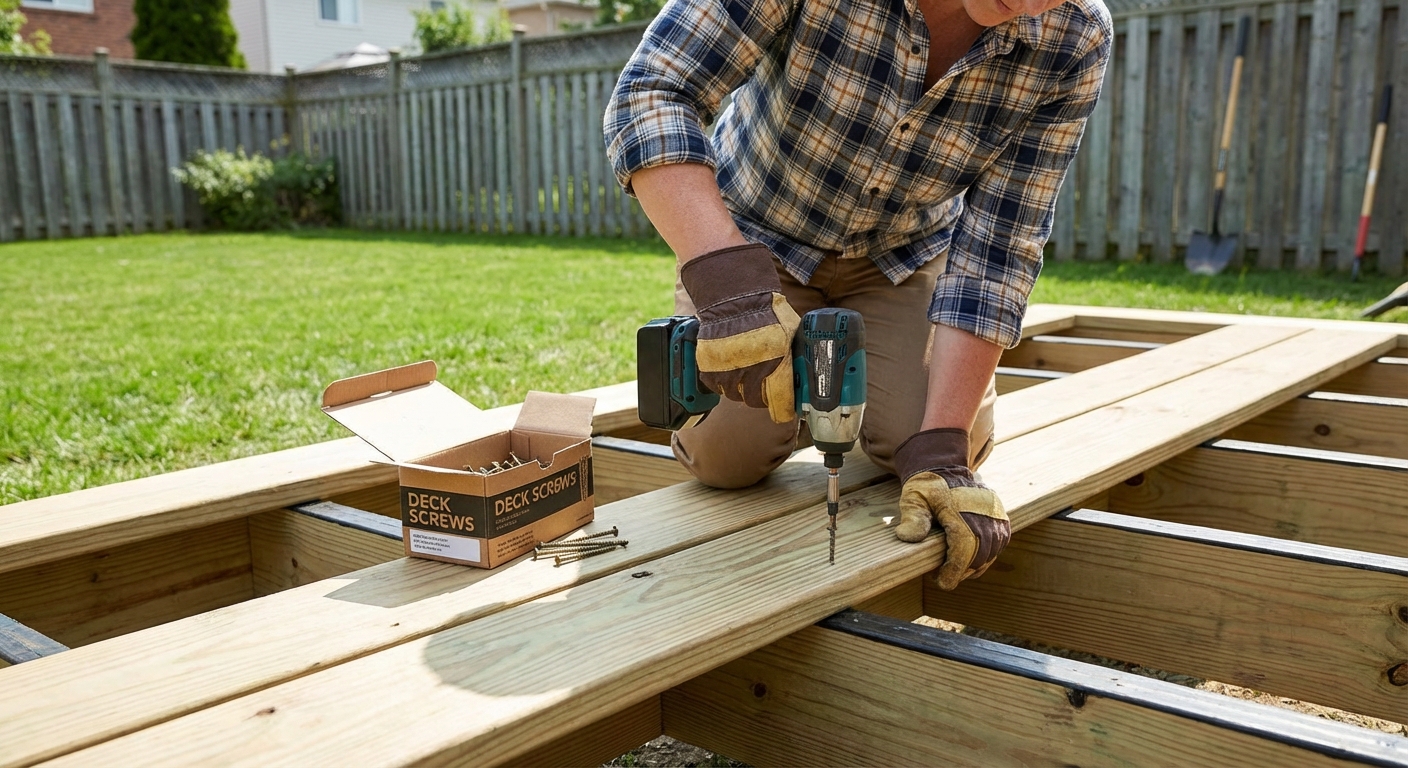
Fasteners
- Use HDG or stainless deck screws rated for modern pressure-treated lumber.
- For composite, use the recommended screws or hidden fastener system.
- Avoid cheap interior screws. They rust, snap, and stain your boards.
Keep ends tidy
You can either:
- Run boards long and trim them flush with a circular saw at the end, or
- Cut each board to length as you go.
For a first deck, “run long then trim” often looks the cleanest.
Step 6: Finish edges and make it look intentional
Add a picture frame border (optional)
A picture frame border is a perimeter board that wraps the outside edge. It hides end grain and makes a simple deck look custom. If you do this, plan for extra blocking so the border boards have solid support.
Close up the rim with a fascia board
Fascia covers the outer rim joist. It is a small detail that makes the deck look finished from the yard. For composite decks, use matching fascia and the recommended screws.
Create a clean step if needed
If the deck surface is more than a few inches above grade, a wide step makes it safer and friendlier for kids, guests, and anyone carrying a tray of burgers.
Sealing and maintenance
If you used pressure-treated decking
New pressure-treated wood often needs time to dry before you stain or seal it. A simple way to test is the sprinkle test: if water beads up, it is still too wet. If it soaks in, you are usually good to go.
- Plan to clean and re-seal periodically depending on your climate and sun exposure.
- Keep leaves and debris from piling up in corners. Trapped moisture shortens lifespan.
If you used composite decking
Most composite needs only basic cleaning. Wash with mild soap and water, and avoid harsh tools that can scratch the surface.
Beginner mistakes I would avoid next time
- Skipping ground prep: settling blocks make decks feel bouncy and steps feel “off.”
- Not planning the board layout: avoid skinny slivers at the last board by doing a quick dry layout and adjusting your starting board.
- Underestimating fasteners: buy extra screws. You will drop some, strip some, and use more than you think.
- Forgetting airflow: keep the underside open and avoid burying wood edges in soil.
- Assuming deck blocks work everywhere: frost heave and bad soil do not care how confident you feel on Saturday morning.
Quick FAQs
How long does a small ground-level deck take?
For a first-timer, a small rectangular deck often takes one weekend for planning and prep and one to two weekends for framing and decking, depending on weather and how many helpers you have.
Do I need joist tape?
It is optional, but I like it. Joist tape helps protect the tops of joists from water sitting around fastener holes. It is a small cost that can extend the life of the frame.
Can I build this right against the house?
You can build close, but avoid trapping water against siding, and do not attach a ledger unless you do it correctly with flashing and code-approved fastening. Many homeowners choose a small gap between deck and house for drainage and inspection access.
Your simple game plan
If you want the short checklist, here it is:
- Confirm rules, setbacks, span guidance, and utility locations
- Lay out the rectangle, square it (3-4-5 helps), then confirm with diagonals
- Prep ground, fabric under gravel, and gravel pads
- Set deck blocks level (or switch to footings if required)
- Build a square frame and install joists with the right connectors
- Fasten decking with the right spacing and rated fasteners
- Finish edges, then seal if using wood decking
Take it step by step. You do not need to be a pro carpenter to build a solid little deck. You just need patience, a level that you trust, and the willingness to measure twice even when you really want to start cutting.
About Marcus Vance
Content Creator @ Grit & Home
Marcus Vance is a lifelong DIY enthusiast and self-taught home renovator who has spent the last decade transforming a dilapidated 1970s ranch into his family's dream home. He specializes in budget-friendly carpentry, room-by-room renovations, and demystifying power tools for beginners. Through his writing, Marcus shares practical tutorials and hard-learned lessons to help homeowners tackle their own projects with confidence.