Dirty grout is normal, but you can fix it
Most grout is cement-based, which means it is porous and grabs onto soap scum, cooking grease, hard water minerals, and plain old foot traffic. That is why your tile can look fine while the grout lines slowly turn gray, yellow, or brown.
Quick note: If you have epoxy or urethane grout, it is far less porous and usually cleans up easier, but it can be more sensitive to abrasives and heat. When in doubt, check your installer notes or test gently in a hidden spot.
The good news: you rarely need harsh acids or hours on your hands and knees for normal grime. The trick is using the mildest method that works, then stepping up only if you need to. I will walk you through four levels: baking soda paste, oxygen bleach, steam, and finally grout pen or recoloring for stains that will not budge.
Before you start: what are you cleaning?
Different grime responds to different tools. Take 30 seconds to figure out what you are dealing with.
- Floor tile grout: Usually a mix of soil, grease (kitchen), and ground-in dirt. Great candidates for baking soda, oxygen bleach, and steam.
- Shower tile grout: Often soap scum + body oils + hard water deposits. Oxygen bleach and steam shine here. Ventilation and drying habits matter a lot.
- Orange or pink staining: Often microbial growth (commonly a pink biofilm like Serratia). Cleaning helps, but drying and ventilation prevent it from returning.
- Black spots: Could be mold or mildew on the surface, or deeper moisture issues. If caulk is failing or water is getting behind tile, cleaning is only a bandage.
Quick safety check
- Test any method in a small, hidden spot first.
- Never mix chemicals (especially bleach with ammonia or acids like vinegar). Stick to one approach at a time and rinse well between attempts.
- If you have natural stone tile (marble, travertine, limestone), avoid acidic cleaners. This guide focuses on typical ceramic and porcelain tile with cementitious grout.
- Wear gloves, and consider eye protection for splashes (especially with oxygen bleach and steam).
Tools and supplies that help
You do not need a cart full of products. Here is what I reach for most often.
- Vacuum or broom
- Microfiber mop and a bucket
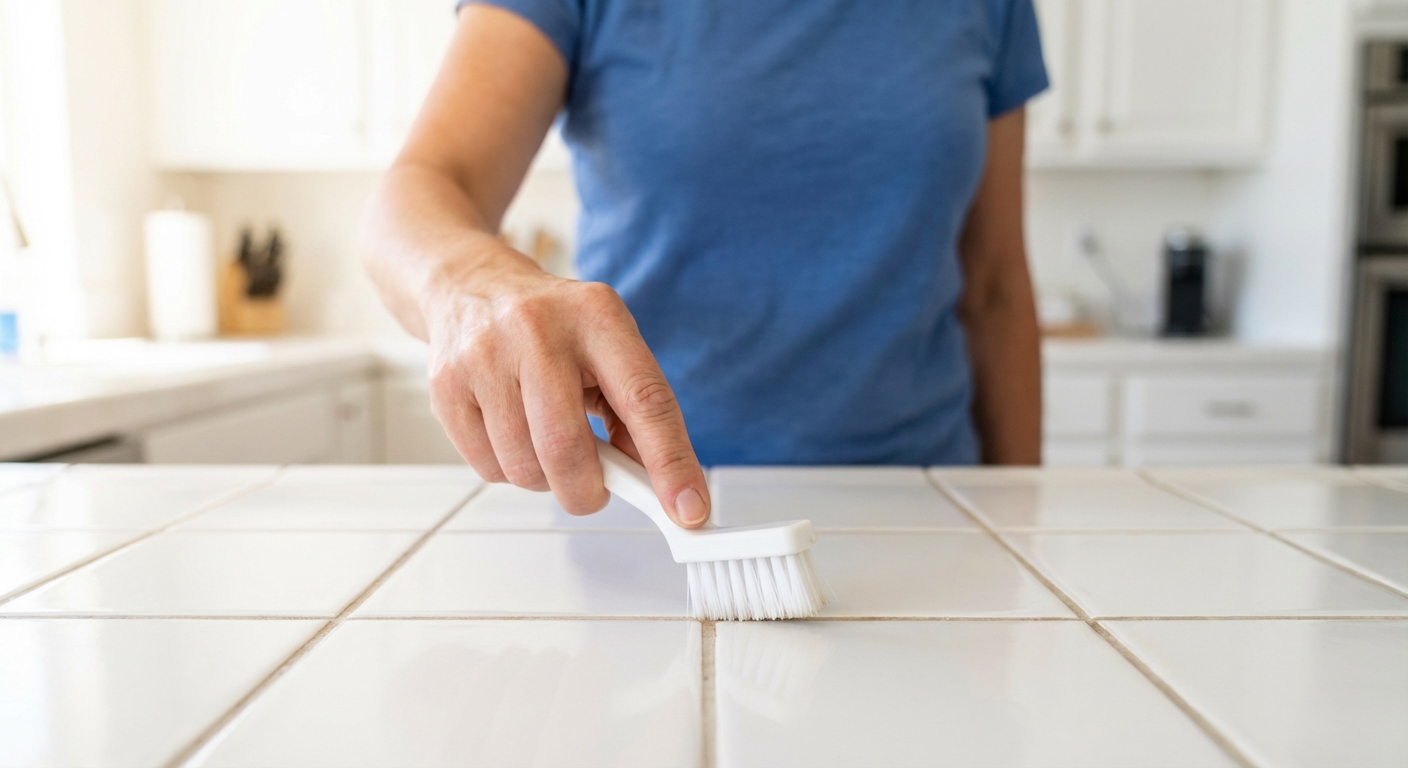
- Nylon grout brush or an old toothbrush (nylon only, no metal bristles)
- Baking soda
- Dish soap (degreasing type helps for kitchens)
- Oxygen bleach powder (sodium percarbonate, often sold as Oxi-type cleaners)
- Spray bottle
- Clean rags or paper towels
- Optional: handheld steam cleaner with grout detail nozzle
- Optional: grout sealer + small foam brush
- Optional: grout pen or grout colorant
Brush warning: Skip metal brushes and go easy on stiff drill brush attachments. They can erode grout, especially older grout.
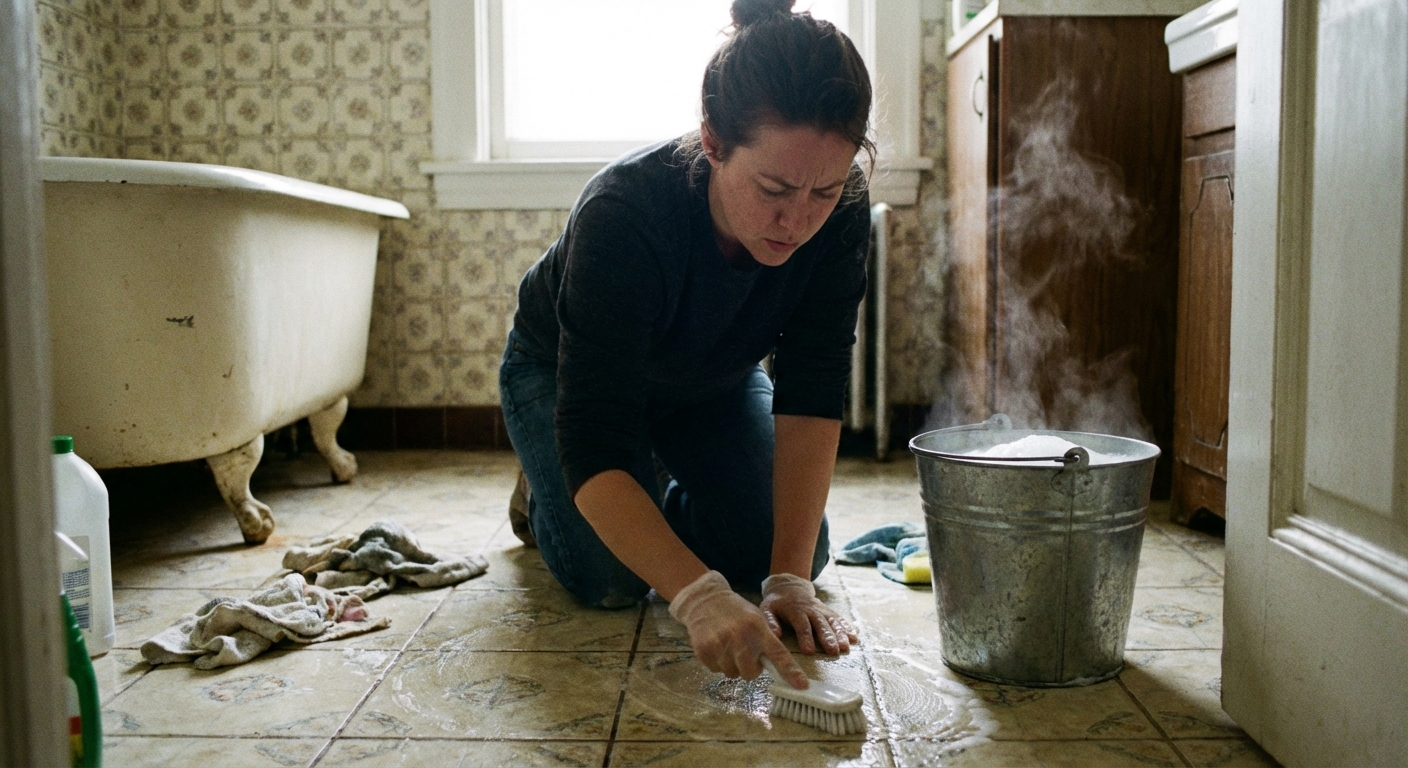
Step 1: Baking soda paste
If your grout is just dingy from traffic or light soap scum, start here. Baking soda is gentle, cheap, and surprisingly effective because it is mildly abrasive.
Mix the paste
- Combine 3 parts baking soda with 1 part water to make a thick paste.
- For kitchen floors with greasy residue, add a few drops of dish soap.
Apply and scrub
- Sweep or vacuum first so you are not grinding grit into the grout.
- Spread paste along grout lines (gloved finger works, or a spoon).
- Let it sit 5 to 10 minutes.
- Scrub with a nylon brush in short strokes. I focus on one small section at a time, about 10 to 15 square feet (roughly a small bathroom area).
- Rinse with warm water and wipe clean with a rag or mop.
Marcus tip: If you scrub the whole room before rinsing, the paste dries and turns into a chalky mess. Work in small sections and rinse as you go.
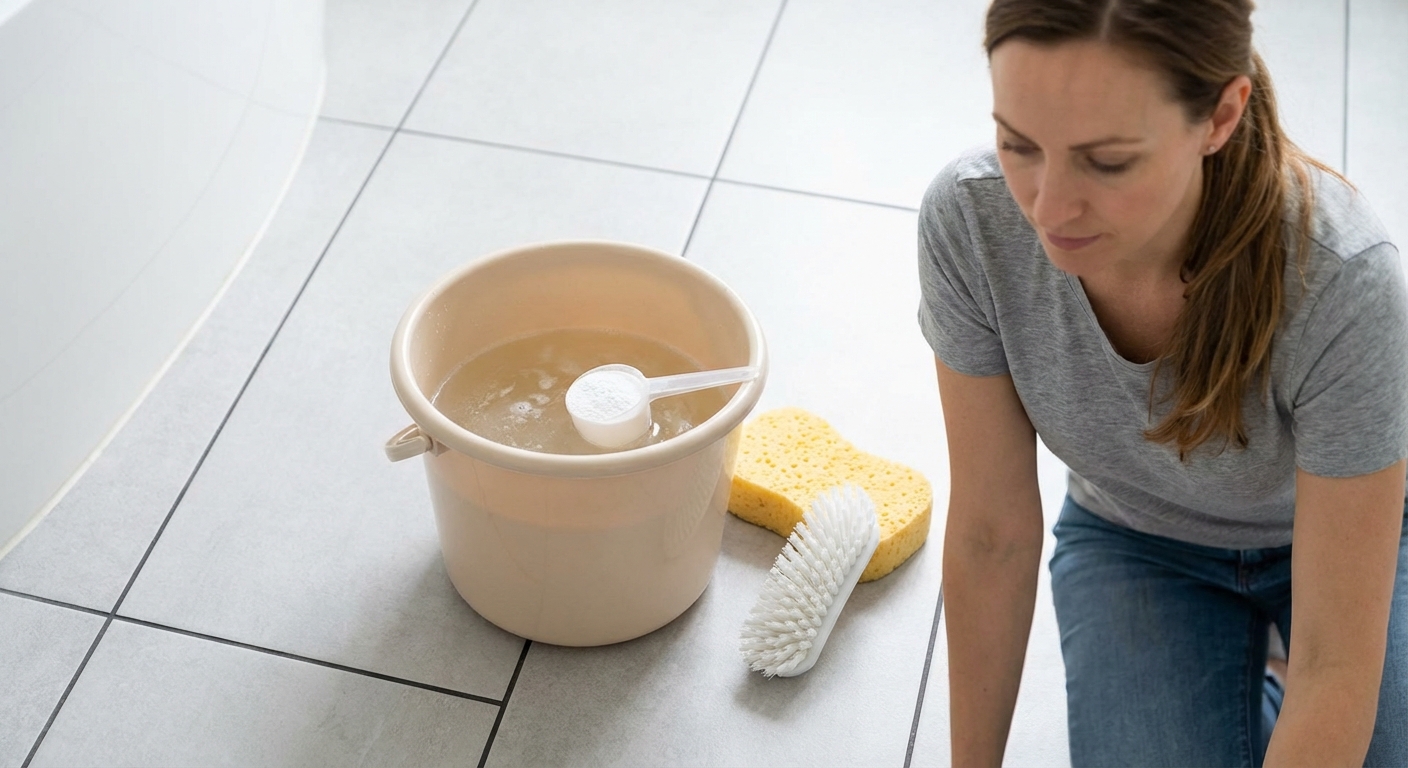
Step 2: Oxygen bleach
When grout looks uniformly dark or “aged,” oxygen bleach is my favorite next step. It is different from chlorine bleach. Oxygen bleach lifts organic grime and brightens without the harsh fumes.
One more note: On colored grout, any whitening method can shift the tone. Testing first is worth it.
Mix and soak
- Dissolve oxygen bleach powder in very warm water following the label. For many products, a common mix is around 1 to 2 tablespoons per cup, but use your product directions.
- Apply the solution generously to grout lines. A spray bottle works, but for floors I often pour a little and spread it with a sponge so it stays wet.
- Let it dwell 10 to 15 minutes. Keep it damp. Reapply if it starts drying out.
Scrub and rinse
- Scrub with a nylon brush.
- Rinse thoroughly with clean water. Then do one more pass with fresh water to avoid leaving residue that attracts dirt.
- Dry with a towel if this is a shower wall or a bathroom floor.
For shower grout: add a cling step
On vertical shower walls, liquids run off too fast. Make a thicker cleaner by mixing oxygen bleach with just enough water to form a loose paste, then press it into grout lines. You can also lay damp paper towels over the paste to hold moisture in place while it works.
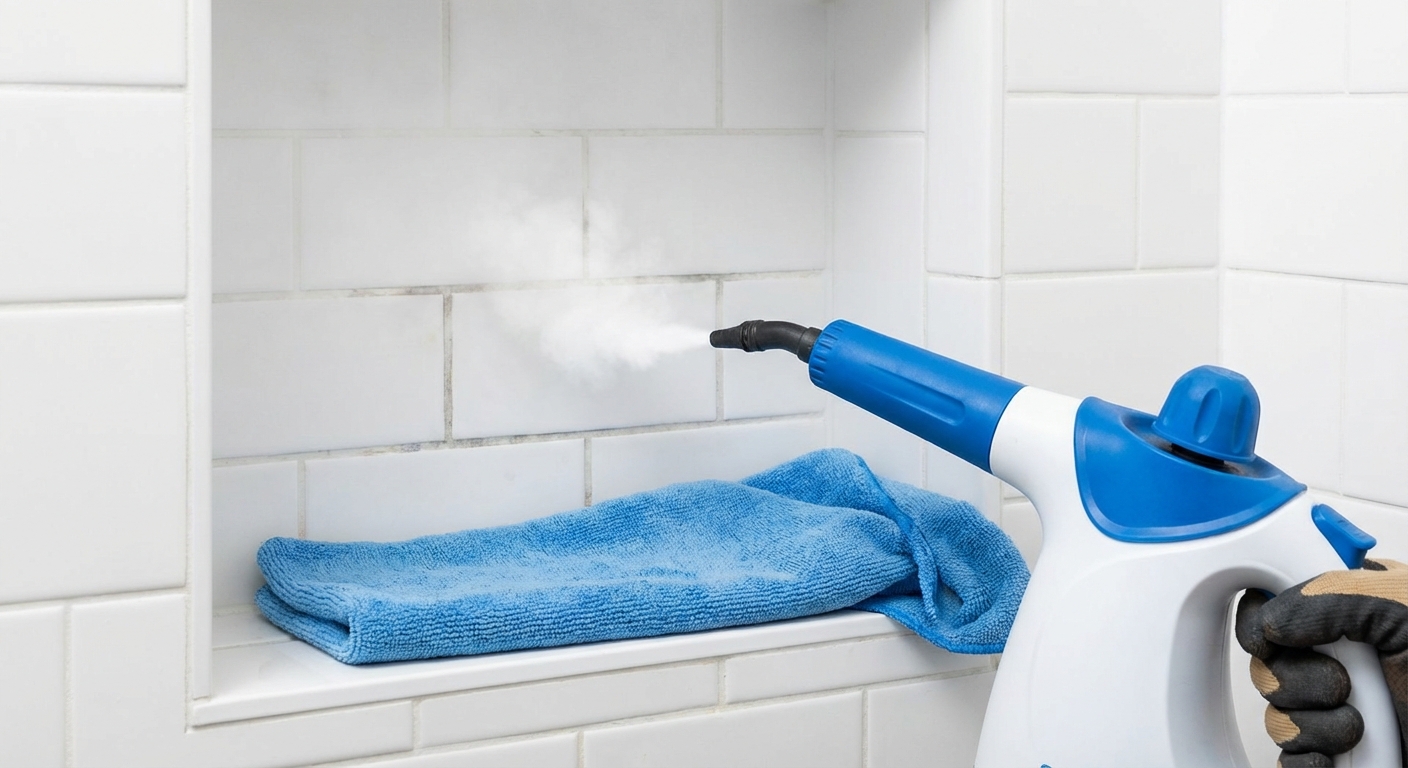
Step 3: Steam cleaning
If you have tried scrubbing and the grout still looks like it has a shadow, steam can push through embedded dirt, especially in textured grout. It is also handy in showers for soap scum without adding more chemicals to the mix.
How to steam grout
- Start with a basic clean first (even just warm water). Steam works best when it is not fighting loose surface gunk.
- Use a detail nozzle or grout brush attachment.
- Move slowly along grout lines, about 1 to 2 inches per second.
- Immediately wipe the loosened grime with a microfiber cloth.
- Rinse with clean water afterward.
Watch-outs: Do not linger too long in one spot. If grout is already cracked or missing, steam can force moisture where you do not want it. Steam can also soften or strip some sealers, so check your grout, sealer, and tile manufacturer guidance if you have it. In showers, make sure the area can dry fully when you are done.
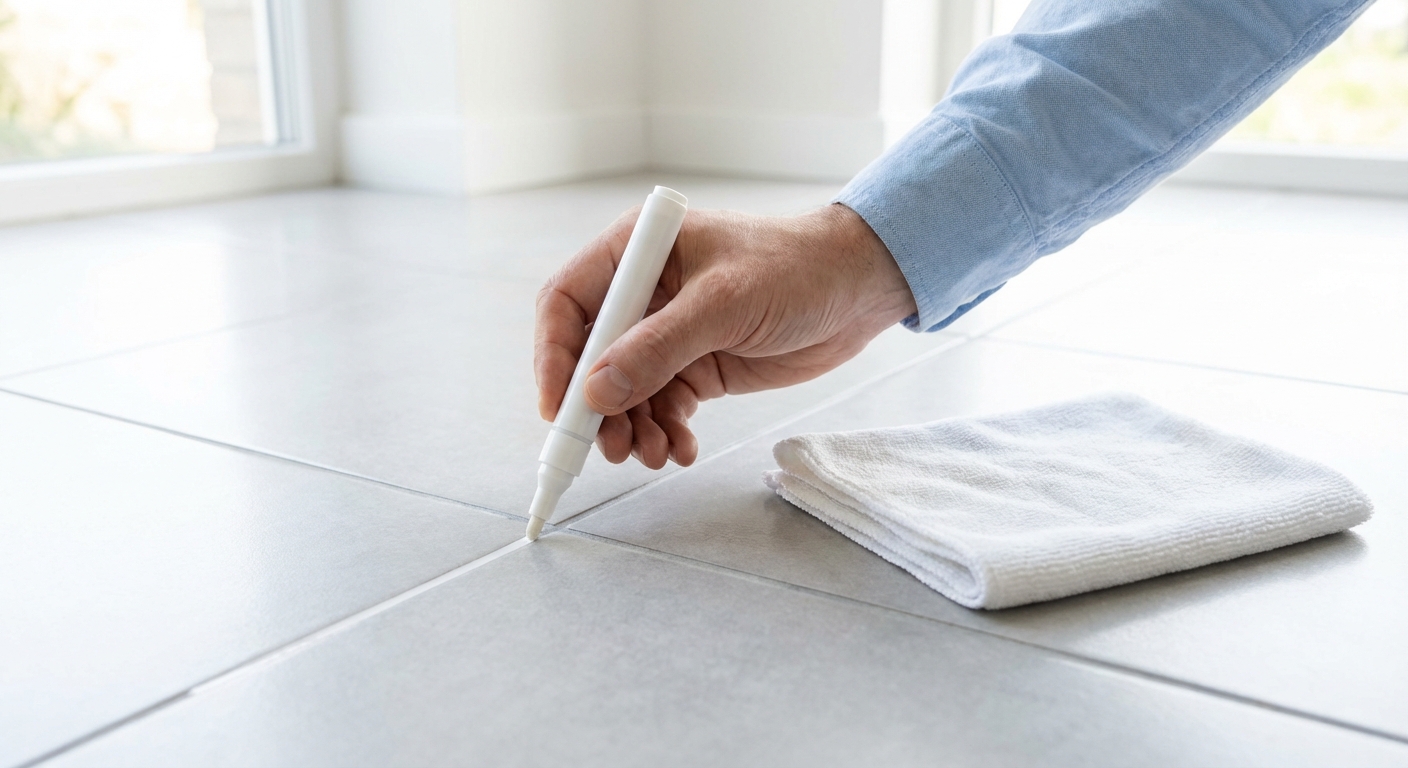
Step 4: Grout pen or recoloring
Sometimes grout is not dirty, it is stained. Old spills, rust-colored minerals, or years of discoloration can penetrate so deep that cleaning only gets you partway there. That is when I stop scrubbing and switch to a cosmetic reset.
Option A: Grout pen
- Best for: tight spots, small bathrooms, rental-friendly touch-ups.
- Clean the grout first and let it dry fully.
- Run the pen tip along the grout line and wipe any mistakes off the tile right away.
- Let it cure per the product instructions before getting it wet.
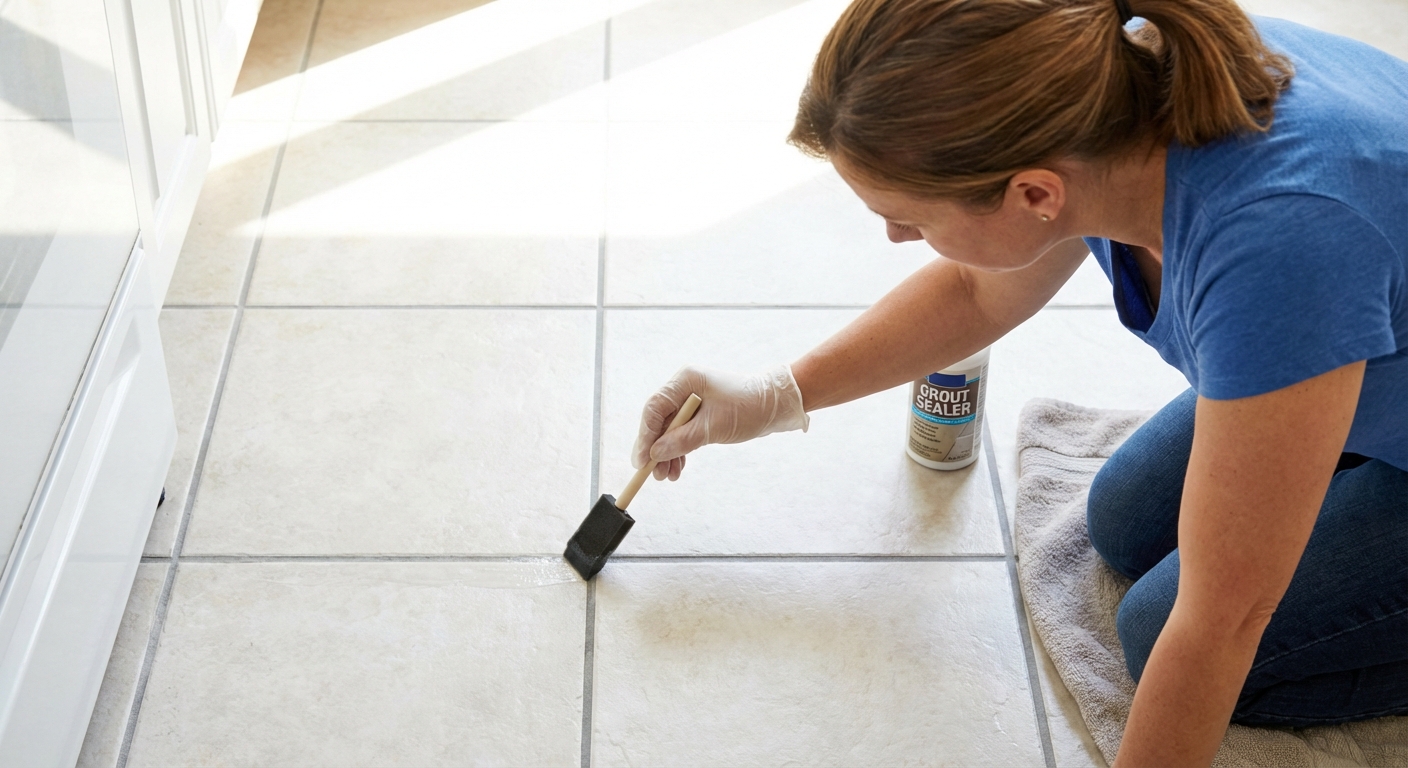
Option B: Grout colorant
- Best for: large floors, showers, dramatic color changes, or very uneven grout color.
- Deep clean first, rinse well, and let grout dry 24 to 48 hours.
- Apply colorant with a small brush, working in short sections.
- Wipe excess off tile faces before it dries.
My honest take: Recoloring is slow the first time you do it. But it can make a tired tile floor look “new install” clean without ripping anything out. For some rooms, it is the best return on effort you can get.
What about vinegar, bleach, or acids?
You will see vinegar recommended everywhere. Here is the catch: cement-based grout can be etched and weakened by acids over time, especially with repeated use. One-off use might not destroy your floor, but it is not my go-to.
- Vinegar: Can help with some mineral buildup, but use sparingly and avoid if you are not sure what your tile is made of. Rinse very well.
- Chlorine bleach: Can whiten surface discoloration but does not always remove the underlying soil. It can also lighten colored grout unevenly and is not ideal for frequent use.
When you might need an acid
Heavy hard-water scale (calcium buildup) on tile or along grout edges sometimes responds best to a tile-safe acid descaler. If you go this route, choose a product labeled safe for your tile, follow dilution directions, keep it off natural stone, and rinse thoroughly. I still treat acids as a last resort, not a routine cleaner.
Shower grout: common issues
Shower grout struggles for a simple reason: it stays wet. If you clean it perfectly but it never dries, the grime and discoloration come right back.
Best approach for showers
- Start with oxygen bleach paste for grout lines and corners.
- Use steam to break up soap scum on tile faces and along grout edges.
- Inspect caulk at changes of plane (where wall meets wall, wall meets tub). If caulk is cracked or missing, water gets behind it and you will keep fighting stains.
After-clean routine that helps
- Run the bath fan for 20 to 30 minutes after showers.
- Squeegee walls in 60 seconds after bathing.
- Hang towels so they dry quickly, not in a heap on the floor.
Check grout yearly, reseal as needed
If your grout is unsealed or the sealer has worn off, it absorbs dirt and moisture faster. Sealing is not glamorous, but it is one of those small homeowner habits that pays you back.
How to tell if grout needs sealer
- Drip a little water onto a grout line.
- If it darkens quickly and soaks in within a minute, it is time to reseal.
How to seal
- Deep clean first and let grout dry fully (often 24 to 48 hours).
- Apply a penetrating grout sealer with a foam brush or applicator bottle, focusing on grout lines.
- Wipe any sealer off tile faces before it dries.
- Add a second coat if the label calls for it.
How often? Many homes do well with checking grout about once a year, especially in wet areas and high-traffic floors. Some sealers last longer, and some showers need attention sooner. Let the water test (and the product label) be the decider.
Maintenance: less work later
- Dry mop weekly on tile floors so grit does not grind into grout.
- Use a pH-neutral cleaner for routine mopping.
- Wipe spills fast, especially coffee, wine, and cooking oils.
- Use doormats and a shoes-off zone to cut dirt at the source.
- In showers, dry the walls and keep airflow moving.
Troubleshooting
If grout is crumbling or missing
Cleaning will not help if the grout is failing. You may need to regrout or do a grout repair in those sections before sealing.
If stains return quickly in a shower
Look for water getting where it should not: failing caulk, missing grout, or a shower that is not drying. Fix the moisture path first.
If grout stays blotchy
Recoloring is often the cleanest solution. It evens out the appearance and can give you a darker grout that hides everyday life better.
A simple game plan
- 1) Sweep or vacuum.
- 2) Baking soda paste scrub.
- 3) Oxygen bleach soak and scrub.
- 4) Steam clean stubborn sections.
- 5) Recolor with a grout pen or colorant if staining remains.
- 6) Seal grout once it is fully dry (if you have cement-based grout and the sealer is appropriate).
If you tackle it in that order, you will get the best results with the least risk to your grout and the least wasted effort. And once your grout is protected, future cleanups stop feeling like a weekend project.
About Marcus Vance
Content Creator @ Grit & Home
Marcus Vance is a lifelong DIY enthusiast and self-taught home renovator who has spent the last decade transforming a dilapidated 1970s ranch into his family's dream home. He specializes in budget-friendly carpentry, room-by-room renovations, and demystifying power tools for beginners. Through his writing, Marcus shares practical tutorials and hard-learned lessons to help homeowners tackle their own projects with confidence.