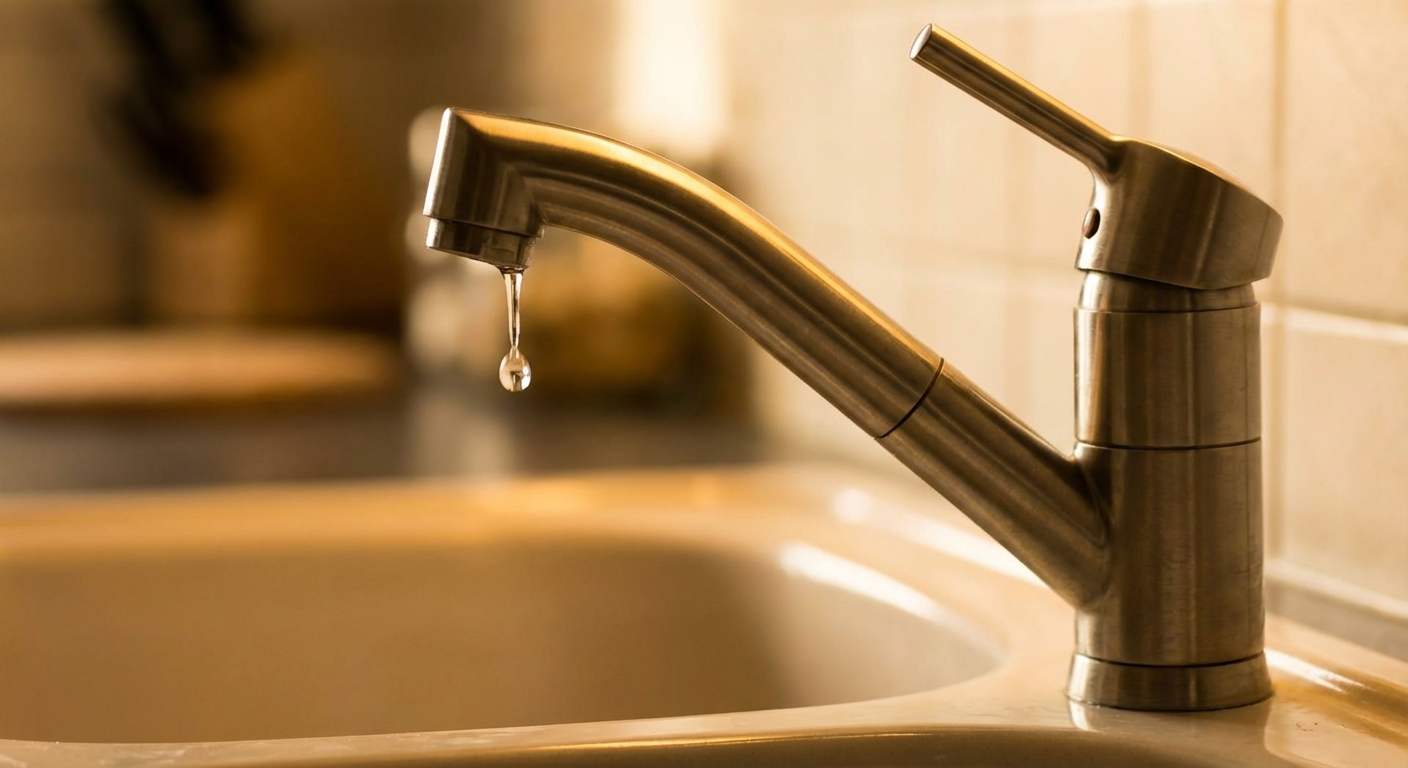
A dripping kitchen faucet is one of those “it’s not a big deal” problems until you hear it at 2 a.m. and realize you’re literally paying for that sound. The good news is most kitchen faucet drips come from a handful of predictable wear points, and you can fix them with basic tools.
In this guide, I’ll walk you through diagnosing the source of the drip and fixing the big three culprits: a worn cartridge, a damaged O-ring, or a corroded valve seat. I’ll also point out a couple of “looks like a drip, but isn’t” situations (like an aerator after-drip) that trip people up.
Before you start: What a drip is telling you
Most kitchen faucets drip for one of these reasons:
- Worn cartridge: The internal mixing valve no longer seals, so water sneaks through even when the handle is off.
- Dry or torn O-ring: A small rubber ring loses elasticity and stops sealing around a rotating or sliding part.
- Damaged valve seat (design dependent): Mineral buildup or corrosion prevents a tight seal (more common on older designs). Many modern ceramic-disc faucets do not have a separately serviceable seat, so the “seat fix” may simply mean replacing the cartridge/valve assembly.
If the faucet drips only when the handle is in a certain position, that usually points to the cartridge, but there are exceptions (like a sticky diverter on pull-down faucets or a handle/adapter that is not fully closing the valve).
Quick reality check: Some faucets “after-drip” for 30 to 60 seconds after shutoff because water is trapped in the spout or aerator. If it stops on its own and does not return until the next use, you may be looking at normal residual water, not a failing valve.
Tools and supplies
Basic tools
- Allen key set (common sizes: 1/8 in, 3/32 in, 2.5 mm)
- Phillips and flathead screwdriver
- Adjustable wrench or channel-lock pliers
- Needle-nose pliers
- Utility knife or pick tool (for O-rings)
- Flashlight or headlamp
Nice-to-have (saves time and parts)
- Strap wrench (prevents scratching chrome)
- Silicone plumber’s grease (not petroleum jelly)
- White vinegar and an old toothbrush (mineral cleanup)
- Small towel and a drain plug or rag (so you don’t lose screws)
Parts you may need
- Replacement cartridge (brand and model specific)
- O-ring kit (often brand specific, sometimes generic sizing works)
- Valve seat and spring kit (common on some Delta designs)
- Aerator/flow straightener (optional, but good to have if yours is crusty)
Thrifty tip: Don’t buy parts until you’ve pulled the old one and identified it. Kitchen cartridges look similar until they are not.
Fast diagnosis: Symptom to cause
- Drip from spout that never stops: Cartridge or seats/springs (brand dependent)
- Water around handle base: O-ring or bonnet seal
- Drips for 30 to 60 seconds after shutoff only: Aerator after-drip or trapped water in spout (often normal)
- Drip starts after using sprayer: Diverter issue, sprayer head/check valve, or hose connection
- Moisture under sink: Supply line, shutoff valves, hose quick-connect, or weight area
Step 1: Confirm it’s the faucet, not the sprayer or supply
Quick checks
- Pull-down sprayer head: Make sure the sprayer head is screwed on snug and the rubber washer inside the connection is intact.
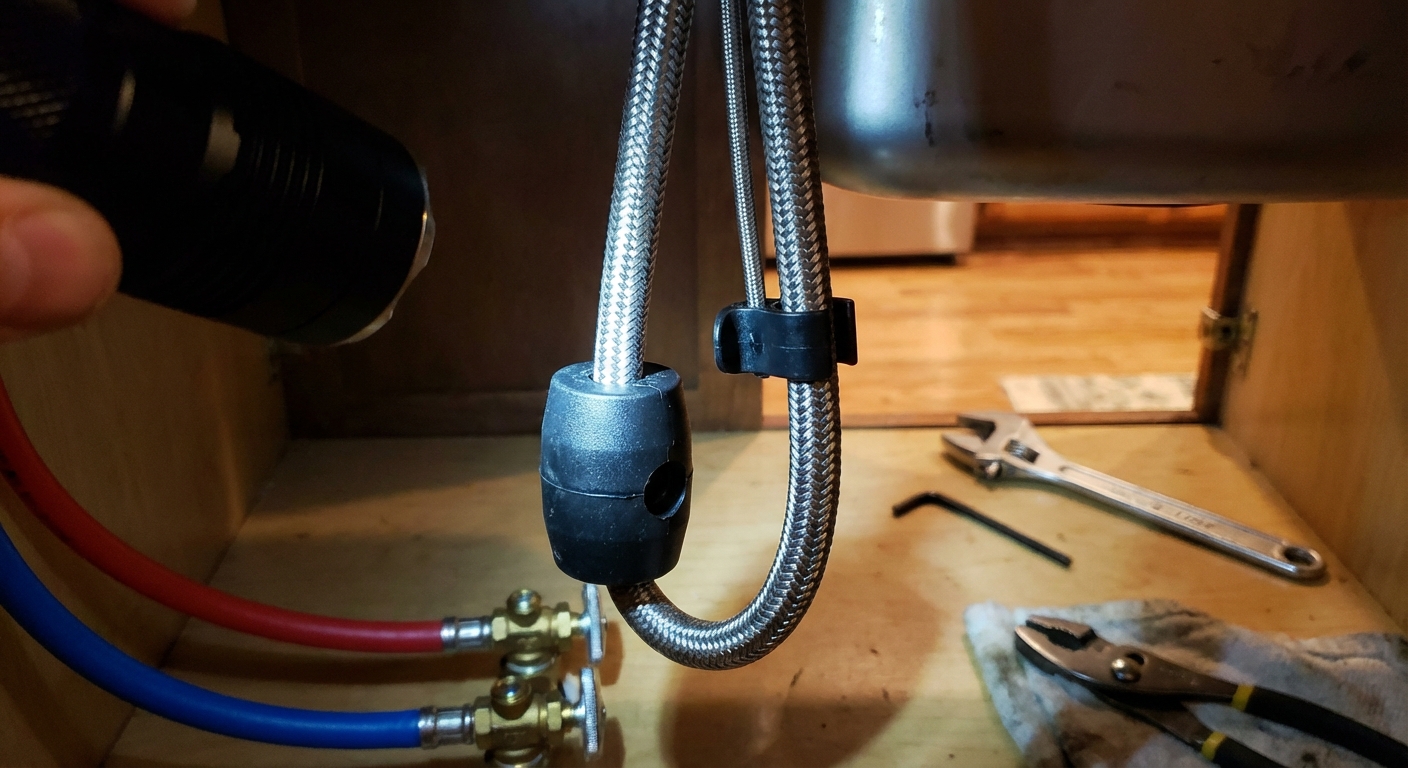
- Hose and quick-connect: Look under the sink for moisture at the quick-connect fitting, the hose loop, and the weight area.
- Supply stops: Touch the shutoff valves and supply line connections with a dry paper towel to detect slow leaks.
- Diverter clue: If the drip shows up after you use the sprayer, suspect the diverter or sprayer head (and in some models, check valves in the head).
If the faucet is dripping from the spout with the handle fully off and everything under the sink is dry, you’re often in cartridge territory, but don’t ignore the aerator after-drip note above.
Step 2: Shut off water and protect your sink
- Turn off the hot and cold shutoff valves under the sink (clockwise).
- Open the faucet to relieve pressure and confirm water stops.
- Plug the drain or stuff a rag in it. Tiny set screws love disappearing.
Optional but smart: If you’ll be leaning into the cabinet and working around wiring, flip off power to the garbage disposal at the switch or breaker. Water and electricity are not a good DIY combo.
If your shutoff valves are stuck or leaking when you turn them, stop and address that first. No shame there. Old valves can turn a simple faucet repair into a surprise shower.
Step 3: Identify your faucet type
Most common kitchen setups
- Single-handle: One lever controls both temperature and flow. Usually uses a cartridge.
- Pull-down/pull-out: Typically single-handle, plus a hose and sprayer head. Still usually cartridge-based for dripping issues, with diverter and sprayer head quirks.
- Two-handle: Less common in newer kitchens. Most repairs are a stem washer, ceramic cartridge, or seat per handle, depending on design. (Different playbook.)
This article focuses on single-handle and pull-down faucets, since that’s where most kitchen drip searches land.
Fix 1: Replace a worn cartridge (most common)
If the faucet drips from the spout when it is turned off, start here. A cartridge is the internal valve that mixes hot and cold and seals when you shut the handle. Over time, seals wear and mineral deposits scar the mating surfaces.
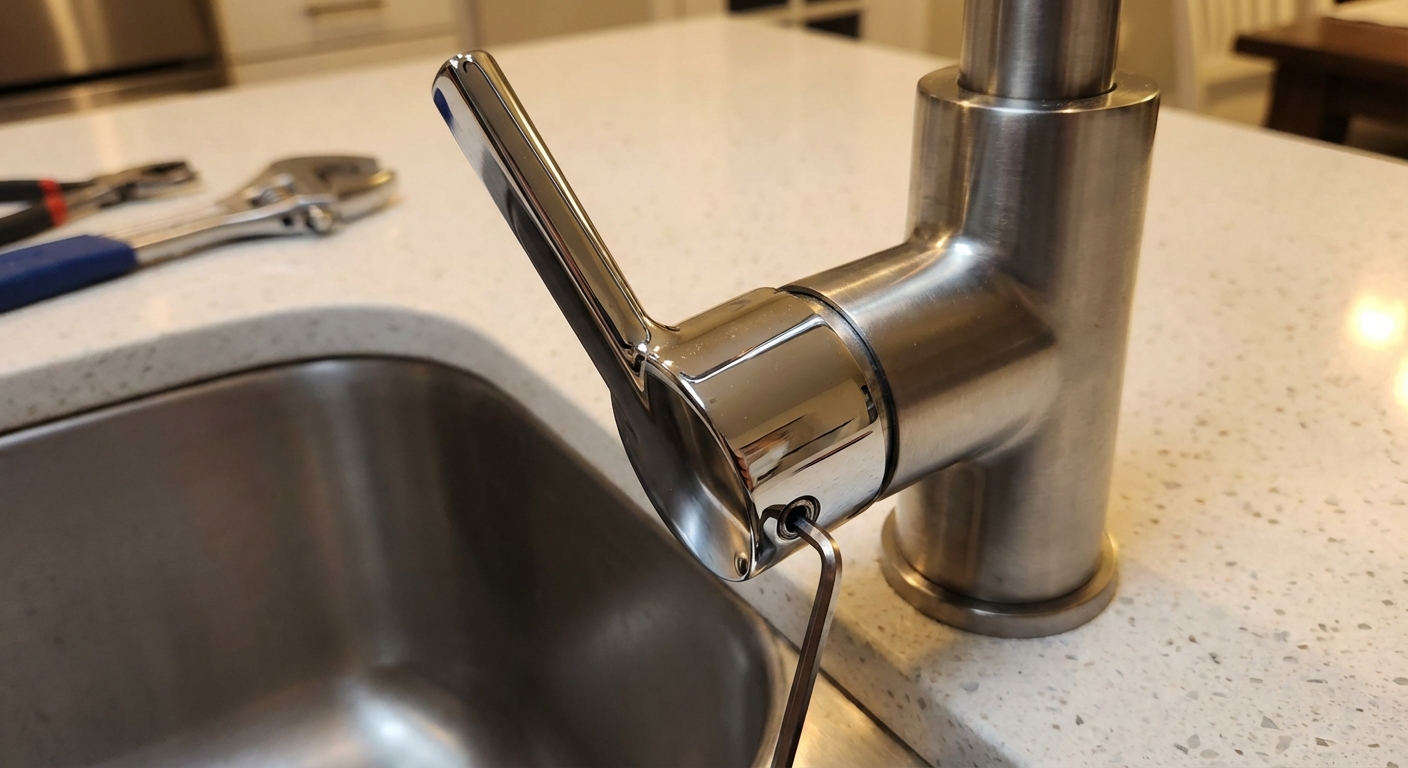
1) Remove the handle
- Find the set screw or cap. It’s usually behind the handle or under a small decorative plug.
- Remove the set screw with an Allen key, then lift the handle off.
- Take a quick phone photo of the orientation before you pull anything else. It helps during reassembly.
2) Remove the retaining hardware
Depending on brand, you’ll see one of these:
- Retaining clip: A U-shaped metal clip that slides up and out.
- Bonnet nut: A large nut holding the cartridge in place.
- Retaining ring: A plastic or metal ring that threads on.
Use a strap wrench if you’re worried about scratching. If the nut is crusty, a vinegar-soaked rag wrapped around it for 10 minutes can soften mineral buildup.
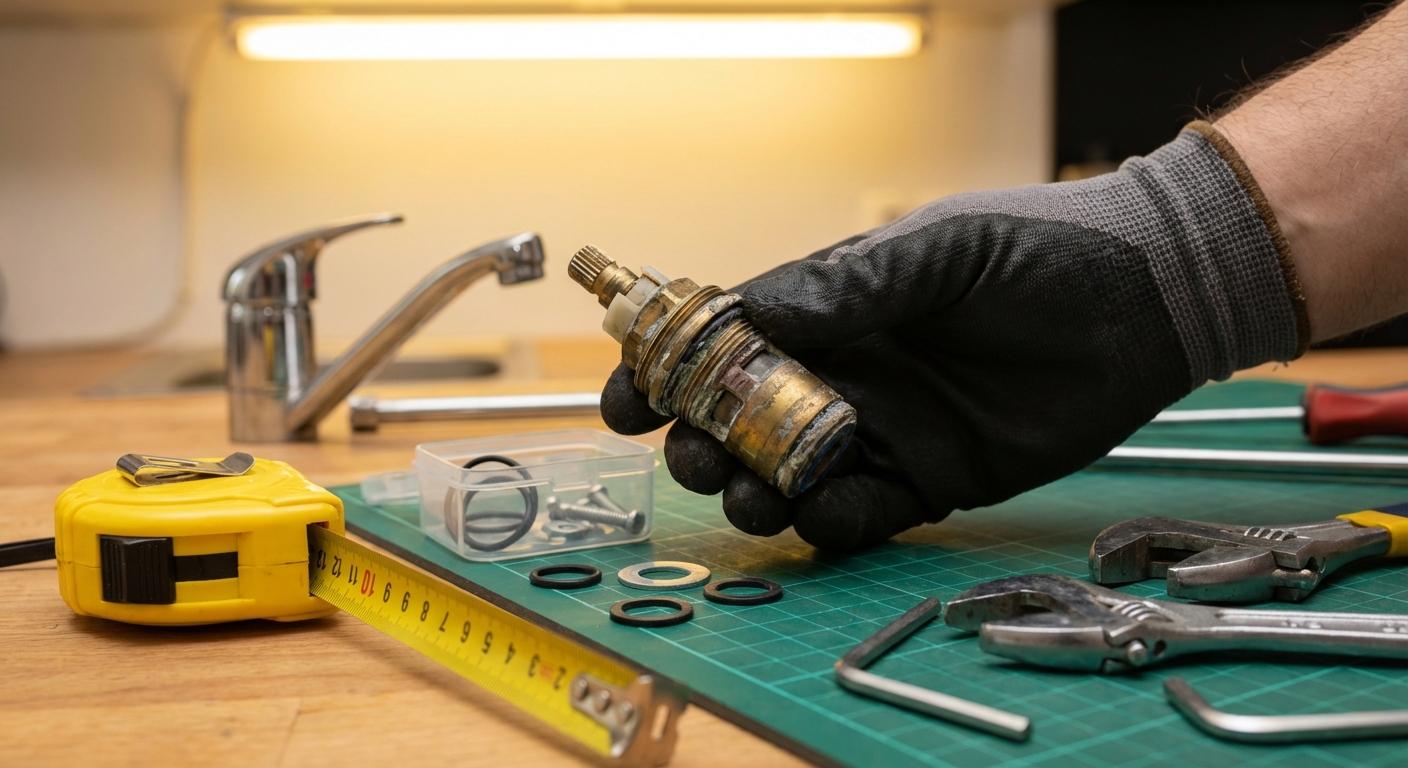
3) Pull the cartridge
- Grab the cartridge stem and pull straight up. Wiggle gently. Avoid aggressive twisting.
- If it’s stuck, use a cartridge puller tool made for your brand (worth it on stubborn faucets).
My hard-learned mistake: The first time I fought a stuck cartridge, I yanked and rotated until I cracked a plastic housing. That turned a $25 repair into a faucet replacement. Gentle, straight, and patient wins here.
4) Match the replacement and install
- Bring the old cartridge to the store or match it online using the brand and model.
- Clean the valve body with a rag. Remove grit and mineral chunks.
- Lightly coat O-rings on the new cartridge with silicone plumber’s grease.
- Align tabs and notches and press the cartridge fully into place.
- Reinstall the clip, nut, or ring, then reattach the handle.
5) Test (remove the aerator first)
- Unscrew and remove the aerator from the faucet spout (use a towel for grip, or an aerator key if your faucet needs one).
- Turn the shutoff valves back on slowly.
- Run cold for 10 to 15 seconds, then hot for 10 to 15 seconds, and let it flush into the open spout. This helps blow out mineral bits that would otherwise clog the aerator.
- Turn off and watch the spout for 60 seconds.
- Reinstall the aerator (hand tight, do not cross-thread), then test flow and spray pattern.
Fix 2: Replace a handle O-ring (leak around the handle base)
If water pools at the base of the handle, or you can see moisture creeping out from under the handle when the faucet is on, an O-ring is a prime suspect.
What you’ll see
- Water on the deck plate or countertop around the faucet
- Moisture under the handle cap
- Handle feels gritty or stiff when moving
Steps
- Shut off water and remove the handle (same as the cartridge steps above).
- Look for an O-ring on the cartridge sleeve, handle adapter, or body just below the handle area.
- Remove the old O-ring with a pick or fingernail. Avoid scratching metal.
- Clean the groove, then install a matching new O-ring.
- Apply a thin film of silicone grease and reassemble.
Tip: If you do not have the exact O-ring, many hardware stores have O-ring drawers where you can match diameter and thickness. Bring the old one.
Fix 3: Clean or replace a valve seat (when applicable)
Some faucets seal against a valve seat. If the seat is pitted or crusted with minerals, water can sneak past even with a new cartridge. That said, many modern kitchen faucets do not have a separate seat you can swap, so seat “service” may mean cleaning the valve body or replacing the full cartridge/valve assembly instead.
Signs it might be the seat or sealing surface
- You replaced the cartridge and it still drips
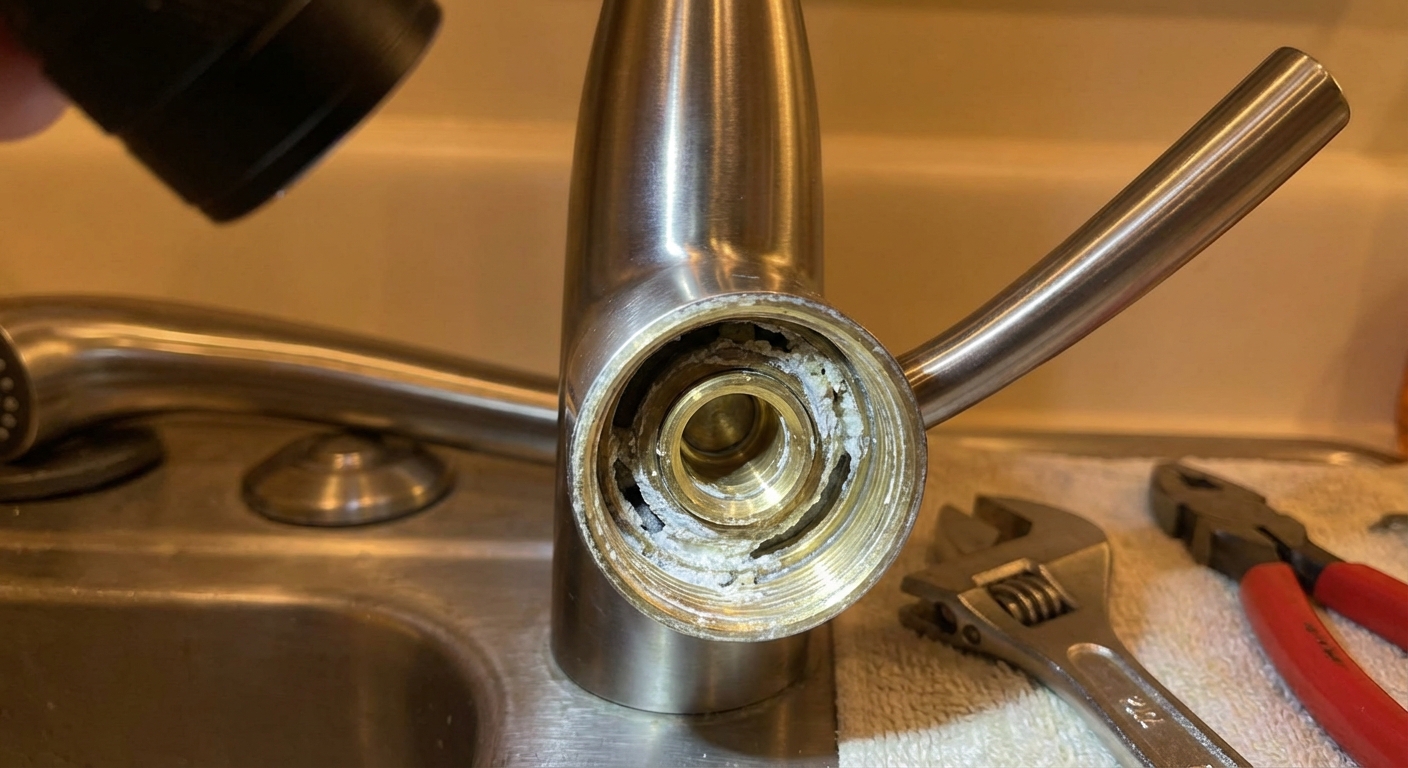
- You see white crust or green corrosion inside the valve body
- The drip rate changes after you run hot water (minerals expand and contract)
Steps
- With the cartridge removed, inspect inside the valve body with a flashlight.
- Light mineral buildup: scrub with an old toothbrush dipped in white vinegar, then wipe clean.
- If your faucet uses a removable seat: remove and replace it per the manufacturer’s parts list.
- Reinstall cartridge, reassemble, and test.
Brand shortcuts: Moen, Delta, and Kohler
You can fix most drips without knowing the exact model, but identifying the brand makes getting the right cartridge much easier. Here are practical tells and what to look for once you have the handle off.
Moen (common: 1225, 1200, 1255)
- Many Moen single-handle kitchen faucets use a cartridge secured by a retaining clip.
- Common Moen kitchen cartridges include 1255 (Duralast) on many modern single-handle faucets, plus 1225 (and older 1200 in some models). Moen is still very model dependent, so match what you pull out.
- If the cartridge is stuck, a Moen cartridge puller can save the faucet body.
Delta (common: ball, seats and springs, or cartridge)
- Many Delta designs use seats and springs that can cause drips.
- If you see small rubber seats and tiny springs beneath, replace them as a set. They are inexpensive and often fix persistent drips.
- Some newer Delta faucets use a cartridge retained by a nut or ring.
Kohler (cartridge heavy, model specific)
- Kohler cartridges are very model specific. The safest route is matching the old cartridge or searching the part number.
- Look under the sink or on the supply lines for a tag, check the faucet base for a faint brand mark, and check the escutcheon or deck plate area for a model stamp.
Best move if you’re unsure: Pull the cartridge, take clear photos from multiple angles, and bring it to a local plumbing supply house. They are shockingly good at matching parts.
Part ID tips
- Measure and photograph: Length, diameter, stem shape, and any alignment tabs.
- Note the retention style: Clip vs nut vs threaded ring.
- Check the spout type: Pull-down faucets can share cartridges with non-pull-down lines, but not always.
- Look for a model number: Under the sink on a sticker, on installation paperwork, in your email if you ordered online, or on the manufacturer’s parts diagram page.
Reassembly checklist
- Cartridge fully seated, aligned to tabs or notches
- Clip fully inserted or bonnet nut snug, not over-tightened
- O-rings lightly greased, not twisted
- Handle set screw snug
- Aerator cleaned and tightened by hand (do not cross-thread)
If the handle now points the wrong direction (hot and cold swapped), the cartridge is likely rotated. Shut water back off, pull it, realign, and try again.
Troubleshooting: If it still drips
Common causes
- Wrong cartridge: Close, but not identical. Happens all the time.
- Debris in the valve body: A grain of grit can keep a seal from closing. Clean and flush.
- Damaged sealing surface: Seat or valve body may need cleaning, parts, or a full cartridge/valve assembly replacement (varies by design).
- Diverter or sprayer head: Especially if the drip starts after sprayer use, or only happens in spray mode.
- Check valves (some pull-down heads): A loose or failing check valve can cause odd dripping behavior after shutoff.
- High water pressure: Can worsen seepage and shorten cartridge life. Many homes run best around 50 to 60 psi, and most fixtures want you under 80 psi.
Quick flush trick (use with care)
With the cartridge removed and a towel ready, briefly crack the shutoff valve to flush debris out of the valve body into a bucket. Then shut it back off immediately. This is messy if you are not prepared, so set up towels and a container first.
When to stop DIY and call for help
- The shutoff valves will not turn or start leaking
- The faucet body is cracked or heavily corroded
- You cannot remove a stuck cartridge without using excessive force
- You have leaks under the sink you cannot identify (especially at the supply lines)
There’s no trophy for flooding your cabinet. Sometimes the smart play is a plumber for the stuck valve or a fresh faucet if the internals are too far gone.
FAQ
How long does it take to fix a dripping kitchen faucet?
If you have the right cartridge on hand, plan for 30 to 60 minutes. If you need to identify parts and make a run to the store, it can become a half-day project.
Do I need plumber’s tape?
Usually not for cartridges and handle parts. Plumber’s tape is for threaded pipe connections. Most faucet internal seals rely on O-rings and gaskets, not tape.
Why does my faucet drip only after I use the sprayer?
That can happen when the diverter is sticky or the sprayer head is not sealing well. Check the sprayer head washer, clean mineral buildup, and consider a diverter service if your faucet design allows it. On some pull-down heads, check valves can also cause strange post-use dripping.
Can I just replace the whole faucet instead?
Absolutely. If the faucet is low-end, very old, or parts are hard to source, replacement can be the more budget-friendly move when you factor in time. But if it’s a quality faucet, a cartridge swap is usually a great repair.
My neighborly wrap-up
If you take one thing from this page, let it be this: kitchen faucet drips are usually a worn cartridge or an O-ring, and both are well within DIY range if you stay organized. Take photos as you disassemble, keep parts in order on a towel, and do not force stuck components.
And do yourself a favor on the test run: pull the aerator first and let the faucet flush. Your future self will thank you when the flow stays strong and the sink is quiet again.
About Marcus Vance
Content Creator @ Grit & Home
Marcus Vance is a lifelong DIY enthusiast and self-taught home renovator who has spent the last decade transforming a dilapidated 1970s ranch into his family's dream home. He specializes in budget-friendly carpentry, room-by-room renovations, and demystifying power tools for beginners. Through his writing, Marcus shares practical tutorials and hard-learned lessons to help homeowners tackle their own projects with confidence.