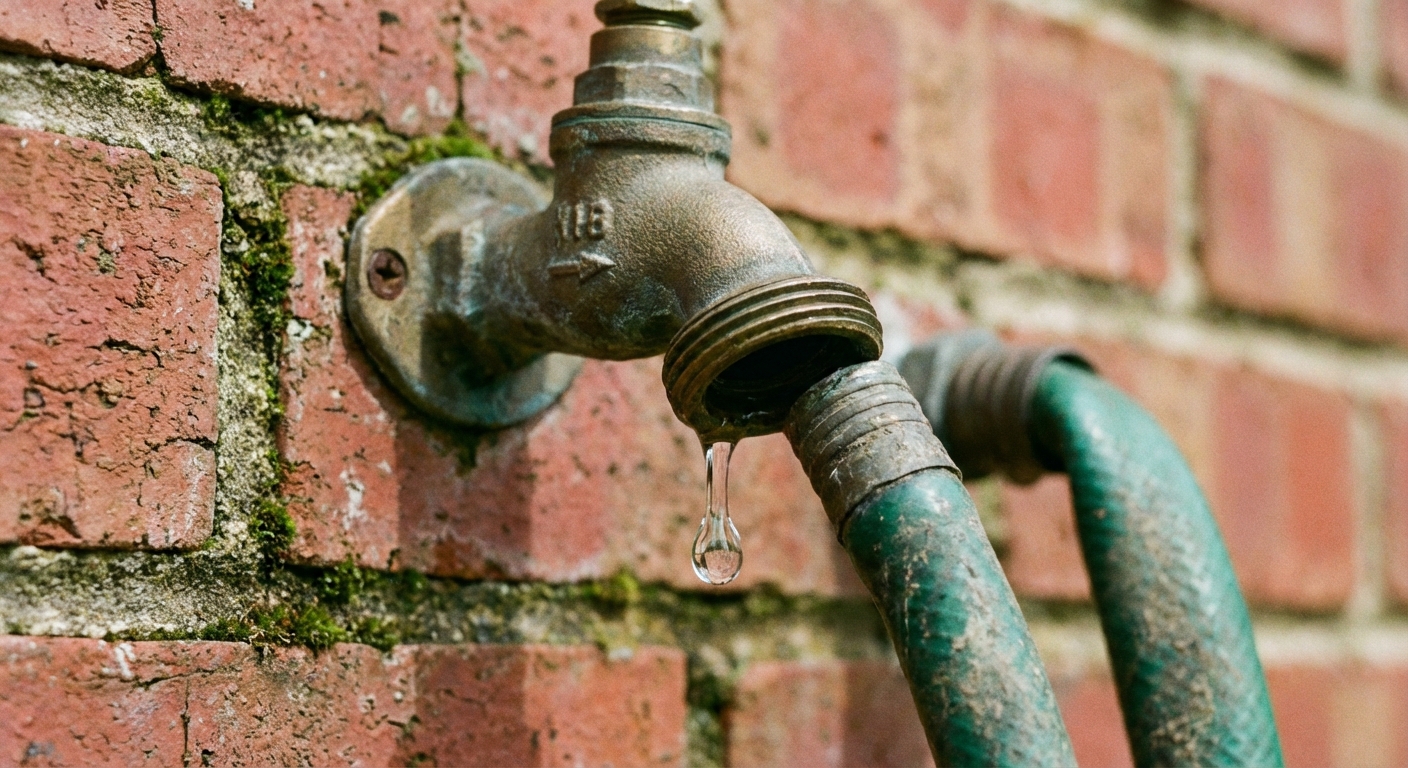
A leaky outdoor faucet is one of those small problems that quietly runs up your water bill, stains siding, and turns into a bigger headache the first cold night of the year. The good news is that most hose bib leaks are simple: a worn washer, a loose packing nut, or a faulty vacuum breaker.
I've fixed more of these than I can count at my own 1970s ranch. The first time I tackled one, I overtightened the packing nut like I was cranking down lug nuts. It stopped the drip, then the handle got so stiff I thought I'd broken the valve. This page will keep you out of that exact ditch.
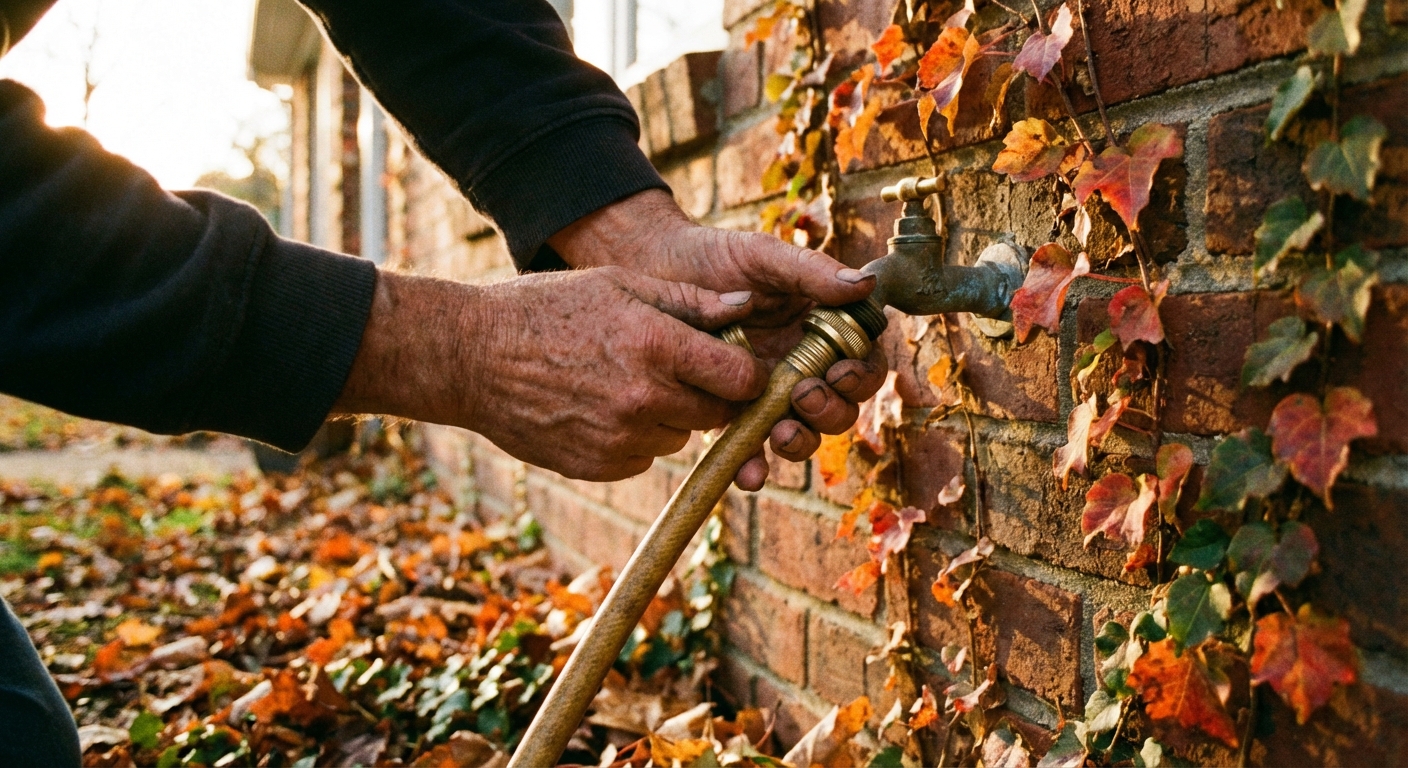
Before you start: find the leak
Where the water shows up tells you what to fix. Dry everything with a rag, then watch closely with the faucet on and off.
- Drips from the spout when the faucet is off: Most often a worn washer (compression-style) or a damaged internal seal (some frost-free models).
- Leaks from behind the handle (around the stem): The packing nut is loose or the packing is worn.
- Leaks where the faucet meets the wall: Could be a loose mounting, failed caulk, or an actual pipe joint leak inside the wall. Treat this one seriously.
- Sprays from the vacuum breaker (anti-siphon): The vacuum breaker is failing or it's reacting to backpressure from a nozzle or shutoff.
Quick rule: If the leak appears only when a hose is attached, check the hose washer and the faucet threads first. A $1 hose washer solves a lot of “faucet leaks.”
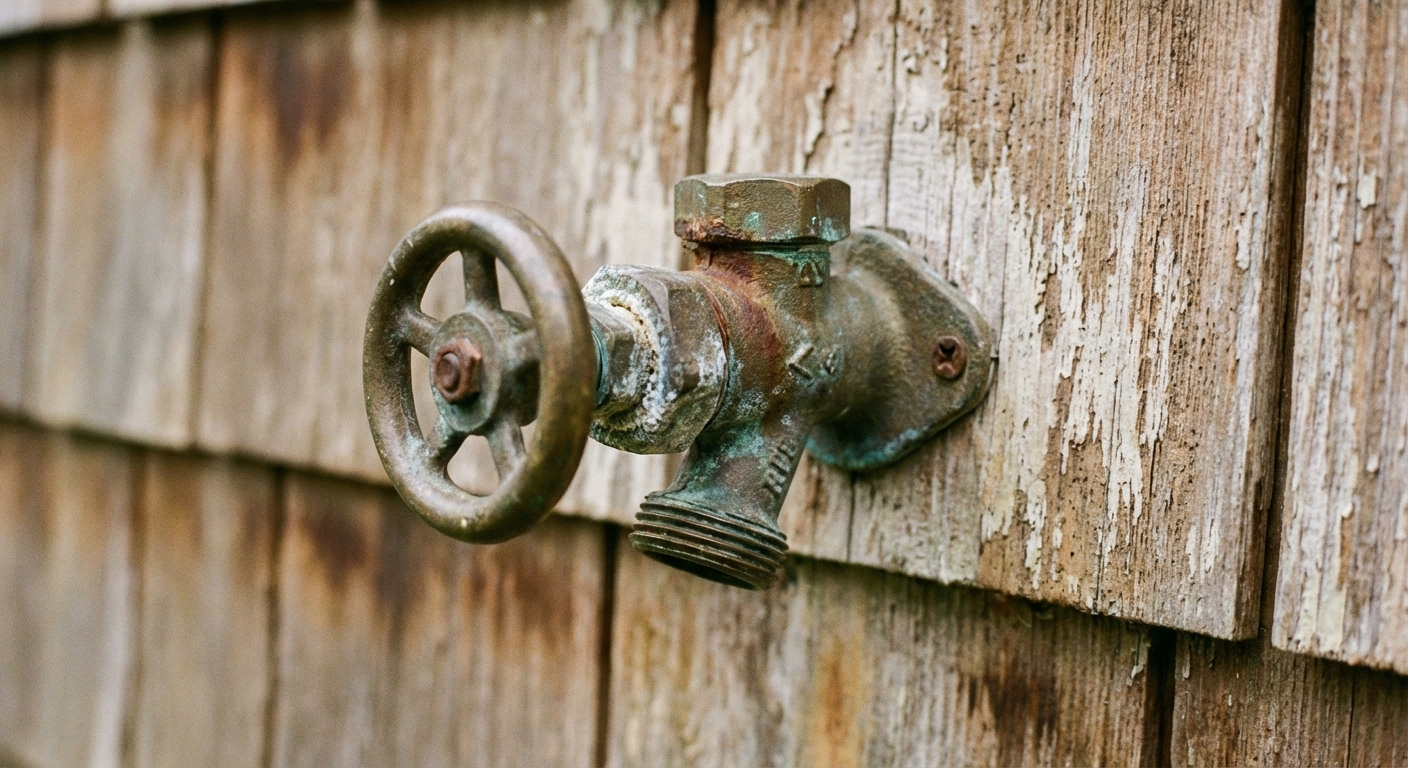
Quick ID: If the faucet body is long and the handle sits several inches out from the wall, it's likely a frost-free sillcock. A short, stubby faucet is usually a standard hose bib.
Tools and parts
You don't need a fancy plumbing toolbox. You need the right basics and a calm approach.
Tools
- Adjustable wrench (or two, ideally)
- Slip-joint pliers
- Phillips and flathead screwdrivers
- Small wire brush or old toothbrush
- Rag and a small bowl (you'll have some water)
- Flashlight or headlamp
- Utility knife (for old caulk if replacing the whole unit)
Common parts
- Assorted faucet washers (or a matching washer)
- Packing (graphite packing string) or a replacement packing washer o-ring if your model uses one
- Vacuum breaker kit (if you have an anti-siphon hose bib)
- Plumber’s grease (silicone-based) for o-rings and stems
- PTFE tape for threaded connections (only where appropriate)
My thrifty tip: Take the old washer, stem, or vacuum breaker with you to the store. Matching by eye beats guessing by “universal” packaging.
Shutoff and safety
Outdoor faucets often don't have a dedicated shutoff right next to them. Before you start taking anything apart, confirm how you'll stop the water.
- Find the indoor shutoff for that hose bib if you have one (common in basements, crawlspaces, and utility rooms).
- If there's no local shutoff, use the main house shutoff.
- Relieve pressure: After shutting off water, open the outdoor faucet to drain it. When it stops flowing, turn it back off so you're not pulling parts apart with the valve wide open.
If your hose bib ties into an irrigation/sprinkler branch, double-check you shut off the correct valve (or isolate that branch) before you start.
If you're replacing a frost-proof sillcock, also open an indoor faucet briefly to relieve pressure and reduce spray when you disconnect lines.
Fix #1: leak at the handle
If water seeps from behind the handle when the faucet is on, you can often fix it in five minutes.
Step-by-step
- Snug the packing nut: With the water off, turn the packing nut clockwise just 1/8 to 1/4 turn. Turn water back on and test. Often that's it.
- If it still leaks, remove the handle (usually one screw) and back the packing nut off.
- Add or replace packing:
- If it uses packing string, wrap a small amount around the stem (clockwise), then retighten the packing nut.
- If it uses an o-ring or packing washer, replace it with the same size.
- Reassemble and test: The handle should turn smoothly, not feel like it's grinding.
Don't muscle it: Overtightening makes the handle hard to turn and can damage the stem. Tighten a little, test a lot.
Fix #2: drip from the spout
If the faucet drips only when it's turned off, a worn washer is the classic culprit on compression-style hose bibs.
Step-by-step
- Shut off water to the faucet and open the outdoor valve to drain.
- Remove the handle (one screw), then set it aside.
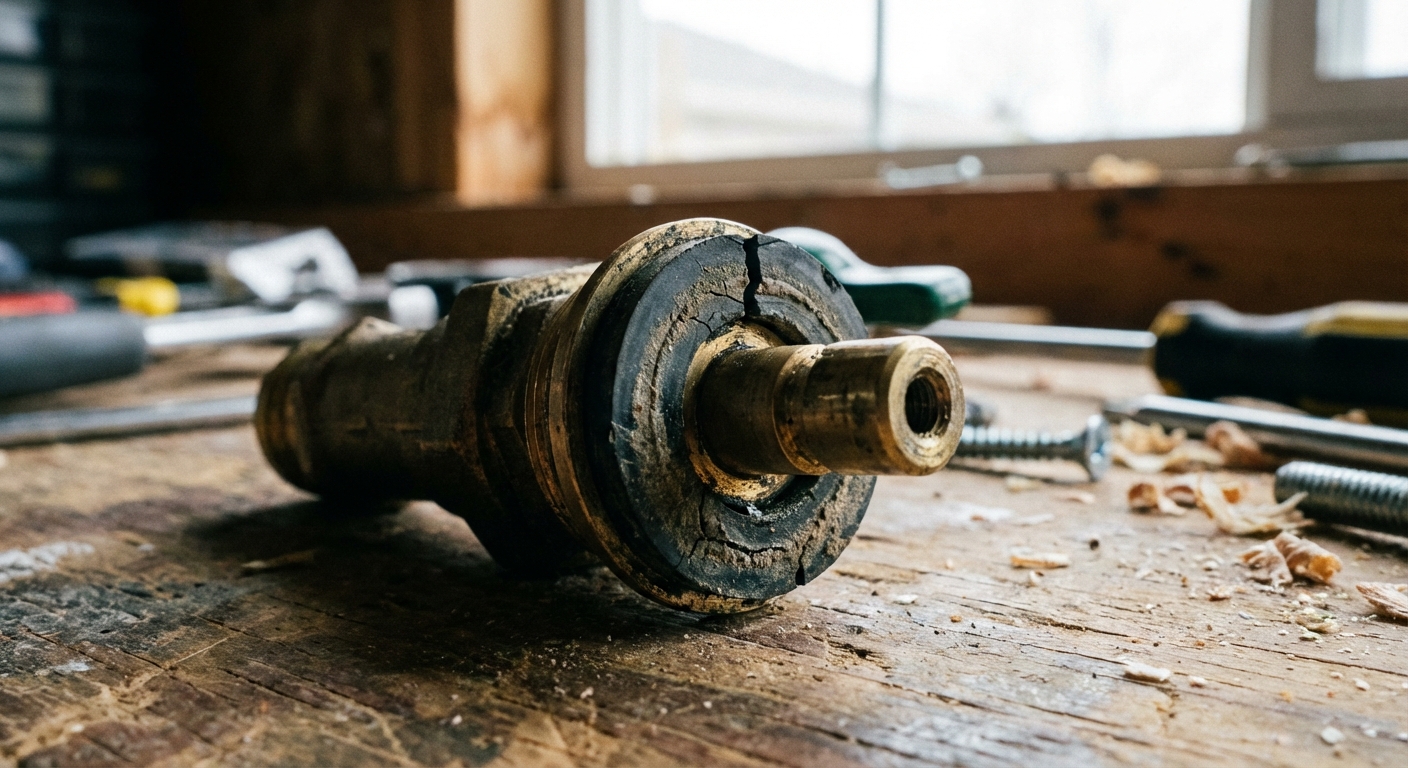
- Loosen the packing or bonnet nut (varies by model), then unthread the stem assembly by turning it counterclockwise. Have a rag ready for residual water.
- Inspect the end of the stem: You'll usually see a rubber washer held on by a screw. Remove the screw and replace the washer with a matching one.
- Check the valve seat: Look inside the faucet body where the washer presses. If it's rough or pitted, the new washer may not seal well.
- If you have a replaceable seat, swap it.
- If it's not replaceable, you can sometimes smooth minor damage with a seat tool, but if it's badly pitted, replacing the whole hose bib may be the smarter move.
- Lubricate and reassemble: A tiny amount of plumber’s grease on the stem threads and any o-rings helps. Reinstall the stem, snug the packing nut, and reinstall the handle.
- Turn water back on slowly and test with the faucet on and off.
If it still drips: The seat is damaged, the washer is the wrong size, or you have a frost-free faucet with a worn internal seal further down the stem.
Fix #3: vacuum breaker leak
Many modern hose bibs have an anti-siphon vacuum breaker to keep contaminated water from backflowing into your home’s plumbing. When it fails, it can drip constantly or spit water when the hose is running.
Try this first
- Remove any nozzle, sprayer, or shutoff at the end of the hose and test again. Backpressure can make a healthy vacuum breaker act weird.
- Confirm the hose washer is good and the hose connection isn't cross-threaded.
Replacement steps (general)
- Turn off water and remove the hose.
- Find the breakaway set screw: On many anti-siphon hose bibs, a small set screw locks the vacuum breaker body to the faucet threads. It often snaps off at install, leaving a little nub (or a stubborn stub).
- Remove or loosen the set screw stub: Sometimes it will back out. Other times it won't, and you may need pliers, a carefully cut screwdriver slot, or drilling and an extractor. Wear eye protection, take your time, and avoid chewing up the faucet threads.
- Unscrew the entire vacuum breaker assembly from the spout threads and remove it. You're not just removing a cap, the whole unit comes off.
- Install the correct replacement kit for your faucet brand and size, then test.
If you can't identify the faucet brand, bring the old vacuum breaker to the store. “Universal” fits are hit or miss.
When to replace the faucet
Some leaks are telling you the faucet is done. If you have a frost-proof sillcock and it froze over winter, the long inner tube can crack and leak inside the wall. That's the kind of leak that quietly rots rim joists and sheathing.
Replace it if:
- Water drips from the spout even after a new washer, and the seat is badly pitted.
- You see water in the basement or crawlspace when the outdoor faucet is on.
- The frost-free faucet leaks from the body or weep hole area.
- The handle and stem are corroded to the point you can't service them cleanly.
Replace a frost-proof sillcock
Every house is a little different, but the general flow is the same. If you can access the inside connection, you can often replace a frost-proof sillcock in about an hour (longer if you're dealing with soldered lines, tight access, or stuck fasteners).
Before you buy
- Length matters: Frost-proof sillcocks come in different lengths (commonly 4, 6, 8, 10, 12 inches). Match the existing length so the shutoff point lands inside the heated space.
- Connection type: Common options are male threaded (MIP), solder (sweat), PEX barb, or push-to-connect compatible ends. Match what you have, or be ready to adapt.
- Slope requirement: Frost-free faucets must be installed with a slight downward slope to the outside so they can drain.
Step-by-step
- Shut off water to the house or branch line, then open the outdoor faucet to drain.
- Disconnect inside: In a basement or crawlspace, locate where the sillcock connects to the supply line. Place a bowl under it, then disconnect.
- For threaded connections: use two wrenches to avoid twisting the pipe.
- For soldered connections: you may need to cut and rework the pipe if you're not set up for sweating copper.
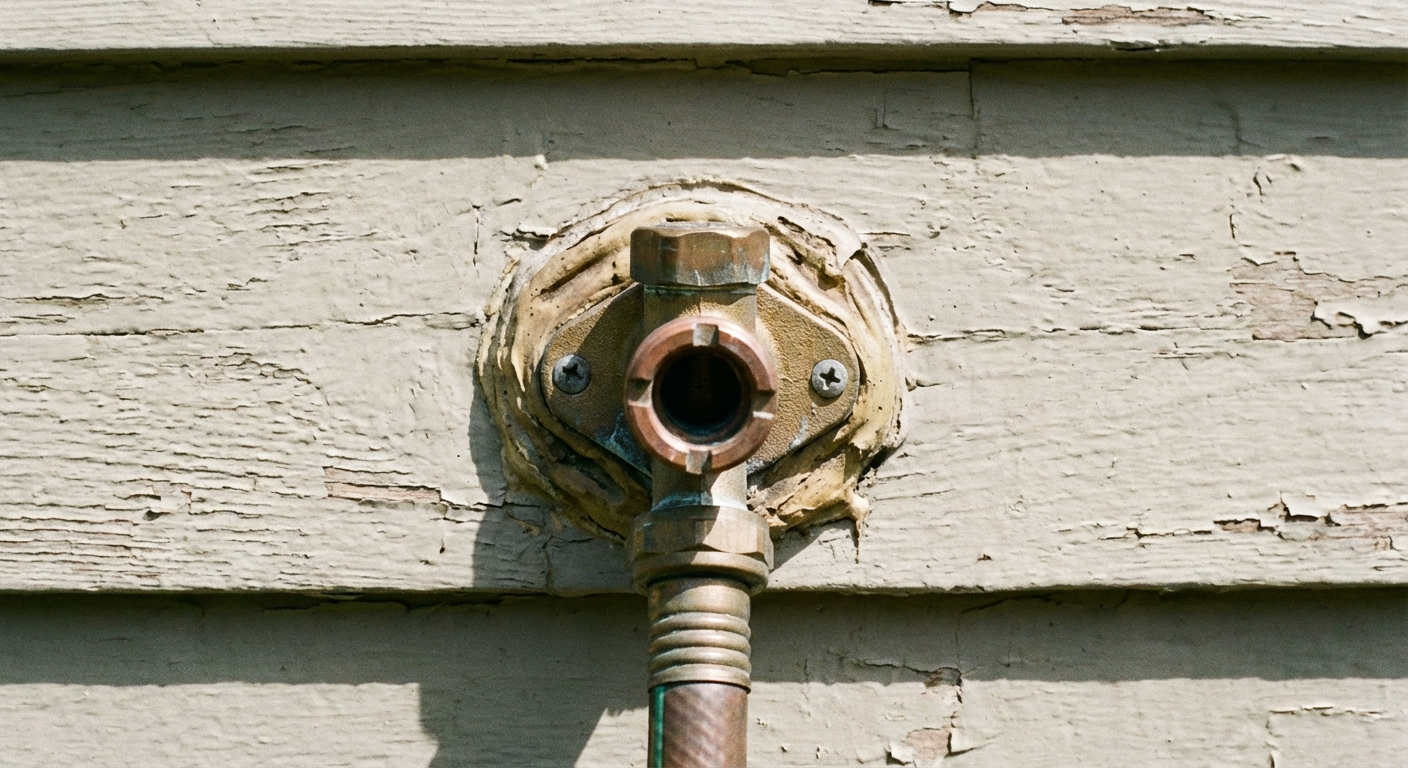
- Remove mounting screws outside and cut any old caulk around the flange.
- Pull the old sillcock out through the exterior.
- Install the new sillcock: Feed it through the wall, keep a slight outward slope, and secure the flange with exterior-grade screws.
- Reconnect the inside supply using the correct fitting method for your plumbing.
- Test for leaks: Turn water on slowly and check the interior connection first, then the exterior spout and packing area.
- Seal the flange: In most cases, apply a neat bead of exterior-rated caulk around the top and sides of the flange. Leave the bottom uncaulked so any water can escape instead of trapping it in the wall, unless the manufacturer or your siding system specifies a different approach.
If you're unsure about soldering or you see water damage inside the wall: this is one of those moments where calling a plumber can save real money long-term.
Troubleshooting
- Drips only with the hose attached: Replace the hose washer in the female end of the hose. Also check for cross-threading.
- New washer, still dripping: The seat is pitted or the washer is slightly wrong. Also check that the washer screw is snug and the washer sits flat.
- Handle leak returned after tightening: You need new packing, not more torque.
- Frost-free faucet “leaks” after shutdown: A brief dribble is normal as the tube drains. A steady drip isn't.
- Water inside when faucet is on: Stop and investigate. That can be a split frost-free tube or a failed connection.
Winterizing tips
Most outdoor faucet disasters are winter-related. A little fall prep saves you from spring surprises.
In the fall
- Disconnect hoses. This is the big one. A hose left attached can trap water in the faucet and freeze it.
- Shut off the indoor valve feeding the hose bib if you have one.
- Drain the line: After shutting off indoors, open the outdoor faucet to drain. Leave it open for a moment, then close it to keep pests out.
- Install an insulated cover on standard (non frost-free) hose bibs, especially on windy walls.
In the spring
- Turn the indoor shutoff back on slowly and check for leaks inside first before you walk away.
- Test the hose bib without a nozzle on the hose to avoid backpressure confusion.
My simple habit: I store my hoses with the sprayer still attached. That forces me to remove the hose from the faucet each fall, because the whole setup comes off together.
FAQ
Do I need PTFE tape on the hose threads?
Usually no. The seal is made by the rubber washer in the hose end, not by the threads. Tape can help with a minor seep on rough threads, but it's not the correct fix if the washer is bad. PTFE tape is mainly for tapered pipe threads (NPT), not garden hose threads.
Why does my frost-free faucet drip for a few seconds after I turn it off?
A short dribble is normal as the tube drains out. If it keeps dripping after that, the internal seal or seat isn't closing fully, or the faucet isn't sloped correctly.
Can I just tighten everything until it stops leaking?
You can, but you'll usually create a new problem like a stripped nut, cracked casting, or a handle that needs two hands to turn. Tighten in small increments and replace the $2 part when needed.
When to call a pro
I'm all for DIY, but here are the moments I stop and consider backup:
- You can't locate a reliable shutoff.
- You see water inside the wall, basement, or crawlspace when the hose bib runs.
- The piping is fragile, heavily corroded, or you have old galvanized lines that don't like being disturbed.
- You need to solder in a tight area and you're not comfortable doing it safely.
Fixing the faucet is cheap. Fixing structural rot isn't. If your gut says “this leak is inside,” listen to it.
About Marcus Vance
Content Creator @ Grit & Home
Marcus Vance is a lifelong DIY enthusiast and self-taught home renovator who has spent the last decade transforming a dilapidated 1970s ranch into his family's dream home. He specializes in budget-friendly carpentry, room-by-room renovations, and demystifying power tools for beginners. Through his writing, Marcus shares practical tutorials and hard-learned lessons to help homeowners tackle their own projects with confidence.