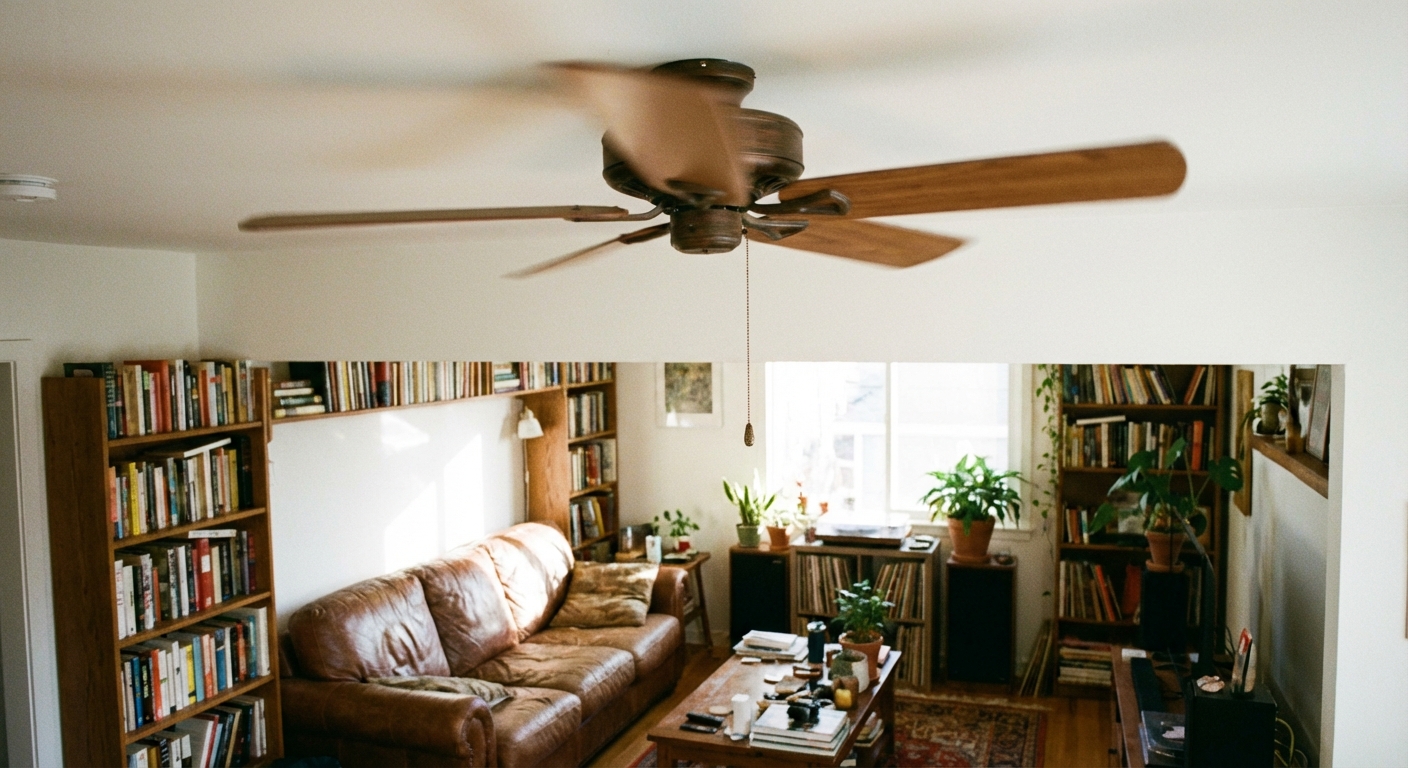
A noisy ceiling fan is one of those home annoyances that can make a perfectly nice room feel… off. The good news is most fan noise comes from a handful of fixable issues: something is loose, something is out of balance, or something inside the motor is wearing out.
I have chased every sound a ceiling fan can make while rehabbing our 1970s ranch, usually late at night when the house is quiet and every rattle feels personal. This guide walks you through the common culprits in the order I troubleshoot them, from quick screw-tightening to blade balancing and, yes, the honest moment when bearings are done and replacement makes more sense.
Safety first (two minutes that matter)
- Turn the fan off and let it stop completely.
- Cut power at the breaker if you will touch wiring, the canopy, the downrod hardware, or the light kit. A wall switch is not enough for hands-on work.
- Use a steady ladder and keep screws and parts in a cup so they do not disappear into the carpet abyss.
Identify the noise
Different sounds point to different problems. Here is a quick translation guide:
- Rattle or buzzing: usually loose screws, a loose canopy, a loose light kit, or a bulb/shade vibrating.
- Clicking: a blade screw tapping, a pull chain hitting the light housing, the downrod ball not seated, or a warped blade brushing something.
- Humming: motor or electrical hum, sometimes made worse by a dimmer not rated for fans (or a DC fan that is not on its intended control).
- Wobble/thump: unbalanced blades, mismatched blade weights, a blade bracket that is bent, or a hanger issue at the downrod.
- Grinding or squealing: worn bearings or a failing motor. This is the one you do not ignore.
Now we work from the simplest fixes to the more involved ones.
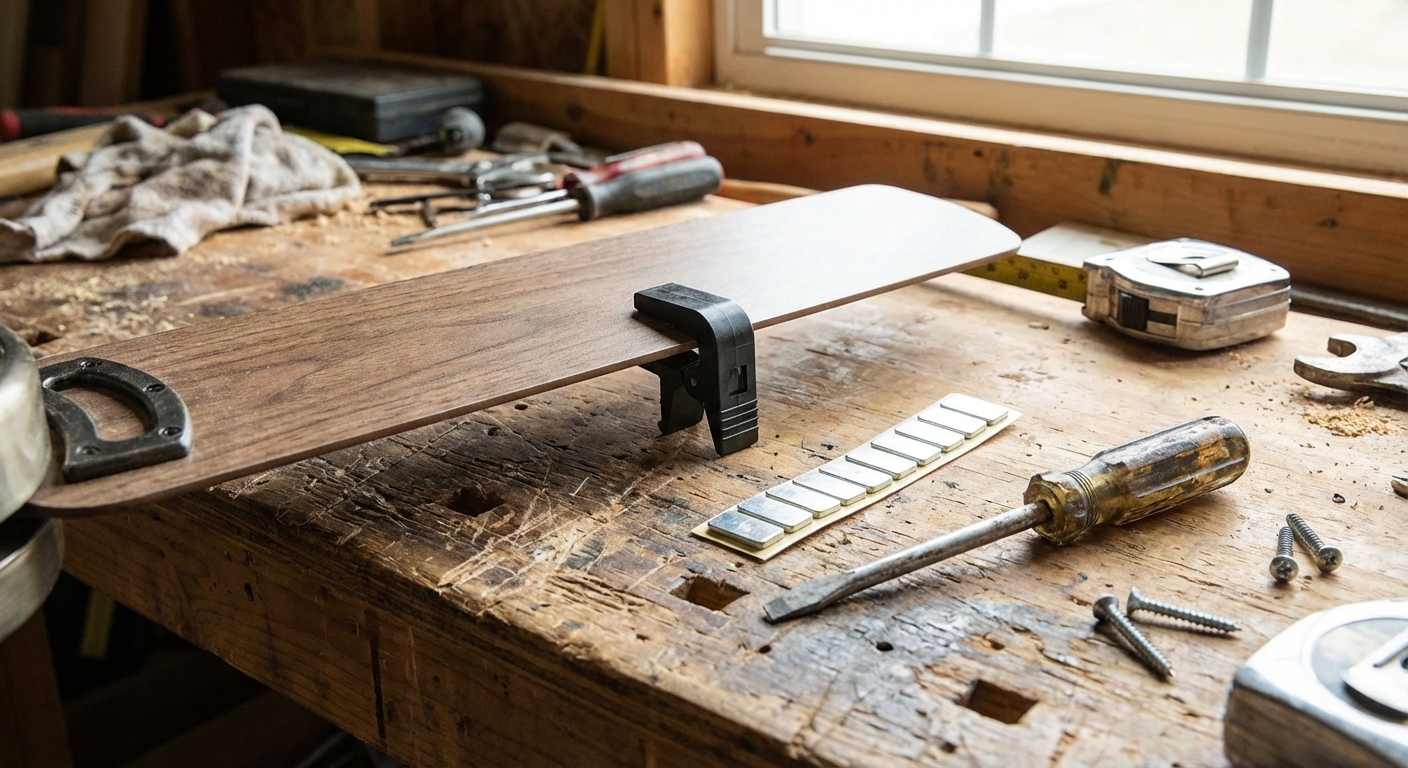
Tools and supplies
- Phillips and flathead screwdrivers
- Small adjustable wrench (sometimes needed for downrod hardware)
- Step ladder
- Ceiling fan balancing kit (clip + stick-on weights)
- Painter's tape (handy for temporary testing)
- Microfiber cloth (dust can throw off balance)
- Optional: blue threadlocker for blade screws that keep backing out
Fix #1: Tighten the usual suspects
If I had to bet on one cause of fan noise, it is loose hardware. Fans can develop vibration over time, and those tiny screws slowly work themselves loose.
Step 1: Tighten the blade screws
With the fan off, hold each blade and snug the screws that attach the blade to the blade bracket. Then snug the screws that attach the bracket to the motor housing.
- Do not crank them like a lug nut. Go snug, then an extra quarter-turn.
- If a screw spins and never tightens, the hole may be stripped. Try a slightly longer screw of the same diameter, or replace the blade bracket.
Step 2: Tighten the light kit and shades
Light kits are notorious for rattling. Check the screws that hold the light kit to the fan, then check any finials or set screws holding shades (or globes).
- If you have glass shades, make sure they are seated evenly. Uneven pressure can create a buzz.
- Make sure bulbs are snug. A slightly loose bulb can sound like a haunted house prop.
Step 3: Check the canopy, mount, and downrod seating
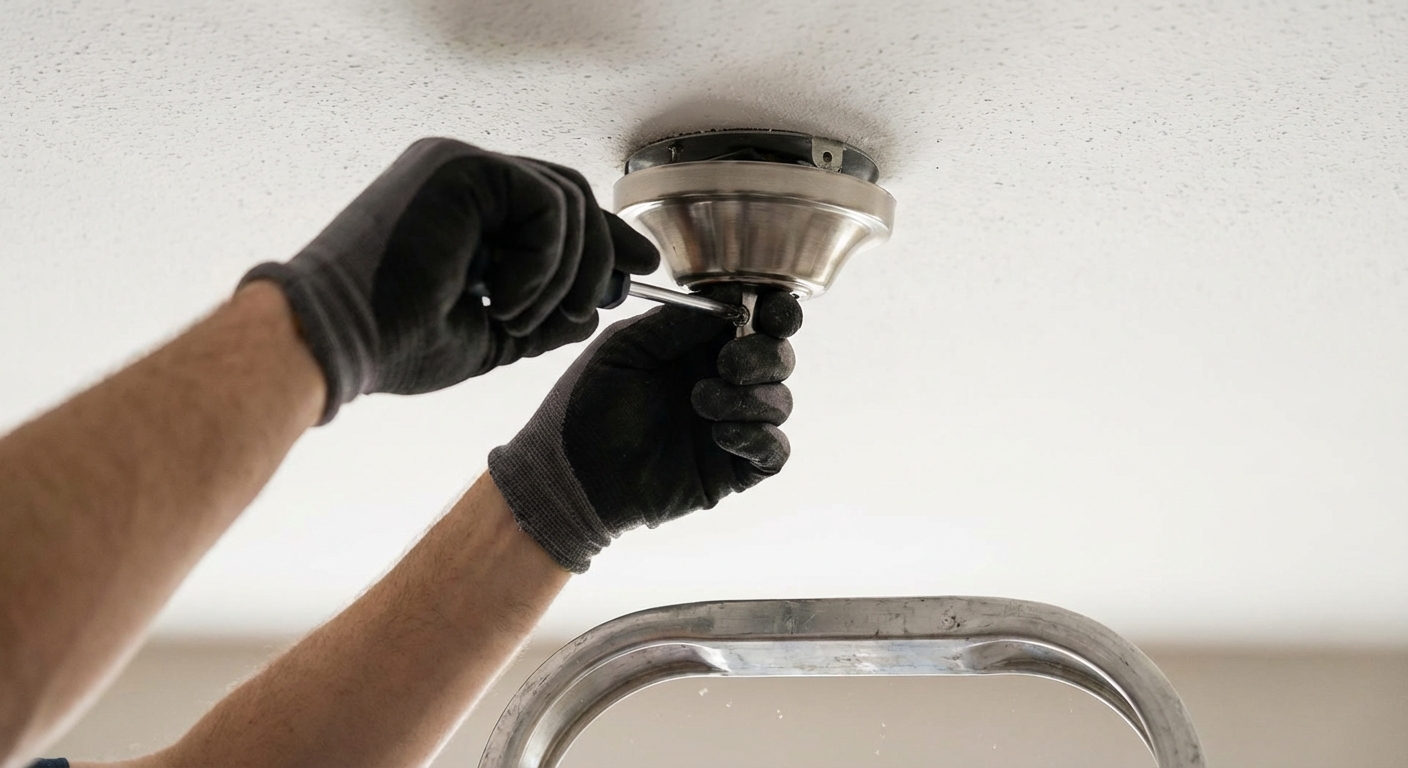
The canopy is the decorative cover at the ceiling. If it is loose, it will chatter against the ceiling.
- Turn power off at the breaker.
- Slide the canopy down (varies by model) and verify the mounting bracket is tight to the electrical box.
- Confirm the fan is mounted to a fan-rated ceiling box. A non fan-rated box (often plastic or lightweight metal) can flex, amplify noise, and it is a safety hazard.
- Downrod fans: check the ball-and-socket hanger. The slot in the downrod ball should be firmly aligned with the tab in the mounting bracket. If it is not seated, you can get clicking and dramatic wobble.
- Also check: the downrod pin and clip (if your model uses them) and any downrod set screws. Loose downrod hardware can sound like a tiny woodpecker living in your ceiling.
Fix #2: Clean and inspect the blades
Dust looks harmless until it piles up unevenly. On a ceiling fan, that uneven weight can create wobble and noise.
Step 1: Clean both sides of each blade
Wipe the top and bottom of each blade. If you have one blade with a heavier dust load, that can be enough to start a wobble.
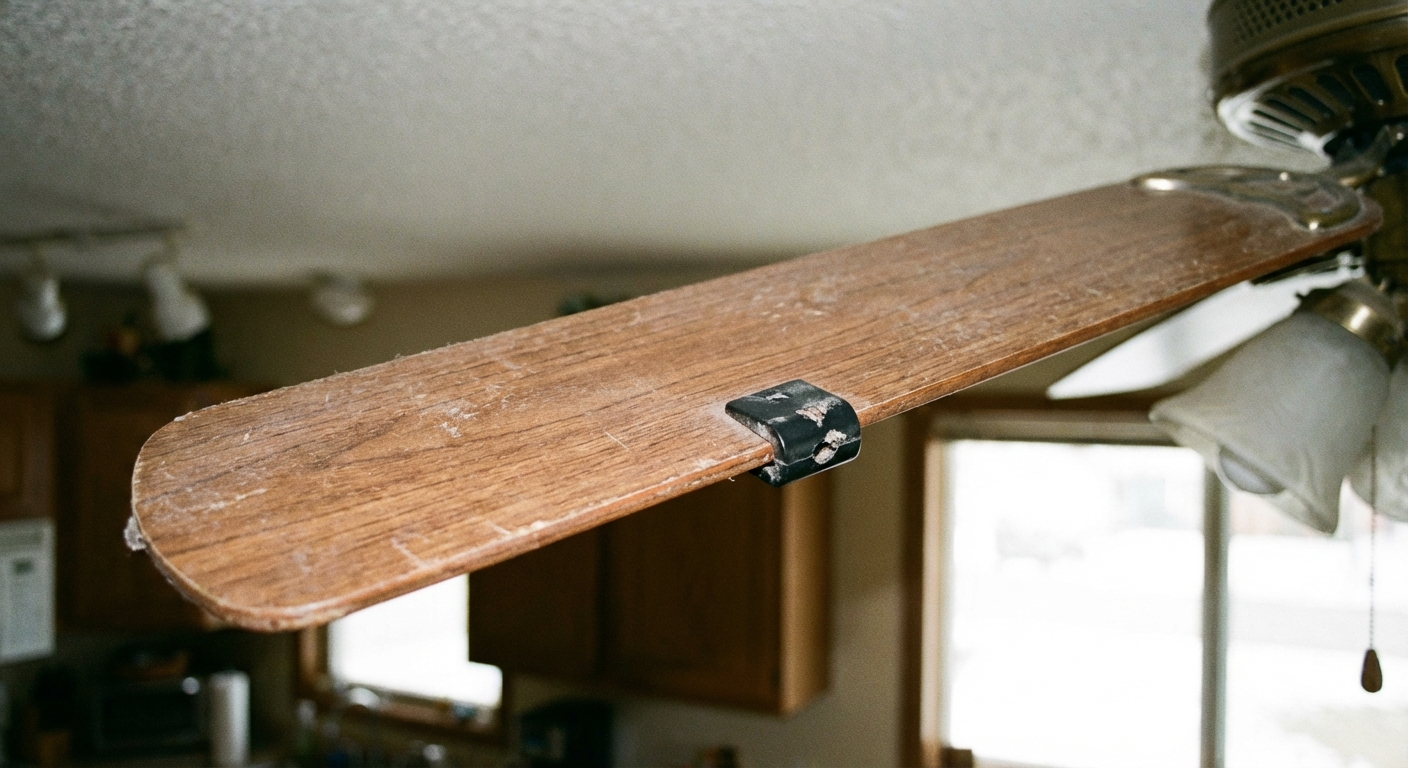
Step 2: Check for warped blades and clearance
Stand on the ladder and sight along the blades. They should all sit at the same angle and height.
- If one blade droops or twists, it is likely warped.
- Swapping blade positions can help you confirm. If the wobble follows the blade, that blade is the problem.
- Check clearance too. Make sure blades are not nicking a shade, bulb, sloped-ceiling adapter, or anything else on each pass.
- Many warped blades are not worth fighting. Replacing the blade set is often the cleanest fix.
Fix #3: Balance the blades
If the fan wobbles, it will usually make noise. Balancing is not hard, but it rewards patience. Set aside 20 to 40 minutes, and do it methodically.
Before you start
- Make sure all blade screws are snug first. Balancing a fan with loose hardware is like aligning your tires with a flat.
- Test on the speed where wobble is most noticeable, often medium to high (use whatever makes the problem easiest to see).
Option A: Use a ceiling fan balancing kit (recommended)
- Clip the balancing clip onto the trailing edge of one blade, about halfway between the motor and the tip.
- Turn the fan on and watch the wobble for 15 to 20 seconds.
- Move the clip to the next blade and repeat until you find the blade position that reduces wobble the most.
- Once you find the best blade, slide the clip up and down that blade in small increments (closer to the motor, then closer to the tip) to find the sweet spot where wobble is minimized.
- When you find the best spot, turn the fan off and stick an adhesive weight on the top of that blade, usually near the centerline of the blade at the location you tested.
- Remove the clip, turn the fan on, and test again. Add a second weight only if needed.
Option B: Use painter's tape for testing (in a pinch)
If you do not have a kit, you can still do a decent diagnostic test with painter's tape and a small temporary weight. The goal is to find the location, then replace it with proper adhesive weights.
- Tape a small weight (a coin works) to the top of one blade about halfway out.
- Turn the fan on and observe wobble.
- Move the temporary weight blade-to-blade until wobble improves the most.
- Adjust the position along that blade until you find the best spot.
- Then do the clean fix: replace the taped test weight with stick-on balancing weights from a kit.
My honesty moment: the first time I tried the coin trick, I used duct tape. It held, but it looked like a raccoon repaired my fan. Also, tape and coins are for testing, not a long-term solution.
Fix #4: Check blade brackets
Even if blades are fine, the metal blade brackets can get slightly bent, especially after a bump during moving furniture or ladder work.
- With the fan off, gently hold a blade tip and see if one blade sits noticeably higher or lower than the others.
- If one bracket is bent, replace the bracket if you can. Bending it back can work, but metal fatigue is real.
Fix #5: Switches, chains, and small buzzes
Sometimes the fan itself is fine, and the noise is a small part acting like a tiny drum.
- If the pull chain taps the glass or housing, shorten it slightly, add a soft chain pull, or reroute it if your kit allows.
- On some fans, the reverse switch or pull-chain switch inside the housing can buzz or rattle if it is loose. With power off, check that the switch housing and screws are snug and nothing is vibrating against the metal.
- If you have a LED retrofit kit, confirm it is firmly seated. Loose LED trim rings can buzz.
Fix #6: Worn bearings (inside the motor)
If you hear grinding, squealing, or a rough sound that does not change when you tighten and balance everything, you may be dealing with worn bearings.
Quick checks
- Spin test: with power off, spin the blades by hand. It should coast smoothly. If it feels gritty or stops abruptly, that points to bearings.
- Vibration check: with the fan running, lightly touch the motor housing with your fingertips and note where vibration is strongest. Keep hands well away from moving blades. Turn the fan off before you do any disassembly.
Can you lubricate it?
Some older fans have oil ports and can be serviced. Many modern fans have sealed bearings and are not meant to be oiled.
- If your fan has an oil hole, use the manufacturer-recommended oil and do not overfill.
- If there is no oil port and the noise persists, replacement is usually the practical move.
When to replace the fan
- The fan is more than 10 to 15 years old and the motor is noisy even after balancing.
- You see heat discoloration, smell electrical burning, or the fan slows down randomly.
- Parts are discontinued or cost nearly as much as a new, quieter unit.
Don’t overlook the wall control
A steady hum can be caused by using the wrong switch or control.
- A standard light dimmer is often not suitable for ceiling fan motors.
- If you want speed control at the wall, use a fan-rated control designed for your motor type (AC vs DC).
- DC motor fans: a mild electronic whine at certain speeds can be normal, but loud humming or pulsing is not. Use the manufacturer’s control/receiver, and avoid mixing random wall controls with DC fans unless the manual explicitly allows it.
- If the hum appears only at certain speeds, test the fan on a different setting or temporarily bypass the control if you are comfortable and it is safe to do so.
Troubleshooting checklist
- Tighten blade screws, blade brackets, light kit screws, and canopy hardware.
- For downrod fans, confirm the ball-and-socket hanger is seated correctly and downrod hardware is tight.
- Clean blades thoroughly and check for warped blades and blade clearance.
- Balance the blades with a kit.
- Inspect blade brackets for bends.
- Check pull chain contact, reverse switch housing, and any loose trim that could buzz.
- For grinding or squealing, suspect worn bearings and consider replacement.
- If the noise is a hum, check the wall control and make sure it is fan-rated (and appropriate for AC vs DC).
When to call a pro
I am all for DIY, but I also like sleeping at night. Consider a licensed electrician or handyman if:
- The fan is mounted to a box you suspect is not fan-rated.
- You see loose wiring, burnt insulation, or signs of overheating.
- The mounting bracket or ceiling structure feels unstable.
My “quiet fan” rule
After you get it quiet, take five minutes every season change to snug the blade screws and wipe the blades. It is boring maintenance, but it keeps the fan smooth, quiet, and kinder to the motor long term.
About Marcus Vance
Content Creator @ Grit & Home
Marcus Vance is a lifelong DIY enthusiast and self-taught home renovator who has spent the last decade transforming a dilapidated 1970s ranch into his family's dream home. He specializes in budget-friendly carpentry, room-by-room renovations, and demystifying power tools for beginners. Through his writing, Marcus shares practical tutorials and hard-learned lessons to help homeowners tackle their own projects with confidence.