A running toilet feels like one of those problems you have to live with. You do not. In the vast majority of standard tank-style toilets, the cause lives inside the tank, and the fix is usually a $5 to $20 part and about 15 minutes of calm, methodical tinkering (prices vary by brand and region).
I learned this the hard way after ignoring a “tiny” run in our hall bath for a month. The water bill taught me a lesson my dad tried to teach me years earlier: when water keeps moving, money keeps moving too.
Quick note: This guide is for typical gravity-fed toilets with a tank. If you have a pressure-assisted toilet, a flushometer (no tank), or a concealed cistern in the wall, the symptoms can look similar but the parts and steps are different.
Before you start
What you will need
- Adjustable wrench or channel-lock pliers (optional for most fixes)
- Sponge or small towel
- Flashlight
- Replacement flapper (often $5 to $10) if needed
- Replacement fill valve (often $10 to $20) if needed
- Rubber gloves (optional)
Quick safety and mess control
- Do not use tank cleaning tablets while troubleshooting. They can degrade rubber parts and create leaks.
- Put the tank lid somewhere safe. Porcelain lids chip easily and they are weirdly expensive.
- Know where your shutoff is. The small valve behind the toilet (on the wall or floor) turns clockwise to close.
5-minute diagnosis
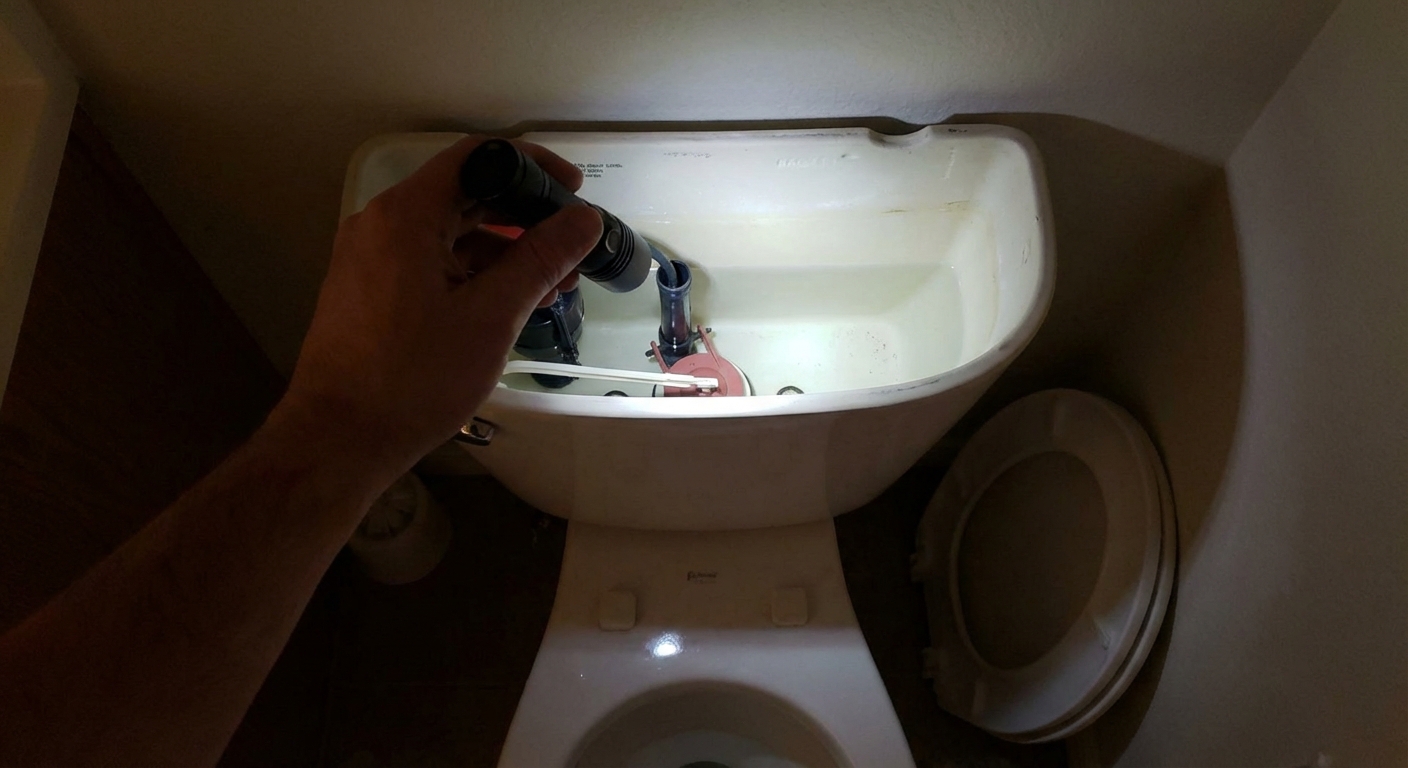
- Take off the tank lid. Set it on a towel on the floor.
- Listen and look.
- If you see water trickling down the overflow tube, that points to a water level or fill valve issue.
- If you see water flowing into the overflow tube from the small refill tube, you may simply have the water level set too high or a fill valve that is not shutting off cleanly.
- Check the water line. The water level should typically sit about 1/2 inch to 1 inch below the top of the overflow tube, or to the manufacturer’s mark (some overflows or tanks have a line).
- Do the dye test. Add a few drops of food coloring to the tank water. Wait 10 minutes without flushing. If colored water shows up in the bowl, water is leaking past the flapper or flush valve seat.
- Try a gentle flapper press. Push down on the flapper for 10 seconds. If the running stops, the flapper is the likely culprit.
If you are not sure which direction to go after that, use this rule of thumb: water going into the overflow tube is usually a fill valve or adjustment issue. Water sneaking into the bowl is usually a flapper or flush valve sealing issue.
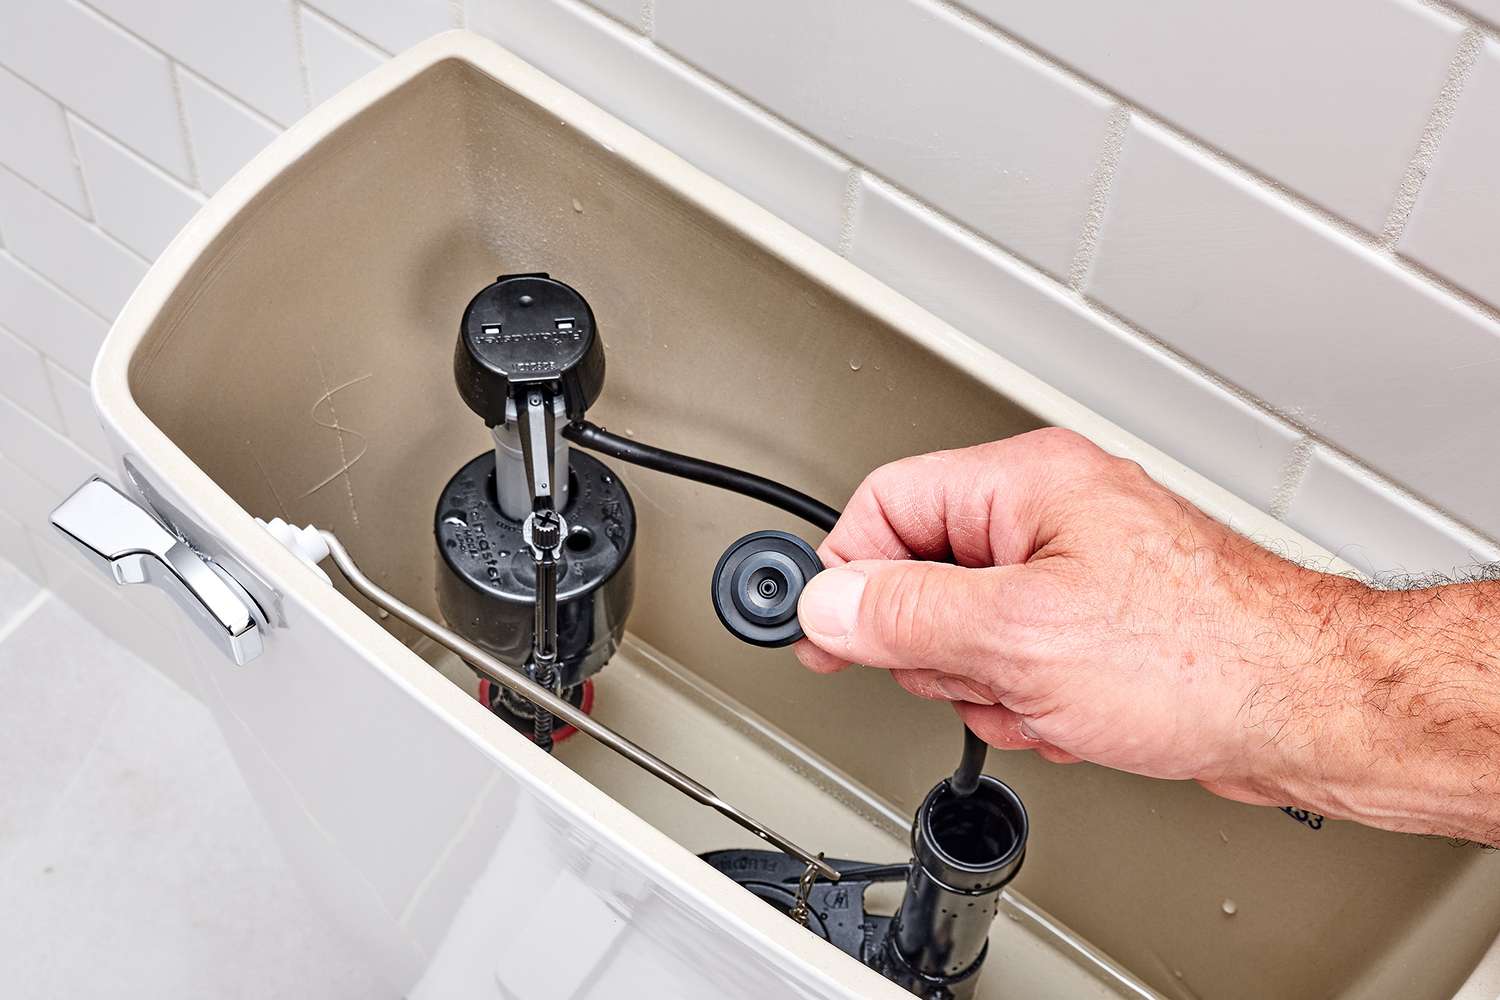
Fix #1: Flapper
The flapper is the rubber “door” at the bottom of the tank that lifts when you flush and seals shut afterward. When it gets warped, slimy, or cracked, your toilet quietly leaks from tank to bowl. The fill valve keeps topping the tank off, and you get the classic endless run.
Common signs
- Dye test shows color in the bowl
- Running stops when you press the flapper down
- Chain feels tangled or too tight
- Flapper looks distorted, crusty, or soft and gummy
Step-by-step (about 10 minutes)
- Shut off the water at the valve behind the toilet (turn clockwise).
- Flush and hold the handle down to drain most of the water from the tank.
- Sponge out the last little bit if you want a cleaner workspace (optional, but nice).
- Unhook the chain from the flush lever arm.
- Remove the flapper. Most flappers either pop off two side pegs or slide off a ring around the overflow tube.
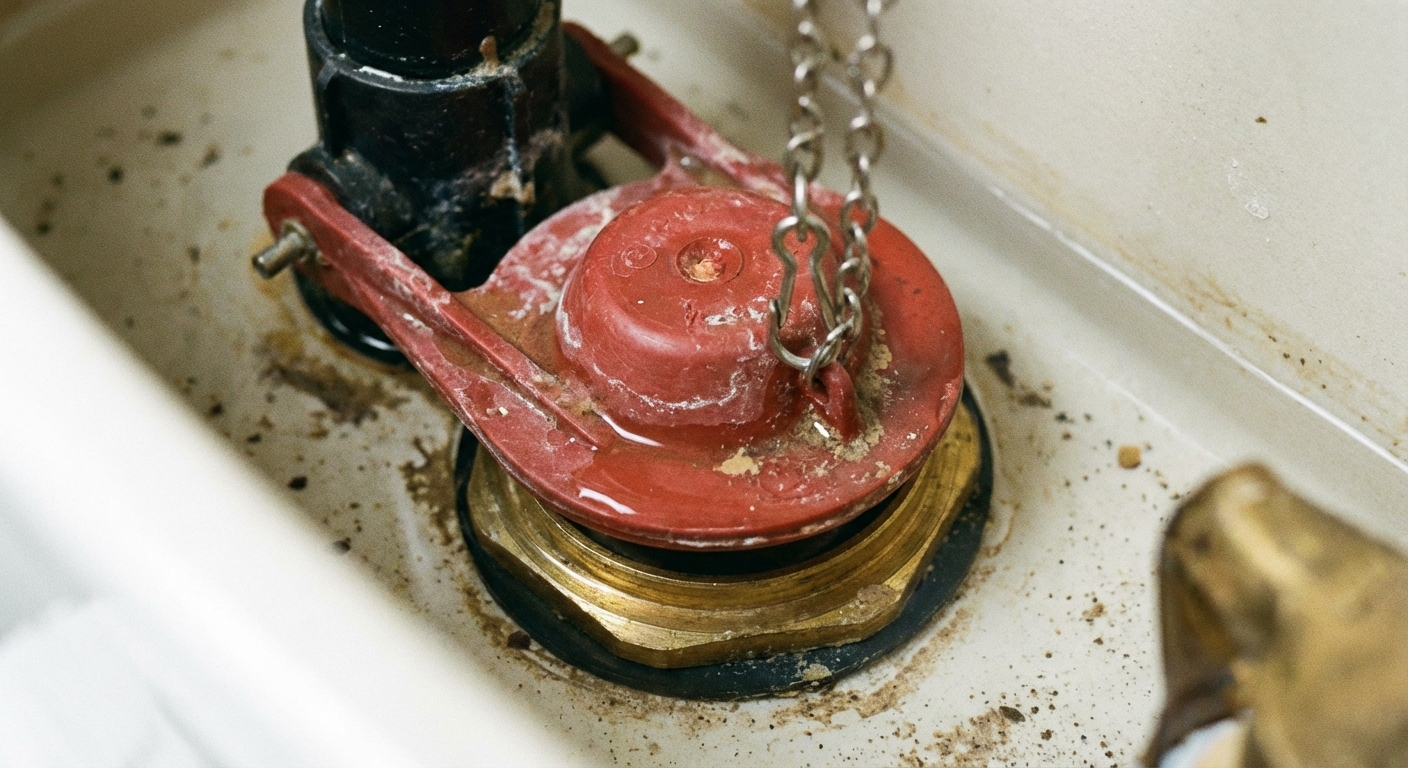
- Inspect and clean the seat. Wipe the flush valve seat (the round surface the flapper seals against). Mineral buildup here can prevent a seal.
- Install the new flapper. Match it to your old one as closely as possible (size and style). Universal flappers often work, but I have the best luck buying a matching brand if available.
- Set the chain slack. You want about 1/2 inch of slack. Too tight and the flapper cannot fully close. Too loose and it can snag under the flapper.
- Turn the water back on and let the tank fill.
- Test flush 2 to 3 times. Make sure the flapper drops cleanly and the running stops.
My rookie mistake: I once set the chain “nice and tight” thinking it would help the seal. It did the opposite. A tight chain can hold the flapper open just enough to leak.
Fix #2: Fill valve
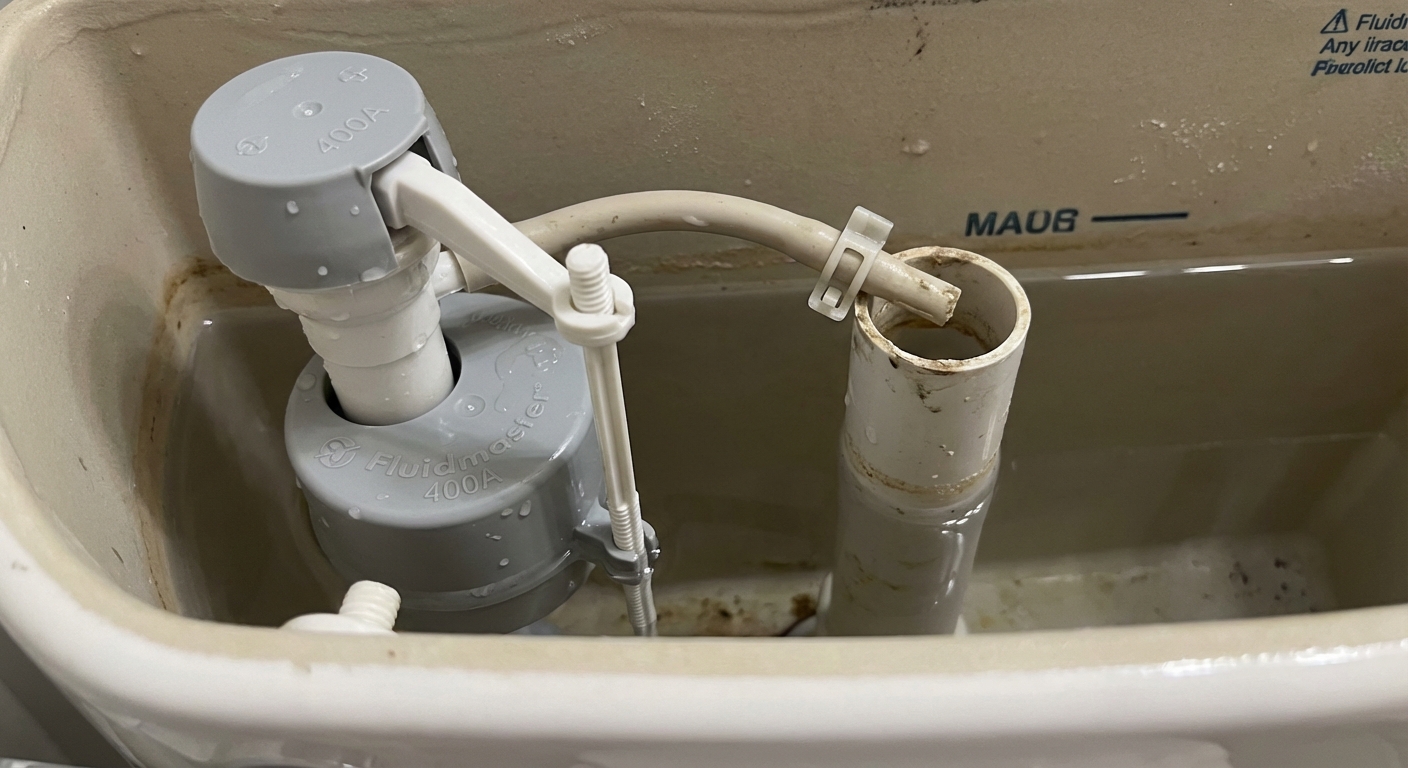
The fill valve is the tall assembly that refills the tank after a flush. If the water level is set too high, or the valve is worn out, it can keep feeding water into the overflow tube, which makes the toilet sound like it is always refilling.
Common signs
- You see or hear water running into the overflow tube
- The tank water level sits at or above the top of the overflow tube
- Jiggling the float arm or float cup changes the sound or stops the running briefly
- The toilet “tops off” every few minutes (sometimes called phantom refills)
Adjustment (often 2 minutes)
- Locate the float. Older toilets may have a float ball on an arm. Newer ones often have a float cup that slides up and down the fill valve shaft.
- Lower the water level.
- For a float cup: look for an adjustment screw or clip and move the float down.
- For a float arm: turn the adjustment screw (if present) or gently bend the arm down slightly.
- Confirm the target level. Let the tank refill and stop. Aim for about 1/2 inch to 1 inch below the top of the overflow tube, or to the manufacturer’s mark.
- Check the refill tube. The small tube from the fill valve should be clipped to the overflow tube and should discharge above the rim (use an anti-siphon clip). It should not be shoved down inside the overflow tube. If it is pushed into the overflow tube, it can siphon water and cause random refill cycles.
If adjustment does not work: replace it (about 15 minutes)
- Shut off the water and flush to empty the tank.
- Disconnect the supply line under the tank (a towel helps). Often you can loosen it by hand, but pliers may help if it is stubborn.
- Remove the retaining nut under the tank that holds the fill valve in place.
- Lift the old fill valve out from inside the tank.
- Install the new fill valve per the instructions, setting the height so the top sits above the overflow tube but below the tank lid clearance. Make sure the rubber shank washer goes on the inside of the tank as directed.
- Reconnect the supply line and turn water back on.
- Check for leaks at the supply line connection and the fill valve nut underneath. Snug is good. Over-tightening is how porcelain gets expensive.
Budget note: Many fill valves cost more than $10 in some areas, but they are still one of the best DIY payoffs in the house. If your toilet is older and the fill valve is finicky, replacing it is often faster than babysitting adjustments.
Fix #3: Flush valve
If you replaced the flapper, set the chain correctly, and the dye test still shows colored water sneaking into the bowl, the issue may be the flush valve seat. That is the hard plastic ring the flapper seals against. Over time it can get rough, pitted, or crusted with mineral deposits so the flapper cannot make a watertight seal.
Two ways to handle it
Option A: Clean the seat
- Shut off the water and flush to empty the tank.
- Remove the flapper so you can access the seat.
- Scrub mineral deposits gently. Use a nylon scrub pad or an old toothbrush. Avoid aggressive sanding that could make the surface worse.
- Wipe clean and reinstall the flapper.
- Retest with dye.
Option B: Replace the flush valve
This is the most involved of the three, but it is still very doable if you move slowly. You will remove the tank from the bowl to access the flush valve locknut underneath the tank.
- Shut off the water and flush to empty the tank. Sponge out the remaining water.
- Disconnect the supply line under the tank.
- Remove the tank bolts (usually two) that connect the tank to the bowl. Hold the bolt head inside the tank while loosening the nut underneath if needed. If the bolts are heavily corroded, plan on replacing them (many kits include new hardware).
- Lift the tank off and set it on a towel.
- Remove the large plastic locknut under the tank that holds the flush valve in place.
- Pull out the old flush valve and install the new one with the new gasket.
- Reinstall the tank with a new tank-to-bowl gasket if your kit includes one. Tighten bolts evenly, alternating sides. Snug is the goal, not “gorilla tight.”
- Reconnect water, fill, and test for leaks around the base of the tank and inside the bowl.
When to consider calling a plumber: If the tank bolts are badly rusted, the porcelain is cracked, the overflow tube or flush valve body is cracked, or you cannot stop a leak at the tank-to-bowl gasket after reseating it, it is okay to tap out. Water damage is expensive, and porcelain is not forgiving.
Fast troubleshooting
- Water is flowing into the overflow tube: fill valve set too high, float issue, or fill valve wearing out.
- Tank fills, stops, then refills every few minutes: slow leak past flapper or flush valve seat, or a refill tube siphoning issue.
- Handle sticks and it runs after a flush: chain snagged, chain too tight, or the handle or lever binding.
- Dye appears in bowl without flushing: flapper or flush valve seat leak.
- Water around the base or under the tank: could be a tank-to-bowl gasket issue, loose supply connection, or a crack. Shut off water and investigate before it turns into a floor problem.
Cost and time
In most homes, a running toilet fix is truly a quick win (prices vary):
- Flapper replacement: typically $5 to $10, about 10 minutes
- Fill valve adjustment: $0, about 2 minutes
- Fill valve replacement: often $10 to $20, about 15 minutes
- Flush valve replacement: varies by toilet, often $15 to $30, 30 to 60 minutes
If you want the most “under $10 and done” odds, start with the flapper and a careful chain adjustment. That solves most running toilets I have met in the wild.
Keep it from coming back
- Skip in-tank chemical tabs. They can chew up flappers and seals.
- Peek inside once a year. If the rubber looks swollen, cracked, or misshapen, replace it before it leaks.
- Keep the refill tube clipped properly. Discharge above the overflow rim, not shoved down into it.
- Address hard water buildup early. A little cleaning now beats a seal that never seals later.
Quick checklist
- Is water going into the overflow tube? Lower the water level or replace the fill valve.
- Dye in the bowl? Replace flapper first.
- New flapper still leaks? Clean the flush valve seat, then consider flush valve replacement.
- Want to confirm the fix? Mark the tank waterline with a pencil and check back in 30 minutes. If it has not dropped and you do not hear refilling, you are in the clear.
- Any drips under the tank after working? Tighten gently and evenly, then recheck.
Once you fix a running toilet the first time, it stops feeling like plumbing magic and starts feeling like what it is: a simple set of parts doing a simple job. And saving money while you are at it is a pretty great bonus.
About Marcus Vance
Content Creator @ Grit & Home
Marcus Vance is a lifelong DIY enthusiast and self-taught home renovator who has spent the last decade transforming a dilapidated 1970s ranch into his family's dream home. He specializes in budget-friendly carpentry, room-by-room renovations, and demystifying power tools for beginners. Through his writing, Marcus shares practical tutorials and hard-learned lessons to help homeowners tackle their own projects with confidence.