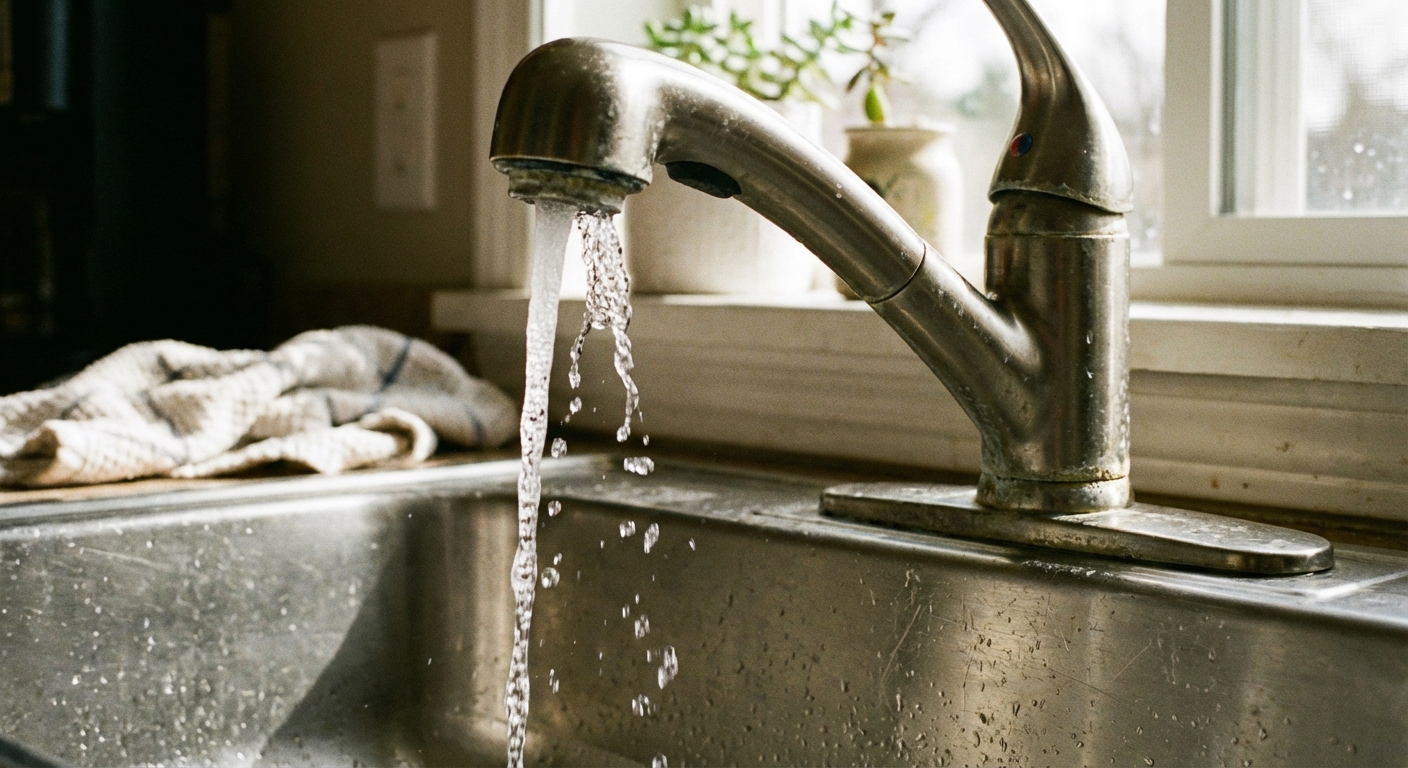
Low water pressure is one of those problems that makes a normal day feel harder than it should. Showers take forever, faucets dribble, and appliances that need water (dishwasher, washing machine, fridge dispenser) suddenly feel unreliable.
The good news: most low-pressure issues come from a short list of causes. The trick is diagnosing in the right order so you do not waste a Saturday replacing parts you never needed.
I am going to walk you through a simple, room-by-room style checklist. We will start with the quick wins (a clogged aerator) and work our way up to whole-house suspects (the pressure regulator, shutoff valves, leaks, or corrosion).
First, define the problem
One fixture or the whole house?
Before you touch a tool, do this two-minute check:
- Test 2 to 3 faucets in different rooms (kitchen, a bathroom sink, and a tub spout if you have one).
- Test hot and cold at the same fixture.
- Check one big-flow outlet like a tub spout or an outdoor hose bib. (A tub spout has no aerator, so it is a great reality check.)
If only one faucet is weak, you are usually dealing with an aerator, cartridge, clogged supply line, or a shutoff valve under that sink.
If many fixtures are weak, especially across hot and cold, think main shutoff position, pressure regulator, meter valve, sediment, a leak, an undersized service line, municipal supply limitations, or old pipes.
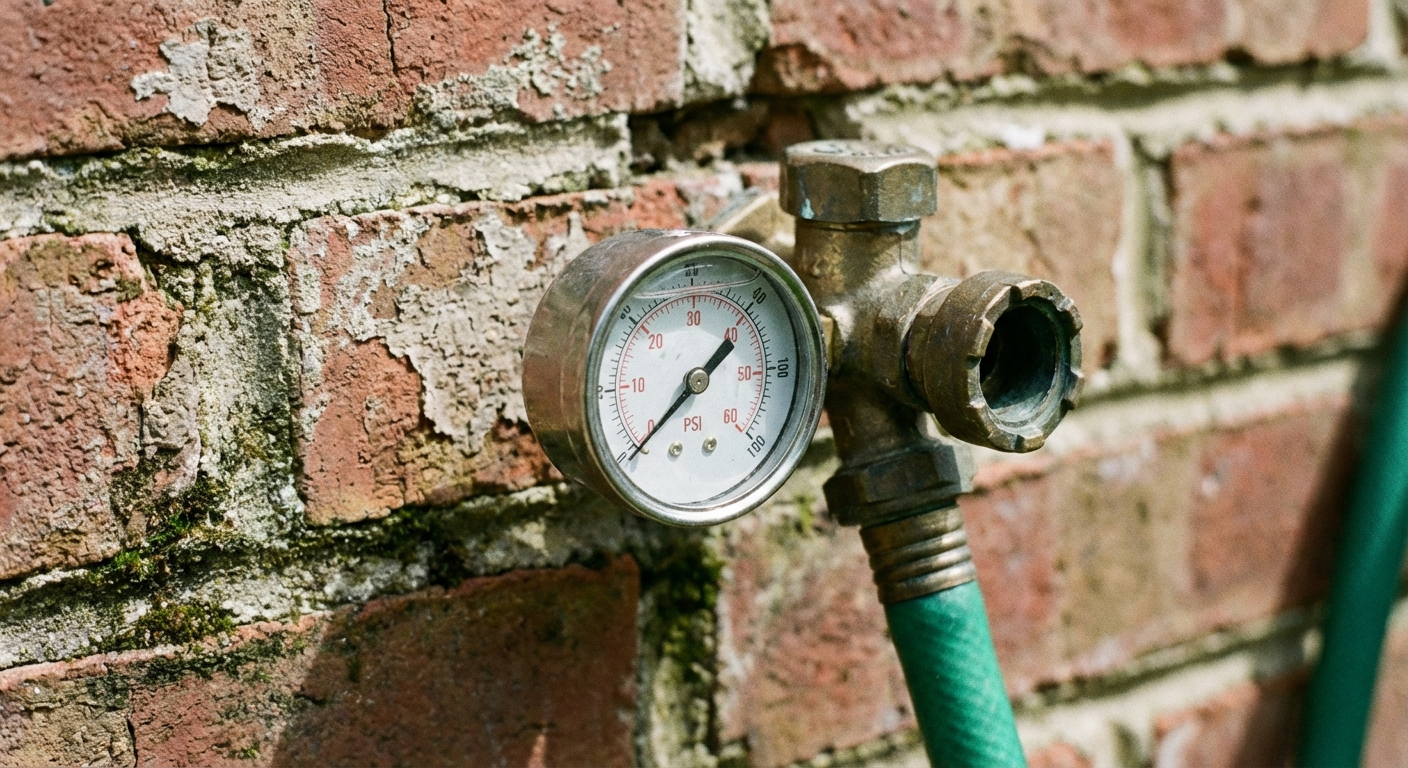
Use a pressure gauge
Pressure and flow are related but not the same. A $10–$20 hose-thread pressure gauge turns guesswork into a clear yes-or-no.
- Screw it onto an outdoor spigot or laundry sink with hose threads.
- Turn the water on fully and read the number.
Typical residential pressure: often about 40 to 80 psi, with many homes targeting roughly 50 to 60 psi.
Red flags:
- Below about 40 psi: you will often feel it in showers and sprinklers.
- Above about 80 psi: too high for plumbing and appliances, and it can damage valves and hoses. If your static pressure is over 80 psi, many codes and manufacturers recommend a PRV.
Helpful upgrade: If you can, use a gauge with a max pointer (sometimes called a lazy hand). It can reveal pressure spikes that happen when the water heater heats up, especially if you have a PRV and no expansion tank.
Quick fixes for one weak faucet or shower
1) Clean the faucet aerator
If one sink faucet has low pressure, the aerator is the first place I look. It is a little screen at the tip of the faucet that catches grit. It also clogs easily after water main work, a water heater flush, or any plumbing repair.
- Unscrew the aerator (by hand or with a rag and pliers).
- Rinse it and pick out debris.
- Soak in white vinegar for 30 to 60 minutes if you see mineral buildup.
- Rinse again and reinstall.
Common mistake to avoid: do not crank the aerator down with pliers. Snug is enough. Over-tightening can crack the housing or make it miserable to remove next time.
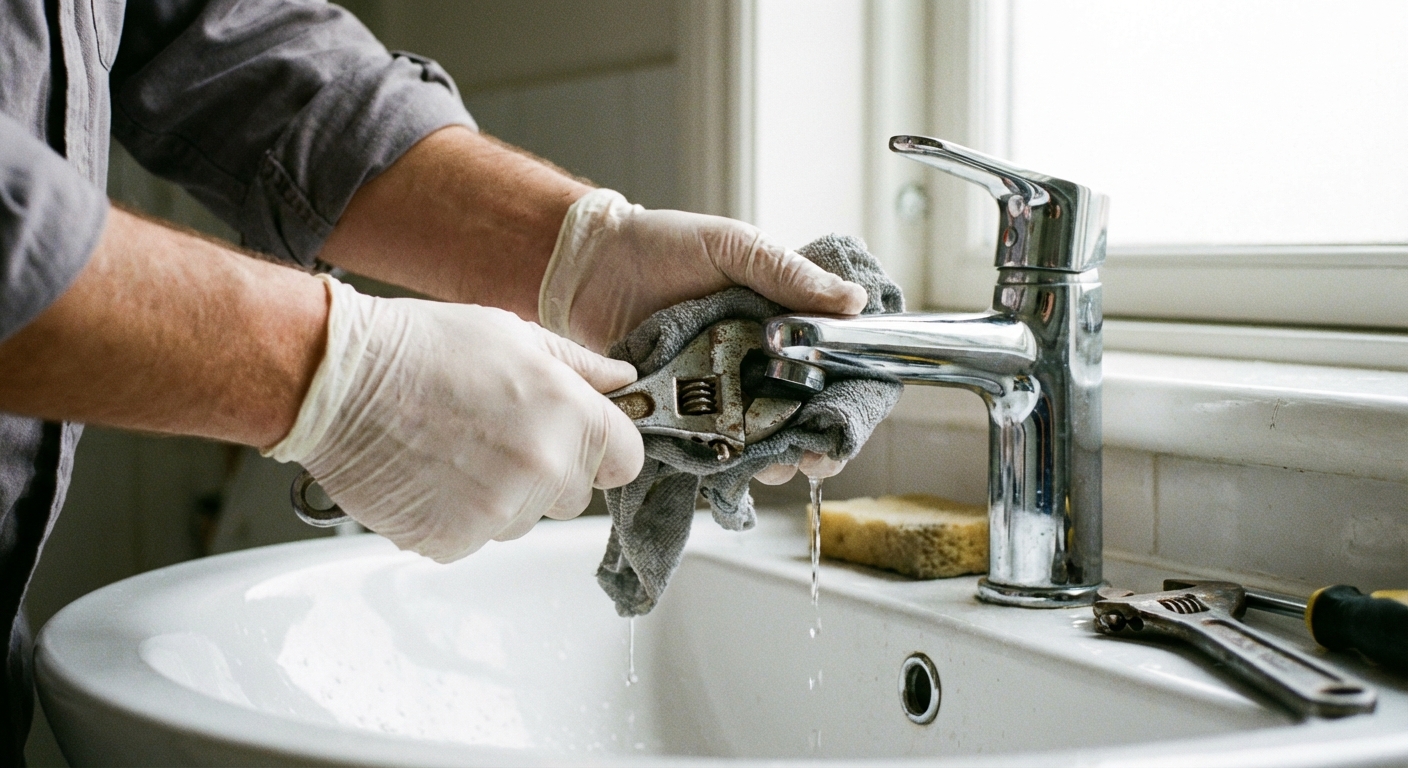
2) Check the shutoff valves under the sink
Those little valves on the wall under the sink are often half-closed from past repairs. Or they are old multi-turn valves that no longer open fully.
- Make sure both the hot and cold valves are turned fully counterclockwise.
- If a valve feels gritty, stops early, or will not fully open, it may be failing internally.
Tip: If you touch a valve and it starts dripping at the stem, snug the packing nut slightly. If it still leaks, plan to replace the valve.
3) Check the faucet cartridge (single-handle faucets)
If your gauge shows normal house pressure but one faucet is still weak, the restriction is often inside the faucet. Single-handle faucets and some pull-down kitchen faucets have cartridges or check valves that can trap grit.
- Look up your faucet model and follow the cartridge removal steps.
- Rinse debris out and inspect for torn rubber or heavy mineral buildup.
- If cleaning does not help, replace the cartridge with the correct part.
4) For a weak shower: clean the showerhead
Showerheads are basically aerators with more holes. Mineral scale builds up and cuts flow.
- Unscrew the showerhead.
- Soak it in white vinegar for a few hours (or overnight for heavy scale).
- Rinse and reinstall with fresh plumber’s tape if needed.
If you have a low-flow head and you want more water, replace it with a better-designed model. Do not remove internal restrictors unless you understand your local plumbing code and the effect on hot water usage.
If hot water is weak but cold is fine
5) Check the water heater valves and connectors
If the hot side is weak at multiple fixtures but the cold is strong, your water heater or its connections can be the bottleneck. The most common restrictions are a partially closed hot-side valve, a clogged heat-trap nipple (on some heaters), debris caught at the heater outlet, or a kinked flexible connector.
At the top of the heater, look for a partially closed valve or a kinked connector. A kinked line can act like a pinched straw.
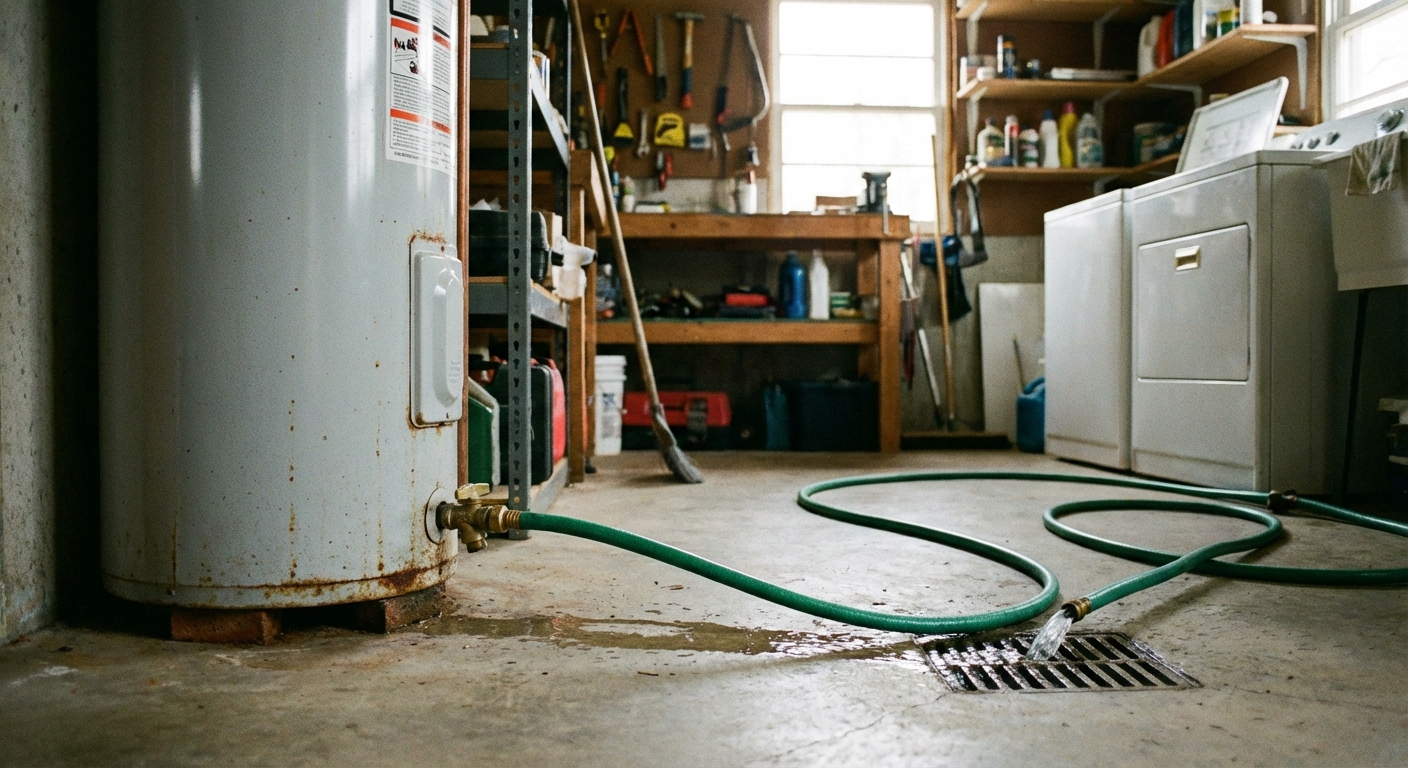
6) Flush sediment from the water heater (carefully)
Sediment can contribute to reduced hot-water flow in some homes. It is not the only hot-side restriction, but it is a worthwhile check, especially if you also hear popping sounds or have inconsistent hot water.
Before you start: Let the water cool to avoid scalding. If your water heater is old (10 to 15+ years) and has never been flushed, flushing can sometimes stir up sediment and reveal weak spots. It can still be worth considering, but go gently and be ready to stop if you see leaking at the drain valve or fittings.
- Turn off power (electric at the breaker, gas set to pilot or off).
- Turn off the cold supply to the heater.
- Connect a garden hose to the drain valve and run it to a safe drain location.
- Open a hot faucet in the house to relieve pressure.
- Open the drain valve and let it flow until it runs clearer.
- Briefly “stir” the tank by turning the cold supply on and off in short bursts while draining.
- Close the drain, refill the tank fully, then restore power or gas.
If the whole house is weak
7) Confirm your main shutoff valve is fully open
Main shutoffs are usually near where the water line enters the house, often in a basement, crawlspace, utility room, or garage. If yours is a lever (ball valve), the handle should be parallel with the pipe for fully open.
- Ball valve: handle inline with the pipe is open.
- Gate valve (round handle): turn counterclockwise until it stops, gently.
Gate valves are common in older homes and can be prone to sticking or failing with age. The internal gate can break or partially block flow even when the handle looks “open.” If you suspect this, a plumber can confirm and replace it, often with a modern ball valve.
8) Check the water meter valve (if accessible)
Some low-pressure problems start after city work when the meter valve does not get fully reopened. Depending on your area, the meter and its valves may be utility-controlled. Do not tamper with anything you are not allowed to touch. But you can visually inspect and call the utility if it looks partially closed.
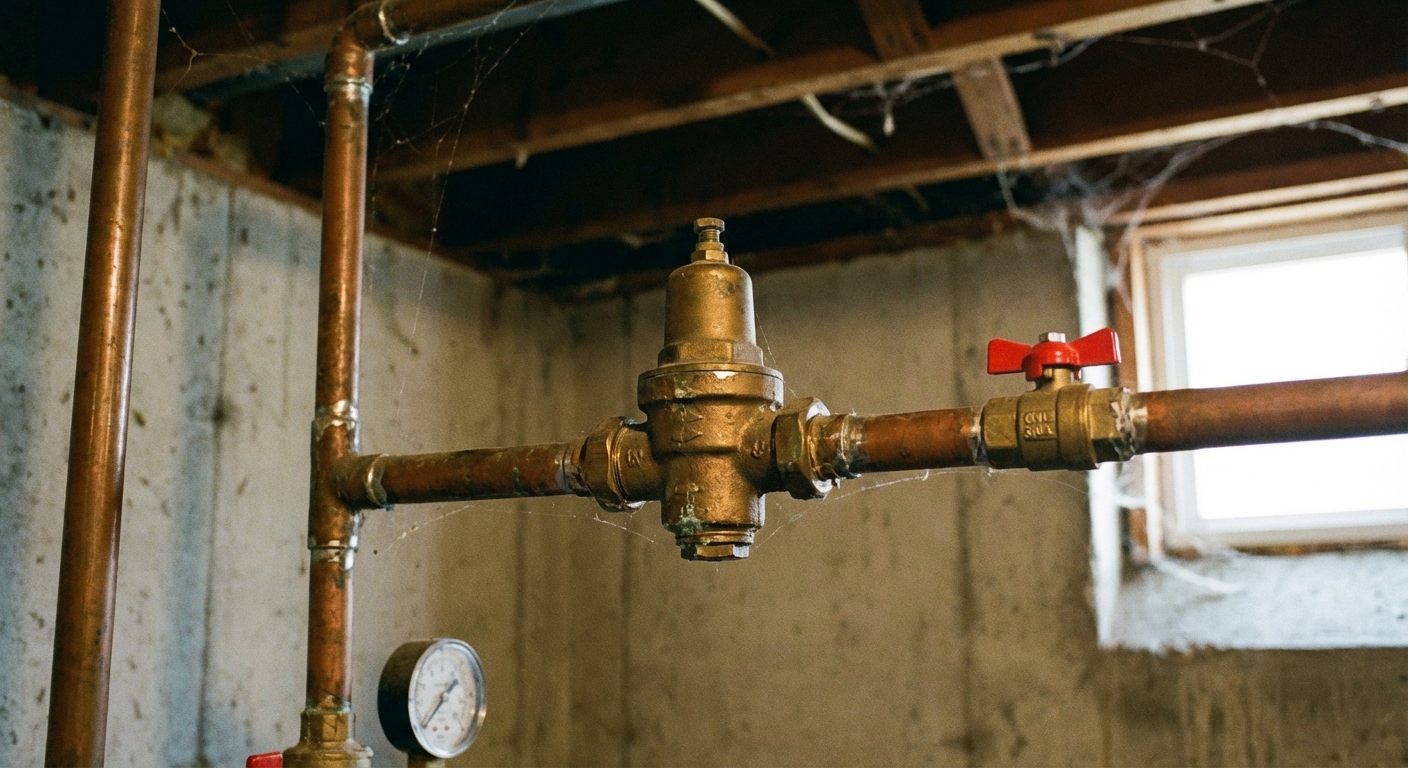
9) Test or adjust the pressure regulator (PRV)
Many homes have a pressure-reducing valve, usually bell-shaped, installed on the main water line near the shutoff. If it fails, it can stick and reduce pressure house-wide.
How to check: Put your pressure gauge on a hose bib and note the reading with no water running (static pressure). Then open a faucet inside and see how much the pressure drops. A big drop can point to a restriction or a failing regulator, but it can also be caused by high demand, a partially closed valve, an undersized service line, or municipal supply limitations.
How to adjust (if you are comfortable):
- Locate the adjustment screw on top of the PRV.
- Loosen the lock nut (if present).
- Turn the screw clockwise in small increments to raise pressure, then re-check with the gauge.
Stay safe: Do not crank it up because more is better. Keep it roughly in the 50 to 70 psi range for most homes unless a pro advises otherwise, and never above 80 psi.
10) Look for hidden leaks
A leak does not always show up as a puddle. Sometimes it shows up as a higher water bill and weak fixtures.
Quick leak test using your water meter:
- Turn off all water in the house. No faucets, no toilets filling, no ice maker, no washing machine.
- Check the water meter. Many have a small leak-indicator dial that spins with even tiny flow.
- If it is moving, you have a leak somewhere.
Common culprits: running toilets, dripping faucets, irrigation lines, water softeners, and pinhole leaks in copper.
11) Check for corrosion, buildup, or old valves
If your house is older, low pressure may be the symptom of narrowing pipes or failing valves.
- Galvanized steel piping: can rust from the inside and choke off flow over time.
- Old copper: can develop pinholes and internal scaling in aggressive water conditions.
- Old stop valves and flex lines: can clog with debris or have internal failures.
What to look for: discolored water, frequent aerator clogs, a big pressure drop when more than one fixture runs, or visibly corroded piping near shutoffs and elbows.
At this stage, the fix might be selective repiping (replacing the most restricted sections) or upgrading old valves. It is still worth doing in phases. I have lived through plenty of budget renovations where we replaced the worst sections first and planned the rest.
Do not forget appliances
12) Check appliance filters and inlet screens
If your kitchen faucet seems fine but the dishwasher, washer, or fridge dispenser is weak, the restriction is often right at the appliance.
- Fridge: replace the water filter. A clogged filter can cut flow dramatically.
- Washing machine: turn off water, disconnect hoses, and check the small inlet screens for debris.
- Dishwasher: confirm the shutoff valve is fully open and the supply line is not kinked. (Internal dishwasher issues are possible too, but start with the basics.)
If it changed suddenly
A sudden change narrows the suspects.
- Right after city work or a nearby hydrant flush: debris may have clogged aerators, cartridges, and the PRV screen (if your model has one).
- Right after a plumbing repair: a valve may not be fully reopened, or debris got knocked loose.
- Only at certain times of day: you may be noticing high neighborhood demand. Ask a neighbor if they are seeing the same thing. If yes, call the water utility.
If you are on a well
If you are not on city water, the checklist changes a bit. Low pressure on a well system is often tied to the pressure switch, pressure tank, sediment filters, or a failing well pump. If your pressure cycles wildly, your pump short-cycles, or your gauge never reaches the normal cut-out setting, it is usually time to call a well pro.
Troubleshooting order
If you want the most efficient path, follow this order:
- Identify: single fixture vs multiple fixtures
- Clean aerators and showerheads
- Open under-sink shutoffs fully
- If one fixture still weak: check cartridge and supply line
- Test pressure with a hose bib gauge (static and under flow)
- Confirm main shutoff is fully open
- Inspect and test PRV, adjust if needed
- If hot side only: check heater valves and connectors, then consider a careful flush
- Check appliances (filters and inlet screens)
- Do a water meter leak test
- Investigate corrosion, old valves, or partial repipe needs
When to call a plumber
Call a pro if any of these are true:
- Your gauge reads very low pressure (for example, 20 to 30 psi) and adjustments do not help.
- You suspect a main line leak between the meter and the house.
- You have galvanized pipes and pressure is steadily getting worse.
- Your PRV is leaking, corroded, or will not adjust predictably.
- You see water damage, moldy smells, or warm spots on slabs that hint at a leak.
What to tell them: your pressure gauge reading (static and with a faucet running), whether it is hot-only or both, whether neighbors have the same issue, and what you already cleaned or tested. That short list can save you diagnostic time and money.
Tools and supplies
- Hose-thread water pressure gauge (max-pointer style if possible)
- Adjustable wrench and channel-lock pliers
- Old toothbrush and a small bowl
- White vinegar
- Plumber’s tape
- Bucket and towels
My bottom-line advice
If you remember one thing, make it this: start small and prove the problem. Clean the aerator, confirm valves are open, then measure with a gauge before you replace parts.
Low water pressure feels mysterious until you run the checklist. After that, it is usually just a clogged screen, a half-closed valve, or a regulator that is ready for retirement.
About Marcus Vance
Content Creator @ Grit & Home
Marcus Vance is a lifelong DIY enthusiast and self-taught home renovator who has spent the last decade transforming a dilapidated 1970s ranch into his family's dream home. He specializes in budget-friendly carpentry, room-by-room renovations, and demystifying power tools for beginners. Through his writing, Marcus shares practical tutorials and hard-learned lessons to help homeowners tackle their own projects with confidence.