Squeaky hardwood floors are one of those home problems that feel personal. You step in the “wrong” spot and the house tattles on you. The good news is most squeaks come from the same few causes: wood rubbing wood, a board rubbing nails, or the hardwood moving against the subfloor.
This guide walks you through several proven fixes, starting with the least invasive. I will also tell you when squeaks are a warning sign you should not ignore.
Why hardwood floors squeak
A squeak is friction plus movement. Your weight flexes the floor system a tiny bit, and something rubs.
- Dry-season shrinkage: boards and subfloor panels shrink, opening small gaps that allow movement.
- Loose fasteners: nails back out a hair over time and boards rub against the shank.
- Subfloor not tight to joists: the subfloor lifts and settles on nails or screws.
- Joist movement: joists can twist slightly, or blocking or bridging can loosen.
- Structural issues: sagging, rot, termite damage, or undersized framing can create widespread noise and bounce.
Before you grab a drill, it helps to pinpoint what is moving.
Find the squeak first
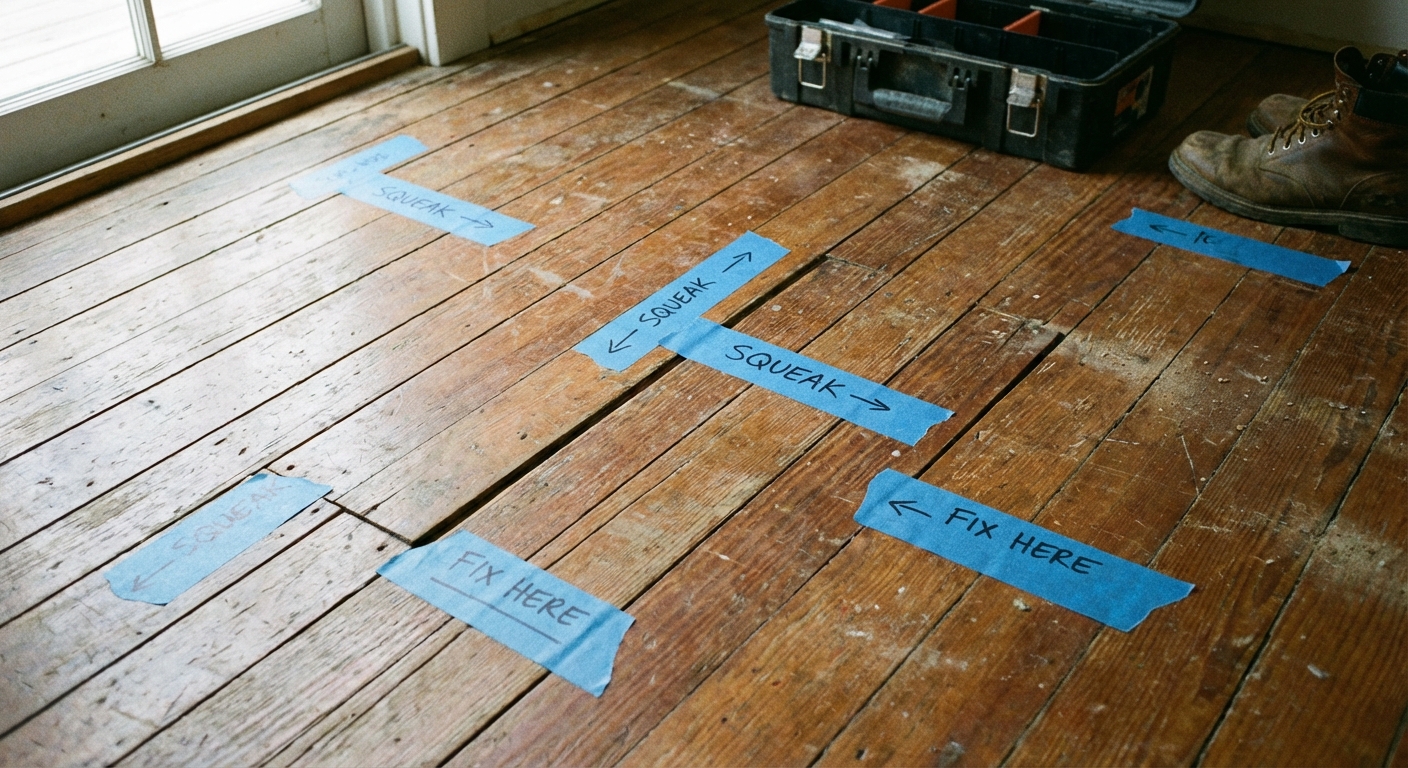
Step 1: Map the noisy spots
- Walk like you normally do and mark squeaky spots with painter’s tape.
- Note whether it squeaks on the down step, the release, or both.
Step 2: Figure out what is underneath
- If there is an unfinished basement or crawlspace below, you can often fix squeaks from underneath with minimal cosmetic impact.
- If the ceiling below is finished, you may be limited to from-above methods unless you are willing to open drywall.
Step 3: Locate joists
If you are working from above, the goal is usually to fasten the hardwood and subfloor firmly to a joist.
- Look for subtle nail lines (often every 16 inches) in older floors.
- Use a stud finder rated for floors, or measure from a basement joist layout and transfer the measurements.
- Confirm by driving a very small finish nail in a spot that will be hidden (like inside a closet or under baseboard), if needed.
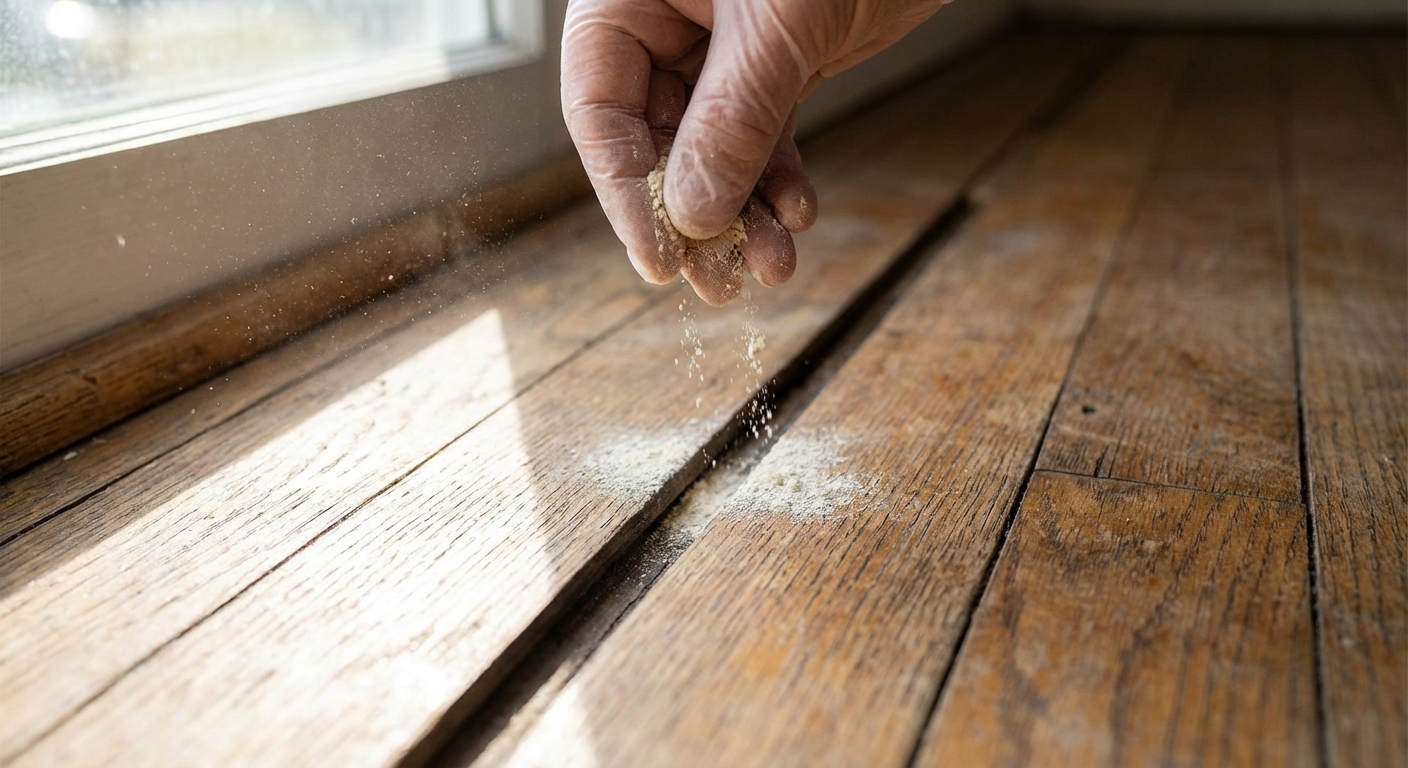
Method 1: Powder
If the squeak is coming from two boards rubbing at a seam, powder can act as a dry lubricant. This is the least invasive option and worth trying first in low-traffic or mild squeaks.
Best for
- Seasonal squeaks that show up in winter when humidity drops
- Squeaks along board edges or between boards
- You want zero holes and zero tools
What to use
- Graphite powder, PTFE-based dry lube, or talc-free baby powder (many are cornstarch-based now)
- A soft brush or dry microfiber cloth
- Vacuum
Steps
- Clean the seam. Vacuum the area so the powder can slip into the gap instead of sitting on dust.
- Apply a small amount. Sprinkle powder directly over the squeaky seam.
- Work it in. Use a brush or cloth to push the powder into the cracks.
- Walk on it. Step on the area several times to help it settle in.
- Buff off the excess. Wipe clean so you do not leave a slippery film.
My honest take
This can be surprisingly effective, but it is not a structural repair. If the floor has real movement, the squeak often comes back. I treat this like a “buy time” fix or a light-duty fix for edge-rub squeaks.
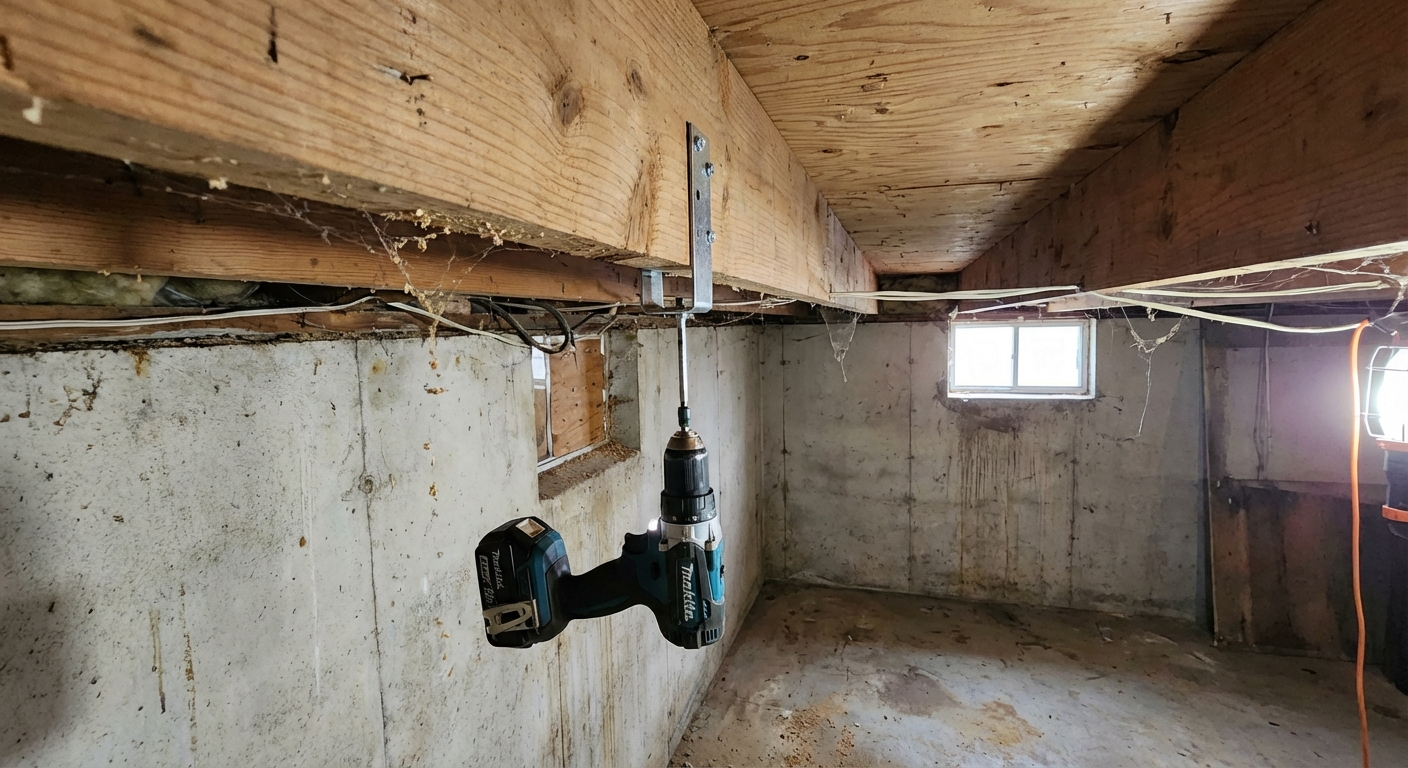
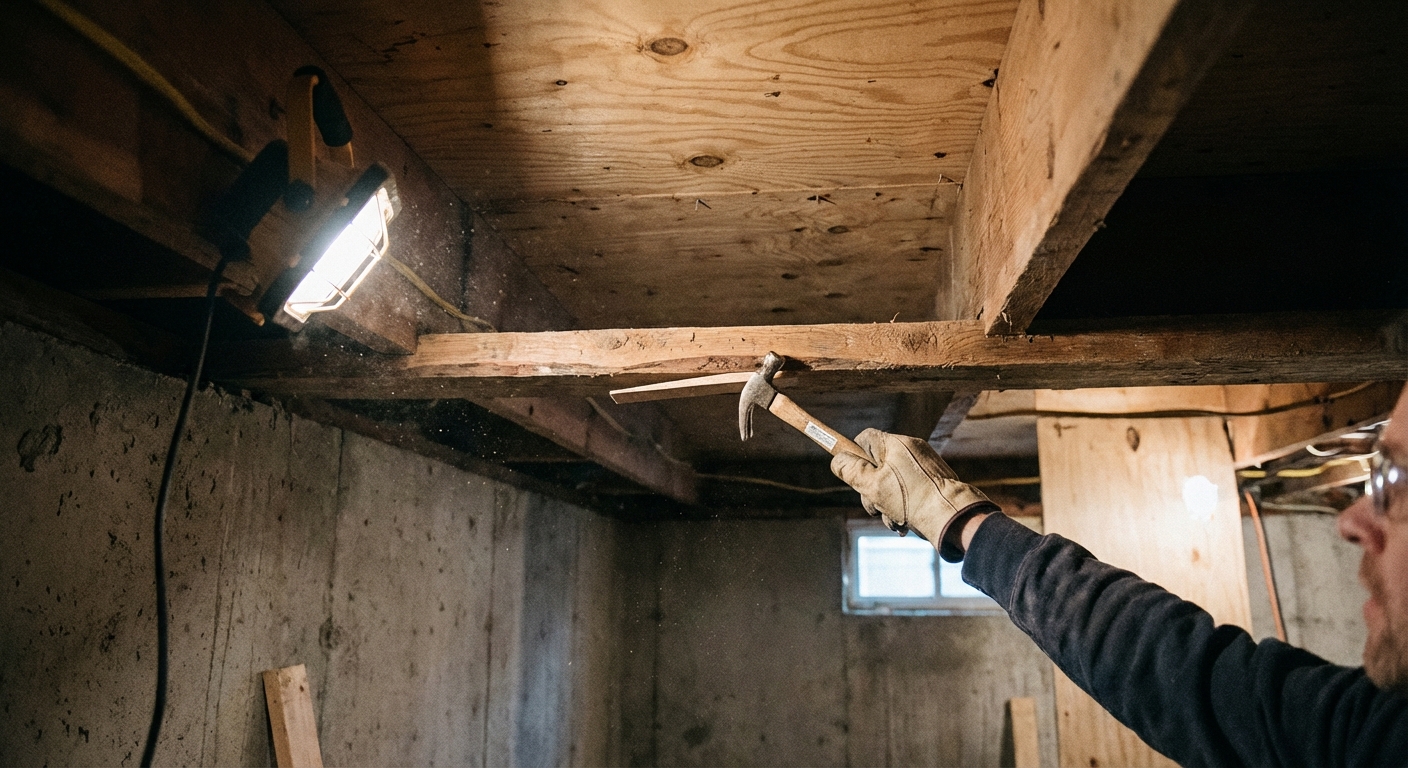
Method 2: Fix it from below
If you can reach the underside of the floor from an unfinished basement or crawlspace, this is my favorite approach. You are tightening the floor system where it starts, without leaving any visible patches in your hardwood.
Quick reality check: You cannot drive a screw straight up “through the subfloor into the joist” because the joist is underneath the subfloor. From below, you either (1) pull the subfloor down to the joist with a bracket, (2) add a cleat or block to support the seam, or (3) in some cases, run a short screw up into the hardwood from the underside.
Best for
- Squeaks caused by subfloor movement over joists
- Unfinished basement or accessible crawlspace
- You want a long-term fix with no top-side holes
Tools and materials
- Drill or impact driver
- Flashlight or headlamp
- Helper upstairs to find the squeak
- Option A (my go-to): Squeak repair brackets made for underside use (often sold as “squeak repair” or “subfloor repair” kits)
- Option B: 2x wood blocking (cleats) and wood screws (avoid drywall screws)
- Option C (use caution): Short screws sized to bite into the hardwood from below without poking through
- Construction adhesive (optional, used sparingly)
Fastener notes
- For cleats and blocking, use wood or structural screws with good bite. Coarse-thread is typically your friend in framing.
- Common lengths are around 1-5/8 to 2-1/2 inches, depending on what you are fastening and how thick your subfloor is.
- Before drilling or screwing, scan for plumbing, wiring, and HVAC runs in the bay. Basements love surprises.
Steps
- Have your helper stand on the squeak. In the basement, watch and listen while they shift weight. It is much easier than guessing.
- Figure out what is moving. If the subfloor is lifting off the joist, you will often see the panel flex. If the squeak is between hardwood and subfloor, you may not see much movement, but you can usually hear it sharply in one bay.
- Start with a bracket (cleanest). Install an underside squeak repair bracket on the side of the joist so its screw pulls the subfloor tight to the joist. Tighten until snug, then re-test. Add a second bracket nearby if needed.
- No bracket? Add a cleat or block. Screw a short piece of 2x (or a manufactured cleat) to the side of the joist just below the subfloor, then drive screws up through the cleat into the subfloor to remove flex. The point is to create support and stop movement, not to “hit the hardwood.”
- Only if the noise is hardwood on subfloor: Use a short screw from below into the hardwood. Pre-measure and choose a screw that will not poke through the finished surface. Drive it carefully through the subfloor so it bites into the hardwood above, then stop. Re-test immediately.
- Re-test as you go. One fastener, test, then another if needed. This keeps you from “fixing” the wrong spot with a handful of extra holes.
Important cautions
- Measure twice before using Option C. The risk is a screw tip that dimples or pokes through the finished floor. If you cannot confidently measure your floor layers, do a bracket or cleat instead.
- Do not crank fasteners like you are jacking up the house. Snug is the goal. Over-tightening can create a hump or pop fasteners.
- Use adhesive sparingly. A small bead can help, but extra squeeze-out makes future repairs harder. In damp crawlspaces, do not glue over wood that is wet or questionable.
Pro tip: the one-fastener test
Make one change, then re-test with someone upstairs. It is slower, but it prevents that classic DIY mistake where you add a bunch of screws and still missed the actual movement point by two inches. I have done that. Twice.
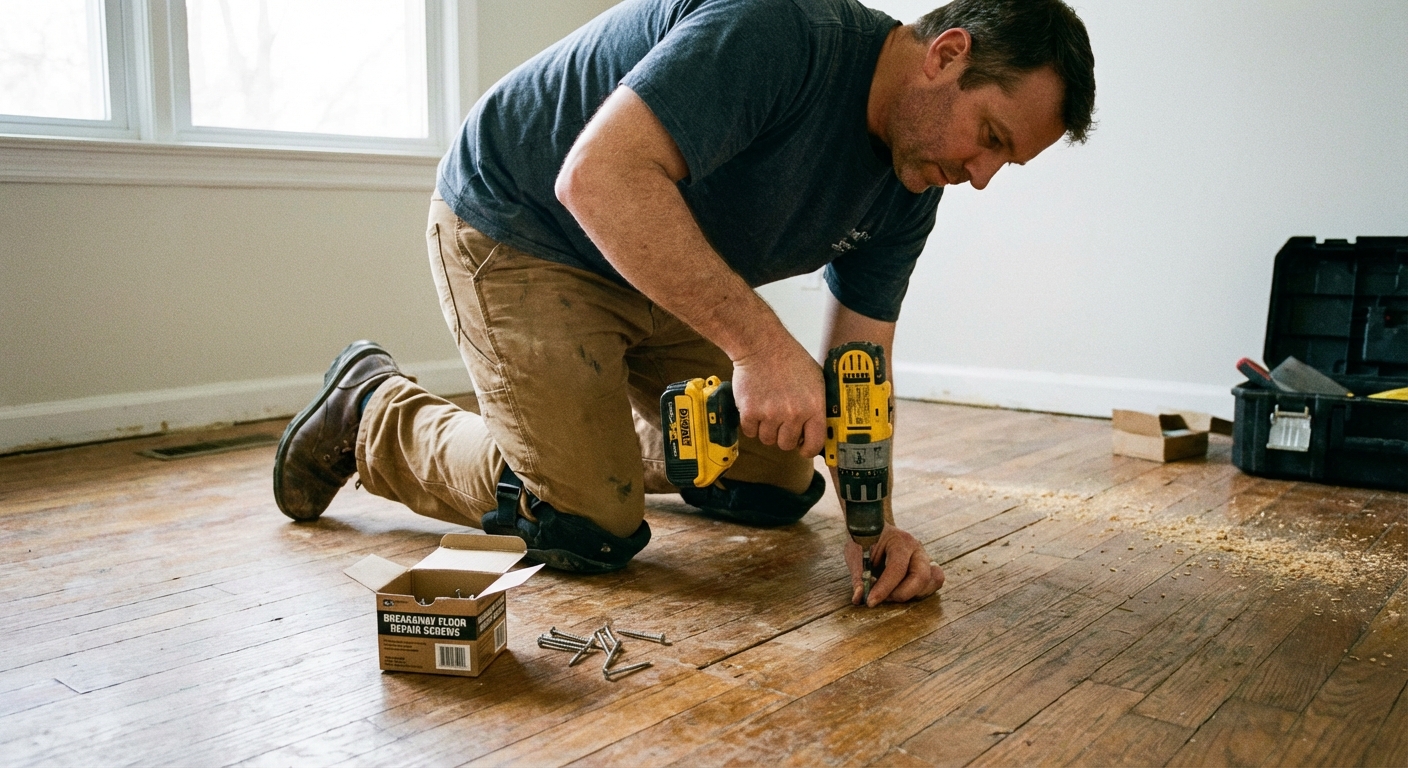
Method 3: Breakaway screw kits
If you have a finished ceiling below or you are on a slab with a sleeper system, a breakaway screw kit can be a lifesaver. These kits are designed to pull the hardwood tight to the subfloor and then snap off below the surface so you can fill a tiny hole.
Best for
- Second-story rooms with finished ceilings below
- Spot squeaks in high-visibility areas where you want a small, clean repair
- Floors that feel solid but squeak in a specific spot
What you need
- Breakaway screw kit (specially designed screws and a setting tool)
- Drill
- Painters tape
- Wood filler or color-matched putty
- Fine sandpaper (if using stainable filler)
Steps
- Confirm the squeak zone. Mark it with tape.
- Locate the joist if possible. Fastening into a joist is typically the most reliable. If you cannot locate it, the kit may still help by tightening the hardwood to the subfloor, but results vary.
- Check the kit’s instructions. Make sure it is meant for hardwood (and your floor thickness). Some repair kits are designed for carpet and subfloor, or specific assemblies.
- Drive the breakaway screw with the kit tool. The tool helps countersink and control depth.
- Snap the head off. Once seated, the screw is designed to break below the surface.
- Fill the hole. Use color-matched putty for prefinished floors, or stainable filler for site-finished floors.
Choosing the right filler
- Prefinished hardwood: Use a wax pencil or color-matched putty for the smallest visual footprint.
- Site-finished hardwood: Use stainable filler, then touch up stain and topcoat if needed.
Thrifty note: These kits cost more than basic screws, but they can be cheaper than cutting open a ceiling below or living with a squeak for years.
Method 4: Shim gaps
Sometimes the subfloor is not firmly bearing on the joist. That tiny gap lets the subfloor flex, then it rubs and squeaks. A thin shim can take up the space and stop the movement.
Best for
- Accessible underside (unfinished basement or crawlspace)
- You can see or feel a gap between the joist and subfloor
- Squeaks that happen right over a joist line
What to use
- Wood shims or composite shims
- Construction adhesive (optional)
- Hammer
Steps
- Have a helper stand above the squeak. This loads the floor so you can see where it moves.
- Slip a shim into the gap. Tap it in gently until snug.
- Stop before you lift the floor. Over-shimming can push the subfloor up and create new problems, including a hump or popped fasteners.
- Optionally add a dab of adhesive. A small amount helps the shim stay put, especially in a crawlspace.
My mistake to help you avoid yours
Early on, I got aggressive and drove a shim too far. The squeak stopped, but I created a subtle ridge you could feel with socks. “Snug” is the goal, not “tight enough to jack up the house.”
Other fixes
Re-nail a loose board
If a single board is loose and you can’t pull it tight any other way, carefully face-nailing can work. This is more common on older site-finished floors and is best done where a nail head will be least noticeable.
- Pre-drill to avoid splitting.
- Set the nail slightly below the surface.
- Fill with matching filler.
Trim rub at edges
Occasionally the squeak is the floor rubbing baseboard or shoe molding at the perimeter. A tiny gap can help. If you suspect this, look for scuff marks and test by lightly pulling the trim away with your fingers while someone steps on the area.
When to call a pro
Most squeaks are nuisance-level. But a few are signals that something bigger is going on. If you see any of the issues below, it is worth calling a flooring pro, a carpenter, or in some cases a structural engineer.
Call for help if you notice
- Bouncy floors: noticeable flex across a wider area, not just one squeaky spot
- Sagging or slopes: a dip that was not there before
- Cracked tiles or drywall: especially near doorways or along the ceiling below
- Water damage: staining, musty smells, swollen boards, or soft subfloor
- Widespread squeaks: an entire room sounds off, not just a couple of boards
What to tell the pro
- When the squeaks happen (winter only, year-round, after rain)
- Whether you have basement or crawlspace access
- What you already tried (powder, brackets, cleats, screws, shims)
- Any signs of movement, sagging, or moisture
FAQ
Will squeaky floors go away on their own?
Sometimes seasonal squeaks fade when humidity rises and the wood expands. If it returns every year, you can either live with it or do a more permanent mechanical fix like brackets, screws, or shims.
Is it safe to fix squeaks from below?
Yes, as long as you use the right method. Brackets and cleats are very forgiving. If you choose to run a short screw up into the hardwood from below, measure carefully so you do not dimple or poke through the finished surface. Also, take a minute to look for wires and pipes before you drill.
Do breakaway screw kits damage hardwood floors?
They create a small hole you will fill. Used correctly, the repair is usually subtle. On glossy prefinished floors, take your time color-matching the fill so it blends. Always confirm the kit is intended for hardwood and your floor thickness.
Should I use baby powder or talc?
Many people use baby powder, but many formulas are now cornstarch-based. For this job, graphite powder or a PTFE-based dry lube is often more predictable. Whatever you use, clean up excess so the floor is not slippery.
My order of operations
If you are not sure where to start, here is the sequence I use in my own house:
- Try powder for minor seam squeaks.
- If you have underside access, fix it from below with a bracket first, or a cleat if needed.
- If there is a visible gap, shim it carefully while the floor is loaded.
- No access from below? Use a breakaway screw kit from above and patch the tiny holes neatly.
- If the floor bounces, sags, or shows moisture, stop and call a pro.
Fixing squeaks is one of those satisfying repairs where a little patience beats brute force. When you finally walk across the room and hear nothing but silence, you will know exactly why we do this stuff.
About Marcus Vance
Content Creator @ Grit & Home
Marcus Vance is a lifelong DIY enthusiast and self-taught home renovator who has spent the last decade transforming a dilapidated 1970s ranch into his family's dream home. He specializes in budget-friendly carpentry, room-by-room renovations, and demystifying power tools for beginners. Through his writing, Marcus shares practical tutorials and hard-learned lessons to help homeowners tackle their own projects with confidence.