If your water heater has started making popping noises, taking forever to recover after showers, or spitting out rusty-looking water, there is a good chance you are not dealing with a “bad heater” yet. You are dealing with sediment.
Flushing a tank water heater is one of those boring maintenance jobs that pays you back in quieter operation, faster heating, and longer tank life. I learned that the hard way after ignoring my own heater for a few years and then wondering why it sounded like it was cooking popcorn in the basement.
Quick signs your water heater needs a flush
- Popping, rumbling, or crackling noises while the burner is on or elements are heating.
- Slow hot water recovery, especially after a bath or back-to-back showers.
- Discolored hot water that looks brown, rusty, or cloudy at first draw.
- Water temperature swings or “lukewarm” hot water when you used to have plenty.
- Higher energy bills without a clear reason (sediment acts like insulation).
One note: if the water is consistently rusty, you might also have a failing anode rod or corrosion inside the tank. Flushing helps, but it may not be the full fix.
What sediment is and why it causes trouble
Most water sources (municipal and well) carry dissolved minerals. In hard water areas, calcium and magnesium drop out of solution as the water heats and settle to the bottom of the tank. Over time that sediment layer gets thicker.
- On gas water heaters, sediment can create a hot spot on the tank bottom and cause the popping noises as water trapped under the layer flashes to steam.
- On electric water heaters, sediment can build up around or even over the lower heating element so it overheats or struggles to transfer heat efficiently.
- On both types, sediment reduces capacity and can contribute to premature wear.
Tools and supplies
- Garden hose long enough to reach a floor drain, utility sink, or outside
- Flathead screwdriver (some drain valves use a screwdriver slot)
- Adjustable wrench (helpful for stubborn caps or fittings)
- Bucket and a few old towels
- Work gloves and eye protection
- Optional but helpful: short washing machine hose (more flexible), Teflon tape, and a small wire brush for cleaning threads
Two practical notes. First, standard garden hoses can soften or warp with very hot water. That is one more reason the cool-down time in Step 1 is worth it. Second, if your drain valve is plastic or looks fragile, treat it gently. I have snapped one before, and that turns a maintenance Saturday into an emergency plumbing run.
Safety first (gas vs. electric)
Before you touch anything
- Know where your cold water shutoff is (usually on the pipe entering the top of the tank).
- Plan where you are draining water. Hot water can scald. It can also stress plants or landscaping, so let it cool first and avoid dumping a large volume in one spot.
- Never drain a tank that is actively heating.
Gas water heater safety
- Turn the thermostat/control to “Pilot”, “Off”, or the lowest setting your unit lists. Labels vary by model, so follow the instructions on the tank.
- You usually do not need to shut off the gas supply valve for a simple flush unless the manufacturer instructs it.
- If you smell gas at any point, stop and ventilate the area. Do not continue.
Electric water heater safety (very important)
- Turn off power at the breaker for the water heater.
- Do not rely on the thermostat dials behind the access panels. You want the breaker off so the elements cannot energize.
- Never turn the breaker back on until the tank is completely refilled, or you can burn out the heating elements.
Step-by-step: drain and flush
Step 1: Turn off the heat
Set the gas control to Pilot/Off (or lowest), or turn off the electric breaker. Then let the tank sit 20 to 60 minutes if you want cooler water for safer draining and less chance of a softened hose.
Step 2: Shut off the cold water
Close the valve on the cold inlet line above the water heater.
Step 3: Relieve pressure
Open a nearby hot water faucet (a sink or tub). This prevents vacuum lock and helps the tank drain smoothly.
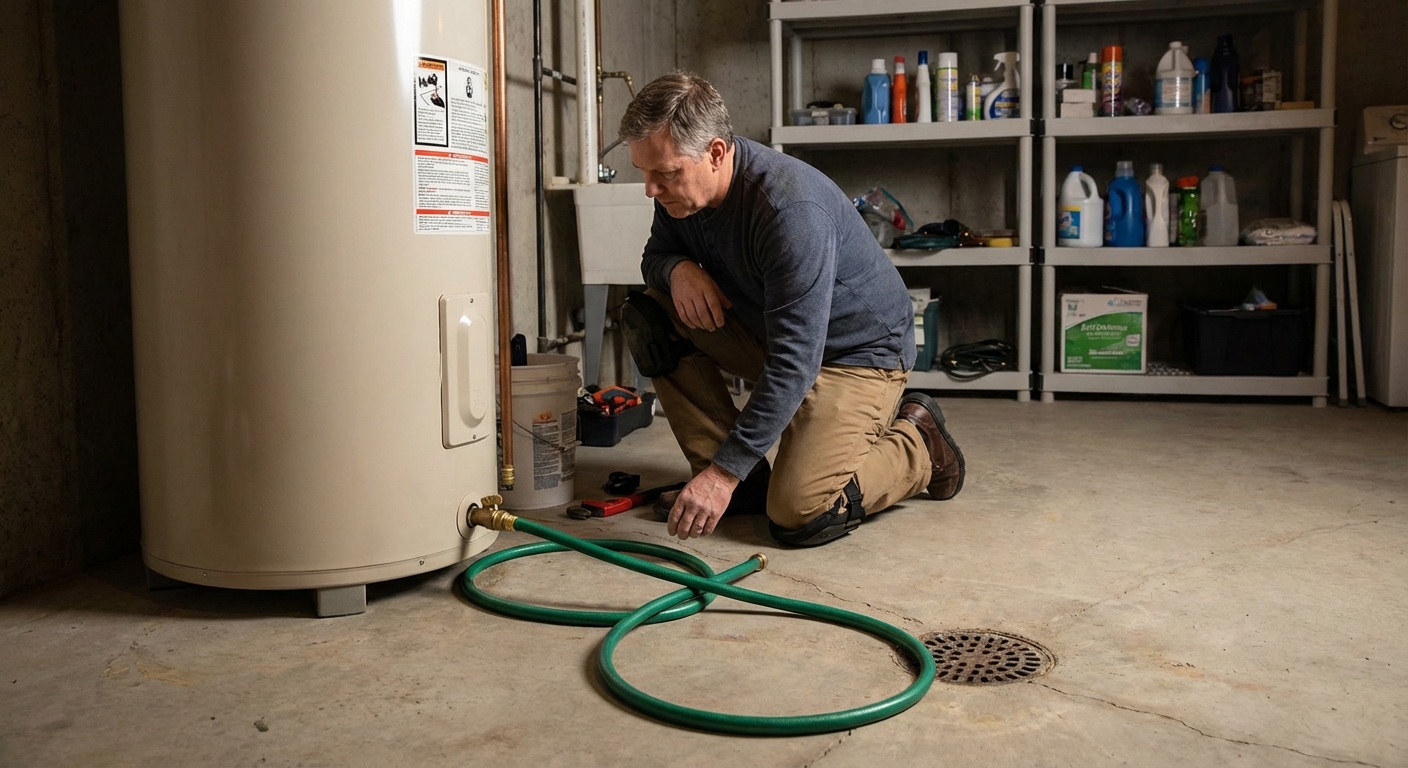
Step 4: Connect the hose
Thread a garden hose onto the water heater’s drain valve at the bottom. Run the other end to a floor drain or outside. Make sure the hose end is secure and will not whip around once water starts flowing.
Tip: For best flow, the hose outlet should be lower than the drain valve since this is gravity draining.
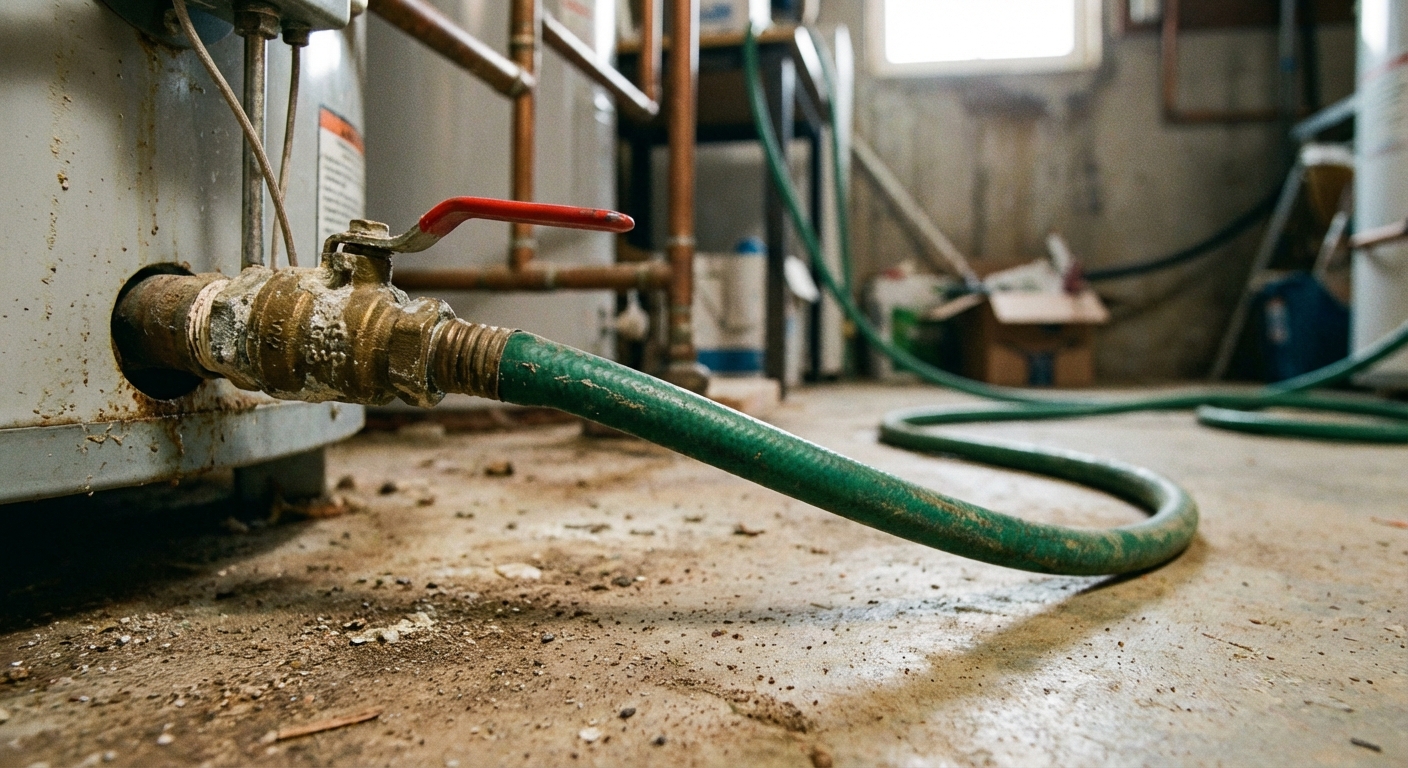
Step 5: Open the drain valve
Open the drain valve slowly. If water does not flow well, double check that a hot faucet is open to allow air in.
- If the drain valve is clogged with sediment, you may get a weak trickle.
- If you have a lever-style drain valve, open it carefully and be ready to close it if it starts leaking around the stem.
Step 6: Drain a few gallons (or the whole tank)
For routine maintenance, you can often drain until the water runs clearer. For a neglected water heater, a full drain is usually worth it.
If this feels intimidating the first time, start by draining a few gallons. You will still get some sediment out, and you can always do a deeper flush next round.
Step 7: Flush the tank
With the drain still open, turn the cold water supply on in short bursts. You are stirring up sediment and pushing it out through the hose.
- Pulse the cold water: on for 10 to 20 seconds, off for 10 seconds, repeat.
- Watch the hose discharge. You will often see sand-like grit at first.
- Continue until the water runs mostly clear.
Step 8: Close the drain and refill
Close the drain valve firmly but do not crank it like a lug nut. Then turn the cold supply fully on. Keep that hot faucet open while the tank refills so air can escape.
Step 9: Purge air
Leave a hot faucet open until it runs in a steady stream with no sputtering. This confirms the tank is full and air is out of the lines. Then close the hot water faucet.
Step 10: Restore power or relight
- Electric: only after the tank is full, turn the breaker back on.
- Gas: set control back to your normal temperature setting. If your pilot went out, follow the manufacturer lighting instructions on the unit.
Step 11: Check for leaks
Inspect around the drain valve, the supply connections, and the temperature and pressure (T&P) relief valve area. A dry paper towel wiped around fittings is my go-to “is it actually leaking?” test.
If the drain valve is clogged

If you opened the drain and got a sad trickle, sediment may be blocking the valve opening.
- Try the pulse flush method: open drain, briefly turn cold water on, then off, repeating to break up clogs.
- Gently work the valve: close and reopen once or twice. Do not force it.
- Last resort: shut off water, close drain, remove the hose, and use a small screwdriver to gently clear the outlet. Be ready with a bucket and towels. This can get messy fast.
If the valve starts dripping after you use it, it may have been “sealed” by mineral deposits and now it cannot reseat. In that case, replacing the drain valve is often the real fix.
How often to flush
- Most homes: about once per year
- Hard water areas or lots of hot water use: every 6 months
- If you have never flushed it and it is 5+ years old: do a cautious flush and be prepared that an old valve might leak afterward
Manufacturers can differ on maintenance intervals, so if you still have your manual, it is worth a quick look.
My thrifty rule: set a calendar reminder for the same weekend you test smoke alarms. Two small chores, one ladder, and you are done.
Anode rod tip
Since we are already talking sediment and rusty water, here is a bonus: draining the tank is also a great time to check the anode rod (the sacrificial rod that helps prevent tank corrosion). If you have been getting rusty water or the rod is badly eaten up, replacing it can buy you time and improve water quality.
Temperature tips
Most households do well with the thermostat set to 120°F. It reduces scald risk and saves energy. Temperature and health guidance can be nuanced (including Legionella considerations), so if someone in the home is immunocompromised or you have a special situation that requires higher temps, check local guidance and talk to a professional. In some setups, a mixing valve is used so the tank can store hotter water while taps stay safer.
When to call a pro
- You cannot get the drain valve to close without leaking
- You see corrosion around fittings or the tank bottom is wet
- You smell gas or suspect a venting issue on a gas unit
- The T&P relief valve is leaking or appears damaged
- Your water heater is near end of life (often 8 to 12 years) and you are seeing repeated issues
Flushing is great maintenance, but it cannot un-rust a tank that is already failing. If you are seeing active corrosion or a persistent leak, it is better to address it now than deal with a flooded utility room later.
My “do not learn this the hard way” checklist
- Electric water heater: breaker off before draining, breaker on only after the tank is full.
- Open a hot faucet to prevent vacuum lock, and leave it open while refilling until sputtering stops.
- Do not overtighten the drain valve when closing it.
- Expect the first flush water to be hot and gritty, so protect floors and keep kids and pets away from the discharge.
- If you flush and the hot water still smells like rotten eggs, look into the anode rod and water chemistry next.
Do this once and it gets easier every time. And the payoff is real: a quieter water heater, more consistent hot water, and fewer surprise “why is my shower cold?” moments.
About Marcus Vance
Content Creator @ Grit & Home
Marcus Vance is a lifelong DIY enthusiast and self-taught home renovator who has spent the last decade transforming a dilapidated 1970s ranch into his family's dream home. He specializes in budget-friendly carpentry, room-by-room renovations, and demystifying power tools for beginners. Through his writing, Marcus shares practical tutorials and hard-learned lessons to help homeowners tackle their own projects with confidence.