First, make sure it’s actually gophers
I’m all for taking action fast, but with yard pests, the fastest way to waste time and money is treating the wrong animal. Gophers, moles, and voles all live in the same general neighborhood. They leave very different “calling cards.”
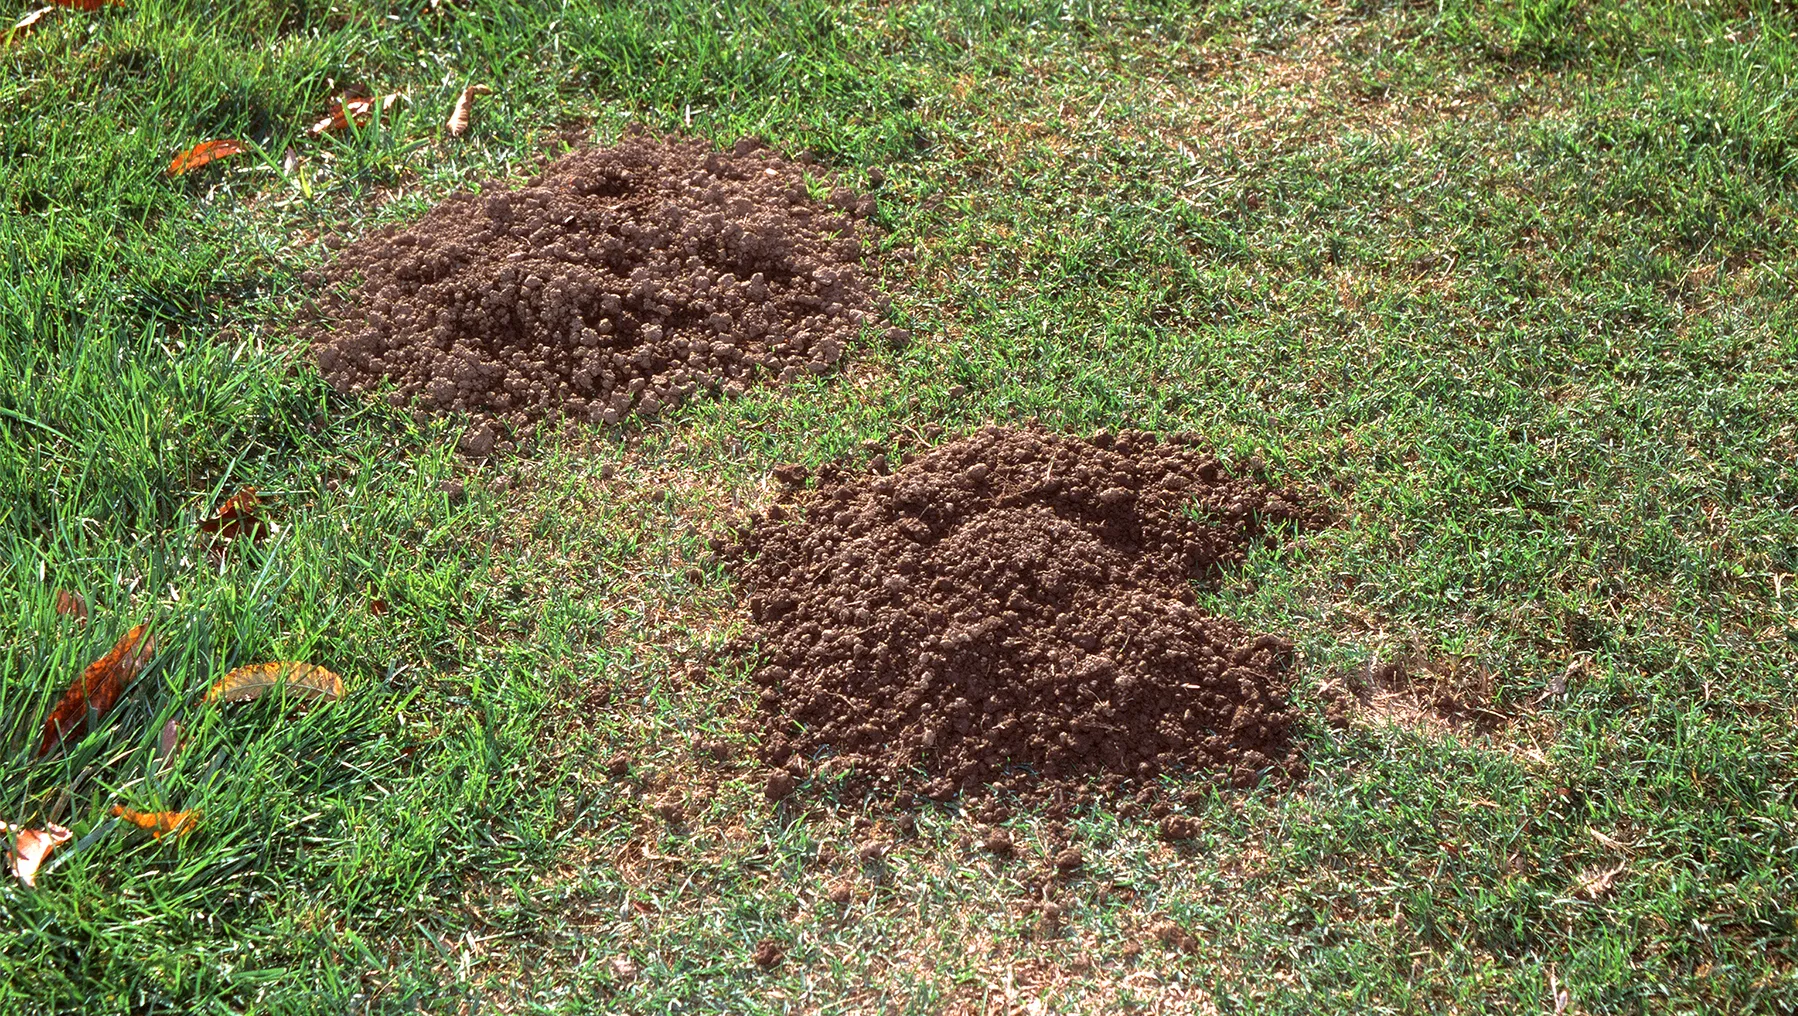
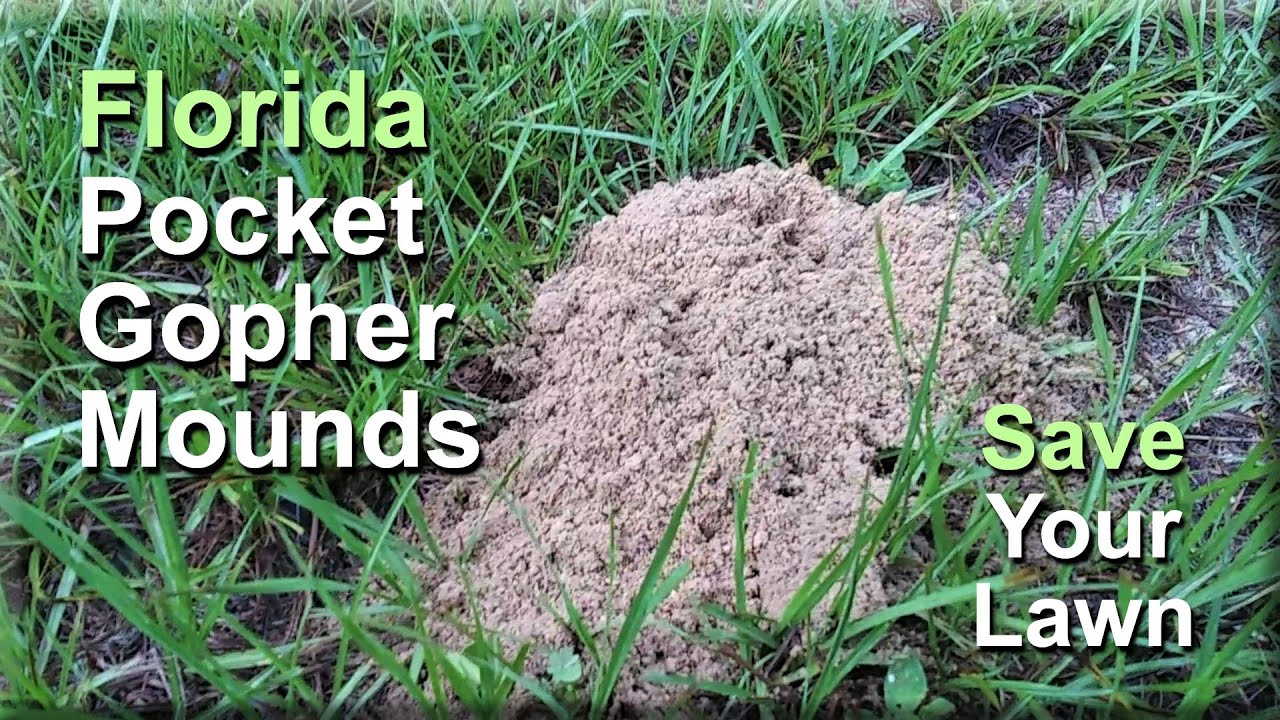
Gopher signs
- Soil mounds: often fan-shaped or crescent-shaped piles of loose dirt (but they can look more rounded depending on soil and species).
- No obvious open hole: the tunnel opening is often plugged and offset to one side of the mound.
- Plant damage: missing plants, roots eaten, suddenly wilting shrubs, and “pulled down” vegetation.
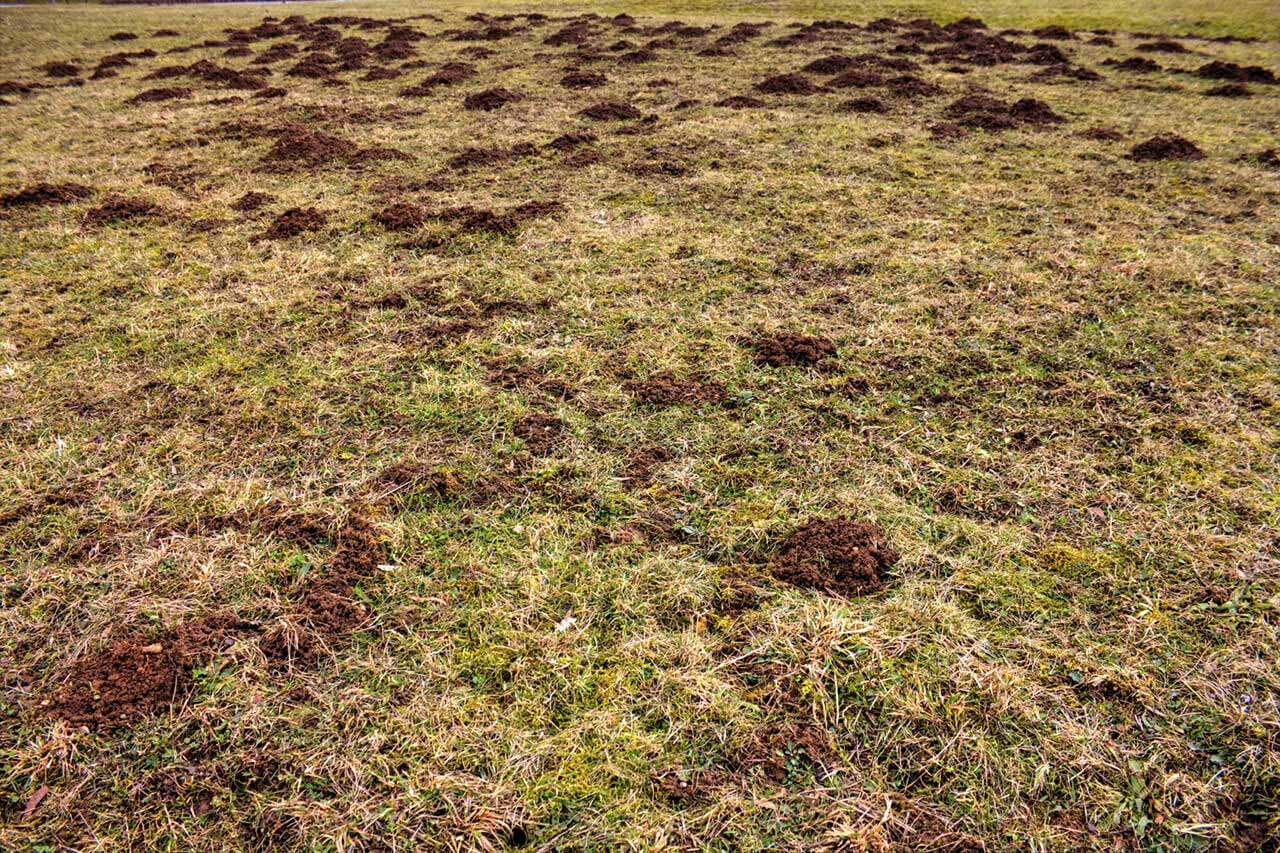
- Less surface tunneling: most activity is underground, not raised ridges across the lawn.
Mole vs. gopher
Moles are primarily insect eaters and soil invertebrate hunters (think grubs and earthworms). They create raised surface ridges that look like your yard has tiny speed bumps. They can leave volcano-like mounds too, but the biggest giveaway is the visible surface tunneling.
Vole vs. gopher
Voles are small rodents that make shallow runways through grass and ground cover, often with little openings you can see. In winter they can girdle trees and shrubs near the base. They typically do not leave big dirt mounds like gophers (although you can have voles and gophers at the same time).
What actually works: a simple game plan
If you want the most reliable results, think in layers. I like this order because it prioritizes proven methods and keeps the mess and cost under control.
- Confirm active tunnels so you’re not trapping a “ghost” system.
- Trap first for the fastest reduction.
- Use repellents as support or for light activity, not as your only tool.
- Exclude with gopher wire in high-value areas like gardens.
- Repair the lawn so your yard bounces back.
Quick legal note: Rules on trapping, toxic baits, and fumigants vary by state and city, and labels are the law. If you are unsure, check your local extension office or a licensed pro.
Find active tunnels
Gophers can maintain an impressive tunnel system. Some runs are highways, some are old dead ends. Traps work best when they’re placed on an active main run.
Quick “activity test”
- Pick a fresh mound (moist soil, crisp edges).
- Use a trowel to open the plug and expose a small section of tunnel.
- Cover the opening loosely with a board, clump of grass, or a bucket turned on its side to block light.
- Check in 12 to 24 hours. If it’s re-plugged, that tunnel is active.
Safety note: Wear gloves. It keeps things cleaner and may help reduce human scent around your set.
Trapping gophers
If you want a straight answer: trapping is the most dependable DIY way to get rid of gophers. Poisons are risky around kids, pets, and wildlife, and repellents are hit-or-miss. A properly placed trap is direct and fast.
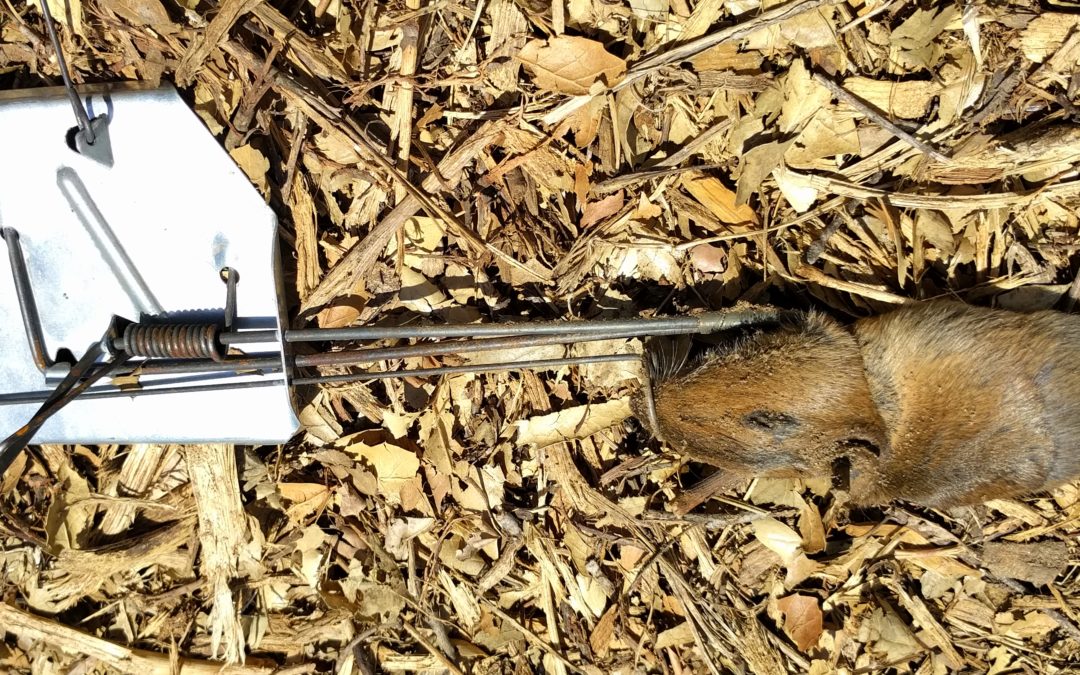
Common trap types
- Pincher-style traps (often set in pairs) that grab when the gopher pushes through the tunnel.
- Box-style traps that sit in-line with the tunnel and trigger when the gopher enters.
Both can work well. The real difference is your comfort level setting them and whether you can fit them cleanly into the tunnel without collapsing it.
How to set a trap
- Locate the main run. Use a probe, screwdriver, or a piece of rebar to find the hollow section 6 to 12 inches from a fresh mound. The probe will suddenly drop when you hit the tunnel. Before you probe or dig: watch for irrigation lines and call before you dig if there is any chance utilities are nearby.
- Open a clean access hole. Dig carefully until you expose the tunnel without crushing it.
- Set two traps, one in each direction. Gophers travel both ways. Two traps doubles your odds.
- Anchor your traps. Tie each trap to a stake with wire. If you skip this, you may lose the trap down the tunnel system.
- Block light, not movement. Cover the hole with a board or sod and a little soil. Keep it dark, but do not pack dirt into the tunnel where the trap needs space.
- Check daily. Reset as needed. Most active infestations show results quickly when the placement is right.
Mistakes to avoid
- Setting in a feeder tunnel instead of the main run. You’ll wait forever.
- Leaving the hole open so sunlight and airflow change the tunnel. Gophers often plug it before they ever hit the trap.
- Not using two traps. The gopher simply approaches from the other direction.
- Not marking the set. A small flag helps you avoid stepping on it or letting pets investigate.
How long does trapping take?
For a single gopher, you often see progress within a few days if you’re on an active run. If you’re still getting fresh mounds after a week of correct sets, you likely have multiple animals or you’re not consistently on the main run.
Why I skip baits and gas bombs
You will absolutely see gopher bait and “smoke” or gas bombs at the hardware store. People ask about them for a reason.
Poison baits (often containing zinc phosphide, or in some places restricted-use products like strychnine) can work in the right hands, but they come with serious downsides: higher risk around kids and pets, possible secondary poisoning of predators and scavengers, and legal restrictions that vary a lot by area. If you are thinking about baits, I’d honestly rather you talk to a licensed professional or your local extension office than wing it.
Gas and smoke bombs are heavily marketed, but they are often underwhelming in real yards. In porous or sandy soil, gas dissipates fast. In complex tunnel systems, you may not reach the right chamber. They also create fire risk in dry conditions and can be a bad fit in drought-prone regions with restrictions or high wildfire danger. For most homeowners, trapping is simpler, more targeted, and easier to verify.
Castor oil repellents
Castor oil products can make your yard less comfortable for gophers. Think of them as a nudge, not a guaranteed eviction notice. They’re most helpful when you have light activity or after trapping, when you’re trying to discourage new visitors.
How they work
They create an unpleasant taste and smell in the soil. Some people see good results, but overall the evidence is mixed and many extension offices rate repellents as inconsistent. Translation: results vary.
Application tips
- Follow the label for dilution and coverage. Different concentrates vary a lot.
- Water it in so it reaches the upper soil where tunnels and feeding happen.
- Reapply after heavy rain or irrigation cycles, as directed.
- Start at the problem area and work outward to avoid pushing them deeper under what you’re trying to protect.
Reality check: If the yard is basically a gopher buffet, repellents alone rarely solve it. Pair them with trapping or exclusion for best results.
Exclusion with gopher wire
If you have a veggie garden, new sod, or a section you’re tired of defending every season, exclusion is your long-term play. It’s more work up front, but it’s a one-and-done kind of project when installed correctly.
What to use
- Galvanized hardware cloth or purpose-made gopher wire.
- Mesh size: 1/2-inch is common for gophers. If you want extra protection (or you also battle smaller diggers), 1/4-inch hardware cloth can be a better, tougher-to-squeeze-through choice.
Where it makes sense
- Raised beds and in-ground garden plots
- Newly planted shrubs and young trees (as root baskets)
- Small lawn sections you plan to resod
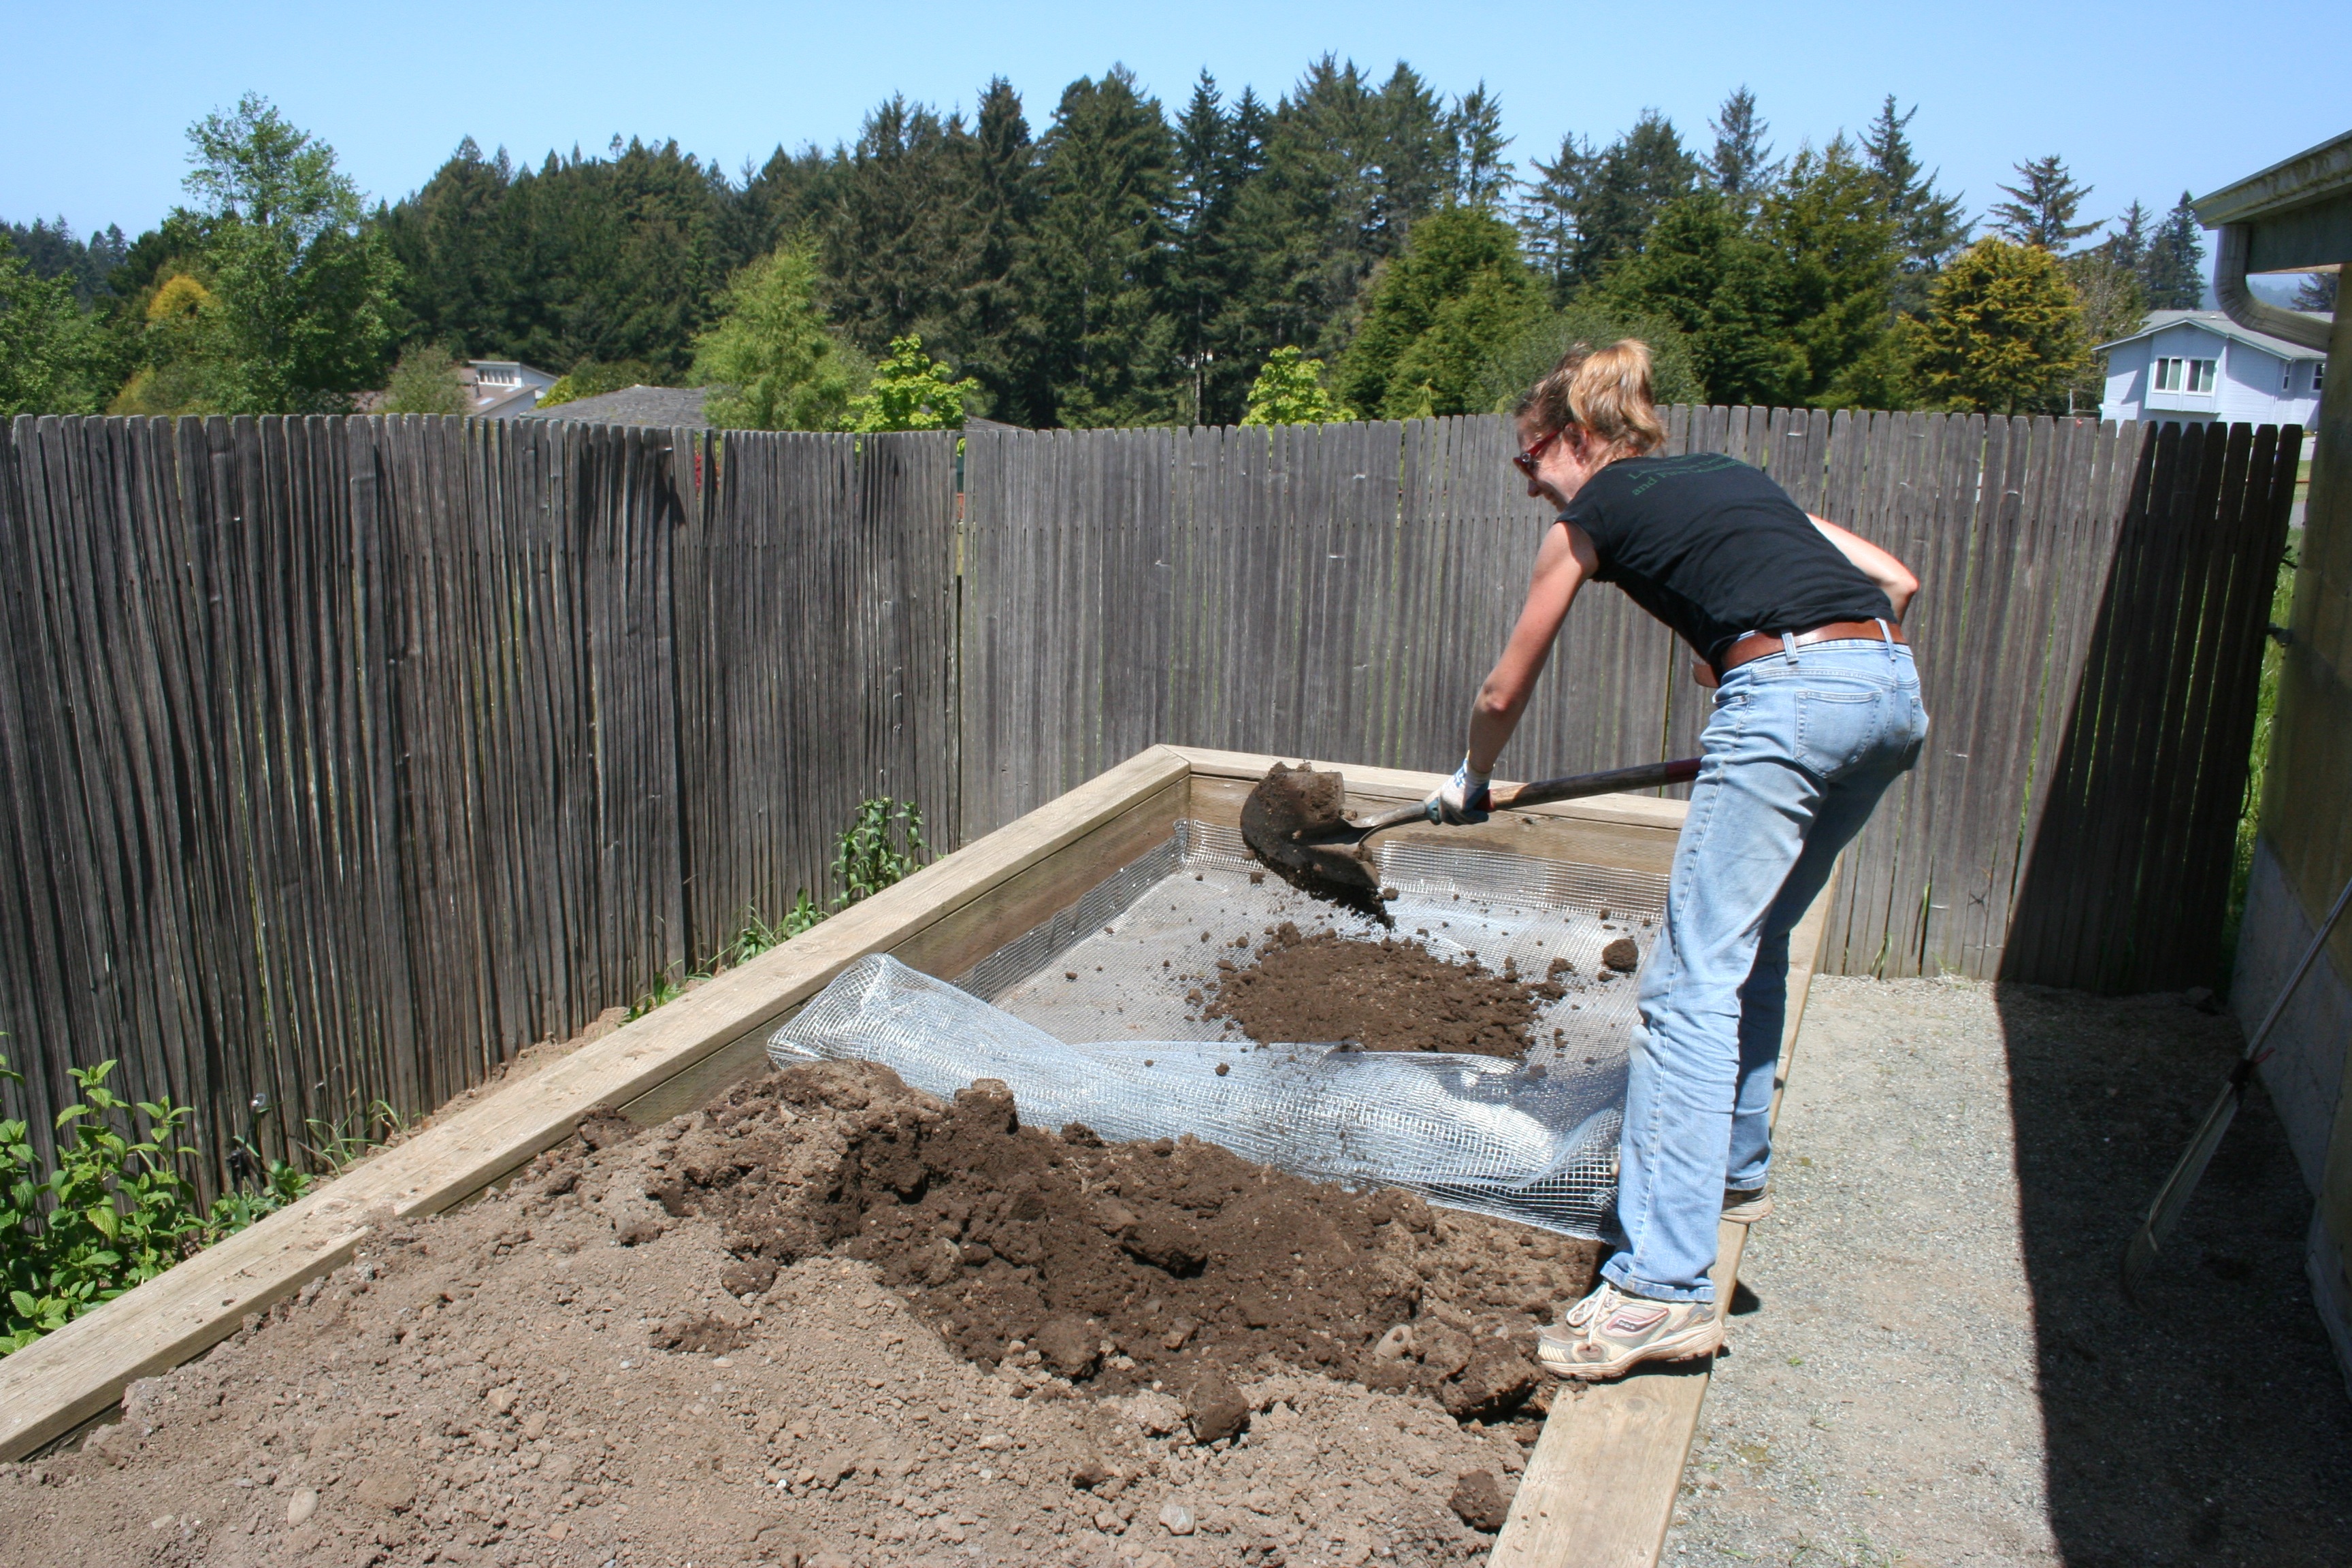
Basic installation
- For raised beds: Line the bottom with hardware cloth, overlap seams by a few inches, and staple or screw it to the frame with washers. Then add soil.
- For planting holes (root baskets): Form a basket that protects the sides and bottom of the root ball. Keep mesh below mulch level so it is not a tripping hazard and does not wick moisture away from the base.
- For in-ground barrier areas: If you are doing a larger protected zone, bury the mesh at least 18 to 24 inches deep where practical, and bend the bottom outward in an L-shape if you can. The big rule is simple: overlap, secure, and do not leave gaps.
Tip from my thrifty side: Even if you can’t afford to do the whole yard, protecting a “high-value zone” can save a lot of plants and frustration.
Flooding tunnels
Flooding can sometimes force a gopher to plug or relocate, but it is rarely a complete solution. Gophers are built for digging and they can seal off sections fast. Still, flooding can be useful as a short-term tactic in specific situations.
When it can help
- You have sandy soil that drains quickly.
- You’re trying to confirm tunnel connections or push activity toward a trapping zone.
- You are dealing with a small, localized system and can monitor it closely.
When to skip it
- Heavy clay soils that turn your yard into a mud pit.
- Near foundations, retaining walls, or areas where water could cause damage.
- If you already have saturated ground from rain.
- If you live in a drought-prone area with watering restrictions or high water costs.
Practical note: Flooding can create sinkholes as tunnels collapse. If you try it, plan on filling and leveling afterward.
When to hire a professional
DIY is great, but sometimes it’s not the best use of your time, especially if you’re fighting gophers on multiple fronts.
Call a pro if:
- You’re seeing new mounds daily across a large yard.
- The damage is near irrigation lines, a sprinkler manifold, hardscaping, or a foundation.
- You have pets or small kids and you’re not comfortable placing traps safely.
- You’ve trapped consistently for a week and still can’t get ahead of the activity.
When you talk to a pro, ask what method they plan to use (trapping is usually the backbone), how many visits are included, and whether they’ll help with prevention recommendations after removal.
Repairing your lawn
Once the tunneling stops, the yard fix is mostly a clean-up and recovery job. The sooner you address mounds and voids, the better your lawn will rebound.
Step 1: Flatten mounds
- Let the soil dry slightly so it crumbles instead of smearing into clumps.
- Use a rake to pull soil out and level it.
- If you have extra soil, remove a bit. If you have a low spot, keep it and use it as fill.
Step 2: Collapse and fill tunnels
- Walk the area and feel for spongy spots.
- Use the back of a rake, a lawn roller, or gentle foot pressure to collapse shallow voids.
- Topdress with screened topsoil to bring everything back to grade.
Step 3: Reseed or resod
- Scratch up the top 1/2 inch of soil, add a thin layer of topsoil, then seed and lightly rake in.
- Keep the area consistently moist until germination and establishment.
- For quick results, patch with sod, but make sure tunnels are dealt with first or you’re laying expensive carpet over a hole.
Step 4: Support recovery
- Go easy on heavy watering for a week or two if you’ve had major tunnel collapse.
- Mow high and avoid scalping stressed grass.
- Consider a light starter fertilizer for seeded patches, following label directions.
Preventing the next round
You can’t “gopher-proof” an entire neighborhood, but you can make your property less inviting and protect the areas you care about most.
- Keep high-value beds protected with gopher wire or root baskets.
- Stay on top of fresh mounds. Early action is cheaper than a full-blown tunnel city.
- Limit overwatering. Constantly soft soil is easier to dig and can encourage activity.
- Combine approaches. Trapping removes the current animal. Exclusion and repellents help reduce repeat problems.
If you take nothing else from this page, take this: identify correctly, then trap on an active main run. That’s the move that turns “I tried everything” into “I got my yard back.”
About Marcus Vance
Content Creator @ Grit & Home
Marcus Vance is a lifelong DIY enthusiast and self-taught home renovator who has spent the last decade transforming a dilapidated 1970s ranch into his family's dream home. He specializes in budget-friendly carpentry, room-by-room renovations, and demystifying power tools for beginners. Through his writing, Marcus shares practical tutorials and hard-learned lessons to help homeowners tackle their own projects with confidence.