Mice are one of those home problems that feels personal. They show up in the quiet hours, leave tiny reminders behind, and somehow make a normal kitchen feel like a campsite. The good news is you can handle most mouse problems yourself with a simple, organized plan: confirm activity, trap aggressively, seal entry points, clean correctly, and lock down prevention.
I have chased mice out of my 1970s ranch more than once, and the lesson I learned the hard way is this: trapping without sealing is like bailing water without patching the leak. Let’s do it in the right order.
Signs you have mice (and where to look first)
Mice are creatures of habit. They travel the same routes, hug walls, and prefer dark, quiet spaces close to food and nesting material.
Common signs
- Droppings: Small, dark pellets about the size of a grain of rice. Fresh droppings look shiny and soft, older ones look dull and crumbly.
- Scratching sounds: Often at night, especially in walls, ceilings, behind cabinets, or under floors.
- Grease rub marks: Dark smudges along baseboards or near holes where their fur oils transfer.
- Chew damage: Shredded paper, gnawed food packaging, chewed plastic, and sometimes chewed wiring (serious fire risk).
- Nesting material: Shredded insulation, fabric, paper towels, or dried plant material in a tucked-away spot.
- Odor: A musky smell in enclosed areas, especially if activity is heavy.
Hot spots I check in a typical house
- Under the kitchen sink and behind the dishwasher
- Inside the stove drawer and behind the fridge
- Pantry corners and lower cabinet toe-kicks
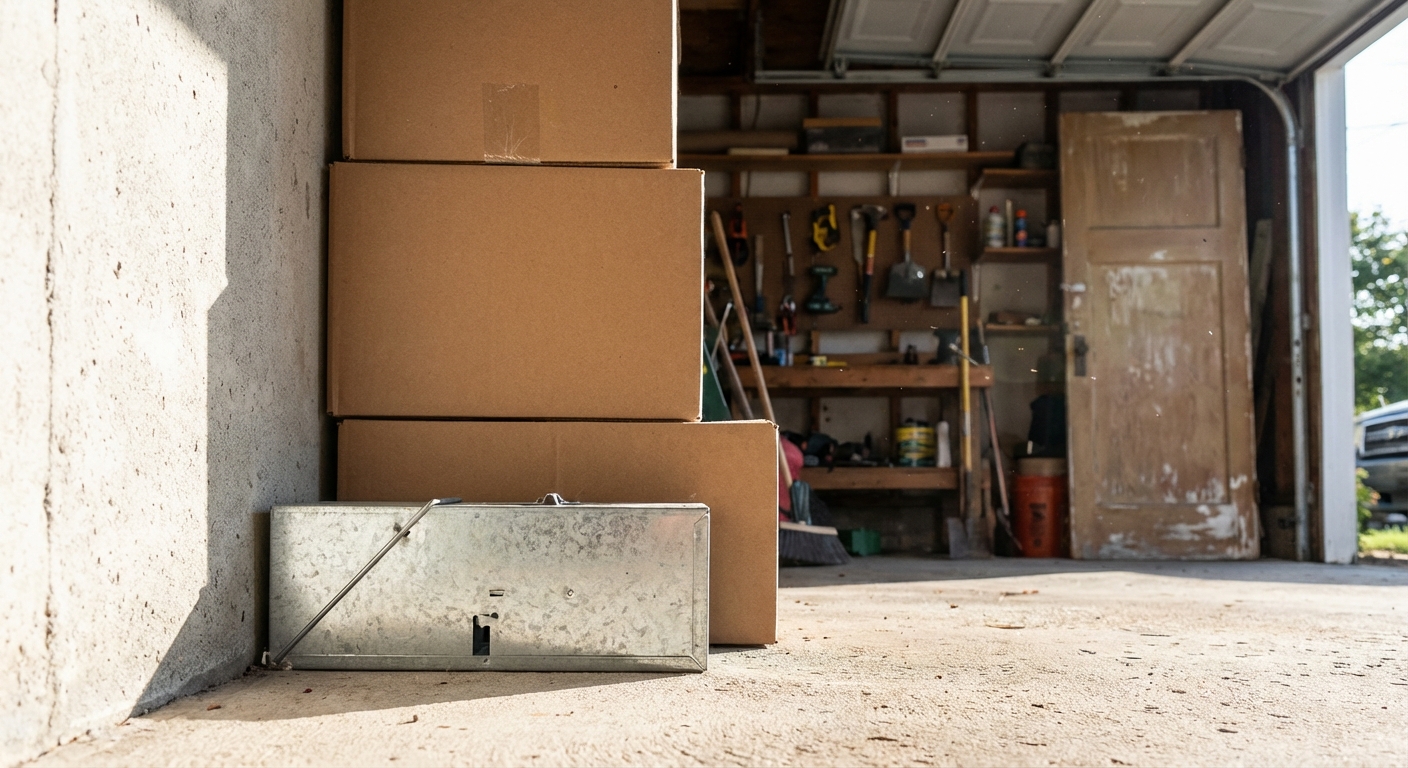
- Garage edges, storage shelves, and along exterior walls
- Basement rim joist area (where the foundation meets the framing)
- Attic corners near eaves and plumbing stacks
Quick reality check: One mouse sighting can still mean more than one mouse. They reproduce quickly, and if you found droppings in multiple rooms, assume you have an active problem.
Mice vs rats (quick check)
Before you buy a cart full of traps, make sure you are targeting the right pest. Mice and rats overlap, but the details change (especially trap size and entry holes).
- Droppings: Mouse droppings are smaller (rice-sized). Rat droppings are larger and thicker.
- Noise: Rats tend to sound heavier in walls and ceilings.
- Damage: Rats can do more aggressive chewing and may leave larger gnaw marks.
- Entry gaps: Mice can squeeze through very small openings (about 1/4 inch, roughly pencil-width). Rats need larger gaps.
If you suspect rats, size up your traps and consider professional help sooner, especially if you are hearing them in walls.
Do this first: remove food, water, and hiding spots
Before you set a single trap, make your house less rewarding to visit. This also makes traps work faster because mice are motivated to investigate bait.
- Move food into hard containers: Use glass or thick plastic bins with tight lids for cereal, pet food, bird seed, and snacks.
- Clean up the night shift buffet: Wipe counters, sweep crumbs, and do not leave dirty dishes overnight.
- Take out trash nightly: Or use a lidded can that seals well.
- Fix easy water sources: Dripping pipes under sinks, pet water bowls left out overnight, condensation pans.
- Declutter nesting stuff: Cardboard piles, paper bags, old rags, and stored textiles on the floor.
DIY trapping methods that actually work
If you want the fastest DIY results, your best friend is a well-placed trap, set in the right locations, in sufficient numbers. I know it’s tempting to buy one trap and “see what happens.” Don’t. A real plan uses multiple traps and a tight layout.
Option 1: Snap traps (fast, affordable, effective)
Snap traps are the best DIY choice for most homes because they work quickly and let you confirm progress.
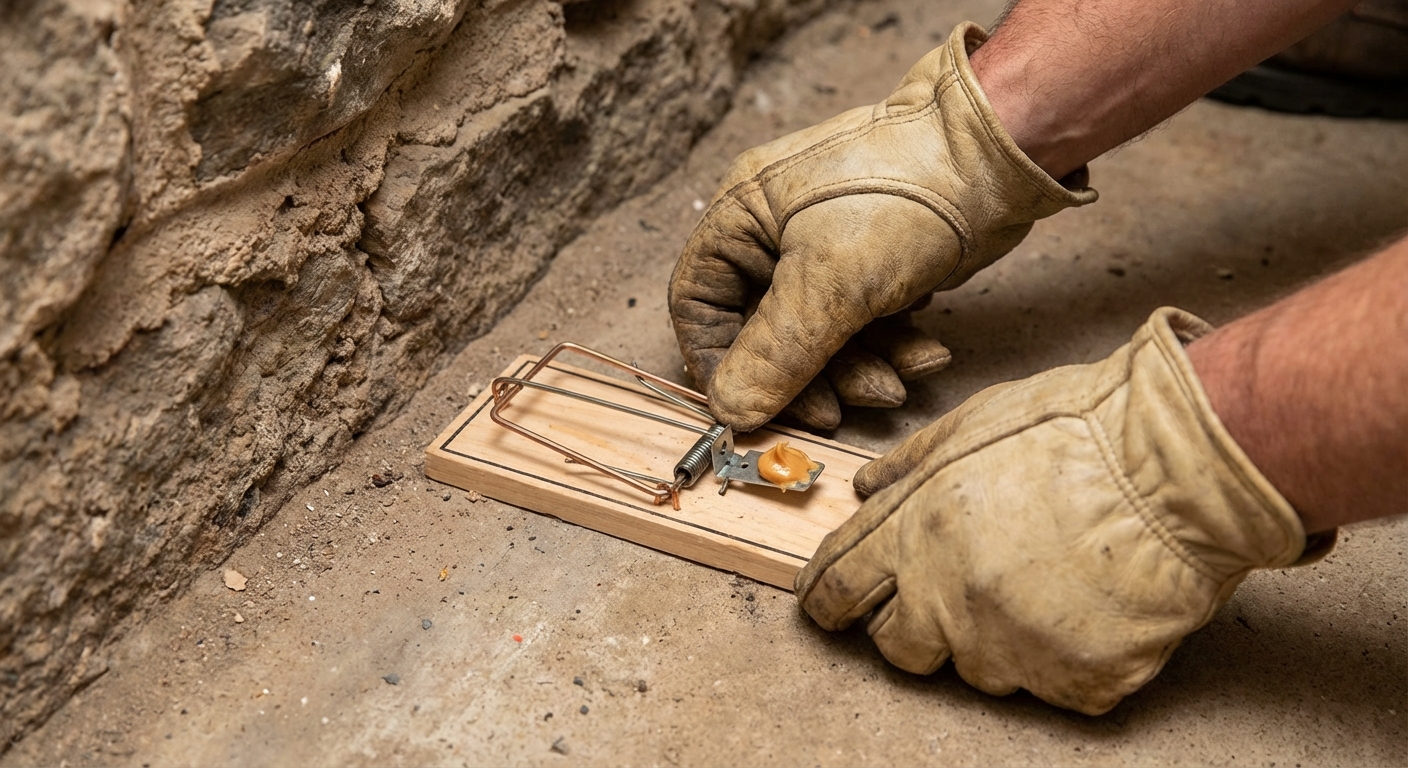
How to bait snap traps
- Top bait: Peanut butter because it sticks and forces the mouse to work the trigger.
- Other good baits: Chocolate, oats, a small piece of jerky, or a tiny smear of bacon grease.
- Pro tip: Use a tiny amount. If you glob it on, mice can sometimes lick without firing the trap.
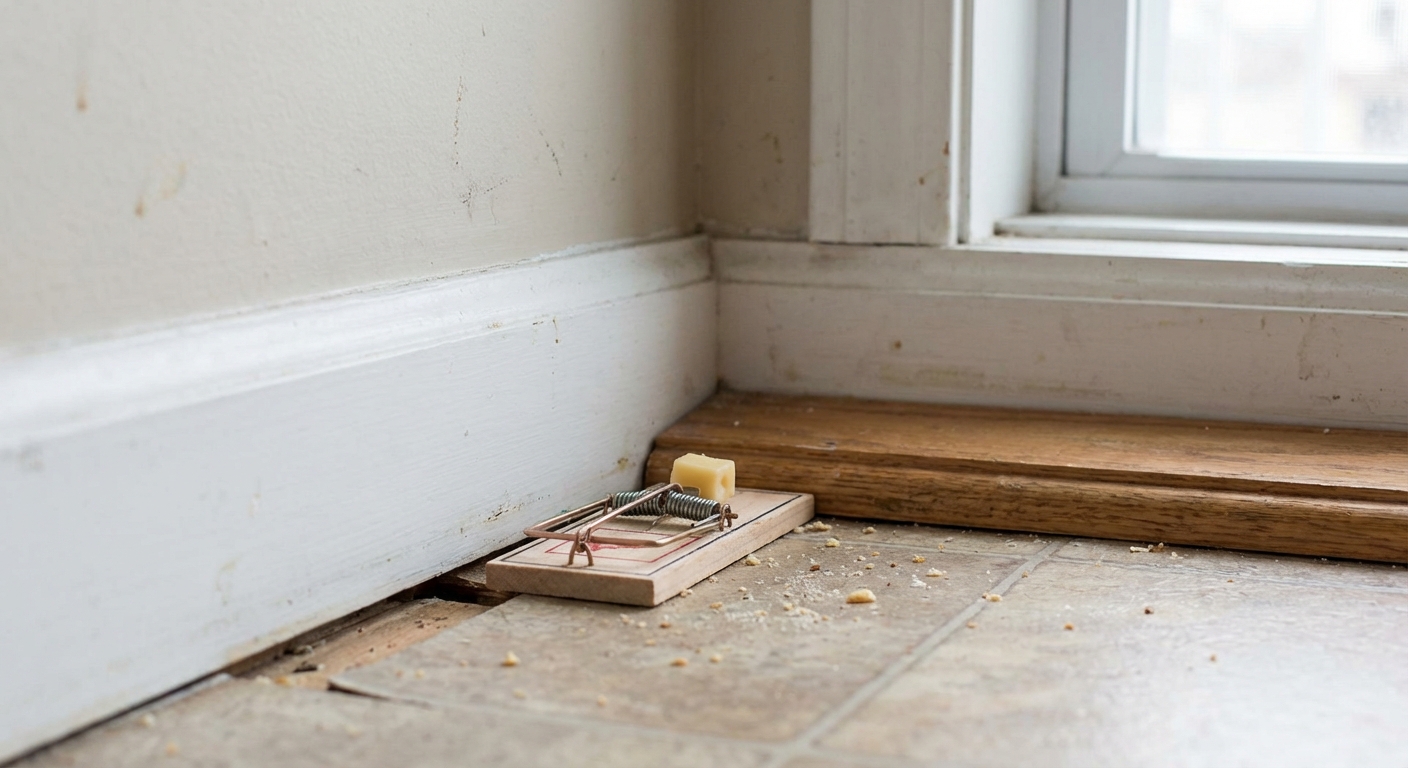
How to place snap traps (this matters more than bait)
- Place traps along walls where mice travel, not out in open floor space.
- Set the trap so the trigger end is closest to the wall.
- Spacing: As a baseline, place traps every 6 to 10 feet along known wall runs. In heavy activity areas, go closer.
- Double up at hot spots: In tight runs (behind the fridge, under the sink), set two traps a few inches apart, or at right angles, to catch cautious mice that hop or circle.
- Use more traps than you think: a good starting point is 6 to 12 traps for an active kitchen or basement.
- Focus on choke points: behind the fridge, under the sink, pantry corners, garage wall edges.
Safety note: If you have kids or pets, consider enclosed snap trap stations or place traps in areas they cannot access (behind appliances, inside cabinets, in the attic with the hatch closed).
Option 2: Live traps (humane, but requires follow-through)
Live traps can work, especially for a single mouse. The trade-off is you must check them often and release responsibly.
- Check live traps at least morning and evening. More often is better.
- Bait with peanut butter, oats, or a small piece of bread.
- Wear gloves when handling the trap.
- Release guidance: If relocation is allowed where you live, many homeowners aim for at least 1 to 2 miles away to reduce the chance of return. Local rules and guidance vary, and in some places relocating rodents is discouraged or illegal, so check local regulations first.
If you are already seeing multiple signs, I usually recommend snap traps for speed and certainty.
Option 3: Bucket traps (high capacity for garages and basements)
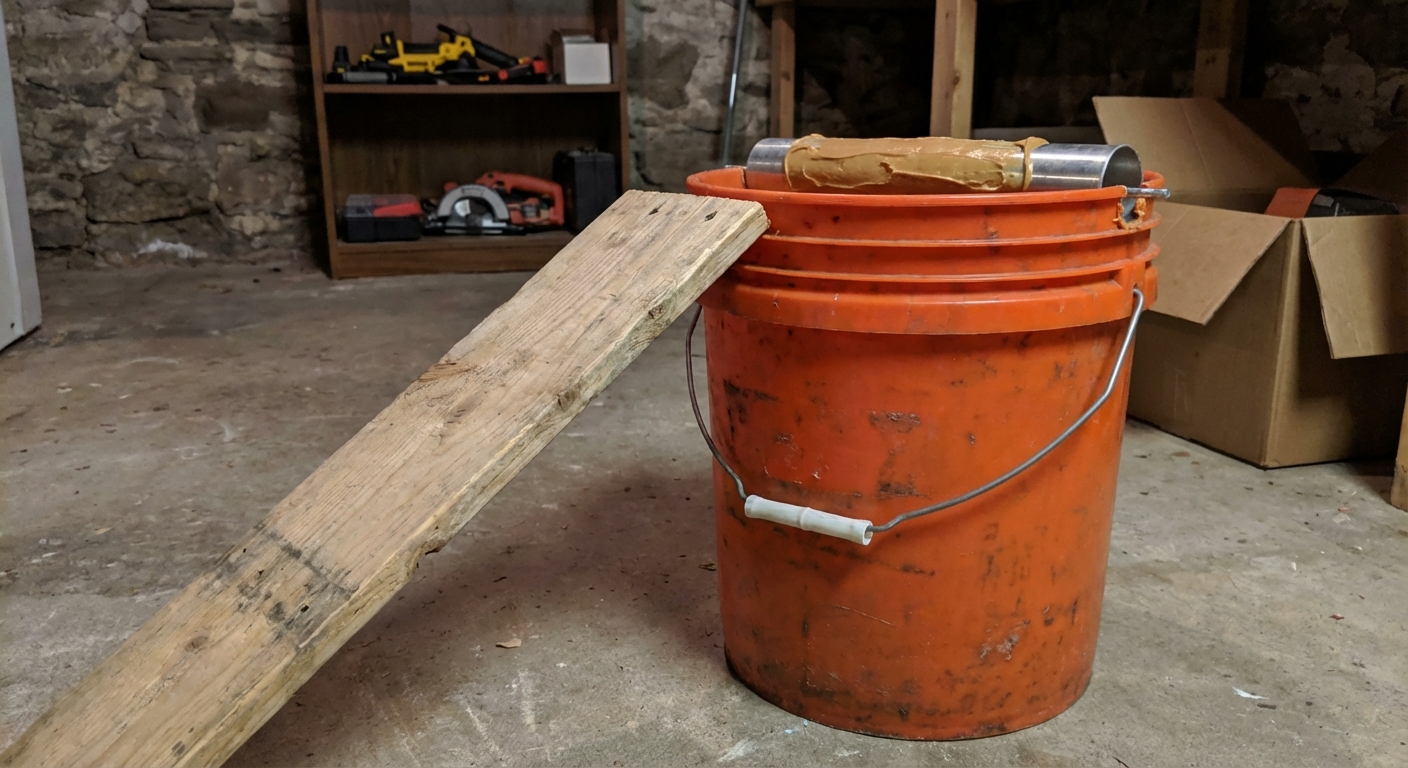
Bucket traps are popular for good reason: they can catch multiple mice in one night. They are best for areas like garages, sheds, or unfinished basements where you suspect heavy activity.
Simple bucket trap setup
- Use a clean 5-gallon bucket.
- Add a ramp (scrap wood works) so mice can climb to the rim.
- Use a rolling bait bar or spinning mechanism over the bucket opening and bait it with peanut butter.
- Place it along a wall near where you see droppings.
Important: Bucket traps vary in how they work. Read and follow the product instructions closely, and keep them away from kids and pets.
Glue traps (why I skip them)
A lot of people reach for glue boards. I avoid them. They are messy, stressful for the animal, and can accidentally catch non-targets (including pets). If you want a straightforward DIY approach, snap traps and proper sealing are the cleaner, faster path.
Trap tips most people miss
- Wear gloves: Not because your scent always scares mice off, but because it is cleaner and safer.
- Rodenticides: I avoid DIY poison baits indoors. Mistakes can lead to dead mice in walls, odor problems, and risks to kids and pets. If rodenticides are used, they should be in tamper-resistant bait stations and used thoughtfully, or handled by a pro.
- Reset and rotate: If a spot stays inactive for 3 to 4 nights, move the trap to a new wall run.
- Keep trapping after it gets quiet: Once signs drop off, keep traps out for several days to a week to make sure you caught the stragglers.
Seal entry points (the step that makes it stick)
Once traps are working, sealing is what keeps the next wave from replacing what you caught. Mice can squeeze through openings about 1/4 inch (roughly pencil-width). If you only trap, you will keep meeting new mice.
Where mice get in
- Gaps around plumbing under sinks and behind toilets
- Holes where HVAC lines, cables, and gas lines pass through walls
- Garage door corners and worn weatherstripping
- Foundation cracks and siding gaps
- Gaps at the rim joist and sill plate area
- Dryer vent and exhaust vent openings (especially missing or damaged covers)
What to use (simple DIY materials)
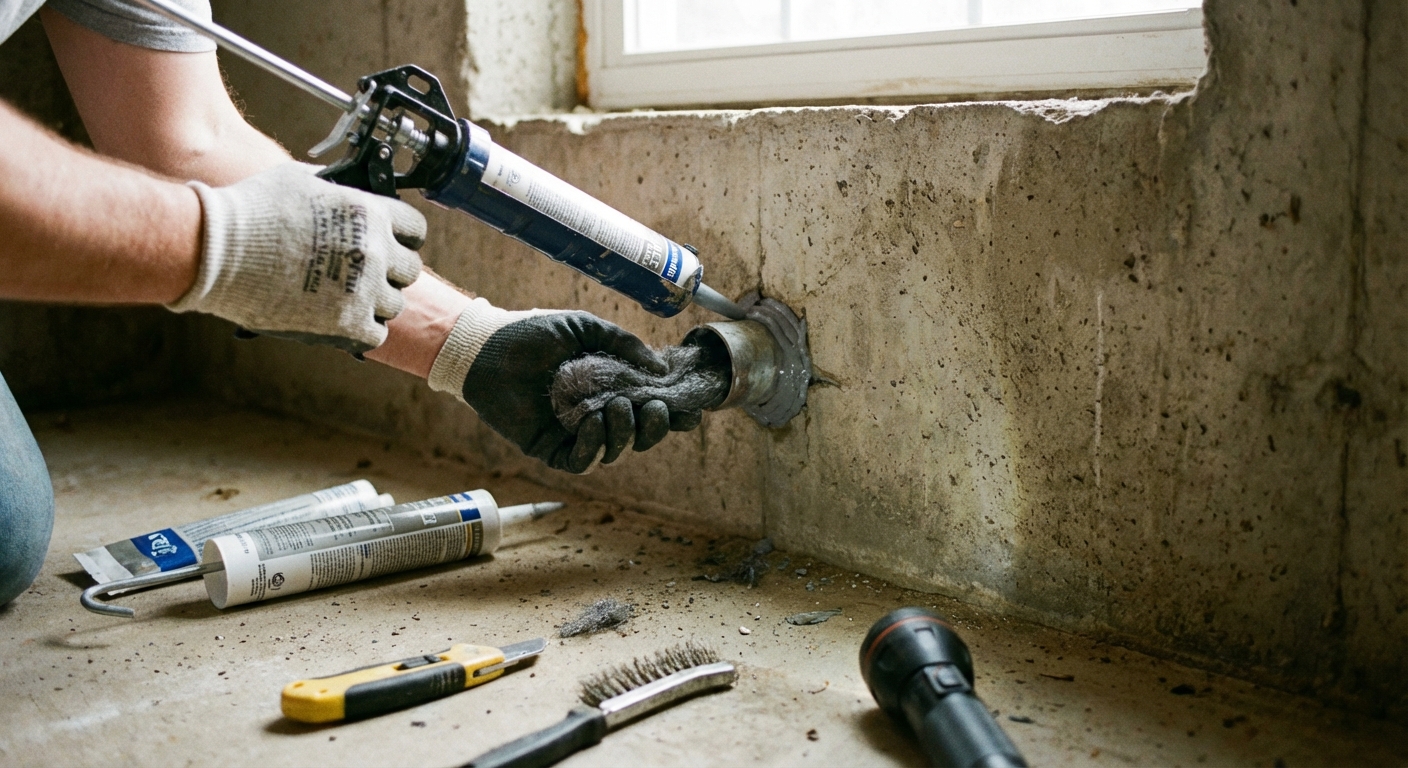
- Steel wool + caulk: Great for small gaps. Stuff the hole tightly with steel wool, then seal over it with caulk.
- Expanding foam: Useful, but mice can chew it. Use it as part of a system, not alone.
- Hardware cloth (metal mesh): Excellent for larger openings and vent areas.
- Door sweeps and weatherstripping: Especially on garage and exterior doors.
- Mortar or patch compound: Best for foundation gaps that need a rigid repair.
A practical sealing checklist
- Walk the exterior at dusk with a flashlight and look for gaps at the foundation and around penetrations.
- From inside, check under sinks, behind appliances, and at basement utility areas.
- Seal first-floor and basement penetrations before chasing attic mysteries. Most mice start low and work up.
Natural deterrents: what helps, and what’s mostly hype
Deterrents can support your plan, but they rarely solve an infestation alone. Think of them like a door lock, not a security system.
Deterrents that can help
- Reduce cover outdoors: Keep grass trimmed, move woodpiles away from the house, and avoid dense clutter against exterior walls.
- Keep pantry items contained: Hard containers reduce smells and access.
- Peppermint oil: Some homeowners have success as a short-term repellent in small areas. Refresh frequently and keep it away from pets that are sensitive to essential oils.
Deterrents I don’t rely on
- Ultrasonic plug-ins: Results are inconsistent, and mice often ignore them over time.
- Mothballs: Not a safe or reliable mouse solution for indoor air quality.
- One magic scent solutions: If there’s food and shelter, a motivated mouse will push through most smells.
Cleanup: how to handle droppings safely
Mouse droppings and nesting material can carry germs. The goal is to avoid kicking particles into the air. Public health guidance commonly recommends wetting and disinfecting first, then wiping up, not dry sweeping or vacuuming.

Safe cleanup steps
- Ventilate the area: Open windows and doors for at least 30 minutes if possible.
- Wear protection: Disposable gloves at minimum. In dusty spaces or heavier infestations, a well-fitting respirator (often an N95) is a smart upgrade.
- Do not sweep or vacuum droppings: That can send particles airborne.
- Spray and soak: Use a disinfectant, or a bleach solution mixed per label directions. Many public health guides use a mix of 1 part bleach to 9 parts water as a common disinfecting ratio. Let it sit for several minutes.
- Wipe up with paper towels: Bag everything, seal the bag, and dispose in an outdoor trash bin.
- Disinfect again: Mop or wipe the area after removal.
- Wash hands: Even if you wore gloves.
What to do with dead mice and used traps
- Spray the mouse and trap with disinfectant and let it sit a few minutes.
- Use gloved hands and a paper towel to pick up the mouse, then bag it. Seal that bag inside a second bag.
- Dispose in an outdoor trash bin with a tight lid.
- Disinfect the trap (or discard it), then wash hands thoroughly.
What about insulation and ducts?
If you find heavy nesting in insulation or droppings throughout an attic, you may be looking at a bigger remediation job. In that case, I’d lean toward professional help, especially if you are dealing with contaminated insulation or hard-to-access spaces.
Preventing re-entry: the stay gone plan
Once trapping slows down and you’ve sealed the obvious holes, prevention becomes simple maintenance.
- Keep traps staged: I like to leave a couple snap traps (unset or set in safe areas) in the garage or basement as an early warning system.
- Store pet food properly: Metal cans or hard bins with tight lids.
- Trim back vegetation: Give your house a buffer zone of less cover.
- Upgrade weatherstripping: Especially garage door bottoms and side seals.
- Seasonal exterior walk-around: Every fall, do a 10-minute scan for new gaps and seal them before cold weather pushes rodents indoors.
When to call an exterminator
DIY works great for light to moderate activity, but there are times when you should bring in a licensed pest professional.
- You keep catching mice for more than 10 to 14 days with no clear slowdown.
- You see mice during the day, which can indicate heavy activity.
- You find significant droppings in multiple rooms or in HVAC areas.
- You suspect mice in walls or ceilings and can’t identify entry points.
- You have recurring infestations each season even after sealing.
- There is potential wiring damage or you notice flickering breakers and chewed cables.
A good exterminator should explain where entry points are, what exclusions they’ll do, and how they will monitor results. If the plan is “we’ll just place bait,” ask hard questions about placement, bait stations, and safety.
Quick-start plan (what I’d do this weekend)
- Tonight: Clean up food sources, sweep crumbs, and secure pantry items.
- Tonight: Set 6 to 12 snap traps along walls in the kitchen, pantry, and any area with droppings (aim for roughly every 6 to 10 feet on the main runs).
- Tomorrow: Check traps, reset, and add more where you see activity.
- This weekend: Seal gaps under sinks, around pipes, and at the rim joist or garage corners using steel wool plus caulk, and hardware cloth where needed.
- Next week: Keep trapping until you go several days with no signs, then shift into prevention mode.
If you stick to that order, you will usually go from “we have mice” to “we used to have mice” faster than you think.
Supplies checklist
- 6 to 12 snap traps (more if activity is heavy)
- Peanut butter (or chocolate or oats)
- Disposable gloves
- Mask or respirator (especially for dusty areas)
- Disinfectant or bleach
- Paper towels and trash bags
- Flashlight
- Steel wool, caulk, and a caulk gun
- Hardware cloth and snips (for larger openings)
- Weatherstripping or a door sweep (as needed)
Common questions
How many traps should I set?
More than feels reasonable. For an active area like a kitchen or garage wall, 6 to 12 snap traps is a practical starting range. Too few traps is one of the biggest DIY slowdowns.
Where should I not put traps?
Avoid open areas where kids or pets can access them. Also avoid dusty, high-traffic spots where traps get bumped and dragged out of position.
Is one mouse a big deal?
It can be. A single mouse may be a lone explorer, or it may be the first one you noticed from a larger group. Treat it seriously, trap immediately, and seal entry points.
About Marcus Vance
Content Creator @ Grit & Home
Marcus Vance is a lifelong DIY enthusiast and self-taught home renovator who has spent the last decade transforming a dilapidated 1970s ranch into his family's dream home. He specializes in budget-friendly carpentry, room-by-room renovations, and demystifying power tools for beginners. Through his writing, Marcus shares practical tutorials and hard-learned lessons to help homeowners tackle their own projects with confidence.