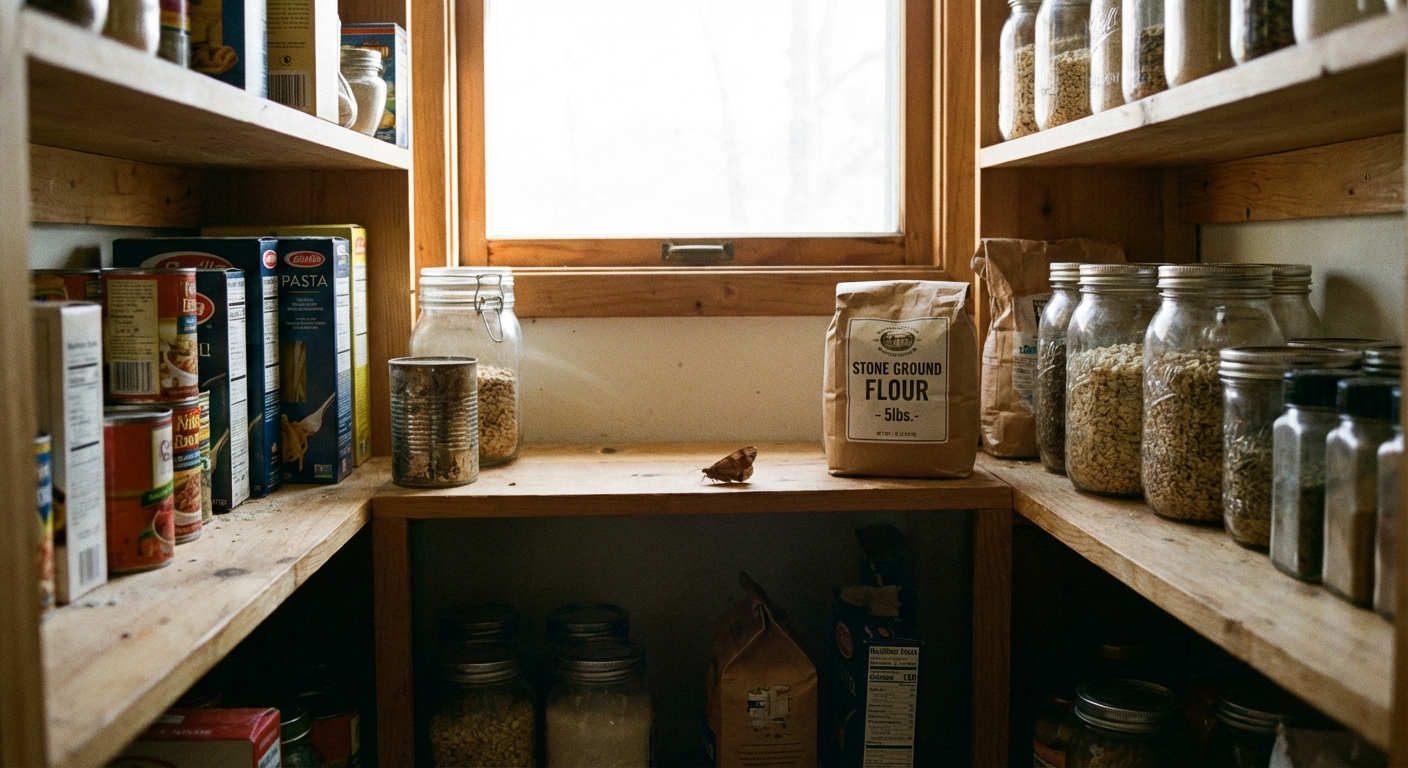
If you have tiny moths fluttering around your kitchen at night or you keep finding webby clumps in flour, cereal, or rice, you are dealing with pantry moths. That “webby clump” looks like fine silk threads, sometimes with little gritty bits stuck in it, kind of like a tiny spider set up shop in your cereal. One of the most common culprits in North American homes is the Indian meal moth (but it is not the only stored-food moth you can run into). The good news is you can beat them without turning your pantry into a chemistry lab. The bad news is you have to be thorough. Miss the source, and it feels like they “magically” come back.
This is the exact approach I use in my own house: find the source, remove it, clean like you mean it, trap the adults, then upgrade storage. Do it in that order and you can get rid of pantry moths for good.
Pantry moths 101
What pantry moths look like
- Adult moths: About 3/8 inch long with narrow wings. Indian meal moths typically have a two-tone look: pale gray near the head and coppery brown on the outer wings.
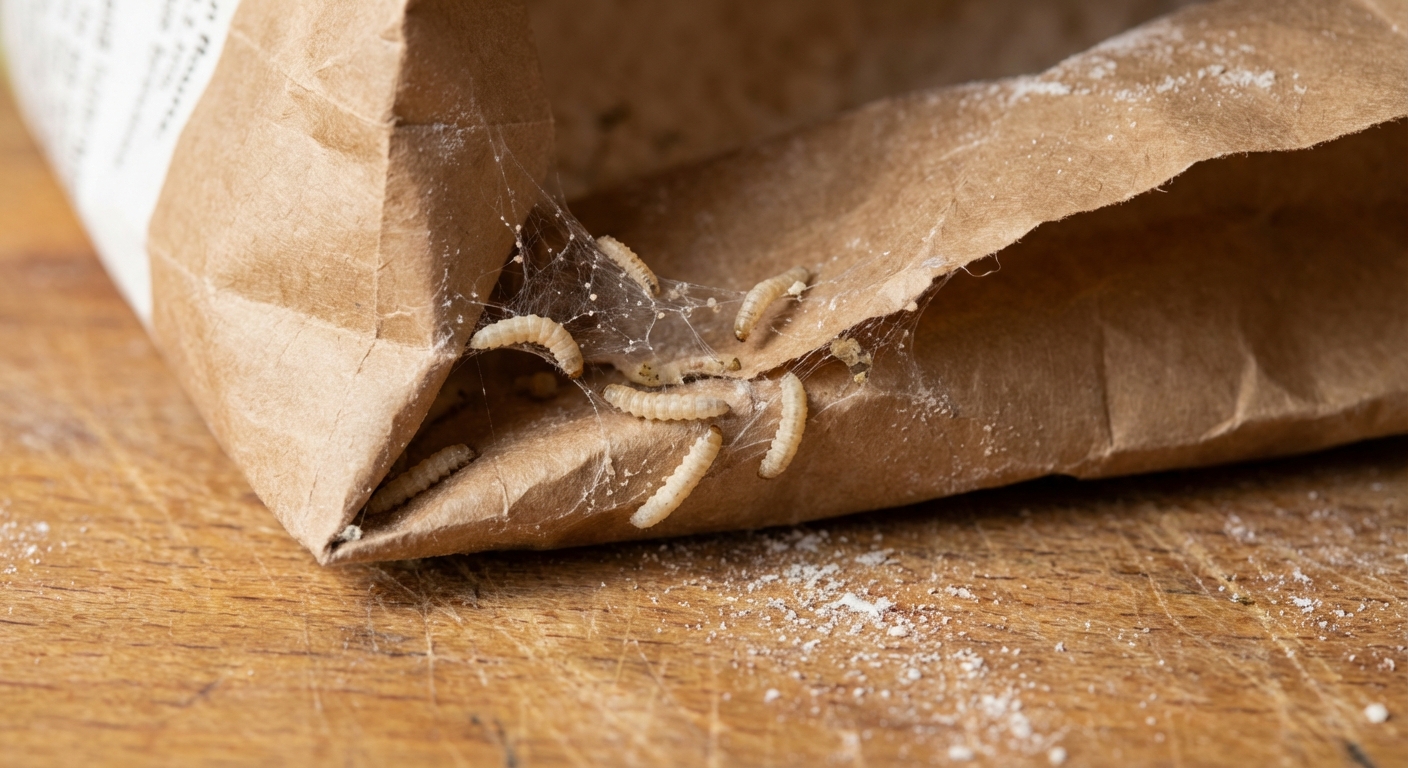
- Larvae: Small off-white to yellowish “worms” (caterpillars) that may have a darker head. These are the ones actually eating your food.
- Webbing: Silky threads and clumps in corners of bags, in jar rims, or on the surface of food. This is often the first “tell.”
What they eat
They love dry stored foods, especially:
- Flour, cornmeal, pancake mix
- Rice, pasta, oatmeal, cereal
- Nuts, seeds, dried fruit
- Chocolate, spices, tea
- Pet food and bird seed
Why they keep showing up
Most infestations start because eggs or larvae came home inside a package from the store. Pantry moths do not need “dirty” kitchens. They need one forgotten bag with a tiny hole, and they are in business.
Also, larvae often wander away from the food to pupate, which is why people find them on walls, ceilings, or in cabinet corners even when the “bad” food is on a lower shelf.
Step 1: Confirm pantry moths
Before you empty the pantry, make sure you are chasing the right problem.
- Pantry moths: Hang out near kitchens and dry goods. You often see them near the ceiling, on walls, or inside cabinets.
- Clothes moths: Prefer closets, wool, and fabrics. They avoid light and you rarely see them flying around open rooms.
- Fruit flies/gnats: Hover around sinks, produce, and trash. No webbing in dry food.
If you have webbing in flour, larvae crawling on a shelf, or moths appearing near your dry goods, treat it as pantry moths.
Step 2: Find the source
In my experience, the “main source” is almost always one of these: a half-used bag of flour, an old box of cereal, a rarely used bag of nuts, or a pet food bin. Your goal is to find the item with the most webbing, larvae, or clumping.
Empty the pantry completely
Yes, everything. Do not just check the front row. Pantry moths love the back corners and the forgotten stuff.
Check the sneaky sources too
If you are still seeing moths after you checked the obvious dry goods, widen the search. These problems love a “random” source item.
- Bird seed and pet food stored in a garage, laundry room, or mudroom
- Holiday baking supplies (sprinkles, nuts, chocolate chips) shoved in the back of a cabinet
- Snack bins, lunchbox stashes, protein bars
- Decorative dried items (dried corn, grain decor, wreaths, potpourri) near the kitchen
Inspect every item like a suspicious detective
- Open bags and look for webbing, clumps, “dust,” or movement.
- Check seams, folds, and corners of packaging. Larvae hide there.
- Look under jar rings and inside lids. Eggs can cling to threads and rims.
- Do not forget pet food, treats, and bird seed.
What about unopened packages? If you have had a heavy infestation, treat “sealed” as “probably fine, but not guaranteed.” Inspect for pinholes, damaged seams, or powdery debris inside the box. If it is high-risk (flour, cereal, rice, nuts), I either freeze it (see Step 6) or I replace it.
What to toss immediately
- Anything with visible webbing, larvae, or moths
- Open packages you are not willing to freeze or quarantine
- Items that are old enough you would not be excited to cook with them anyway
My thrifty rule: If it is cheap to replace and you are unsure, toss it. Saving a $2 bag of rice is not worth restarting the whole problem.
Step 3: Bag and remove trash
When you throw away infested food, do not drop it loosely in an indoor trash can. That is basically a moth daycare.
- Put infested items in a sealed trash bag.
- Take it straight to the outdoor bin.
- If your outdoor bin is close to the house, consider taking trash out right before pickup.
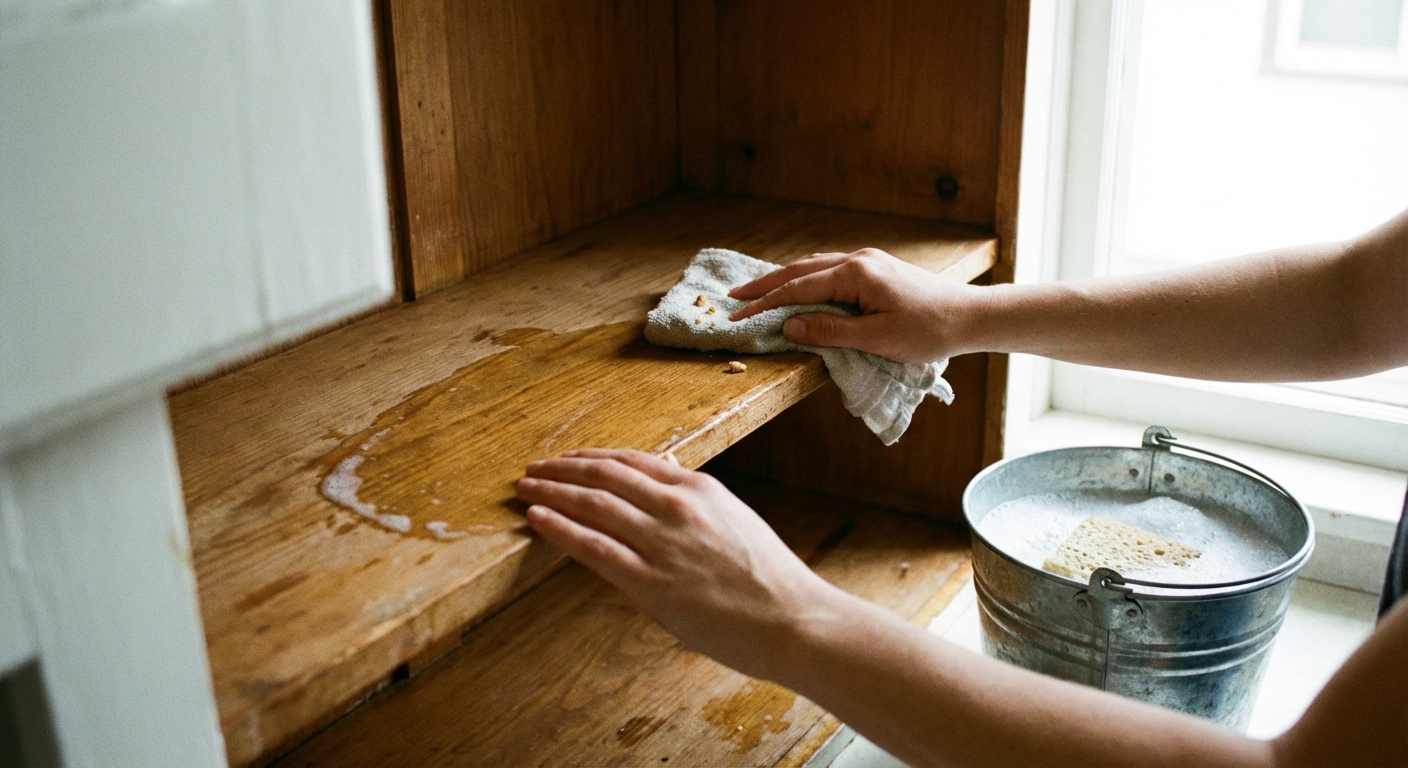
Step 4: Deep clean the pantry
This is where most “I tried everything” stories go wrong. Eggs and larvae can be tucked into peg holes, shelf pin holes, cracks, and the little lip where a shelf meets the cabinet wall.
What you need
- Vacuum with a crevice tool
- Warm soapy water
- White vinegar (optional, for wiping)
- Clean rags or paper towels
- An old toothbrush or small scrub brush
Do not forget your containers
Before you put anything back, wash your existing food storage containers, even if they “look clean.” Eggs love to hide in jar threads, lids, and rubber gaskets.
- Wash containers and lids in hot soapy water, or run them through the dishwasher if they are dishwasher-safe.
- Scrub threads, grooves, and gasket channels with a small brush.
- Let everything dry completely before refilling.
Cleaning steps
- Vacuum first. Hit every shelf surface, corners, shelf pin holes, cabinet seams, and the floor of the pantry. Vacuuming removes eggs, larvae, and food dust they feed on.
- Immediately empty the vacuum. Dump the canister or remove the bag, seal it in a trash bag, and take it outside.
- Wash shelves and walls. Use warm soapy water. Scrub corners and cracks with a toothbrush.
- Wipe with vinegar (optional). Vinegar is not a magic moth killer, but it helps cut odors and leaves a clean surface. Use it after soap and water, not instead of it.
- Let it dry fully. Moisture plus crumbs equals a pantry that feels “friendly” to pests.
Do not skip these spots
- Undersides of shelves
- Hinges and door corners
- Top shelf and the ceiling of the cabinet
- Shelf pin holes and adjustable track slots
- Gaps along trim or face frames
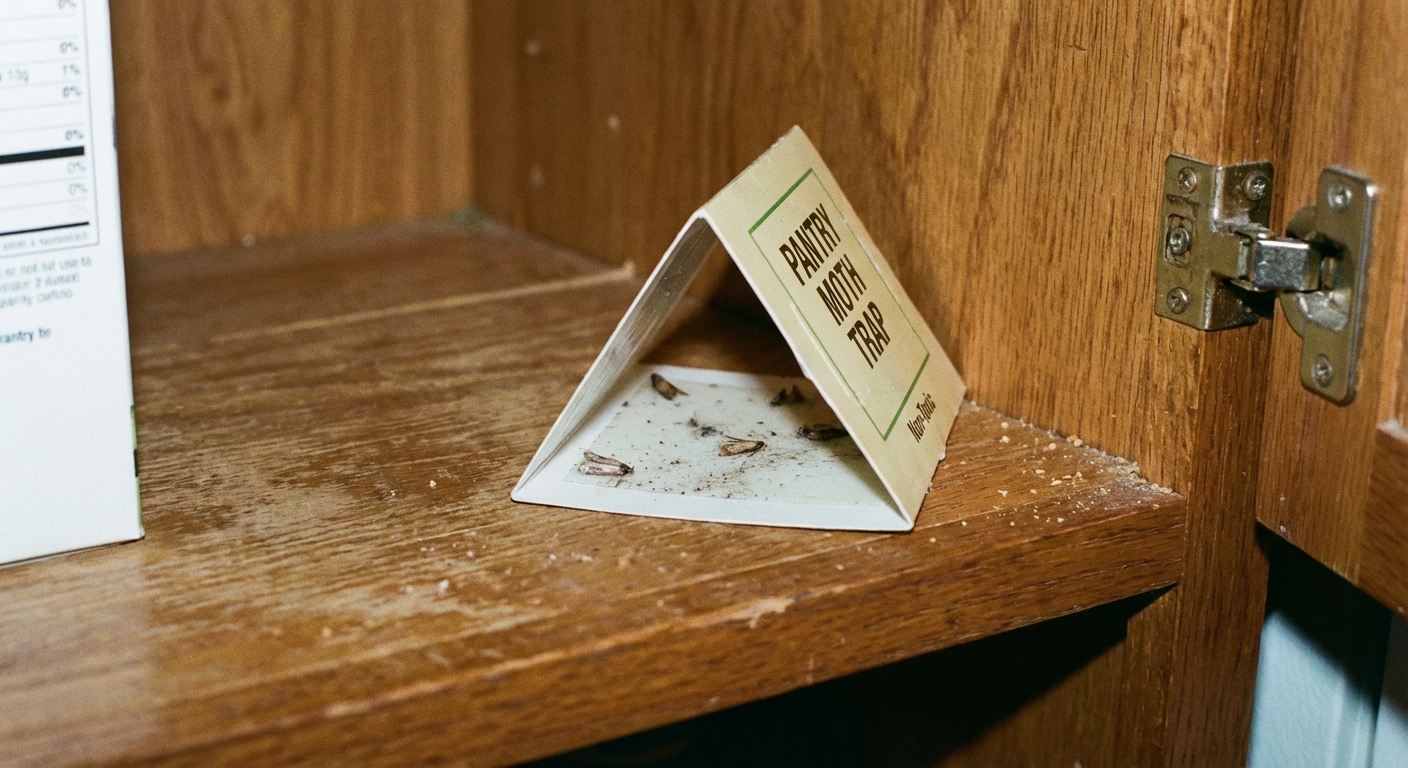
Step 5: Use pheromone traps
Pheromone traps are a huge help, but only if you use them with cleaning and food removal. They are not a stand-alone solution.
How pheromone traps work
They attract and capture male Indian meal moths. That reduces breeding and gives you a clear signal of whether you still have activity.
Where to place traps
- Inside the pantry near the center or upper area
- Near the area where you have seen moths (kitchen ceiling corner, cabinet top)
- One trap per pantry is often enough for monitoring, but use more if you have a large walk-in pantry or multiple cabinet zones
Trap tips
- Do not put traps right next to open food. You do not want to lure moths to an accessible buffet.
- Change traps on schedule. Most are effective for about 4 to 8 weeks, depending on the brand and conditions.
- Use traps after cleaning. Otherwise you are masking the real issue, which is still-infested food.
How to read the results: catching a few moths early on is normal. If you are still catching moths steadily week after week, assume you missed a source or eggs are still hatching somewhere and re-check Step 2 and Step 4.
Step 6: Treat what you keep
If you found moth activity, assume any questionable dry goods could have eggs even if you do not see them. Two reliable DIY methods are freezing and heat treatment.
Freezing method (my go-to)
- Put items in the freezer at 0°F / -18°C or colder for at least 72 hours. For a bigger safety buffer, many extension-style recommendations land closer to 4 to 7 days, especially for bulky items or tightly packed bags.
- After freezing, let them come to room temp while still sealed to avoid condensation.
Heat method (use caution)
- Some dry goods can be heat-treated in the oven at about 130°F to 140°F for around 60 minutes, but heat-kill guidance varies by item, thickness, and life stage.
- Use an oven thermometer. Most ovens are not accurate at low temperatures, and hot spots are real.
- This can ruin foods, melt packaging, or create off flavors. I typically reserve heat for non-food items like certain bird seed stored in heat-safe containers.
- If you want the most conservative numbers for your situation, check your local university extension guidance.
If you are unsure whether a food will tolerate freezing or heating, it is usually smarter to replace it and move on.
Step 7: Upgrade storage
Cardboard and thin plastic bags are not moth-proof. Adults usually get in through gaps or poor seals, and larvae can chew through thin paper and some plastics.
Best containers
- Hard plastic or glass containers with gasket seals (my favorite for flour, sugar, rice)
- Mason jars for smaller items like nuts, spices, and dried fruit
- Thick pet food bins with tight-fitting lids, or keep pet food in its bag inside a sealed bin

Simple habits
- Decant new purchases into sealed containers, especially flour, rice, cereal, and pet food.
- Label and rotate so older items get used first.
- Wipe crumbs from shelves and container rims during normal kitchen cleaning.
- Freeze high-risk items (especially bulk grains) for 4 to 7 days before long-term storage if you want extra peace of mind.
- Inspect gaskets and lids occasionally. A warped lid or cracked gasket turns an “airtight” container into wishful thinking.
- Do not reuse contaminated cardboard boxes. If a box had webbing in it, recycle it outside and move on.
Natural vs. chemical options
Natural options that help
- Thorough cleaning and removal: Not flashy, but it is the real solution.
- Pheromone traps: Great for monitoring and reducing breeding.
- Freezing: Reliable for killing eggs and larvae in food.
About bay leaves and oils
You will hear a lot of folk remedies. In real-world kitchens, these are not dependable enough to solve an active infestation. If you like the smell, fine, but do not let them replace the steps above.
Chemical treatments (use with care)
In most pantry moth cases, you do not need sprays inside food cabinets. Spraying pesticides where you store food is a risk and it often does not solve the source problem anyway.
- Avoid foggers in kitchens. They are overkill and can contaminate surfaces.
- If you use any insecticide, only use products specifically labeled for pantry moths and only in non-food areas, following label directions exactly.
- Consider calling a pro if the infestation is widespread, keeps returning despite your efforts, or has spread beyond the pantry into wall voids or multiple rooms.
How long it takes
If you remove the source and clean thoroughly, you usually see a big drop in activity within 1 to 2 weeks. A full “all clear” often takes 4 to 6 weeks, depending on temperature and how completely the source was removed, because any missed eggs can still hatch and you may spot stragglers. Keep traps up during this period so you know whether you are actually winning.
If you are still seeing consistent trap catches after a couple of weeks, do a quick round two: re-check all dry goods, then vacuum and wipe the pantry again, focusing on cracks, holes, and shelf hardware.
Quick checklist
- Empty pantry completely
- Inspect every dry good and pet food item (including garage and laundry storage)
- Toss infested items in sealed bags and take outside
- Vacuum cracks, holes, and corners, then empty vacuum outside
- Wash with warm soapy water, then dry
- Wash storage containers, lids, and gaskets in hot soapy water or dishwasher
- Place pheromone traps to monitor and catch males
- Freeze questionable items (72 hours minimum, 4 to 7 days is safer)
- Store everything in airtight containers going forward
FAQ
Are pantry moths harmful?
They are not typically dangerous, but they contaminate food with webbing, frass (insect waste), and shed skins. If you see signs of infestation, it is best to discard affected food.
Why do I keep seeing moths after I cleaned?
Usually one of these: (1) a source item is still in the house (often pet food or bird seed), (2) eggs were missed in cracks or shelf holes, or (3) you are seeing the last adults emerging from previously laid eggs. Keep trapping, re-check all food, and do a second detail vacuum and wipe-down.
Do pantry moths live in the refrigerator?
They prefer dry goods at room temperature. Refrigerators are not a common breeding spot, but moths can hitchhike on packaging. If you are battling an infestation, wipe down shelves and check door bins where crumbs can collect.
Should I throw away everything?
No, but you should be ruthless about anything questionable. Toss obvious infestations, freeze what you want to save, and move everything you keep into airtight containers.
Final neighbor note
The first time I dealt with pantry moths, I tried to spot clean and I paid for it with a second wave a month later. What finally worked was treating it like a mini renovation: empty the space, clean every inch, then rebuild with better storage. It is a weekend project, but it sticks.
About Marcus Vance
Content Creator @ Grit & Home
Marcus Vance is a lifelong DIY enthusiast and self-taught home renovator who has spent the last decade transforming a dilapidated 1970s ranch into his family's dream home. He specializes in budget-friendly carpentry, room-by-room renovations, and demystifying power tools for beginners. Through his writing, Marcus shares practical tutorials and hard-learned lessons to help homeowners tackle their own projects with confidence.