If your yard squishes when you walk across it, your mower leaves ruts, or you get that puddle that never seems to go away, you do not necessarily need a full regrade or a fancy hardscape. A properly built French drain is one of the most reliable, budget-friendly ways to move water away from problem areas and send it somewhere safe.
I learned this the hard way on our 1970s ranch. I kept throwing grass seed at a muddy low spot like it was a character flaw in the lawn. It was not. The water had nowhere to go. Once I gave it a path, the yard finally started acting like a yard again.
What a French drain actually does
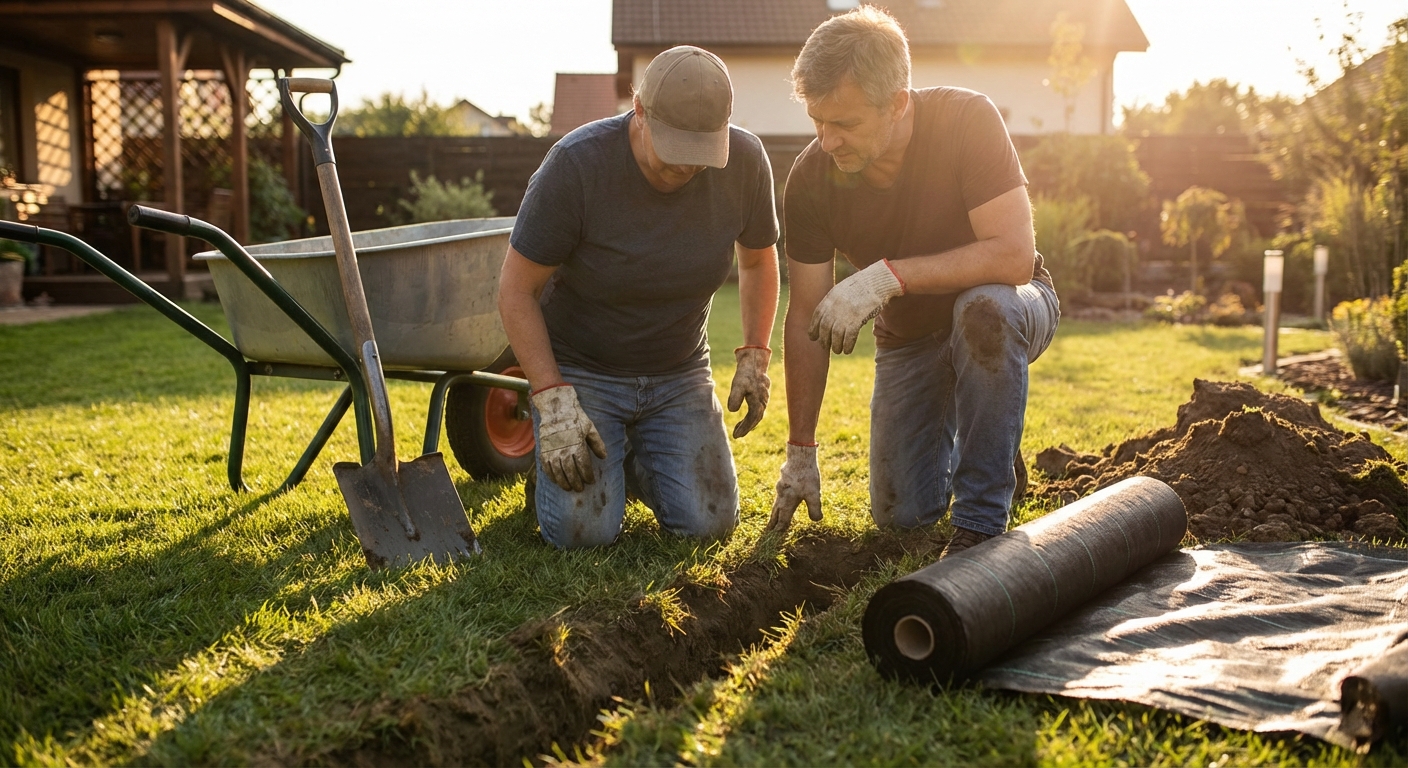
A French drain is a gravel-filled trench that contains a perforated pipe. Water moves into the gravel and the trench, while landscape fabric helps keep soil separated from the gravel so the system does not clog. From there, water flows through the pipe by gravity to a discharge point.
- Best for: soggy areas, pooling caused by saturated soil, runoff that crosses the yard, water collecting near patios, sheds, or fences.
- Not a cure-all for: groundwater rising into a basement, active foundation cracks, or a yard that is simply too flat everywhere. Those may require regrading, a sump system, or professional evaluation.
One key nuance: A French drain primarily intercepts water in saturated soil. It can help surface puddles, but only if surface water can get down into the trench. If your problem is true surface runoff or a low spot that holds water like a bowl, plan on a surface inlet (more on that below).
Diagnose the drainage problem first
Before you dig, figure out what kind of water you are dealing with and where it wants to go. The goal is not to fight gravity. The goal is to guide it.
Common signs you need a drain
- Puddles that stick around more than 24 to 48 hours after rain
- Spongy lawn, mossy patches, or grass that never thickens
- Mulch washing out of beds, water cutting channels in the soil
- Water collecting against a patio edge or near the foundation
Quick tests that tell you a lot
- Hose test: Run a hose at the problem area for 10 to 15 minutes. Watch where the water moves and where it stalls.
- Quick infiltration check (not a formal perc test): Dig a hole about 12 inches deep, fill it with water, and see how fast it drops. If it barely moves, your soil may be heavy clay and you will want more gravel volume and a very clear discharge plan.
- Downspout reality check: If downspouts dump right next to the house or into the low spot, fix that first or incorporate them into your plan.
Important: Call 811 (in the US) before you dig. Utilities do not care that you are doing a “small trench.”
Plan the route, slope, and outlet
This is the part that separates a French drain that works for decades from one that becomes a buried, muddy ditch.
Pick the discharge point first
Your drain needs a legal, safe place to send water. Common options include:
- Daylight outlet: The pipe exits on a downslope and drains onto a rock splash pad.
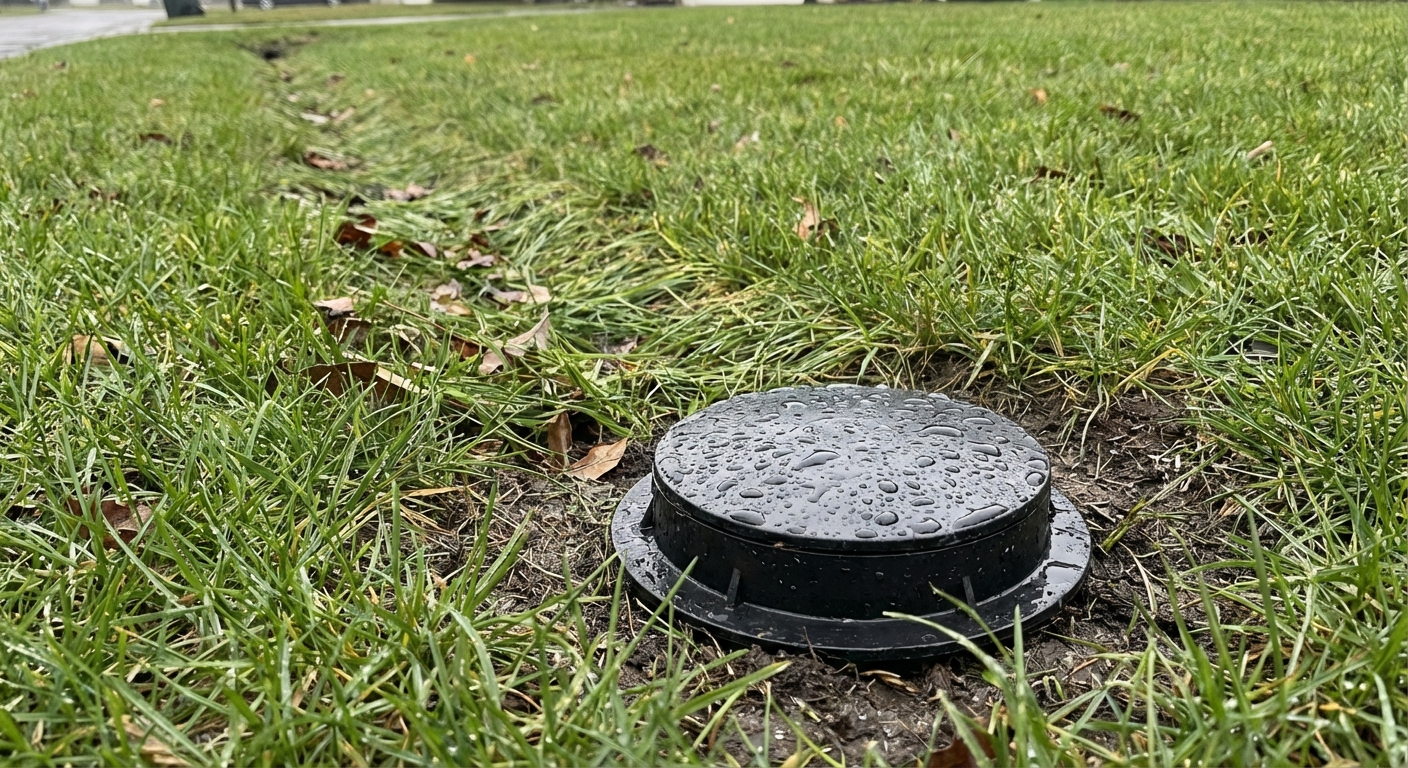
- Pop-up emitter: A relief valve that opens when water flows, then closes to keep critters out. Great for flatter yards if you have some fall to a lower area.
- Storm drain connection: Sometimes allowed, sometimes not. Check local rules.
- Rain garden: A good companion if you want a landscaped soak-away area, as long as it is placed away from the house and sized appropriately.
Avoid: dumping water onto a neighbor’s property, into a septic field, or right next to the foundation.
Also check: local rules on setbacks from property lines, easements, and storm drain tie-ins. If you are not sure, call your city or county and ask before you trench.
Map the trench route
- Start at the wettest area or where water collects.
- Run the trench along a natural line where water already tries to flow.
- Keep it practical: straight runs are easier to slope and easier to snake later if needed.
- Plan around obstacles like tree roots, irrigation lines, and hardscape edges.
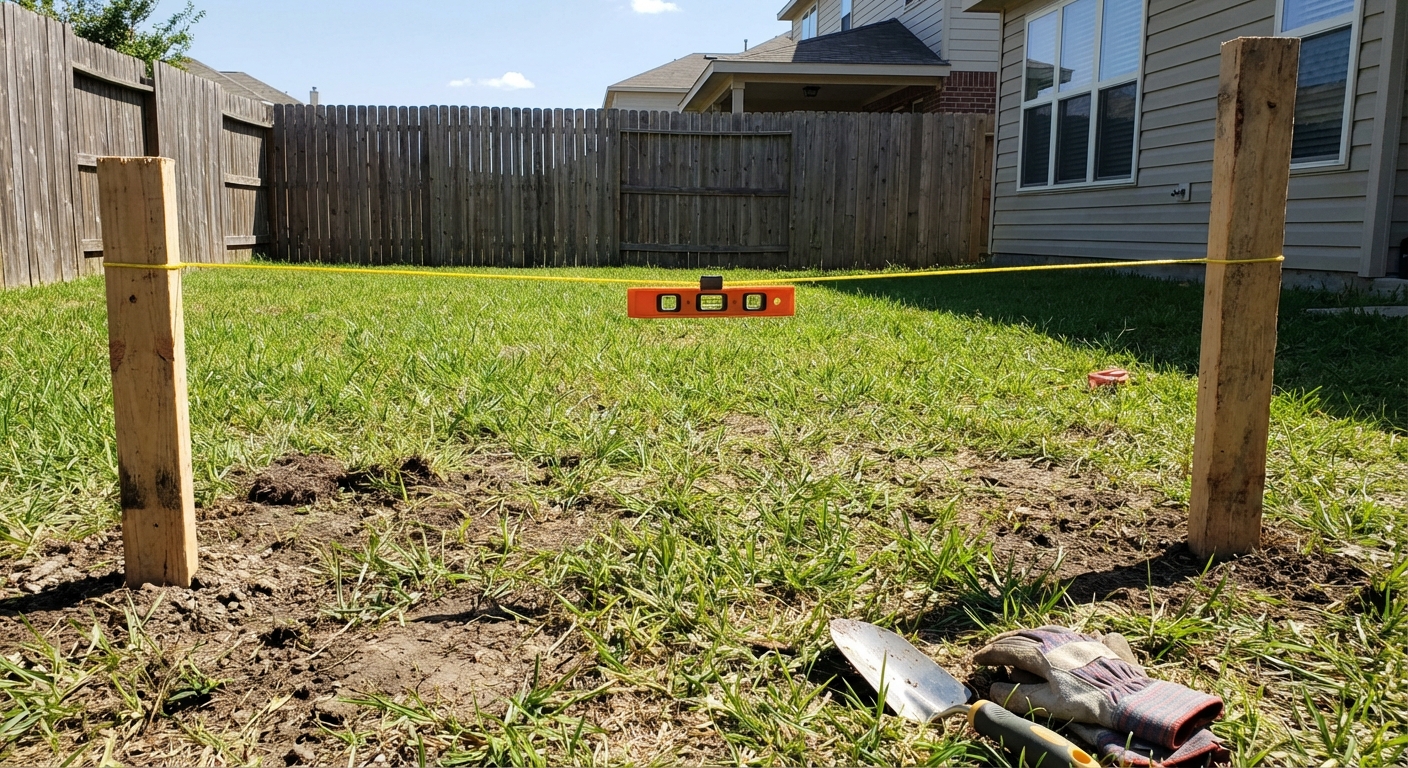
How much slope do you need?
A good target is 1 percent slope, which is about 1/8 inch drop per foot. More is fine. Flat is the enemy.
- Example: Over a 40-foot run, aim for about 5 inches of drop.
Tools for setting slope
- String line and a line level
- 4-foot level plus a tape measure
- Laser level (fastest if you have one or can borrow one)
Plan for the spoils (the dirt pile)
This is the unglamorous part nobody mentions: a trench creates a lot of excavated dirt. A 24-inch deep trench can produce a massive pile fast, and it is often more than you can neatly put back (because gravel takes up a lot of the trench volume, and loose soil fluffs up).
- Before you dig: decide where the spoils will go. Options include building up low areas elsewhere, top-dressing thin lawn, filling garden beds, or hauling it off.
- Keep it tidy: put spoils on a tarp so cleanup is not a second project.
- Reality check: if you have nowhere to put extra soil, plan for a dump run or a pickup.
Materials and typical costs
Costs vary by region, trench depth, and whether you rent equipment. Here are typical US homeowner numbers as of 2025 for a DIY install. Gravel delivery fees can be the biggest swing, so price gravel locally before you finalize the design.
Common materials list
- 4-inch perforated drain pipe (corrugated or PVC)
- Solid 4-inch pipe for any “clean” sections or to reach discharge
- Landscape fabric (non-woven geotextile works best)
- Washed drainage gravel (often 3/4-inch)
- Outlet fitting, pop-up emitter, or grate at daylight
- Optional: cleanout fitting and cap
- Optional: pipe “sock” or filter sleeve (more helpful in sandy soils; less critical if you wrap the entire trench well in fabric)
Ballpark cost estimates
- DIY materials: about $8 to $20 per linear foot (gravel is usually the big variable)
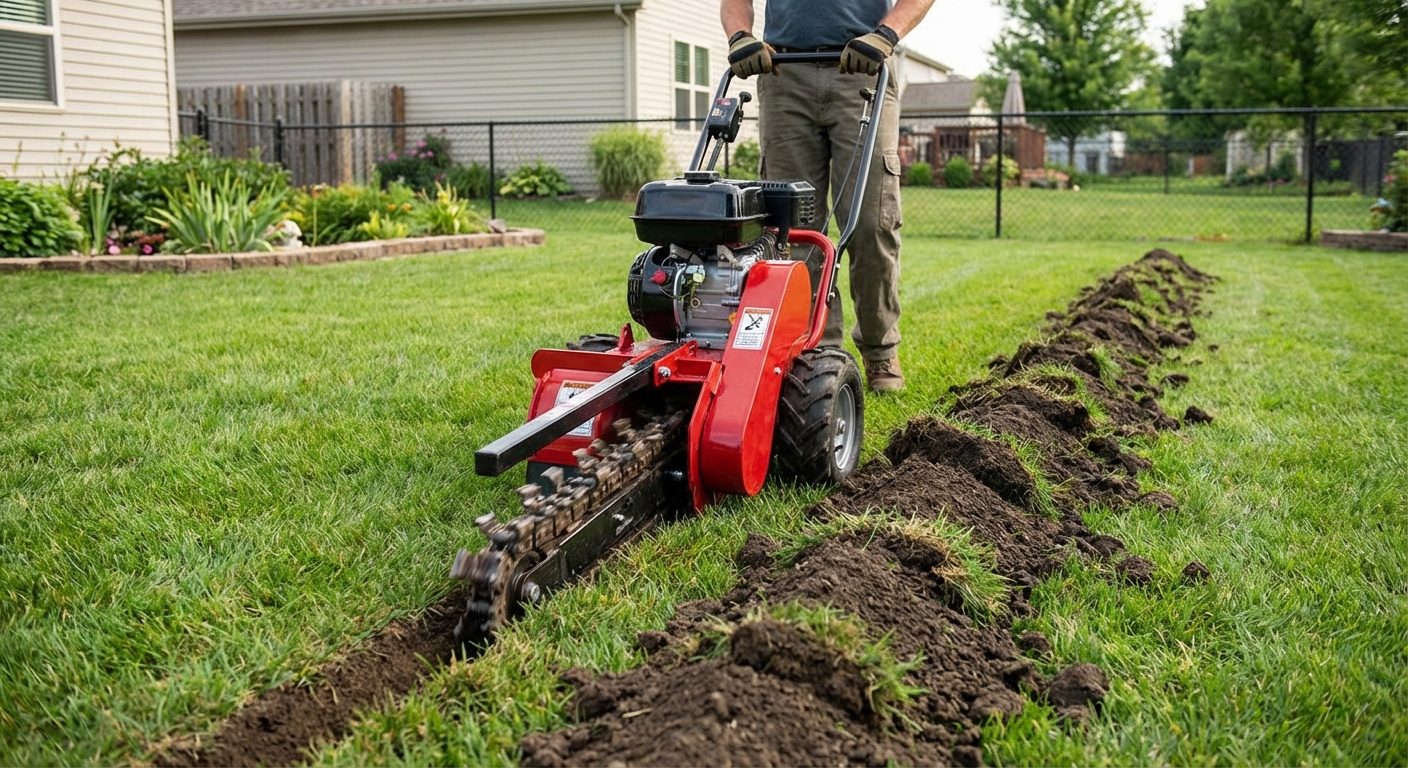
- Trencher rental: about $100 to $250 per day (plus delivery in some areas)
- Mini excavator rental: about $250 to $500 per day (helpful for deeper or longer runs)
- Pro installation: commonly $25 to $60+ per linear foot depending on access and complexity
Quick sizing rule of thumb
- 4-inch pipe is the standard for most yard French drains and downspout runs.
- 6-inch pipe may be worth considering for long runs, multiple downspouts tied in, or high-flow situations. When in doubt, ask a pro, especially if you are routing roof runoff and yard runoff together.
How to install a French drain
Once you have confirmed your outlet and your slope, installation is straightforward. Go slow on the bottom grade, because that is what makes the whole system work.
Step 1: Mark the trench
Use marking paint or flags. Mark the start, turns, and where you plan to exit to daylight or install a pop-up emitter.
Step 2: Dig the trench
A typical yard French drain trench is:
- Width: 8 to 12 inches
- Depth: 18 to 24 inches (deeper if you need more fall or are tying in downspouts)
Keep the bottom of the trench smooth and sloped consistently. If the trench has high and low spots, water will sit in the low spots and dump sediment there.
Cold climate note: you typically do not need to go below frost depth for a yard drain, but you do want the outlet protected so it does not ice shut. A daylight outlet on a slope with a rock pad is usually more winter-proof than a low, flat emitter.
Step 3: Line with landscape fabric
Lay fabric in the trench so it covers the bottom and both sides, with enough extra to fold over the top later like a burrito. This helps keep fine soil from migrating into the gravel and clogging the system.
Step 4: Add a gravel base
Pour in 2 to 3 inches of washed drainage gravel, then rake it level while maintaining slope.
Tip: If the gravel you buy looks dusty or contains lots of fines, that is a clogging risk. Washed gravel costs a little more but is worth it.
Step 5: Lay the perforated pipe
Place the 4-inch perforated pipe on the gravel base. Add a cleanout near the high end if you can. Future-you will appreciate it.
- Hole orientation: Many yard French drains are installed with the holes down, which lets water collect in the gravel and rise into the pipe while keeping some sediment from dropping directly in. That said, some manufacturers specify holes up depending on pipe design and whether you use a sock or specific bedding. The best move is to follow the pipe manufacturer’s guidance for your exact product.
- If you are tying in downspouts: use solid pipe for roof runoff sections until you reach the yard drain or the discharge point.
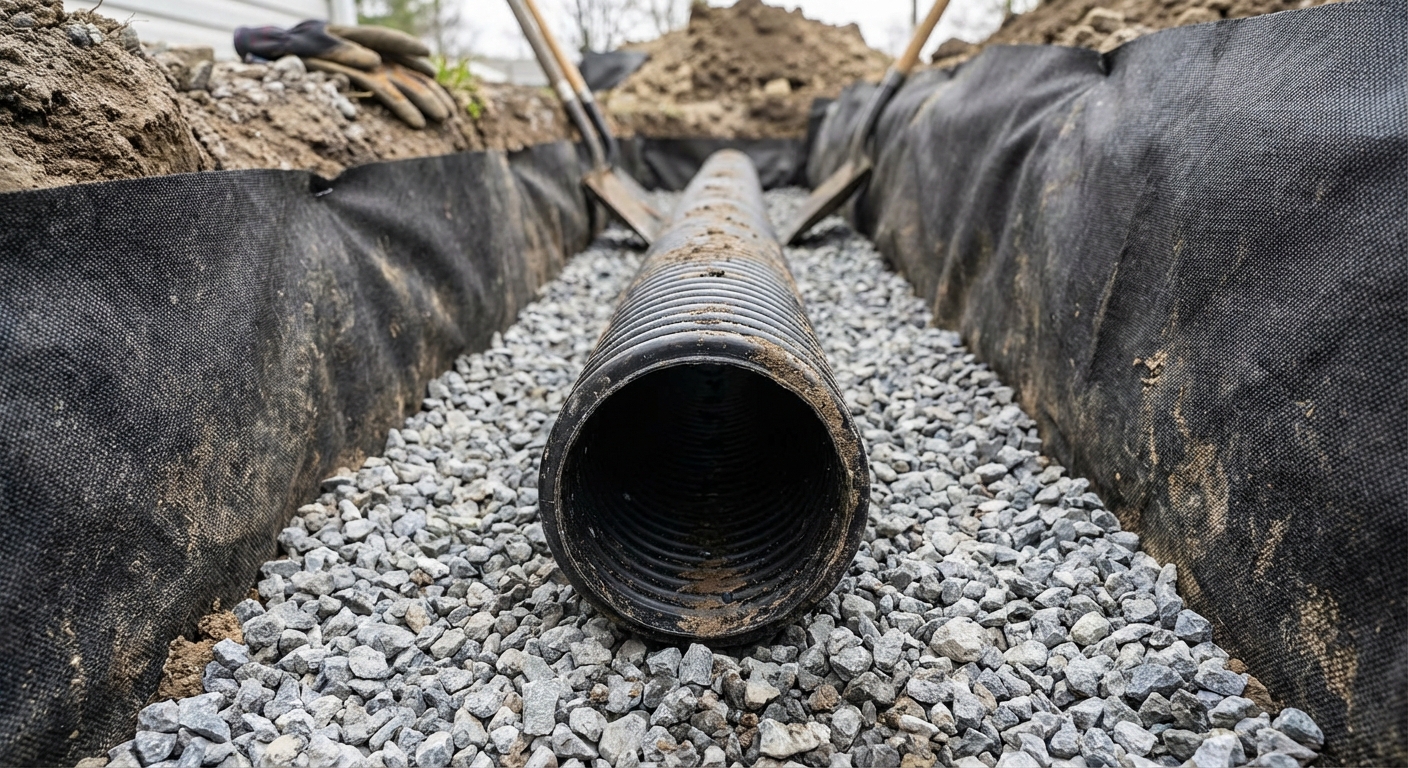
Step 6: Cover the pipe with gravel
Backfill with gravel until you have at least 2 to 4 inches above the pipe. More gravel means better water movement, but it also means more cost.
Step 7: Wrap the fabric over the gravel
Fold the fabric over the top so soil cannot wash directly into the gravel layer. Overlap the edges by several inches. You are making a filter sleeve.
Step 8: Finish the top based on your goal
This is where surface water versus subsurface water matters.
- If you want to intercept saturated soil (classic curtain drain): backfill with soil over the wrapped gravel and restore the lawn. This is great for soggy zones, but it may not “drink up” a surface puddle instantly if water cannot infiltrate quickly.
- If you want to clear surface puddles faster: either bring the gravel closer to the surface (for example, within a couple inches of the sod), or install a catch basin at the lowest spot and connect it to the solid line that runs to your outlet. A catch basin gives surface water a direct entry point instead of waiting for infiltration.
If you backfill with soil, compact lightly as you go to reduce settling. Re-seed or re-sod, and expect to top off soil once or twice the first season.
Step 9: Connect to a discharge point
This part matters as much as the trench.
- Daylight: Transition to solid pipe for the last stretch if needed, then terminate with a grate or rodent guard. Build a small rock splash pad to prevent erosion.
- Pop-up emitter: Run solid pipe to the emitter location and make sure that area is lower than the wet zone so gravity can do the work. Keep the emitter area clear of mulch and leaves so it can open freely.
Erosion control tip: wherever the water exits, protect that spot. A little riprap or a splash block beats a surprise gully after the first big storm.
Common mistakes I see
- No slope, or inconsistent slope. A French drain is not magic. It is plumbing. Water needs fall.
- No real discharge plan. If the pipe just ends underground, it becomes a temporary storage tube that eventually silts up.
- Skipping fabric or using the wrong fabric. Without proper geotextile, fine soil migrates into the gravel and pipe over time.
- Using gravel with fines. Crushed stone dust clogs voids. Choose washed drainage gravel.
- Burying it too deep for a surface problem. If your main issue is surface puddles, consider a catch basin or a shallower gravel profile so water can enter faster.
- Putting the drain too close to the foundation. The goal is to move water away, not create a trench that holds water beside the house.
- Forgetting cleanouts. If you have a long run or any turns, cleanouts make maintenance possible.
- Tying into downspouts without thinking it through. Roof runoff can be a lot of water. Use solid pipe for downspout runs and make sure the discharge can handle the volume.
- Ignoring roots and irrigation. Tree roots and sprinkler lines do not care about your trench plan. Adjust the route before you dig.
When a French drain is not the right fix
Sometimes the best DIY move is admitting the system you need is different.
- If the entire yard is flat as a pancake, you may need regrading or a shallow swale to create slope.
- If water is coming up from below (high water table), you may need a sump system or more advanced drainage.
- If your basement is actively leaking, focus on gutters, downspouts, grading, and foundation waterproofing first, then consider yard drains as part of the overall plan.
Maintenance tips
- After big storms, check the outlet for blockage and erosion.
- Keep mulch, leaves, and grass clippings from burying a pop-up emitter.
- If you installed a cleanout, flush the line occasionally with a garden hose.
- Watch for settling over the trench the first season and top off soil as needed.
My simple rule
If you remember one thing, make it this: water needs a clear path to a lower place. When you plan the outlet first, keep your slope consistent, use the right gravel and fabric, and give surface water a way in (when needed), a French drain is one of those projects that feels almost unfairly effective.
Before you start digging, sketch your yard problem area and confirm three things on paper: where the water collects, where the outlet will be, and how you will maintain slope the entire way.
About Marcus Vance
Content Creator @ Grit & Home
Marcus Vance is a lifelong DIY enthusiast and self-taught home renovator who has spent the last decade transforming a dilapidated 1970s ranch into his family's dream home. He specializes in budget-friendly carpentry, room-by-room renovations, and demystifying power tools for beginners. Through his writing, Marcus shares practical tutorials and hard-learned lessons to help homeowners tackle their own projects with confidence.