Why peel-and-stick is the friendliest backsplash upgrade
If traditional tile feels like a big leap, peel-and-stick backsplash is like training wheels that actually look good. Usually, it means no mortar and no grout, and definitely no wet saw. Most installs can be done in an afternoon, and many products can be removed later with heat, which is why they are popular for renters and budget kitchen refreshes.
Quick reality check: “Removable” depends on the brand, the adhesive, and your wall paint. Some tiles come off clean, others take paint with them, especially on flat or poorly prepped walls. (More on removal later.)
That said, peel-and-stick tile is picky about one thing: the surface. If you prep well, it sticks like it means it. If you skip prep, it will remind you later, usually right above the stove.
Heat and fire safety note: Check your tile’s heat rating and clearance requirements, especially around ranges. Many peel-and-stick tiles require a minimum clearance from open gas burners (often around 15 inches) if there is no backguard. Installing too close can cause warping, melting, or a fire hazard. When in doubt, follow the manufacturer instructions or use a proper, heat-rated backsplash material behind the cooktop.
Tools and materials
- Peel-and-stick backsplash tiles (buy 10% extra for cuts and mistakes)
- Degreaser or dish soap (for kitchens), plus clean rags
- Isopropyl alcohol (final wipe to remove residue)
- Painter’s tape
- Level (2 ft is ideal)
- Straightedge or metal ruler (for scoring and long cuts)
- Tape measure and pencil
- Utility knife with fresh blades
- Scissors (helpful for mesh-backed sheets or thin vinyl)
- J-roller, brayer, or a clean microfiber cloth for pressure
- Caulk (kitchen and bath silicone or siliconized acrylic) and caulk gun
- Optional: edge trim pieces that match your tile
- Optional: a PVC or aluminum tile edge profile (choose one intended for adhesive installs, or use the manufacturer-recommended adhesive)
Safety note: You will likely be working around outlets. You do not need to touch wiring for this project, but you should shut off power at the breaker before loosening, repositioning, or working near outlet or switch terminals. Removing a cover plate is typically low risk if you do not contact conductors, but power off is the safest default.
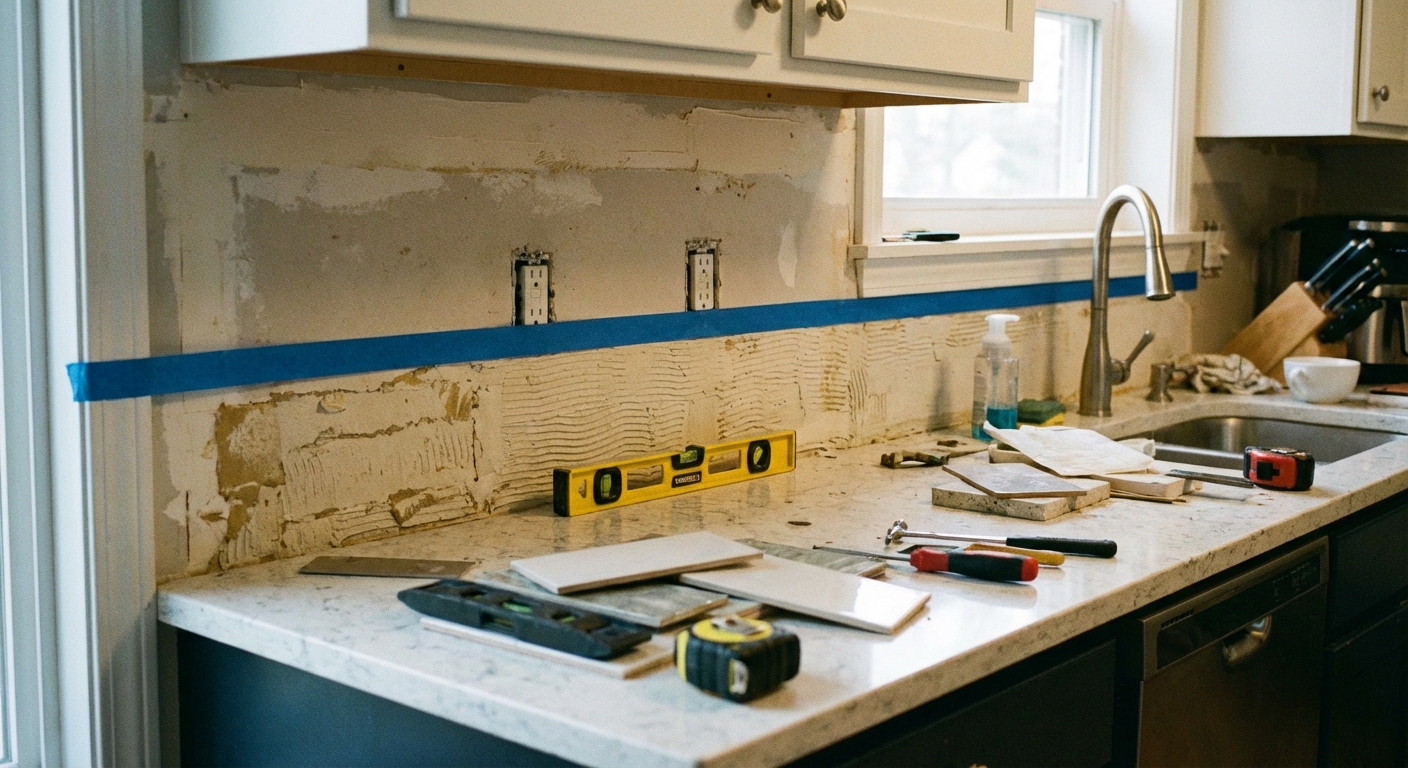
Step 1: Prep the wall
What surfaces work best
Peel-and-stick tiles bond best to smooth, clean, dry, painted walls. Light orange peel texture is sometimes okay, but heavy texture, dusty drywall, or chalky paint are common failure points.
Glossy and semi-gloss finishes can work, but they often need extra prep. Degrease thoroughly, then lightly scuff-sand (and wipe clean) or use a bonding primer, depending on the tile manufacturer’s instructions.
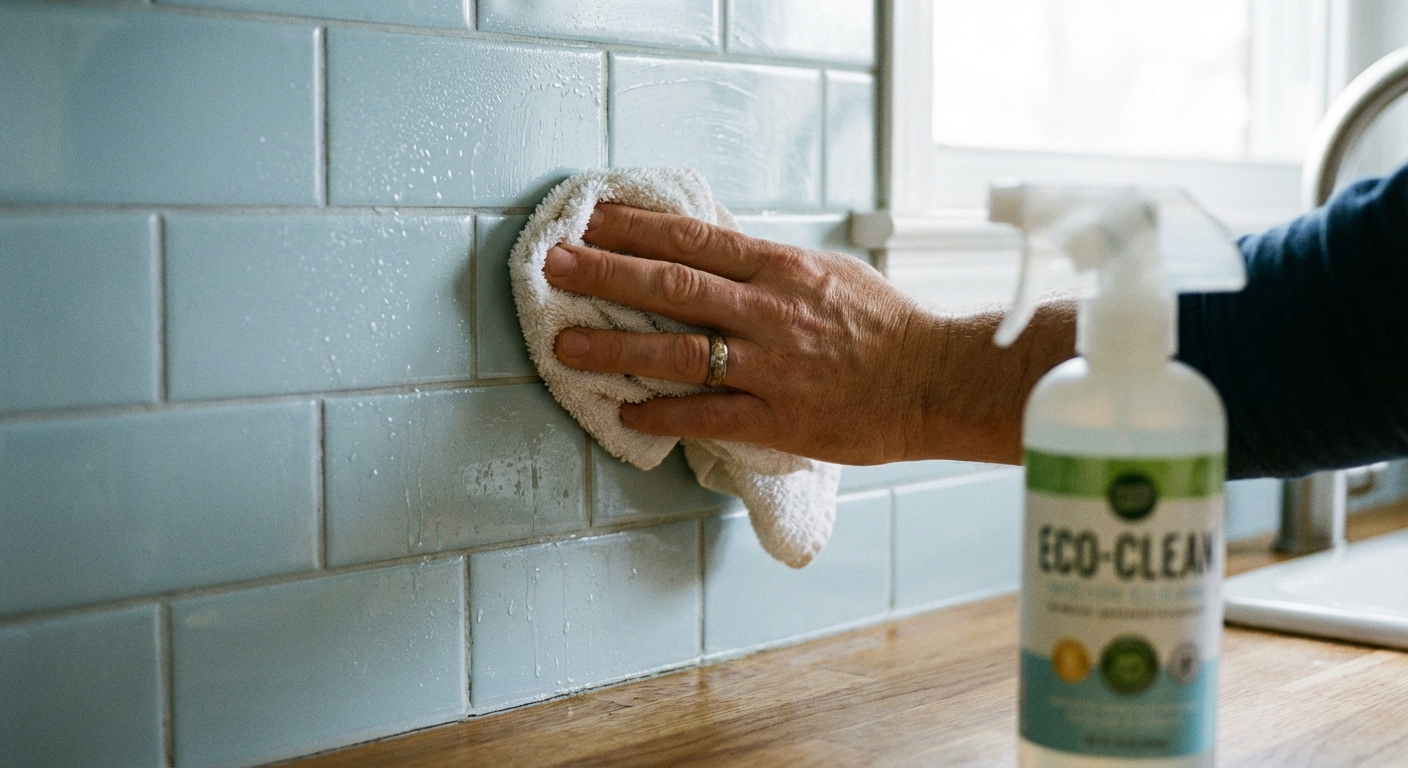
Clean like you mean it
- Wash the backsplash area with a degreaser or warm soapy water. Kitchens hold onto invisible grease, especially near the stove.
- Rinse with clean water and let it dry completely.
- Do a final wipe with isopropyl alcohol to remove leftover residue. Let it flash off (evaporate).
Flatten and seal problem areas
- Fill dents, popped drywall paper, or deep texture with spackle or joint compound and sand smooth.
- If the wall is very matte and chalky, consider a bonding primer. A slightly more sealed surface often helps adhesion.
My hard-learned lesson: I once installed peel-and-stick on a wall I thought was “clean enough.” It looked great for a week, then the corners started lifting right where cooking steam hits. A real degrease plus alcohol wipe would have saved me a redo.
Step 2: Plan the layout
Peel-and-stick tile is forgiving in the moment, but your eyes will find a crooked pattern forever. Take 10 minutes to plan and you will save an hour of fussy fixes.
Find your starting line
- Start at the most visible spot, usually the area behind the sink or the stretch you see first when you walk in.
- Use a level to draw a light guideline. Most people use the countertop as a reference, but countertops can be slightly out of level. A level line keeps the tile looking straight.
- If your tile has a strong pattern (subway, herringbone, etc.), dry-fit a row with painter’s tape to see where cuts will land at the ends.
Aim for balanced cuts
Try not to end with a 1/2 inch sliver at one side. If the layout forces tiny cuts, shift your starting point by half a tile (or half a sheet) so both ends get a larger, more finished cut.
Plan seams so they disappear
- If you are using sheeted tile, check the pattern repeat and dry-fit two sheets together on the counter first.
- Stagger seams when the design allows, and avoid lining up seams in the most obvious focal area.
- As you go, step back every couple of sheets and make sure the “grout lines” still track level.
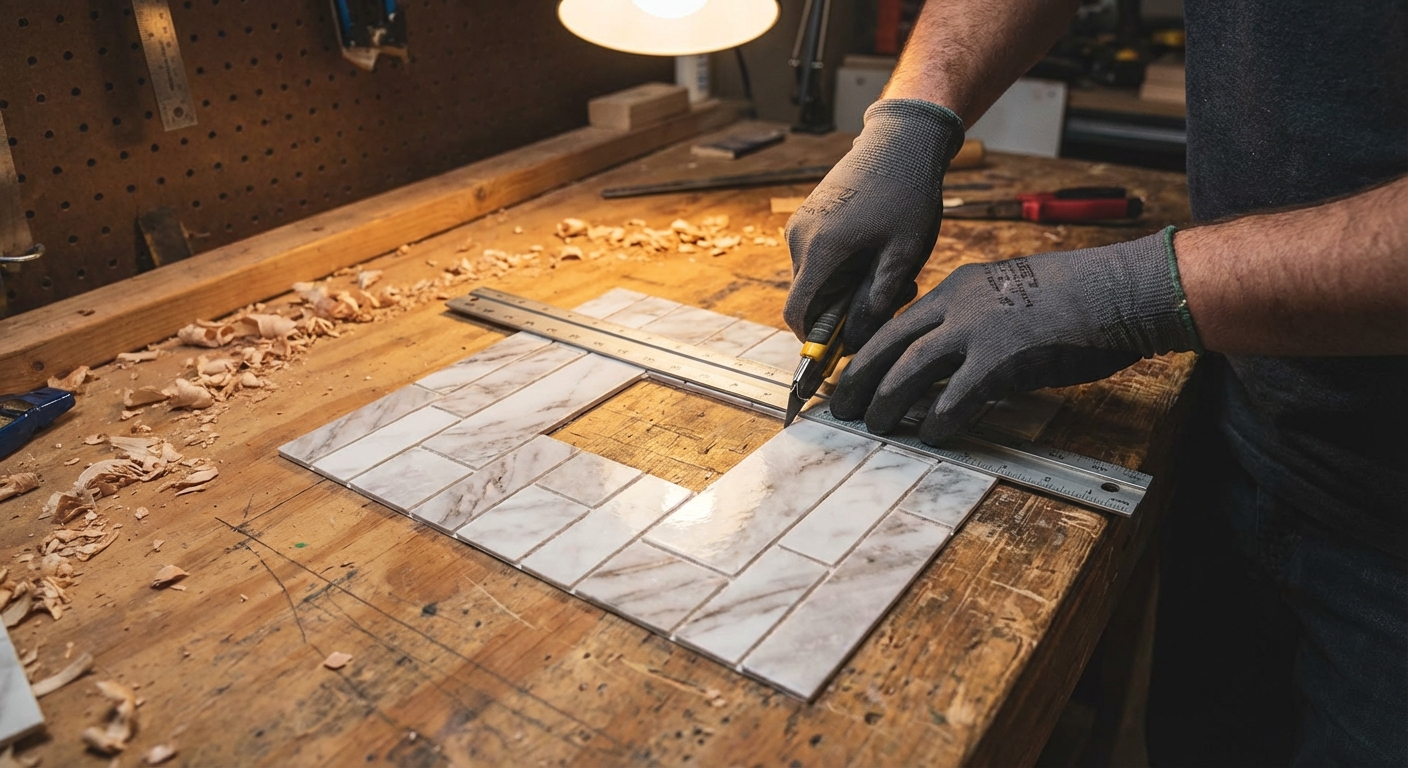
Step 3: Cut around outlets and switches
Outlets are the part that makes beginners nervous. The trick is to measure carefully, cut slowly, and test-fit often. You have got this.
Remove cover plates
- Shut off power at the breaker before loosening or adjusting the outlet or switch itself.
- Remove the cover plate.
Mark the cut on the tile sheet
- Hold the tile sheet in place (without peeling the backing) and lightly mark where the outlet opening lands.
- Measure from a known edge of the sheet to the outlet edges, then transfer those measurements to the tile.
- Use a pencil and a square edge to keep lines straight.
Cut from the face, not the sticky side
For most peel-and-stick products, a sharp utility knife and a metal straightedge give the cleanest cut. Score multiple light passes instead of trying to muscle through in one go.
- Cut the opening slightly smaller than you think. You can always trim more.
- Test-fit before peeling backing.
Outlet depth tip: Tile thickness can push the outlet back. If the outlet sits recessed after tile is installed, use inexpensive outlet spacers so the device is flush with the new surface before reinstalling the cover plate.
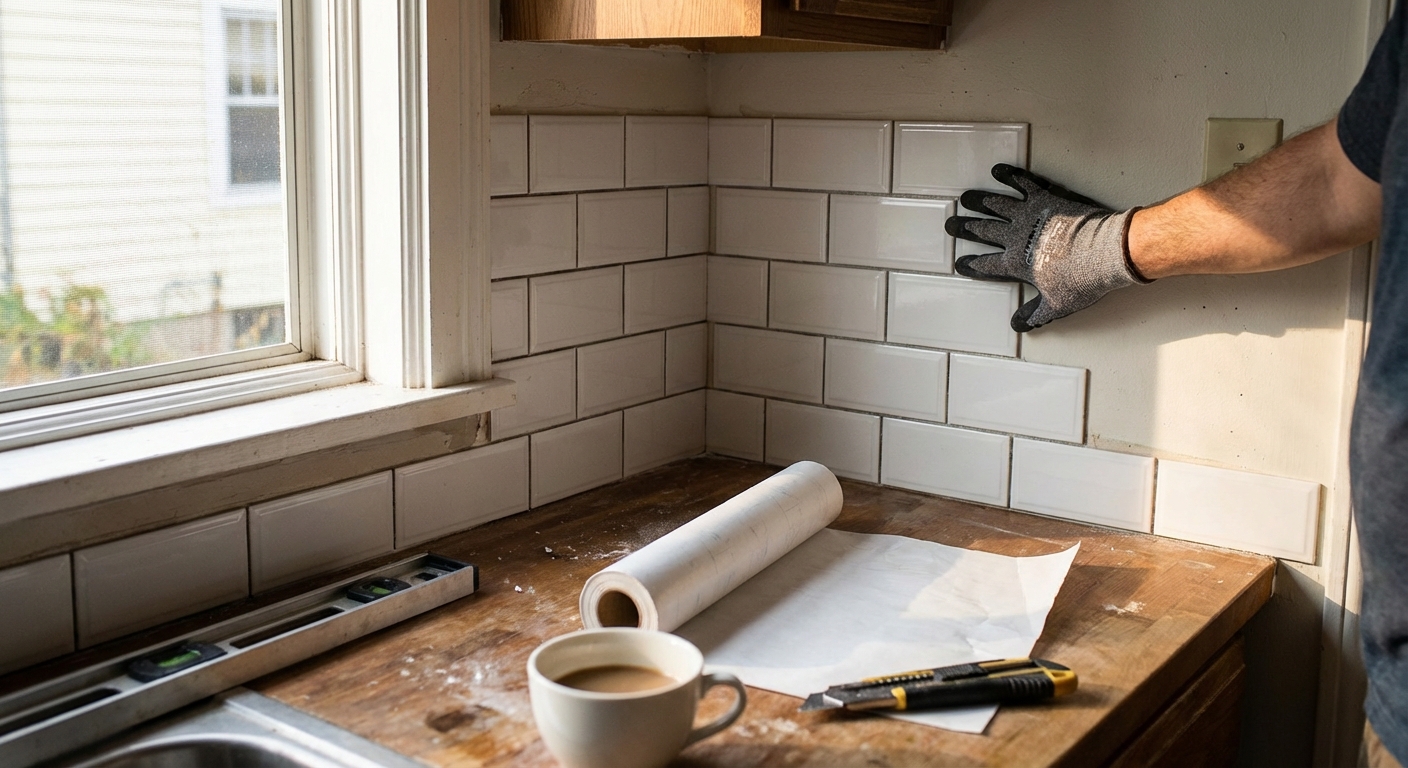
Step 4: Apply tile for a strong bond
Work in small sections
Instead of ripping off the whole backing at once, peel back a few inches to start. Once the tile is aligned, slowly pull the backing while you press the tile onto the wall.
Use the hinge method
- Dry-fit the sheet exactly where it goes.
- Tape the top edge to the wall with painter’s tape, like a hinge.
- Flip the sheet up, peel the backing down a few inches, then flip it back and stick the top portion first.
- Continue peeling and pressing downward and outward.
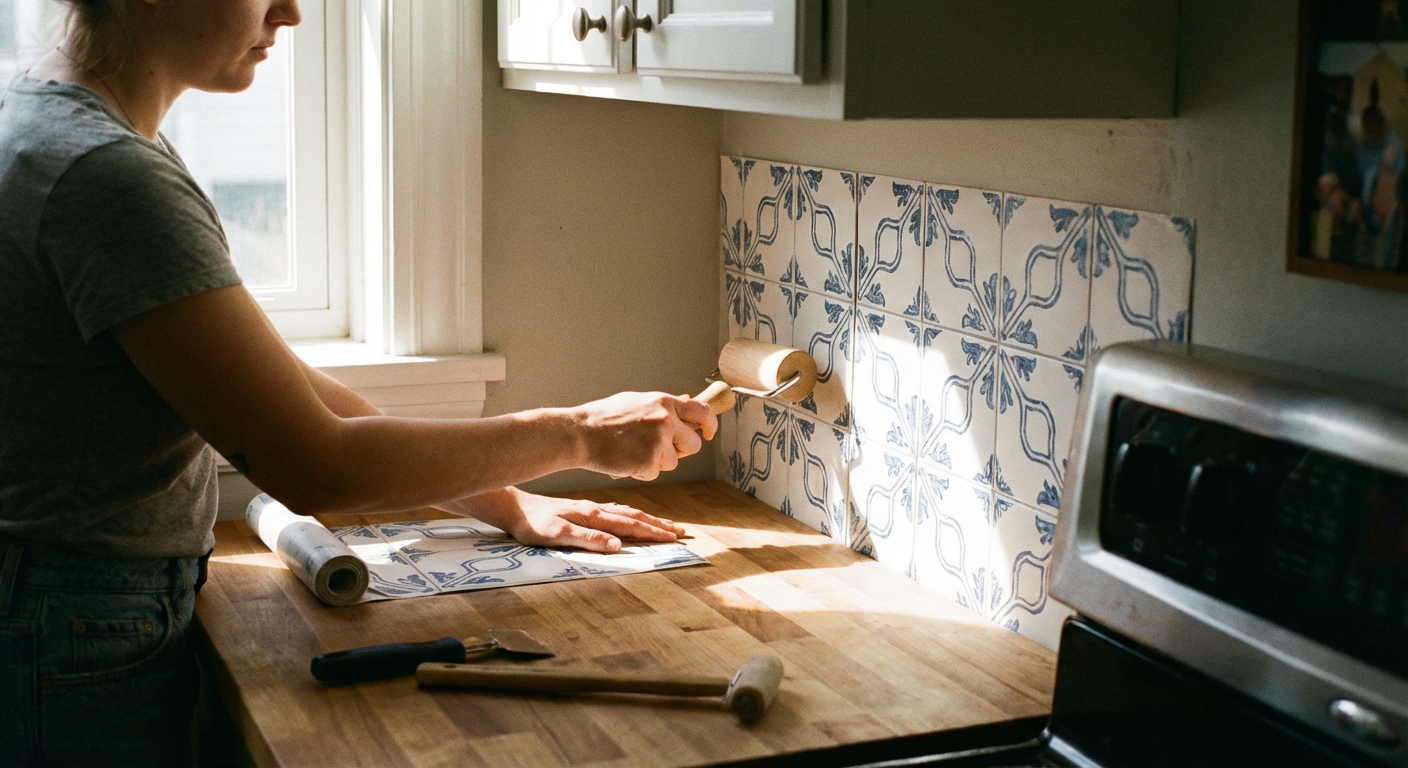
Press like you mean it
Adhesive tiles need pressure, not just a gentle pat. Use a J-roller or press firmly with a microfiber cloth, working from the center out to the edges to chase out air. Aim for firm, even pressure across the whole sheet, especially edges and seams.
- If you trap a small bubble, lift that section back carefully and re-press.
- For stubborn micro-bubbles, a tiny pinhole can release air, then you re-roll. Use this sparingly and only if lifting is not possible.
Heat helps: In a cool kitchen, gently warming the tile with a hair dryer can make it more flexible and improve adhesion, especially around corners. Keep the heat moving and do not overdo it.
Step 5: Finish edges and corners
The difference between “temporary” and “it came this way” is almost always the edges.
Outside edges
- Use matching edge trim if your tile line ends on an open wall. Many peel-and-stick lines sell coordinating trim pieces.
- Use a PVC or aluminum edge profile for a crisp, durable finish. Choose one designed for adhesive installs, or follow the profile manufacturer’s instructions for adhesive (some require construction adhesive instead of mortar).
- Clean cut plus caulk can work if the edge is small and not highly visible, but trim usually looks more professional.
Inside corners
Butt the tiles into the corner with a small gap (about 1/8 inch), then caulk the corner. Corners move a little with seasons and caulk hides that movement better than trying to overlap tile.
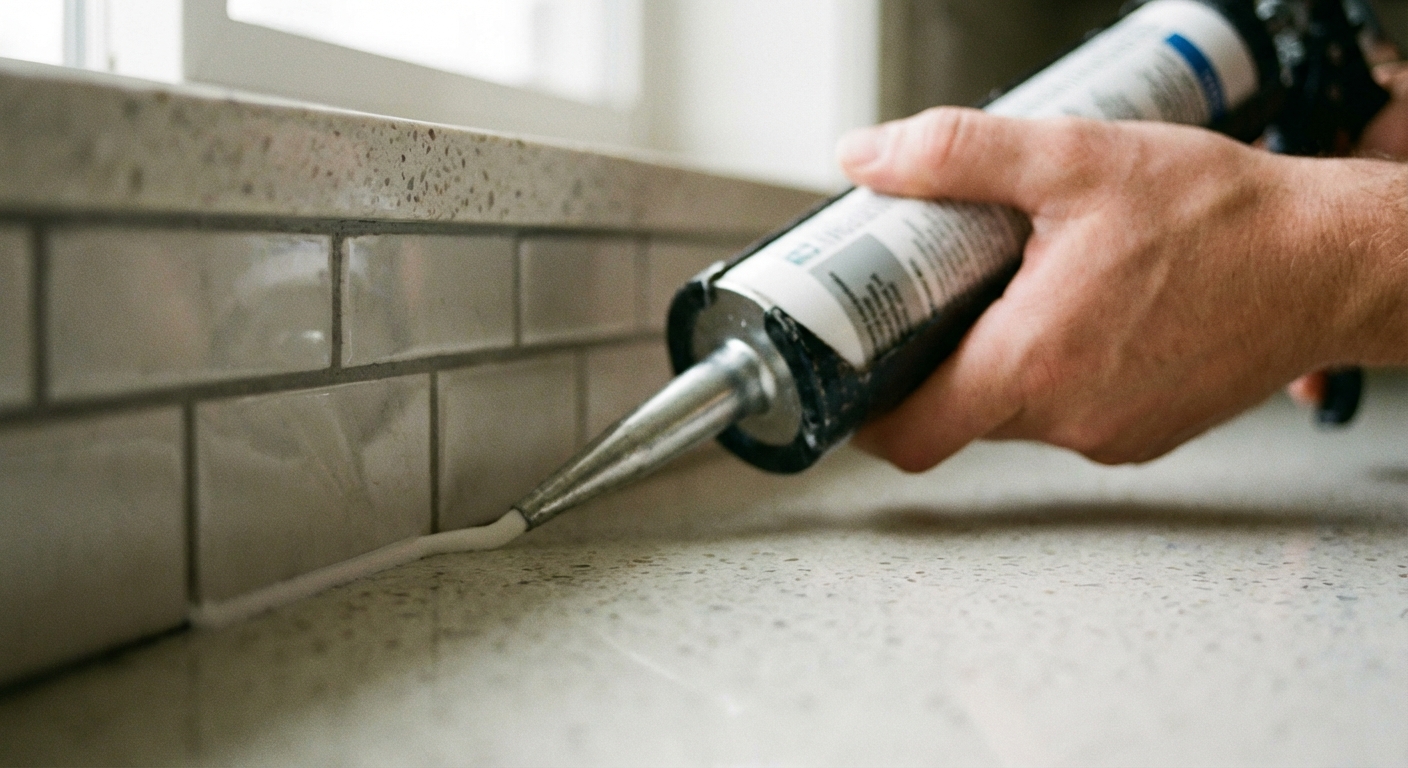
Along the countertop
Run a thin bead of caulk where the tile meets the countertop. This keeps water from sneaking behind the tile near the sink. Smooth it with a damp finger or a caulk tool, then wipe any excess immediately.
Common mistakes
- Sticking to grease or dust: Clean, rinse, dry, then alcohol wipe. Do not skip steps near the stove.
- Ignoring stove heat limits: Some peel-and-stick tiles are not meant for high-heat zones or require clearance from gas burners (often around 15 inches). Check the label before you tile behind a range.
- Following an unlevel countertop: Snap or draw a level guideline and build off that.
- Dull blades: Fresh utility knife blades make cleaner cuts and reduce tearing.
- Not using enough pressure: Roll every sheet firmly, especially edges and seams.
- Installing right after painting: Let paint cure, not just dry. For best adhesion, fresh paint often needs 21 to 30 days to fully cure (and some finishes can take longer). Check your paint label and tile manufacturer guidance.
Care and cleaning
Once it is up, it is pretty low maintenance, but a little restraint keeps it looking new.
- Wait to expose the area to heavy splashes or scrubbing until the adhesive has had time to set and any caulk has cured. Follow the caulk label for cure time.
- Clean with mild soap and water or a non-abrasive cleaner.
- Avoid abrasive pads and harsh solvents that can dull the finish or weaken adhesive.
Renter-friendly removal notes
If you are renting, save a spare tile and the product info so you know what you installed. When it is time to remove, gentle heat is usually the key.
- Warm a section with a hair dryer, then slowly peel back at a low angle.
- If adhesive remains, try warm soapy water first, then a mild adhesive remover that is safe for painted walls. Test in an inconspicuous spot.
- Expect small paint touch-ups. Even “removable” products can lift paint if the wall was not well prepped or the paint was flat and fragile.
Quick checklist
- Confirm heat rating and stove clearance requirements
- Clean and degrease wall, then alcohol wipe
- Patch and sand texture bumps
- Mark a level starting line
- Dry-fit and adjust for balanced cuts and less-visible seams
- Cut outlets carefully, remove covers, power off if adjusting devices
- Apply using hinge method, press hard, roll seams
- Finish edges with trim and caulk along countertop and corners
If you take your time on prep and layout, peel-and-stick backsplash is one of the fastest ways to make a kitchen feel updated without the mess and commitment of traditional tile.
About Marcus Vance
Content Creator @ Grit & Home
Marcus Vance is a lifelong DIY enthusiast and self-taught home renovator who has spent the last decade transforming a dilapidated 1970s ranch into his family's dream home. He specializes in budget-friendly carpentry, room-by-room renovations, and demystifying power tools for beginners. Through his writing, Marcus shares practical tutorials and hard-learned lessons to help homeowners tackle their own projects with confidence.