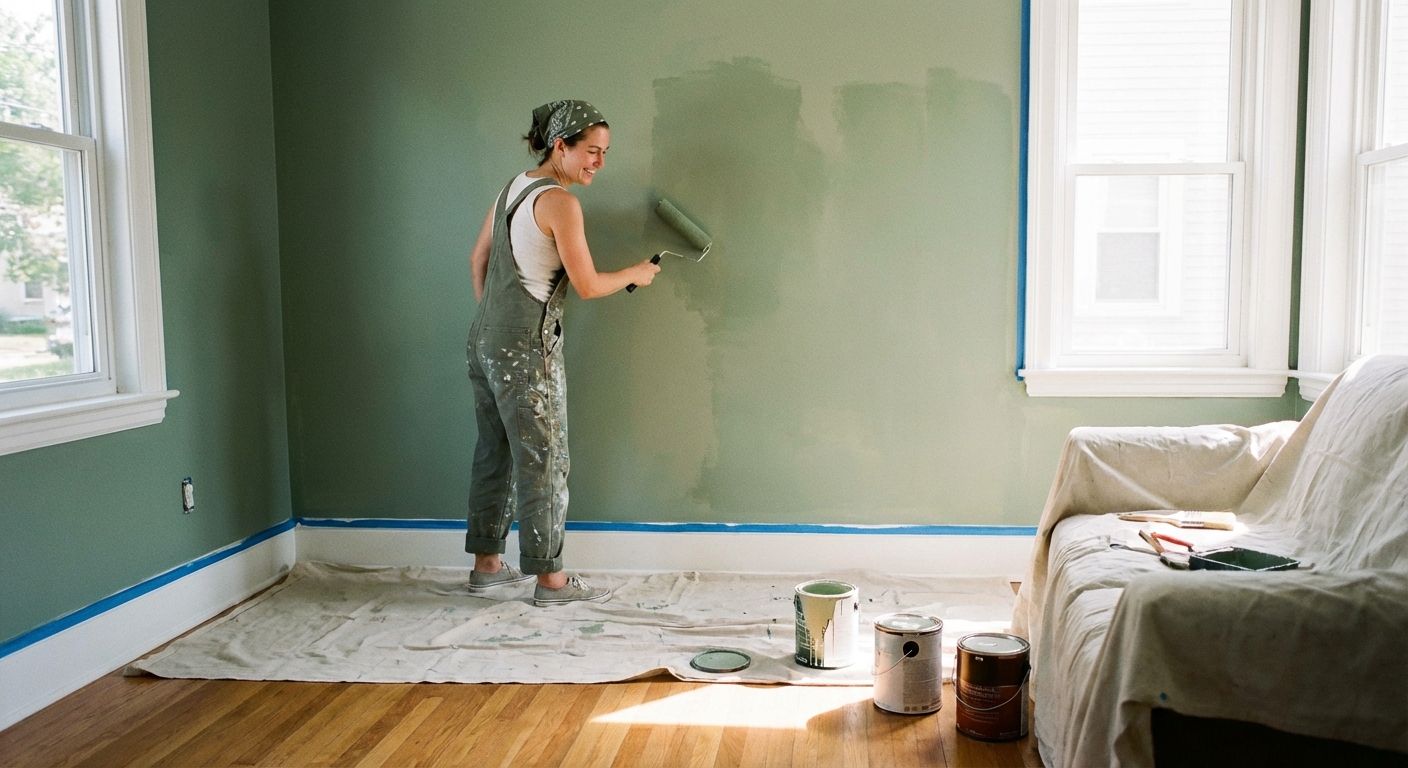
When I painted my first room, I thought the secret was buying “better paint.” Turns out, the real secret is boring stuff: prep, the right roller cover, and a repeatable system. Do those three things, and even a beginner can get that smooth, even finish that looks like a pro did it.
This guide walks you through the whole job, start to finish, with the little details that prevent lap marks, drips, and peeling later.
Quick overview
- Typical time: A day to a weekend for one average room (prep + 2 coats), depending on patch drying time, humidity, and how much furniture you have to move.
- Most common rookie mistake: Rushing prep and trying to paint around furniture.
- Best pro habit: Work in a consistent order: prep, prime where needed, cut in, roll, repeat.
- Rule of thumb: If you are painting the ceiling too, do the ceiling first, then walls, then trim and doors.
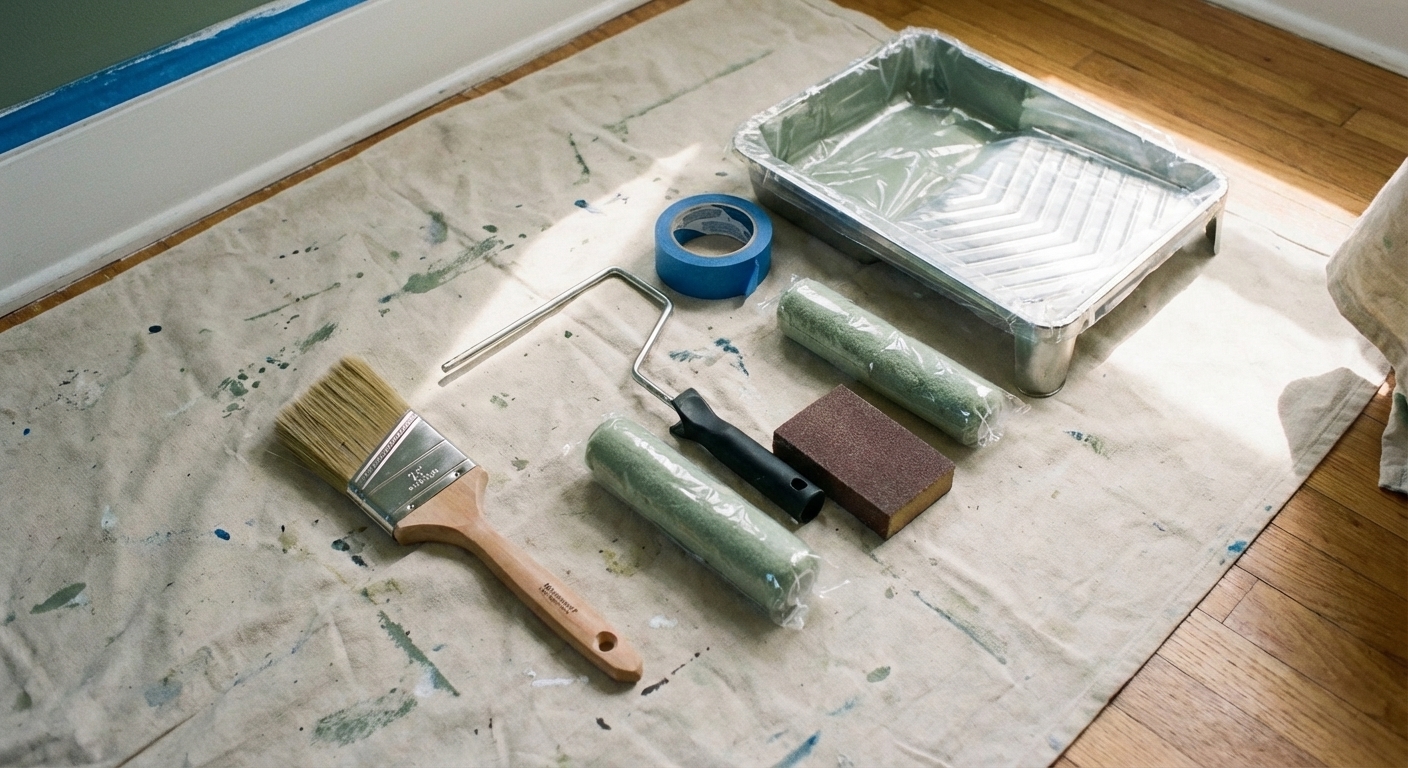
Tools and materials (shopping list)
Must-haves
- Interior wall paint (quality matters more than you think)
- Primer (as needed, see below)
- 9-inch roller frame
- Roller covers: 3/8-inch nap for smooth walls, 1/2-inch nap for lightly textured walls
- Angled sash brush, 2 to 2.5 inch (for cutting in)
- Paint tray or bucket with roller grid (bucket + grid is faster and less messy)
- Painter’s tape (high-quality, delicate-surface tape if your paint is fresh)
- Drop cloths (canvas is safest) or rosin paper for hard floors
- Spackle or patching compound, putty knife
- Sanding sponge (120 to 150 grit) and/or 220 grit for feathering
- Step stool or small ladder (you will want this for cutting in cleanly along ceilings)
- Caulk (paintable acrylic latex) for trim gaps
- Rags, shop towels, and a small bucket of clean water
Nice-to-haves
- Extension pole for the roller
- Corner roller or small trim roller (useful behind toilets and tight spots)
- Work light or bright LED lamp to catch misses and roller lines
- Painter’s tool (5-in-1) for scraping and opening cans
- Vacuum with brush attachment for baseboards and wall dust
Choose the right paint and finish
Sheen basics
- Flat or matte: Hides wall flaws best. Not as scrub-friendly. Great for bedrooms and ceilings.
- Eggshell: My go-to for most living spaces. Easier to clean than matte but still forgiving.
- Satin: Common for kitchens, baths, and kids’ rooms. More durable, but it shows wall imperfections more.
- Semi-gloss: Usually for trim and doors, not full walls (unless you enjoy seeing every drywall seam).
How much paint do you need?
A typical gallon covers about 350 to 400 square feet per coat (check your can). Coverage varies with texture, porosity, and color. Measure wall area (perimeter x wall height) and subtract large openings. If you are doing two coats, double it. When in doubt, buy a little extra from the same batch so touch-ups match later.
One quick mixing tip
Stir paint thoroughly. If you needed more than one can, consider “boxing” it: pour the cans into a clean bucket and mix together. It helps keep color perfectly consistent across walls.
Prep work (where pro results really come from)
Step 1: Clear the room and protect surfaces
- Move furniture to the center and cover it with plastic.
- Lay canvas drop cloths on floors. Tape the edges if the cloth wants to walk around.
- Remove switch plates, outlet covers, curtain brackets, and wall hooks.
- Safety note: Turn off power at the breaker if you are removing devices, painting very close to exposed terminals, or just want extra peace of mind.
- Open windows when you can and run a fan for ventilation (aim it for airflow through the room, not blasting directly at a wet wall).
Step 2: Clean the walls
Paint sticks best to clean, dull surfaces. For most rooms, warm water with a drop of dish soap is enough. In kitchens, hallways, and around light switches, use a degreaser or a cleaner made for pre-paint.
Do not leave cleaner behind: If you use soap or a degreaser, do a final wipe with clean water to remove residue, then let walls dry fully before you patch or prime.
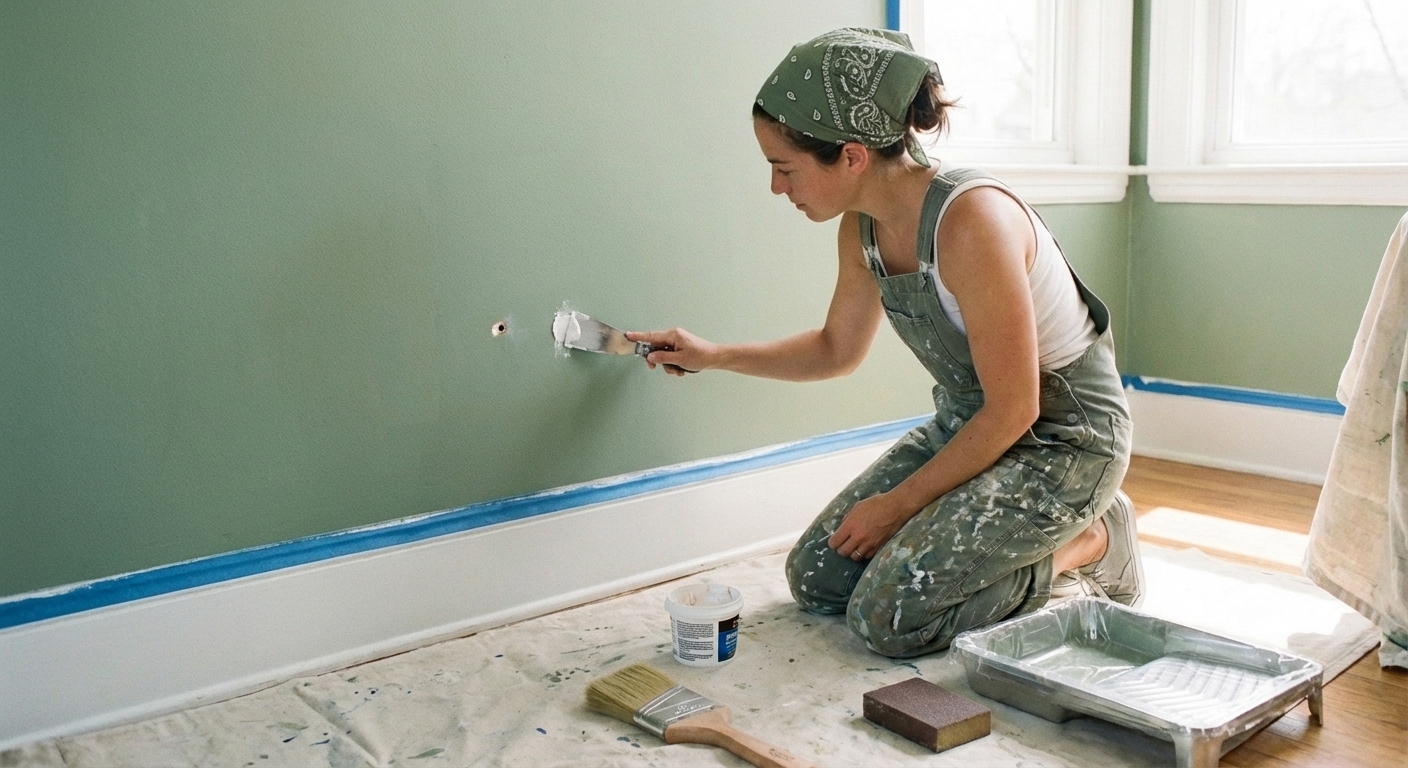
Step 3: Patch, caulk, and sand
- Patch: Fill nail holes and dings with spackle. Overfill slightly.
- Sand: Feather edges smooth once dry. Run your hand over it. If you can feel it, you will see it after paint.
- Caulk: Use a thin bead where trim meets wall, and around door and window casing gaps. Smooth with a damp finger or caulk tool.
My hard-learned lesson: Do not skip sanding because “paint will hide it.” Paint is basically a spotlight.
Safety note: Wear a dust mask when sanding spackle or drywall compound, and consider eye protection. If you are dealing with older paint and you are not sure what it is, play it safe and avoid making dust until you have a plan.
Step 4: Dust and vacuum
After sanding, vacuum baseboards, window sills, and the wall area you sanded. Wipe walls with a slightly damp microfiber cloth. Dust is the sneaky reason you get gritty paint and poor adhesion.
Step 5: Tape (optional, but helpful for beginners)
Pros often freehand tight lines. Beginners can absolutely tape, but do it correctly:
- Apply tape to clean, dry surfaces only.
- Press the edge down firmly with a putty knife or an old credit card.
- For the sharpest line, seal the tape edge with a light pass of the existing wall color, then let it dry before painting the new color.
Do you need primer?
Not every room needs full primer, but skipping it when it is needed is how you end up with flashing, stains bleeding through, or a finish that chips too easily.
Prime if any of these are true
- You patched spots and sanded through to bare drywall or joint compound
- You are painting over glossy paint, oil-based paint, or a tough enamel
- You have stains (water marks, smoke, tannins from wood knots)
- You are making a big color change (dark to light or vivid color to neutral)
Spot-prime vs full prime
- Spot-prime: Great for patched areas. Use a small roller to avoid leaving a “prime square” texture difference.
- Full prime: Best for major color changes, stains, or questionable walls. It evens out porosity so your topcoat dries consistently.
Glossy paint and stains (two common gotchas)
- Glossy or oily surfaces: Primer is not magic. Clean well, scuff sand or degloss to dull the shine, then use a bonding primer designed for slick surfaces.
- Heavy stains (smoke or water): You may need a stain-blocking primer (often oil-based or shellac-based) to lock it down before topcoats.
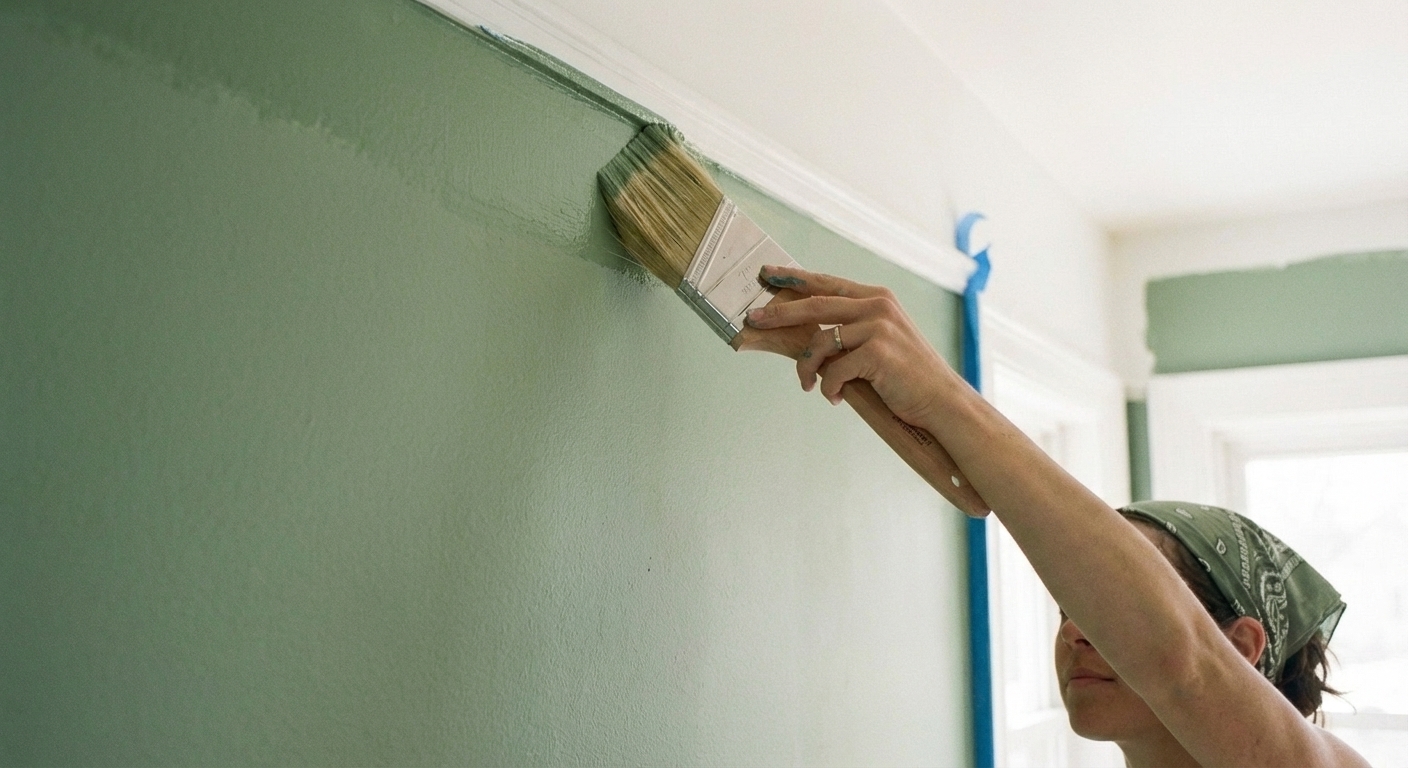
Cutting in edges
Cutting in is painting the edges where the roller cannot reach: ceilings, corners, trim, and around door and window casings.
Brush setup
- Dip only the first 1/3 of the bristles into paint.
- Tap the brush on the sides of the bucket. Do not wipe hard. Wiping dumps paint deep into the bristles where it is harder to control.
Technique that works
- Start about 1/2 inch away from the edge, then ease the brush into the corner or line.
- Keep a wet edge. Do not “dry brush” the last bit. Reload instead.
- Cut in one wall at a time and roll it while the cut-in is still wet. This helps prevent a visible band (called picture framing).
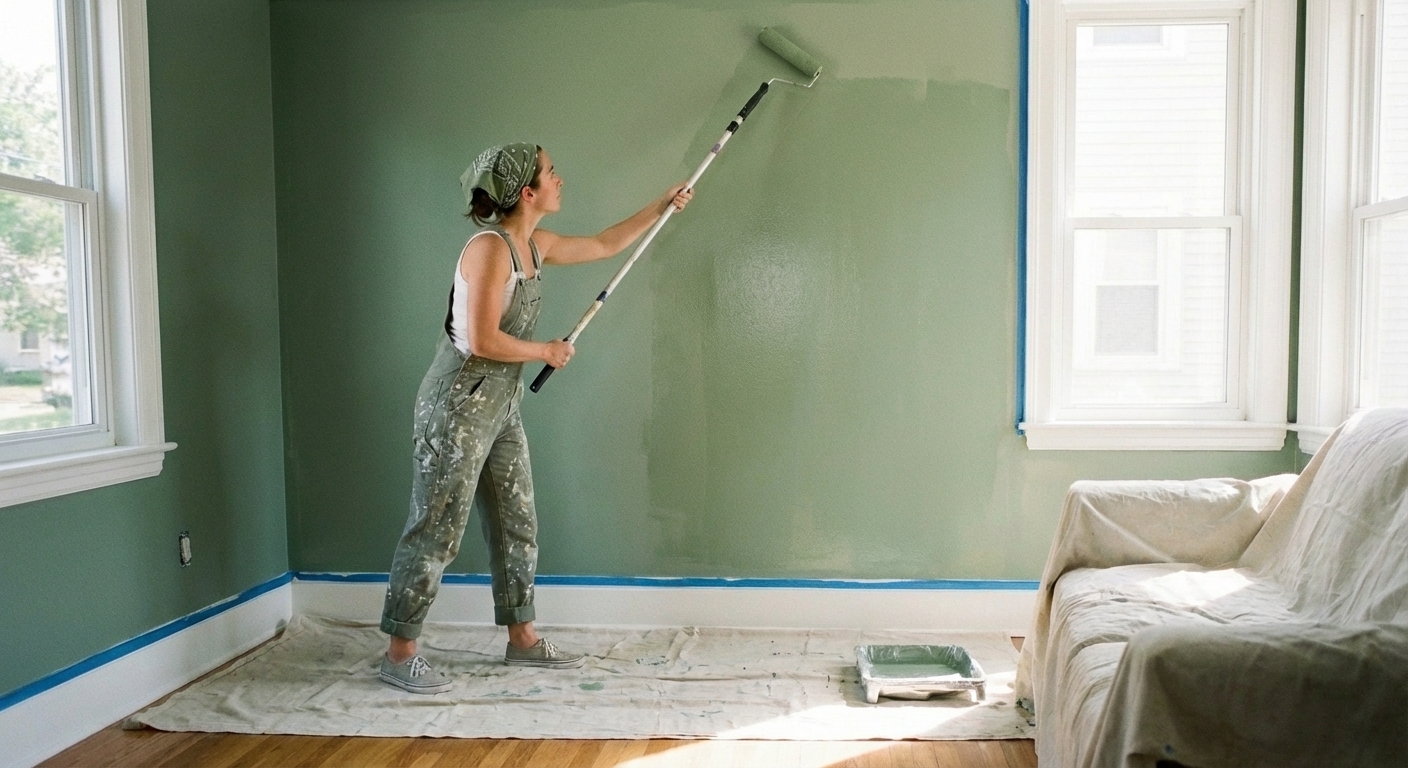
Rolling walls
Pick the right roller cover
- Smooth walls: 3/8-inch nap microfiber or woven cover
- Light texture or orange peel: 1/2-inch nap
- Heavy texture: 3/4-inch nap (rare for most interior walls)
Load the roller the pro way
- Use a bucket with a roller grid if possible. It loads evenly and reduces drips.
- Roll the cover on the grid until it is evenly saturated. If paint is dripping, you are overloaded.
Rolling pattern
- Work in sections about 3 feet wide.
- Roll a large “W” or “M” to distribute paint, then fill it in with straight passes.
- Overlap into the previous section while it is still wet to maintain a wet edge and avoid lap marks.
- Finish each section with light, top-to-bottom passes in one direction. This is called laying off and it evens the texture.
- Avoid going back over areas that are starting to dry. That is a fast track to streaks.
Pressure and speed
Let the roller do the work. Too much pressure squeezes paint out at the edges and leaves ridges. Move at a steady pace. If you hear a zipper-like sound, the roller is running dry. Reload.
Coats and drying times
How many coats?
- Most rooms: 2 coats of wall paint for an even color and sheen.
- Over fresh primer or big color changes: Often 2 coats, sometimes 3 depending on paint quality and color.
Dry time vs recoat vs cure
Paint can feel dry to the touch and still not be ready for another coat. Always follow the can, but these are reasonable starting points:
- Latex (water-based) paint: Recoat in about 2 to 4 hours in normal conditions.
- High humidity or cool rooms: Expect longer. Use fans for airflow, but do not aim a fan directly at a wet wall from up close. It can dry the surface too fast and affect leveling.
- Light use: You can usually move light furniture back carefully after overnight drying.
- Cure time: Paint typically reaches full hardness in about 2 to 4 weeks. Be gentle with washing and scrubbing until then.
When to pull tape
For the cleanest line, pull painter’s tape while the last coat is still slightly wet. Pull it back on itself at a 45-degree angle. If the paint starts to tear, score the edge lightly with a utility knife as you go.
Order of operations
If you want a simple game plan, here it is:
- Protect floors and furniture
- Remove plates and hardware
- Clean walls (then wipe with clean water if you used soap or degreaser)
- Patch, caulk, sand (wear a dust mask when sanding)
- Dust and wipe down
- Prime (spot or full)
- Cut in one wall
- Roll that wall
- Repeat for remaining walls
- Second coat: cut in and roll again
- Pull tape
- Touch-ups after it dries
- Reinstall plates, move furniture back carefully
Touch-ups that disappear
- Save leftover paint in a sealed container and label it with room name, date, and sheen.
- For small nicks, use a small foam brush or artist brush and feather the edges.
- If you are touching up weeks later, understand it may “flash” (show) due to curing and wall wear. In high-visibility areas, repaint from corner to corner for perfect blending.
Cleanup
While you still have energy
- Seal paint cans tight. A quick upside-down flip can help seal the lid, but only if the rim is clean and the lid is fully seated (leaks happen if it is not).
- Wrap rollers and brushes in plastic if you are painting again tomorrow. They will stay usable overnight.
Brush cleanup (latex paint)
- Rinse in warm water until it runs mostly clear, then use a little dish soap for a final clean.
- Comb bristles straight and let the brush dry hanging or lying flat.
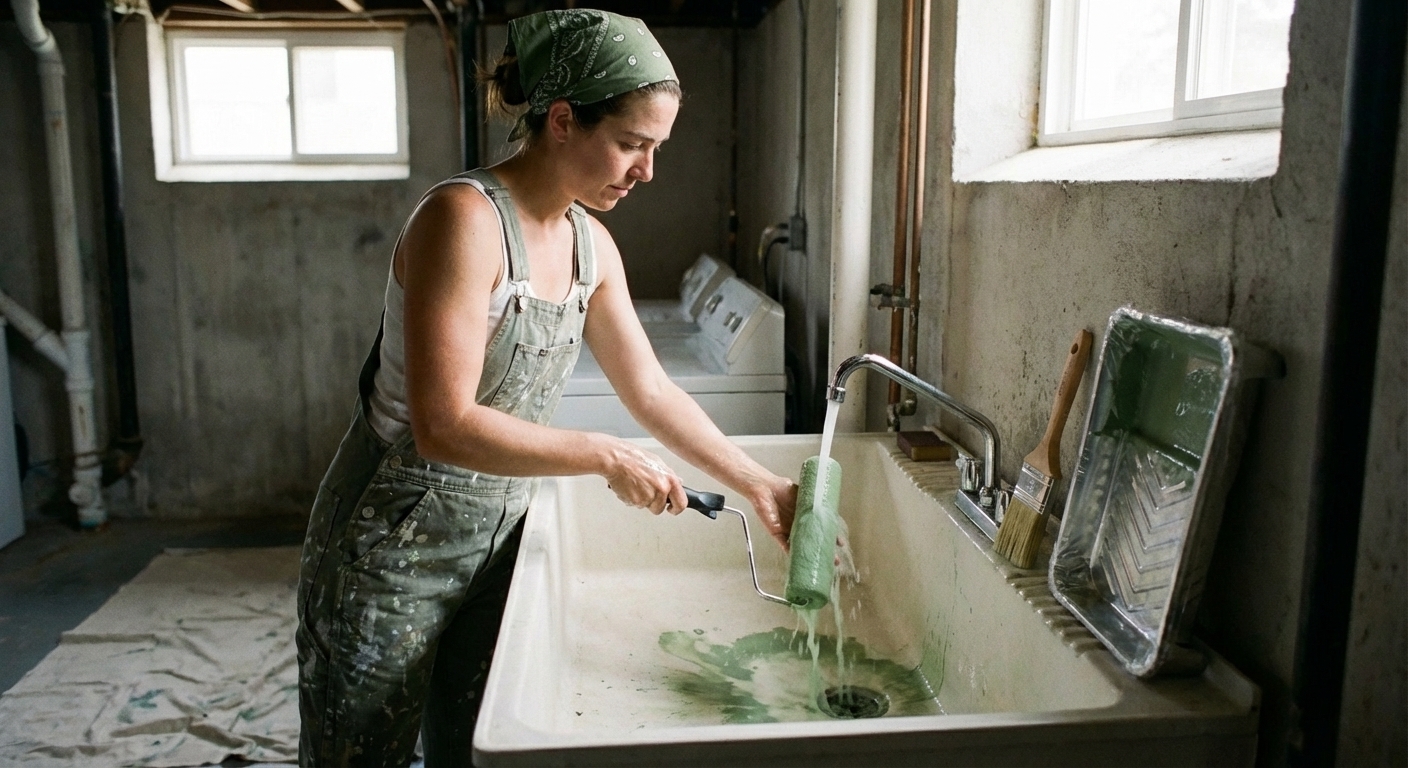
Roller cleanup
- Scrape excess paint back into the bucket with a 5-in-1 tool.
- Rinse until clear, then spin out water and stand the cover on end to dry.
Dispose responsibly: Let empty cans and dried paint residue cure fully before trashing. Never pour paint down a drain. Many areas have paint recycling or household hazardous waste drop-offs. Where allowed, you can harden leftover latex paint (paint hardener or kitty litter) before disposal.
Troubleshooting
Lap marks or streaks
- Cause: Painting too slowly, letting edges dry, or rolling over half-dry paint.
- Fix: Work in smaller sections, keep a wet edge, and avoid overworking. Consider a paint additive designed to extend open time if your room is hot and dry.
Roller stipple looks uneven
- Cause: Mixing roller naps or using too much pressure.
- Fix: Use the same cover type for the whole room, and finish with light lay-off passes.
Paint peeling
- Cause: Dirty walls, glossy surfaces, or skipped primer.
- Fix: Scrape loose paint, sand or degloss to dull, clean, use the right primer, repaint.
Flashing (patches show through)
- Cause: Unprimed patches or different wall porosity.
- Fix: Spot-prime patches with a small roller, then repaint the wall.
My “do this, not that” tips
- Do buy a good roller cover and brush. Do not fight a $2 brush that sheds and leaves tracks.
- Do keep a damp rag in your pocket for quick drip wipes. Do not let drips dry and promise yourself you will “get them later.”
- Do use strong light at an angle to spot misses. Do not trust overhead lighting.
- Do paint from top to bottom in the room. Do not paint baseboards first and then drip all over them.
Printable supply checklist
If you want to screenshot this before your store run:
- Paint, 2 coats (plus extra for touch-ups)
- Primer (spot or full)
- 9-inch roller frame + 3/8-inch or 1/2-inch nap covers
- 2 to 2.5 inch angled sash brush
- Bucket + roller grid (or tray)
- Painter’s tape
- Canvas drop cloths or rosin paper
- Spackle, putty knife, sanding sponge
- Step stool or small ladder
- Paintable caulk
- Rags, soap, trash bags, dust mask
About Marcus Vance
Content Creator @ Grit & Home
Marcus Vance is a lifelong DIY enthusiast and self-taught home renovator who has spent the last decade transforming a dilapidated 1970s ranch into his family's dream home. He specializes in budget-friendly carpentry, room-by-room renovations, and demystifying power tools for beginners. Through his writing, Marcus shares practical tutorials and hard-learned lessons to help homeowners tackle their own projects with confidence.