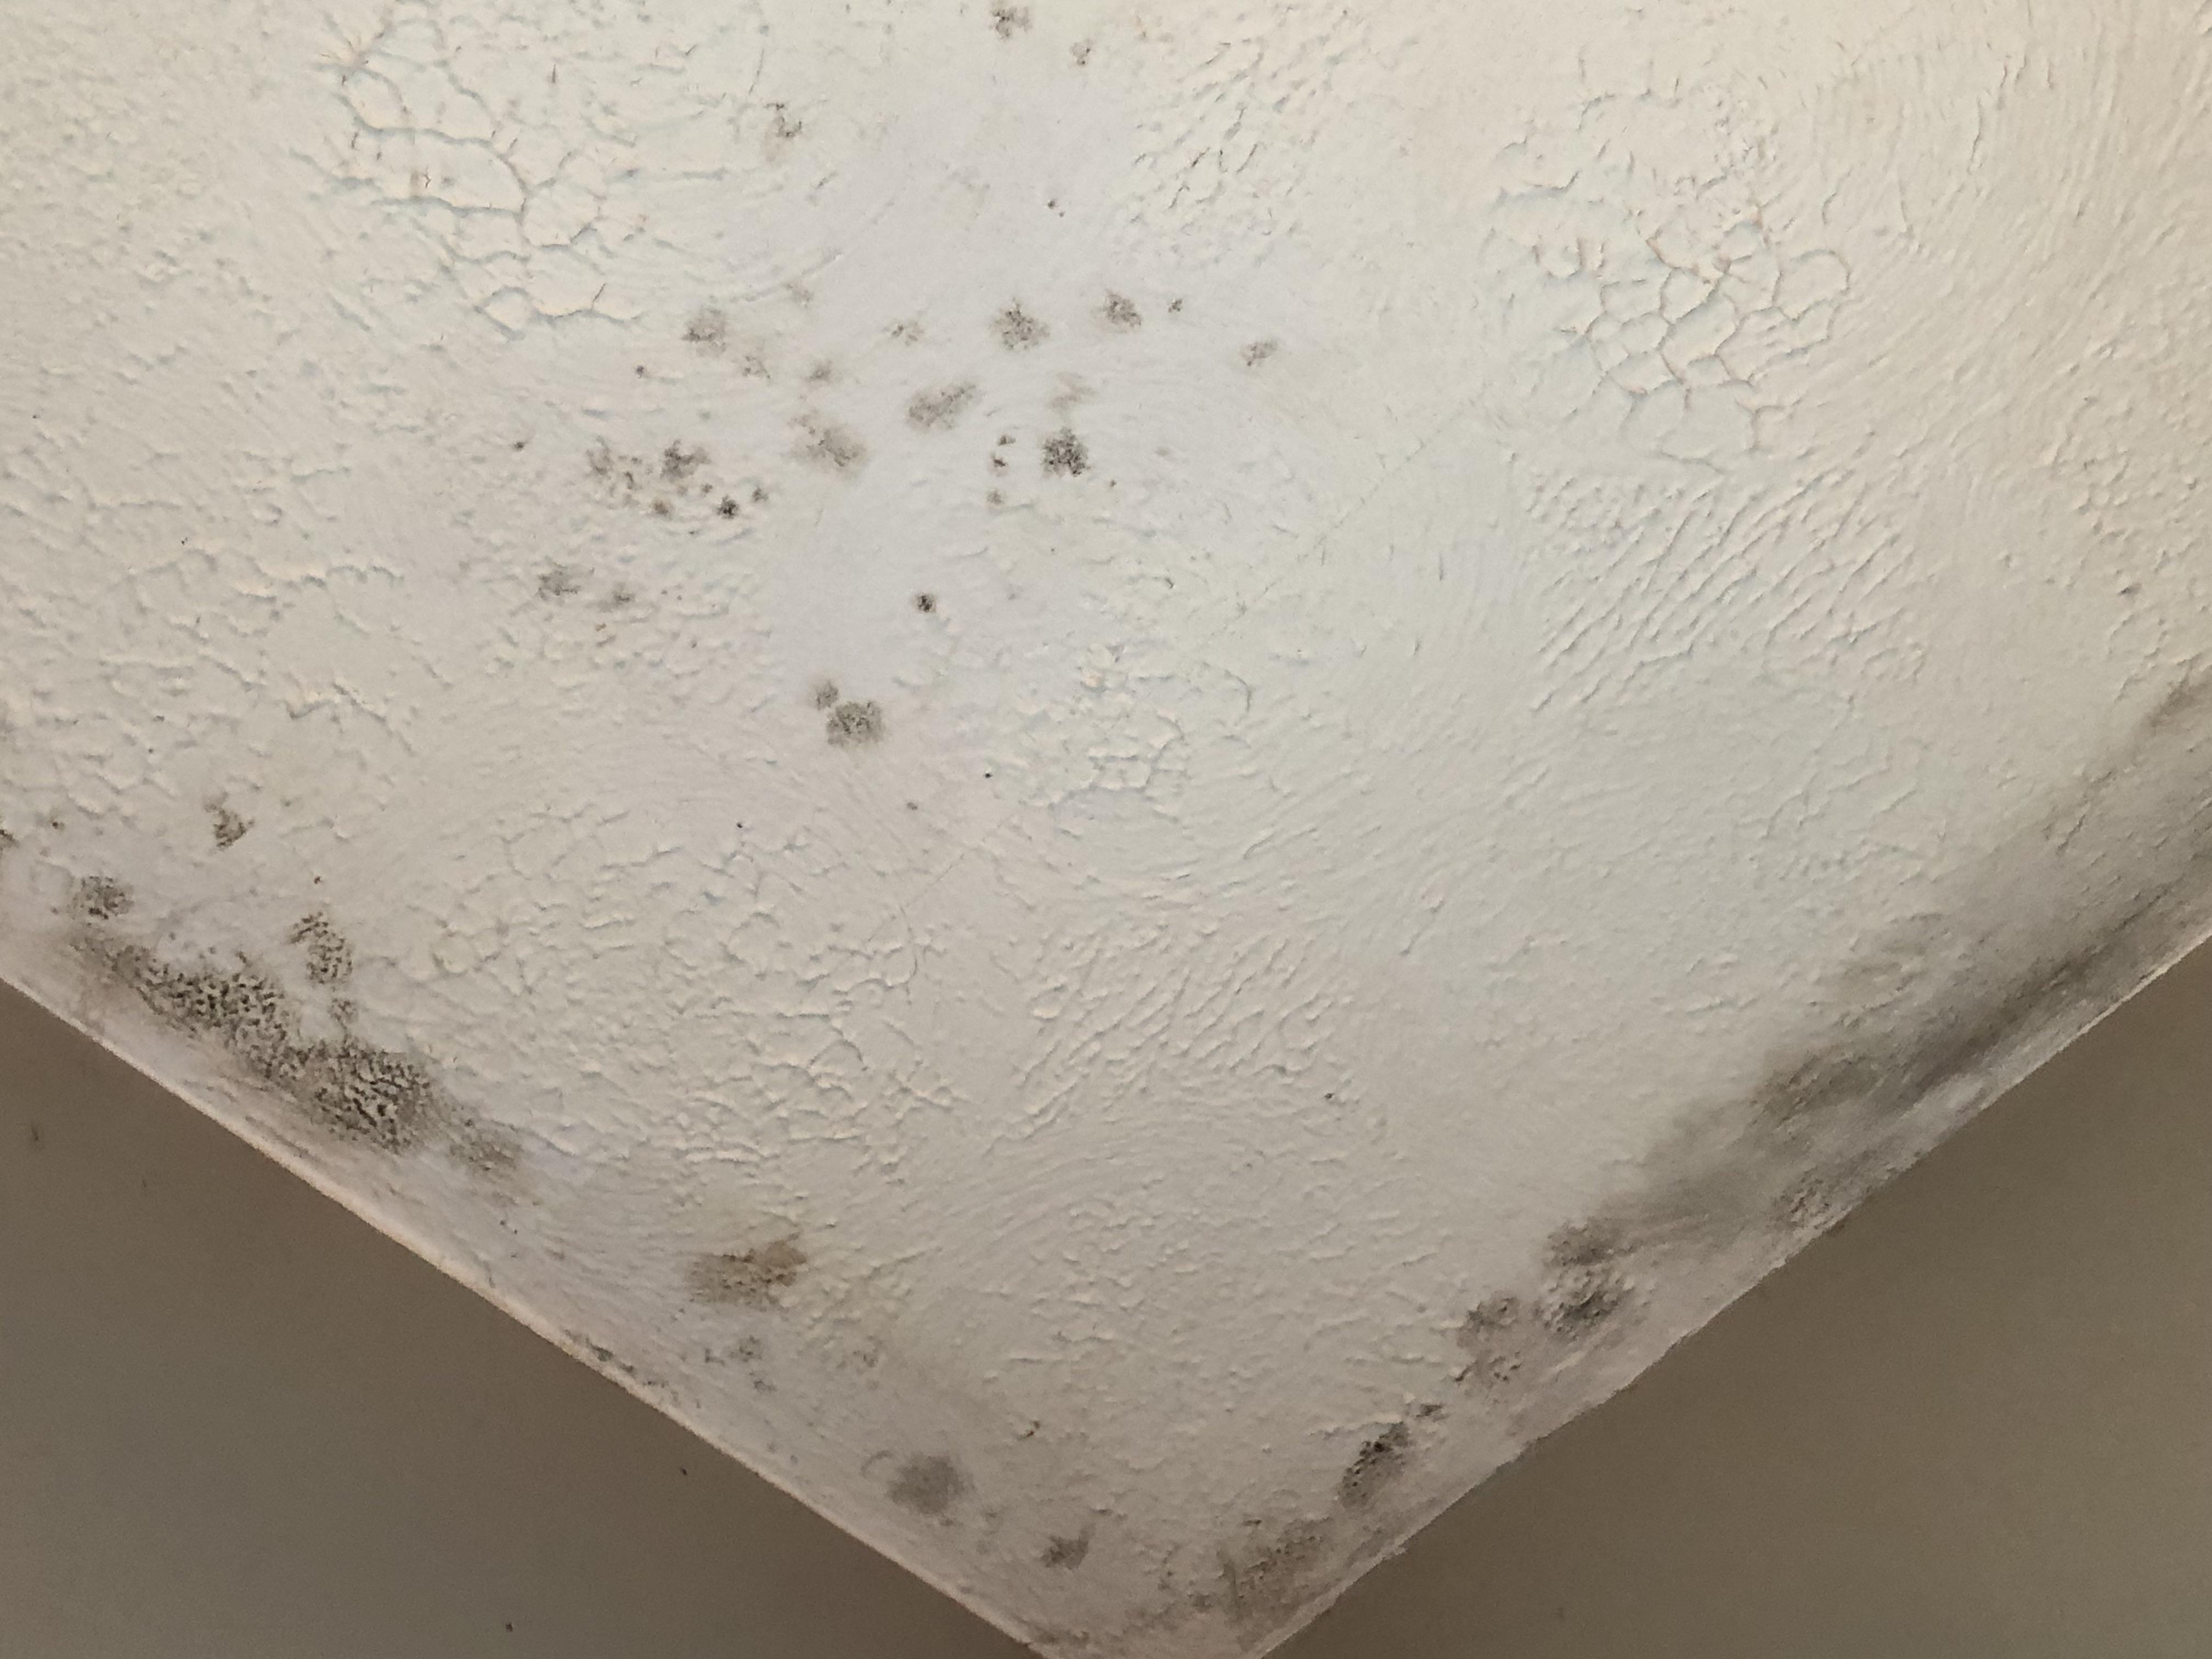
Bathroom mold is one of those problems that feels personal. You clean, you scrub, you run the fan, and somehow those little black freckles come back like they pay rent.
The good news: if what you have is surface mold on painted drywall, a bathroom ceiling, or tile grout, you can usually handle it safely yourself with a methodical approach.
Quick definition: surface mold is the stuff you can see and wipe off on sealed, finished surfaces. Mold behind walls is what shows up as soft drywall, bubbling paint, persistent dampness, or repeated regrowth no matter how well you clean.
The key is knowing when it is a simple cleaning job and when it is time to stop and call in a pro.
DIY or call a pro?
I am all for DIY, but mold is one place where you do not get bonus points for toughness. Use this quick checklist.
DIY is usually OK if:
- The mold is surface-level on paint, caulk edges, tile, or grout.
- The affected area is small. The EPA’s common guideline is under about 10 square feet of visible mold.
- You do not see bulging drywall, soft spots, or wet, crumbling material.
- No one in the home has serious asthma, immune suppression, or severe mold allergies.
Stop and get help if you see:
- Water damage such as sagging ceilings, bubbling paint, or damp drywall that does not dry out.
- Repeated regrowth within days after cleaning, which often means moisture is trapped behind the surface.
- Sewage smell or a history of a leak above the bathroom.
- Large coverage that extends across multiple surfaces or rooms.
- Health risk factors that lower your threshold for DIY (kids with asthma, immunocompromised family members, severe allergies) or any local rules that require professional remediation.
Real talk from my own reno: I once kept “cleaning” what I thought was bathroom ceiling mold. It kept coming back because the real problem was a slow leak at the shower arm inside the wall. Cleaning without fixing moisture is like mopping with the faucet running.
Safety gear and setup
Even when it is just surface mold, the goal is to avoid breathing spores and to keep them from spreading to the rest of the house.
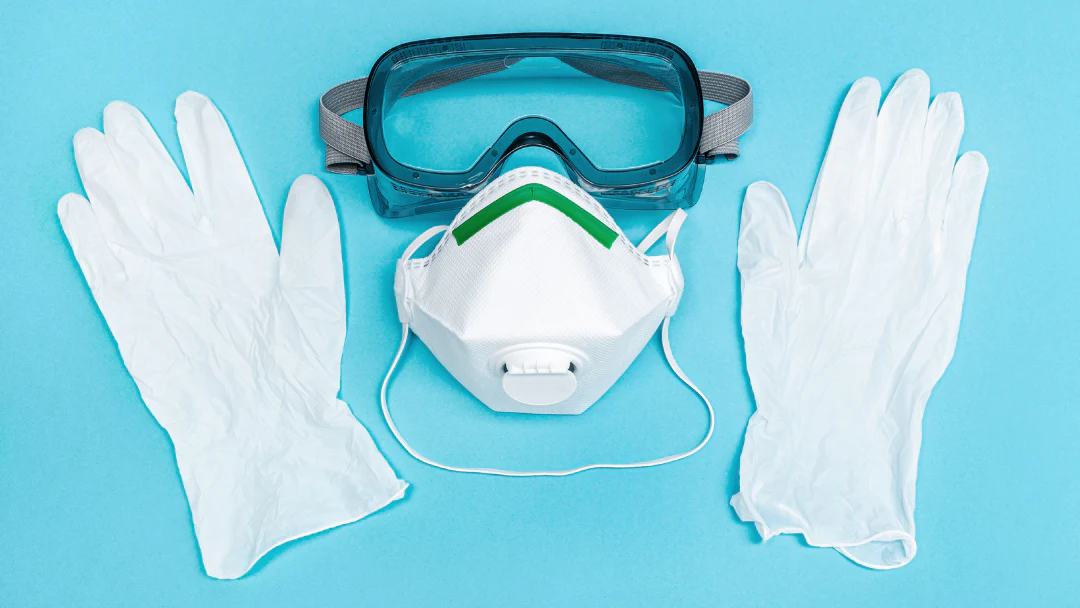
Wear this:
- Gloves: nitrile or rubber.
- Eye protection: safety glasses or goggles.
- Mask: at minimum a well-fitted N95. If you have one, a P100 respirator is even better for comfort and seal.
- Old clothes: long sleeves you can wash hot right after, or a disposable coverall for sensitive folks.
Prep the bathroom:
- Ventilate: run the bathroom fan and open a window if you have one.
- Keep kids and pets out: close the door while you work and until surfaces are dry.
- Remove soft items: towels, bathmats, shower curtain liners, and anything that can hold spores.
- Protect the floor: lay down an old towel or drop cloth you can immediately wash.
- Do not dry-brush or sand: that kicks spores into the air.
- Do not mix cleaners: especially bleach with ammonia or acids like vinegar. That can create dangerous fumes.
Also: follow product labels, and stop if you feel lightheaded, wheezy, or irritated. Fresh air beats powering through.
Pick the right cleaner
If you have ever Googled mold removal, you have seen people arguing like it is a sports rivalry. Here is the practical breakdown for a homeowner.
Hydrogen peroxide (3%)
- Best for: sealed, painted walls and ceilings, tile, and grout.
- Why I like it: effective on many molds, less harsh odor than bleach, and generally less likely to discolor than bleach.
- How to use: use standard 3% only, straight from the bottle in a spray bottle.
- Quick tip: peroxide breaks down with light. If you pour it into a clear spray bottle, store it in a dark cabinet or use an opaque bottle. Best case is attaching a sprayer to a dark (brown) bottle.
- Caution: painted drywall is only “best” when it is sealed and in good shape. Do not soak it repeatedly. Too much moisture can damage paint and paper facing.
White vinegar (undiluted)
- Best for: light surface mold and ongoing prevention wipes.
- Pros: cheap, easy, less harsh fumes.
- Cons: can be slower, and the smell lingers for a bit. Do not use on natural stone like marble.
Bleach (diluted)
- Best for: non-porous surfaces like glazed tile, and some grout situations where staining is the main issue.
- More accurate reality: bleach is effective on non-porous surfaces. On porous surfaces, it may not reach deeper growth, and the added moisture can contribute to recurrence if drying is poor.
- Big caution: strong fumes and can discolor paint and fabrics.
- Dilution: follow the product label. A commonly used mix is 1 cup household bleach per 1 gallon of water. Never mix with other cleaners.
My simple rule
For painted walls and ceilings: start with 3% hydrogen peroxide or undiluted vinegar, and keep the surface only lightly wet. Save bleach for tile and stubborn grout staining when you have excellent ventilation.
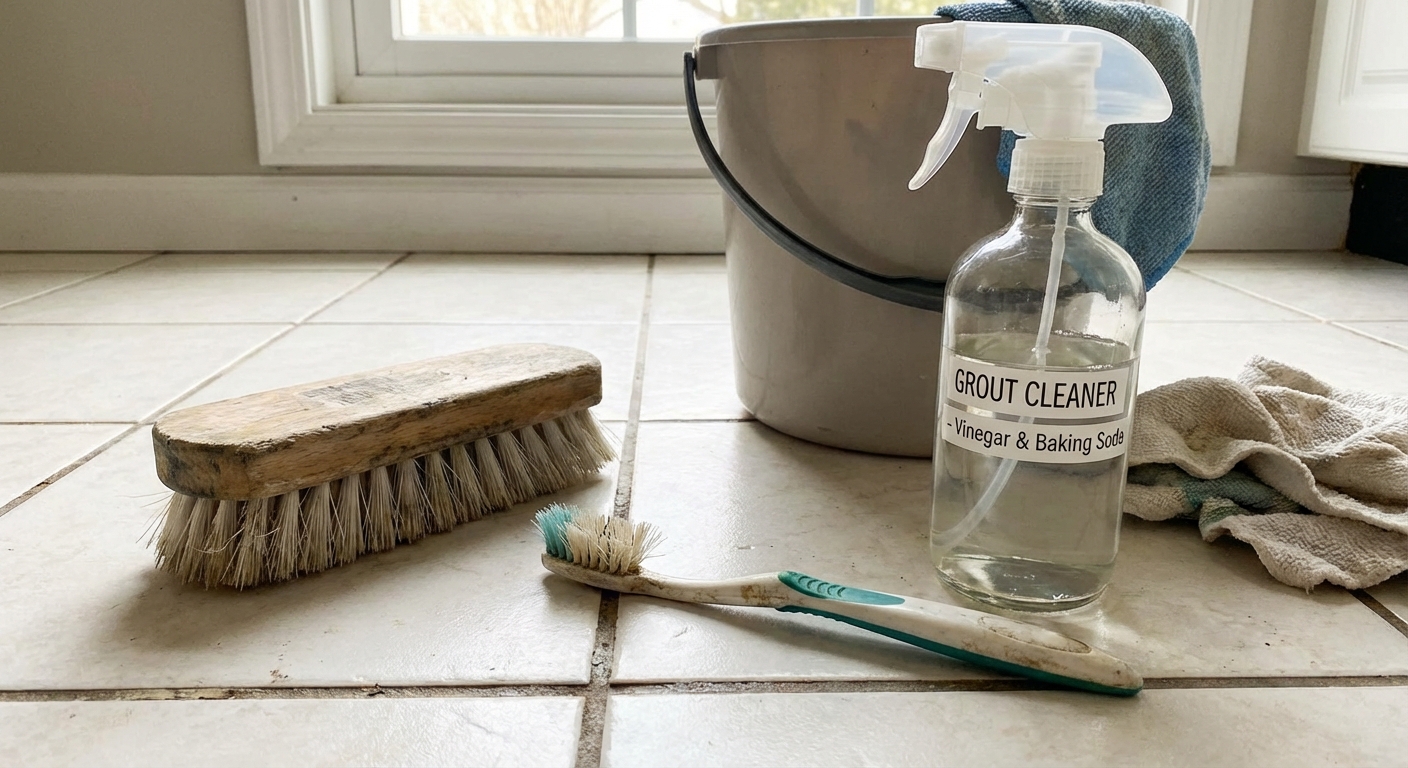
Tools and supplies
- Spray bottle (label it with the cleaner)
- Hydrogen peroxide (3%) and/or white vinegar
- Bleach (optional for tile and grout staining)
- Dish soap (a few drops helps with grime)
- Microfiber cloths or disposable paper towels
- Soft scrub brush or old toothbrush (grout)
- Non-scratch sponge
- Step stool or small ladder (ceiling)
- Trash bag for used towels and wipes
Painted walls: step-by-step
Painted drywall is usually the most forgiving, as long as the drywall is still solid and dry. Your goal is to kill the mold, wipe it away without smearing it, and then dry the surface fast.
1) Test a small spot
In an inconspicuous area, spray your chosen cleaner and wait 10 minutes to make sure it does not dull the paint.
2) Spray and let it dwell
Spray the moldy area until it is evenly wet (not dripping). Let it sit:
- Hydrogen peroxide: 10 minutes
- Vinegar: 30 to 60 minutes
3) Wipe, do not scrub hard
Use a damp microfiber cloth and wipe in one direction, folding to a clean side as you go. Aggressive scrubbing can damage paint and spread debris.
4) Wash off residue
Wipe again with clean water. If the wall is grimy, add a couple drops of dish soap to a bowl of warm water and do a quick final wipe.
5) Dry immediately
Dry with a clean towel, then run the fan and leave the door open. Drying is part of the “treatment.”
What done looks like: no visible spotting, no musty smell, and the surface is dry to the touch within a reasonable time.
If the stain remains: sometimes the mold is dead but the discoloration is still there. Once the surface is fully dry, prime with a stain-blocking primer and repaint.
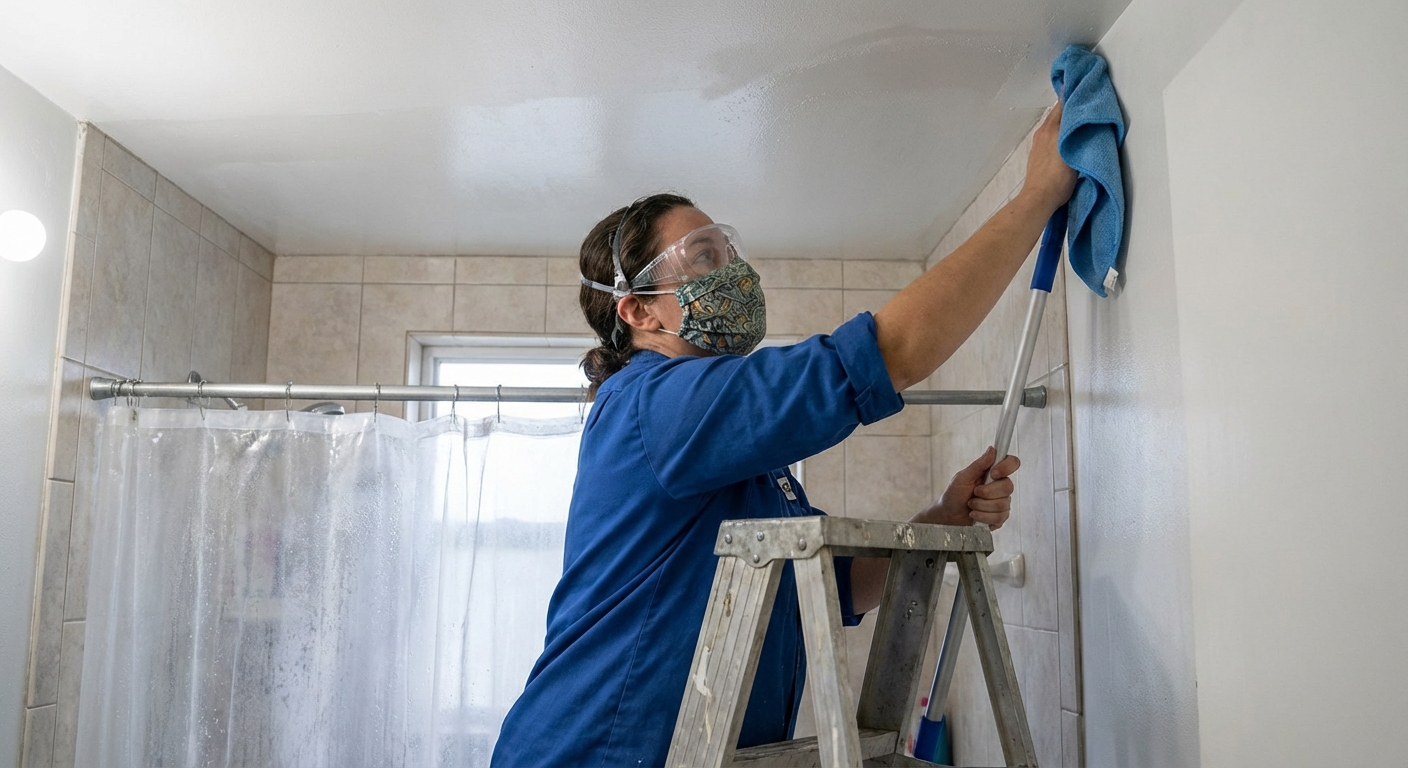
Ceiling: step-by-step
Ceilings get moldy when warm shower steam hits a cooler surface and lingers. The process is the same as walls, but your neck and eyes will remind you to be careful.
1) Protect yourself and the floor
- Wear eye protection.
- Put a towel or drop cloth under your work area.
2) Use a low-mess method
Instead of blasting the ceiling with spray, spray the cloth or sponge first for better control. You want it wet, not dripping.
3) Keep it wet for the full dwell time
Hold the dampened cloth against the spot, then re-wet as needed so the area stays damp for the full dwell time:
- Hydrogen peroxide: about 10 minutes total contact time
- Vinegar: 30 to 60 minutes total contact time
This helps the cleaner work without soaking drywall.
4) Wipe clean, then dry fast
Wipe with clean water, then towel-dry what you can reach.
Fan rule that stays consistent: run the fan for at least 30 minutes, and longer if mirrors are still foggy or surfaces are still damp. In some bathrooms, 60 minutes is normal.
Tile grout: step-by-step
Grout is porous, so it can hold on to both mold and soap scum. This is where a little technique saves you a lot of scrubbing.
1) Clean off soap scum first
Mold loves grime. Wash the tile and grout with warm water and a drop of dish soap, then rinse.
2) Apply your cleaner
- Hydrogen peroxide: spray and let sit 10 minutes.
- Vinegar: spray and let sit 30 minutes.
- Bleach solution (optional): apply to grout lines and let sit 5 to 10 minutes with strong ventilation, following label guidance.
3) Scrub with a toothbrush
Scrub along the grout line, not across it. Rinse often so you are not just redistributing grime.
4) Rinse thoroughly and dry
Rinse with clean water and dry the area. If your grout is older, consider sealing it once it is fully dry to slow future growth.
Tip for stubborn grout: a paste of baking soda and hydrogen peroxide can add gentle abrasion. Do not use baking soda with vinegar expecting extra power. They neutralize each other and mostly make bubbles.
Moldy caulk
If the black is inside the caulk and not just on the surface, cleaning usually will not fix it for long. Caulk is cheap. Your time is not.
Replace caulk instead of cleaning if:
- The discoloration is under the surface.
- The caulk is peeling, cracking, or feels gummy.
- You have cleaned it twice and it returns quickly.
The short version: remove old caulk completely, clean and dry the joint, then apply a quality bathroom-rated silicone and let it cure fully before getting it wet.
Keep it from coming back
Cleaning is the sprint. Prevention is the marathon. The goal is simple: less moisture, less time.
Ventilation that helps
- Run the fan longer: 20 to 30 minutes after showers is a solid starting point, or until mirrors are clear and surfaces feel dry. A timer switch makes this painless.
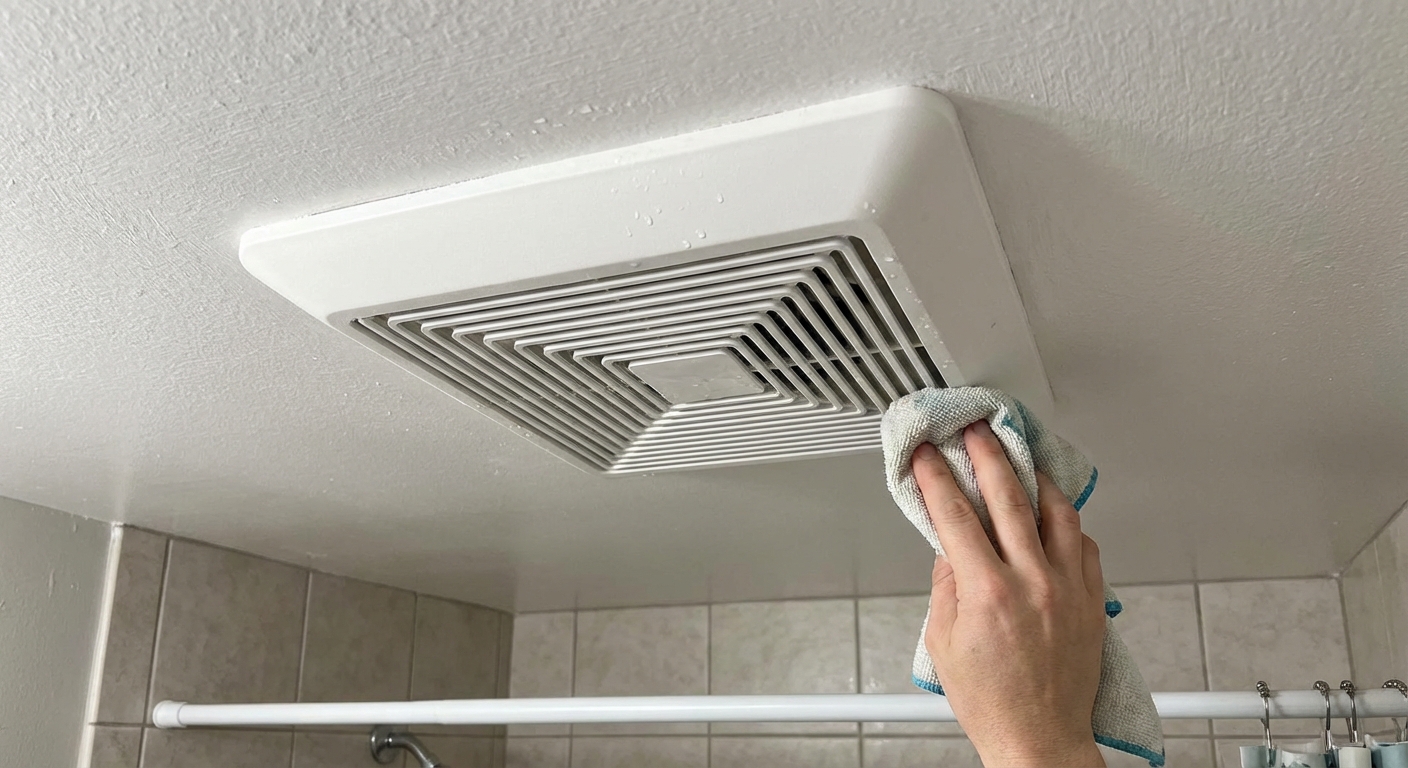
- Clean the fan grille: dust buildup reduces airflow more than you would think.
- Crack the door: fans work better with makeup air.
- Consider a higher CFM fan: if your current one is weak or loud, it probably is not moving enough air for the room size.
Daily and weekly habits
- Squeegee the shower: 60 seconds saves hours later.
- Hang towels to dry: do not leave wet towels wadded in a corner.
- Fix drips: a slow faucet or showerhead keeps humidity high.
- Keep a gap: do not push toiletries tight against the wall where air cannot circulate.
Humidity targets
- Aim for under 50% RH in the home when you can. A cheap hygrometer tells you the truth fast.
- If your bathroom stays humid, a small dehumidifier outside the bathroom (or better ventilation) can make a noticeable difference.
Paint and product choices
- Mold-resistant bathroom paint: great for walls and ceilings, especially in older bathrooms.
- Stain-blocking primer: if you had discoloration, prime before repainting.
- Grout sealer: helps reduce how much moisture and grime grout absorbs.
Quick troubleshooting
The mold is gone but the stain is still there
That is common on paint and older grout. If you are confident the surface is clean and dry, use a stain-blocking primer and repaint, or consider grout whitening products for tile areas.
It comes back in the same spot every time
That is a moisture problem. Check:
- Shower valve and shower arm for slow leaks
- Failed grout or cracked caulk letting water behind tile
- Inadequate fan runtime or airflow
- Cold exterior ceiling or wall surfaces in winter (condensation)
If you fix the moisture and it still returns, it can be a sign of hidden growth and a good time to get professional eyes on it.
It smells musty but you do not see mold
Look behind the toilet, under the vanity, inside the fan housing, and at the ceiling above the shower. Musty odors can also come from damp bathmats or towels.
Cleanup and containment
Do not skip the boring part. It is what keeps spores from settling elsewhere.
- Bag used paper towels and disposable wipes.
- Wash reusable cloths, towels, and your cleaning clothes in hot water and dry thoroughly.
- Wipe nearby horizontal surfaces (toilet tank, vanity top, window sill) with soapy water after you finish.
- Keep the room ventilated until everything is fully dry.
FAQ
Is it safe to sleep in a house with bathroom mold?
Small, surface-level bathroom mold is common, but it is still worth addressing quickly. If anyone in the home has asthma or severe allergies, treat it more urgently and consider professional advice.
Should I paint over mold?
Not without cleaning and drying first. Paint over active mold usually fails and peels, and the spots return.
Does bleach kill mold on drywall?
Bleach can disinfect the surface, but drywall is porous and can hold moisture. For sealed, painted drywall, I prefer hydrogen peroxide or vinegar and then aggressive drying. If drywall is soft or water-damaged, replacement is often the right fix.
How long should I let the cleaner sit?
Hydrogen peroxide: about 10 minutes. Vinegar: 30 to 60 minutes. Bleach solution on tile and grout: typically 5 to 10 minutes with strong ventilation, following the label.
My no-panic plan
If you want the simplest path:
- Gear up with gloves, eye protection, and an N95.
- Start with 3% hydrogen peroxide for sealed, painted walls and ceilings.
- Let it sit, wipe clean, rinse, and dry fast.
- For grout, clean soap scum first, then treat and scrub.
- Make ventilation automatic with a fan timer and run it until the room is actually dry.
Handle the surface mold today, then spend your energy fixing the moisture that caused it. That is the part that makes the win stick.
About Marcus Vance
Content Creator @ Grit & Home
Marcus Vance is a lifelong DIY enthusiast and self-taught home renovator who has spent the last decade transforming a dilapidated 1970s ranch into his family's dream home. He specializes in budget-friendly carpentry, room-by-room renovations, and demystifying power tools for beginners. Through his writing, Marcus shares practical tutorials and hard-learned lessons to help homeowners tackle their own projects with confidence.