
🚨 In a DIY emergency or rush?
Skip the details and jump straight to our 30-second cheat sheet for the most crucial info.
Small critters. Big home questions.
Finding termites is one kind of stressful. Discovering they have been quietly turning your house into a wooden flute is another. The good news is that termite-damaged wood is often repairable, but only if you do it in the right order: confirm treatment is working, figure out what is structurally compromised, then repair or replace with proper support and fasteners.
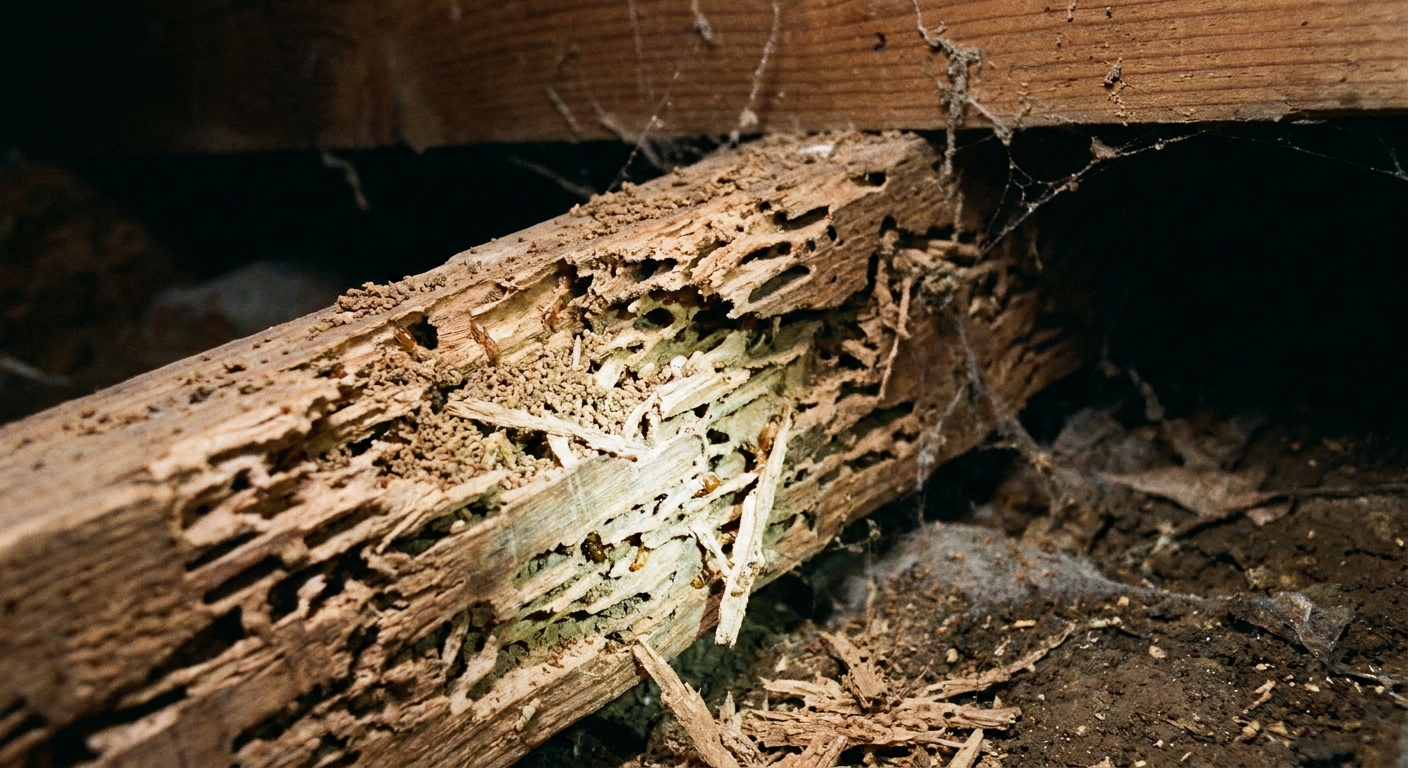
Do not rebuild until treatment is real
This page is about the wood. Still, there is one termite rule that belongs here because it controls whether your repair lasts: do not close walls, patch trim, or install new lumber until you have evidence the infestation is actively being addressed.
What “being treated” looks like
- Documentation: a service report showing date, treatment type, and where it was applied, plus any warranty or monitoring plan if you hired a pro.
- Clear method: you should know the plan, such as bait stations or liquid termiticide for subterranean termites, or localized treatment or fumigation for drywood termites (fumigation is a whole-structure event, not a spot spray).
- A defined recheck timeline: you want a follow-up inspection on the calendar, not a vague promise.
- Dry, corrected conditions: leaks fixed, wood-to-soil contact corrected, wet crawlspace addressed. Termites love moisture and hidden access.
Red flags that mean “pause”
- New mud tubes appearing after they were removed.
- Fresh frass piles for drywood termites, or new kick-out holes.
- Swarmers or discarded wings indoors after treatment.
- Active tunneling when you open wood and the galleries look clean and fresh, often with light colored wood, dampness, or mud smears rather than dusty, gray, abandoned channels.
If you are still seeing signs, keep everything accessible. You will never regret leaving an inspection window. You will regret entombing an active problem behind brand-new drywall.
Termite type matters
A quick bit of termite taxonomy can save you from fixing the wrong thing.
- Subterranean termites: usually tied to soil and moisture. You will often see mud tubes, damage at sills, rim areas, and lower framing. Repairs and prevention tend to focus on drainage, clearance, and perimeter treatment plans.
- Drywood termites: live in the wood they eat. Frass (pellets) and kick-out holes are common. Damage may show up higher in walls, attics, and trim. Fumigation or targeted treatments are more common topics here.
- Dampwood termites: prefer very wet wood. If you have these, the moisture problem is the emergency, and repairs that do not solve the water source tend to fail fast.
Safety and prep
Termite repair is carpentry, but it often happens in crawlspaces, basements, and wall cavities where hazards like mold, old wiring, and questionable supports live.
- Shut off power to any circuits in the work area if you will be opening walls or drilling near wiring.
- Wear PPE: eye protection, gloves, and at minimum a well-fitting mask in dusty cavities.
- Check for plumbing before you run screws or nails into framing that backs a bathroom or kitchen.
- Support before you remove: if a member might be load-bearing, assume it is until you prove otherwise.
- If you find extensive mold: pause. Fix the water source and consider proper remediation and containment before you keep ripping and sanding in a closed space.
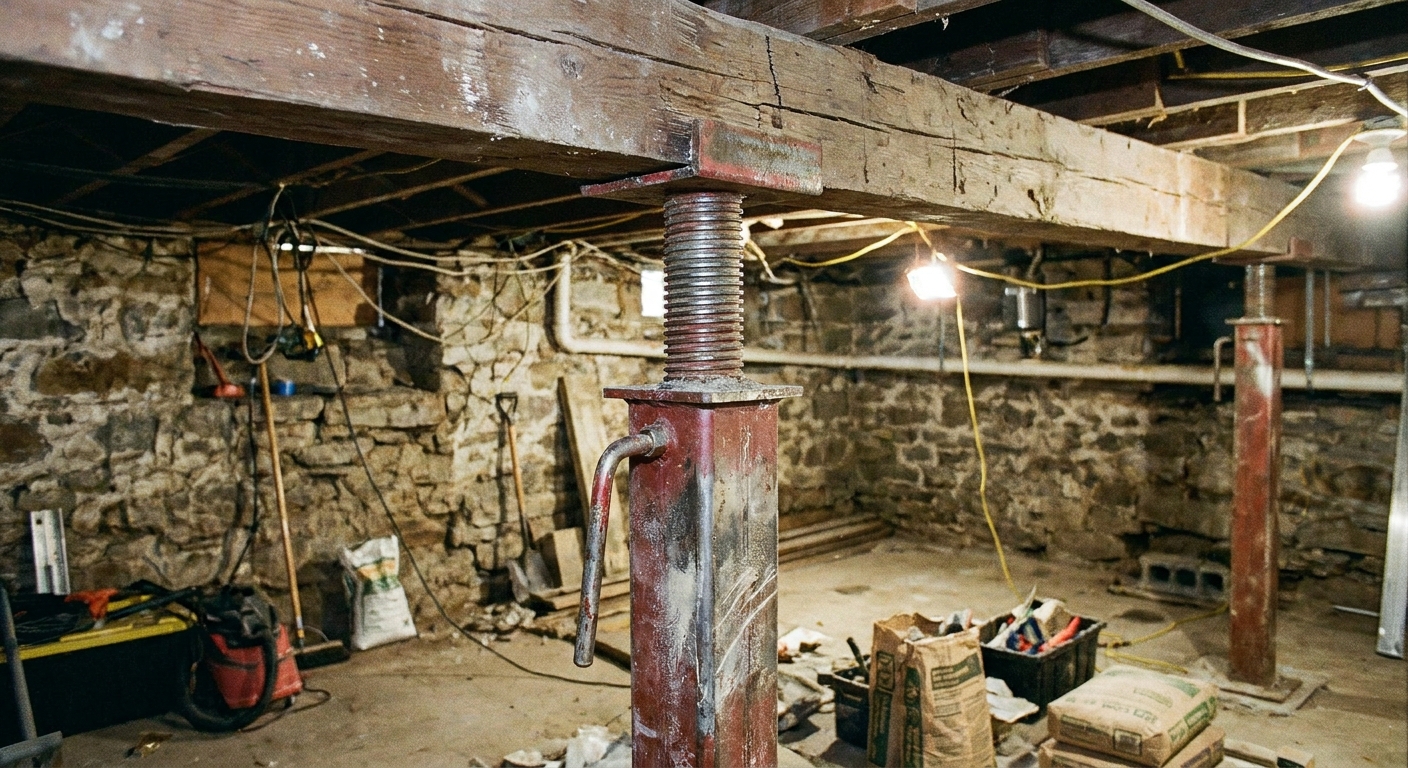
Assess the damage
Termites can do two things at once: make wood look fine on the outside while hollowing it out inside, and also chew decorative trim that is not structural. Your repair plan depends on which you have.
Quick ways to map it
- Probe test: use an awl or small screwdriver. Sound wood resists. Damaged wood caves or flakes into layered fibers.
- Sound test: tap with a hammer handle. Hollow areas can sound hollow, thin, or papery compared to solid wood.
- Measure what remains: what matters structurally is the amount of solid wood left, especially in joists, beams, and sill plates.
- Find the extent: termites follow grain, so damage commonly runs farther than the obvious spot.
Important distinction: termite damage and rot often travel together. Rot is a moisture problem and it keeps going until the moisture is solved. Termite damage usually stops once the termites are stopped, but secondary damage can continue if moisture stays, and other pests can take advantage of the openings.
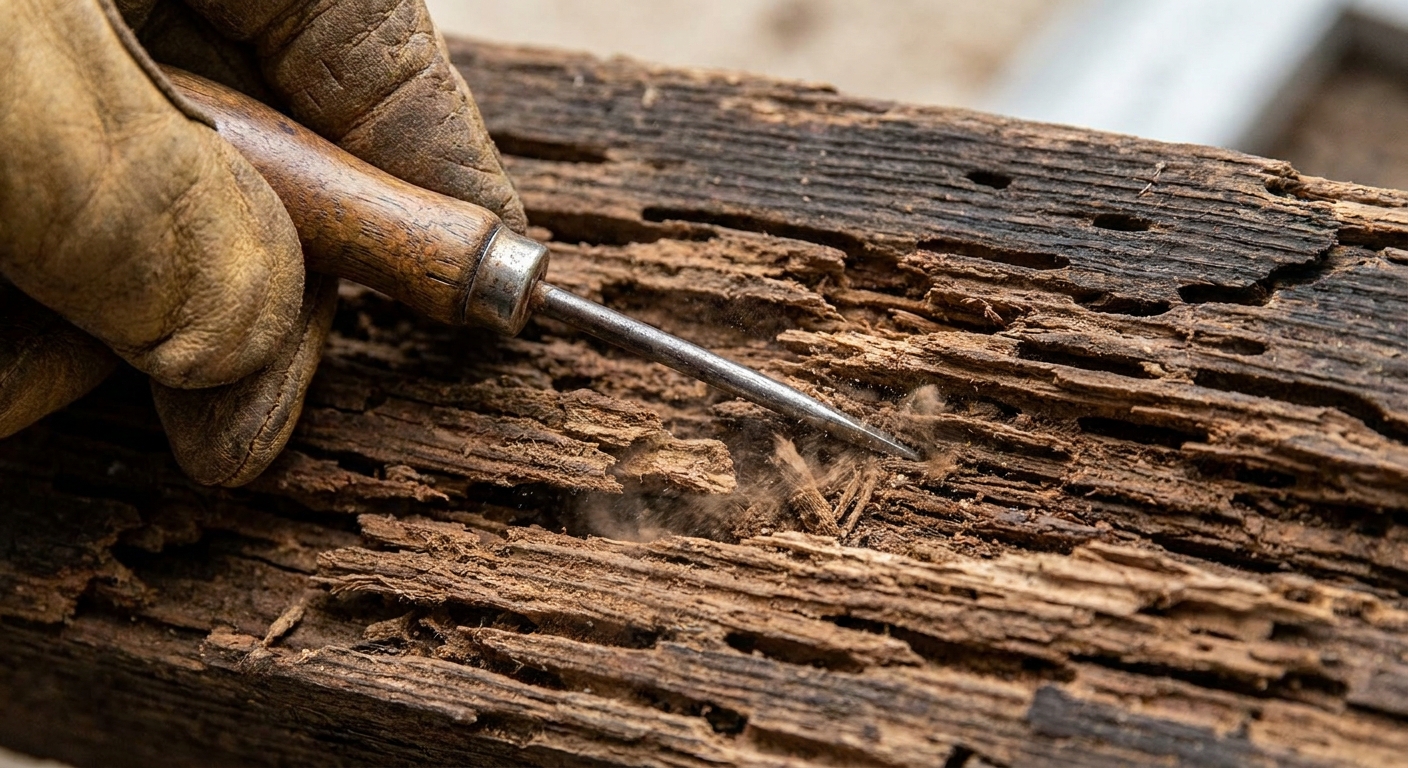
Sister, replace, or reinforce?
Think of structural repairs as a question of continuous load path. Can this piece still carry load safely? If not, can you safely add a new member alongside it? Or does it have to come out entirely?
When sistering can work
Sistering is fastening a new piece of lumber to an existing member to restore strength, most commonly on joists and sometimes rafters.
- Damage is limited to a portion of the span, not the whole member.
- The member is not crushed, badly sagging, or cracked through.
- You can run a sister long enough to bear properly on supports, or you can add support blocking so the new member actually carries load.
- You can fasten using a schedule that is appropriate for the load, such as an engineer detail, your local code requirements, or the structural fastener manufacturer’s published pattern.
When replacement is safer
- The wood is extensively hollowed across a large section.
- The damage is at a bearing point such as where a joist sits on a beam or ledger.
- The member is a sill plate or other part of the home’s perimeter support and anchorage.
- You see signs of structural movement such as sloped floors, cracked drywall above, doors that no longer latch.
When epoxy is fine and when it is not
Wood epoxy consolidants and fillers are useful for non-structural repairs and small localized voids, like window trim, door jambs, or decorative casing. They are not a substitute for real framing in joists, beams, rim boards, or sill plates unless an engineer specifies a rated system designed for structural use.
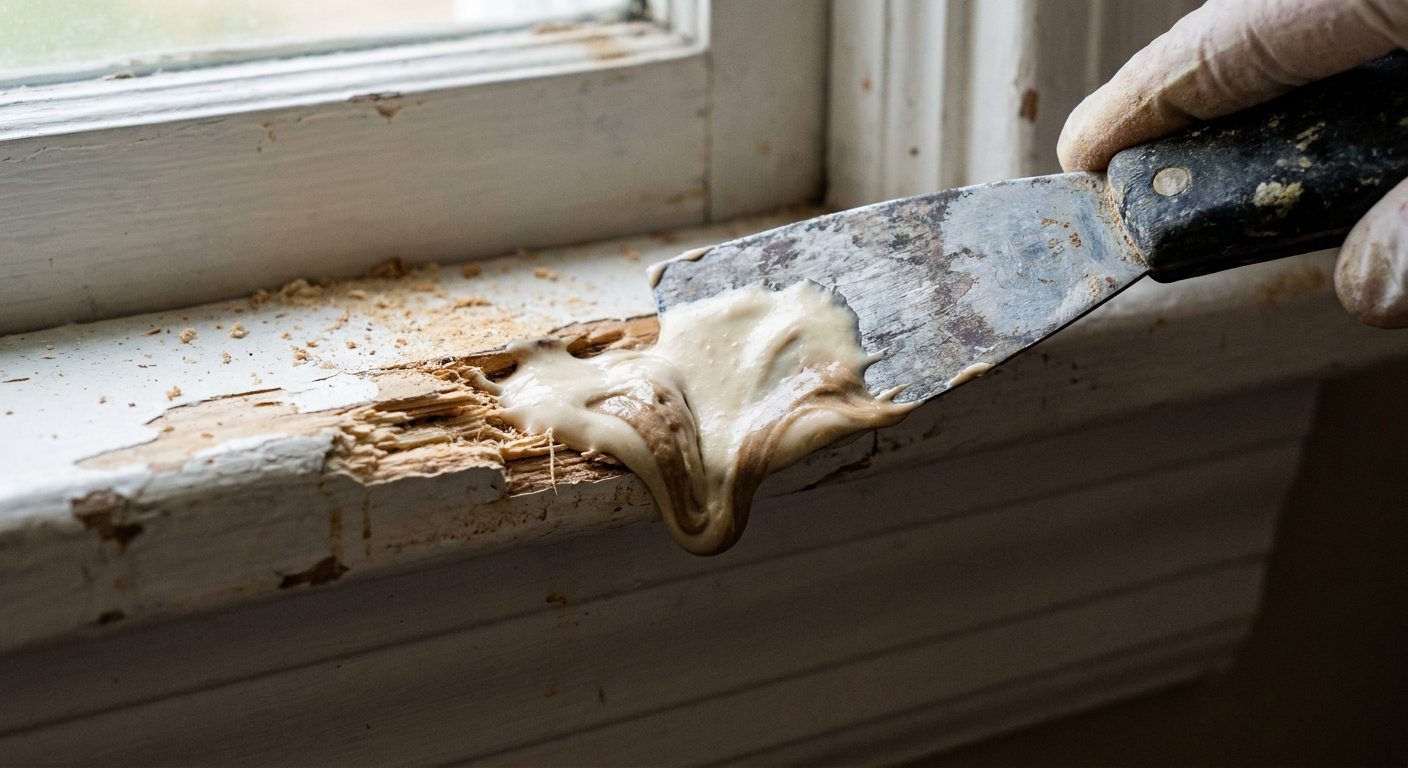
Repair termite-damaged joists
Joists are where termite repairs turn from carpentry into structural decision-making. If you are not sure whether a joist is carrying load, assume it is and proceed carefully.
Step 1: Stabilize the floor
- Add temporary support under the area if there is any bounce or sag. Adjustable steel posts and a temporary beam can reduce movement while you work.
- Place the temporary beam under multiple joists, not just the worst one, so you are sharing load instead of point-loading a problem.
- If you are jacking, go slow. Think small turns and small changes, and stop if you hear cracking, see new gaps, or the structure reacts in a way you cannot explain.
- Remove damaged subfloor only as needed so you can see the joist tops and end bearings.
Step 2: Choose a sister plan
Common options include:
- Full-length sister: best option when you can run a new joist from bearing to bearing.
- Partial sister plus support: when obstructions prevent full length. This typically needs added blocking or a new support point so the sister can actually carry load.
Step 3: Fasten correctly
Use structural screws or through-bolts with washers as appropriate for your design and local code. Follow an engineer detail when you have one, or use the structural fastener manufacturer’s published schedule for spacing and edge distances. Construction adhesive can help reduce squeaks, but it is not a structural fastener by itself.
Step 4: Add blocking as needed
Solid blocking between joists can help with stability and load distribution, especially near damaged sections and at bearing areas.
Damaged sill plates
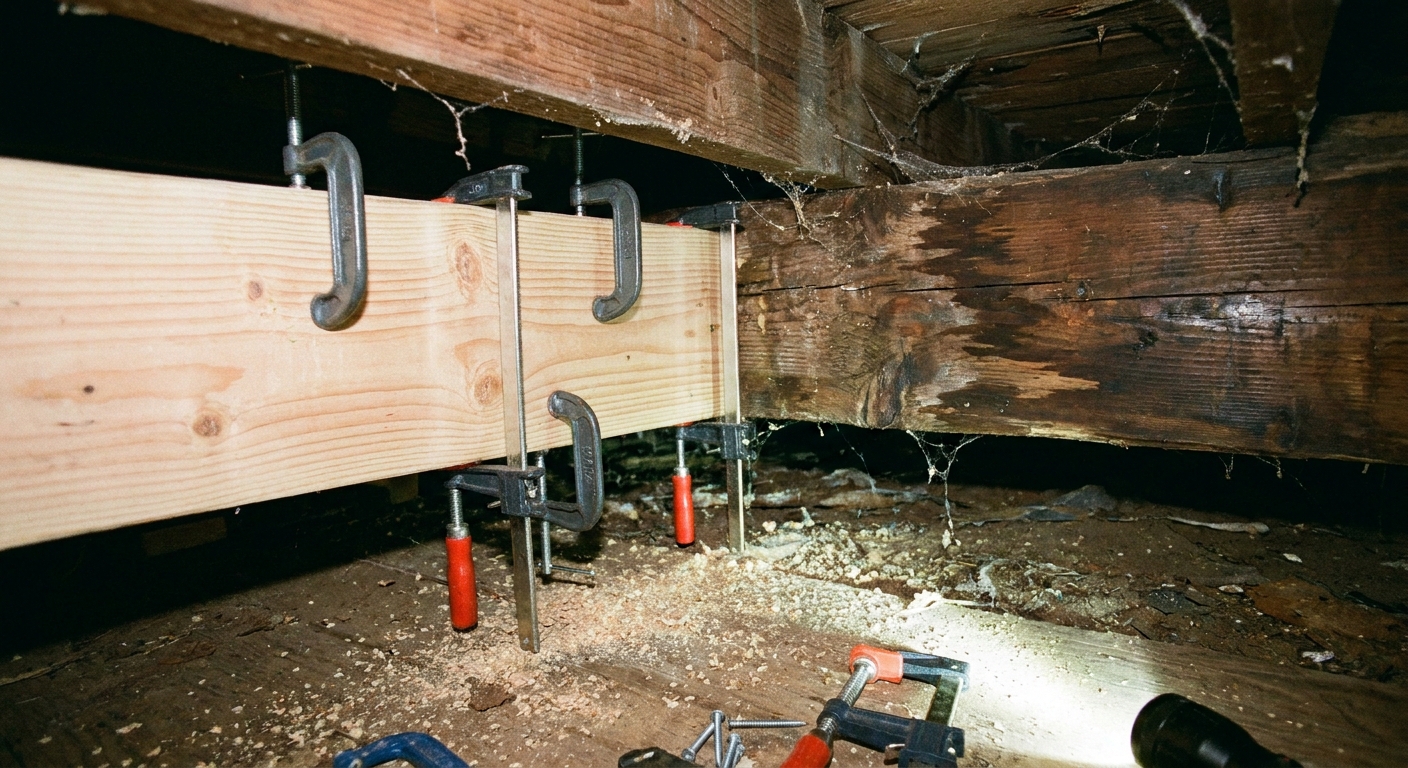
Sill plates sit on top of the foundation and help transfer loads from the house to the concrete. They can also be part of the anchoring system that resists uplift and lateral movement. Termite damage here is common because it is close to soil and moisture, and it is also where you should be the most cautious.
Signs this is beyond DIY
- Damage runs for several feet, especially near corners or under concentrated loads.
- Studs above show crushing, settling, or gaps.
- Anchor bolts are loose, missing, or the wood around them is compromised.
- You see cracks in foundation areas near the damage or evidence of movement.
If the damage is localized
Sometimes the problem is limited to a short section and the structure above is in good shape. In that case, repair often means temporary support and section replacement while preserving or restoring anchorage. Methods vary widely by foundation type and local code requirements, so this is a common handoff point to a structural pro or an experienced framing contractor.
Also note: many jurisdictions require pressure-treated sill material on concrete or masonry and a capillary break such as a sill gasket. Match what code requires in your area, and use fasteners that are compatible with treated lumber.
Rim joists and band boards
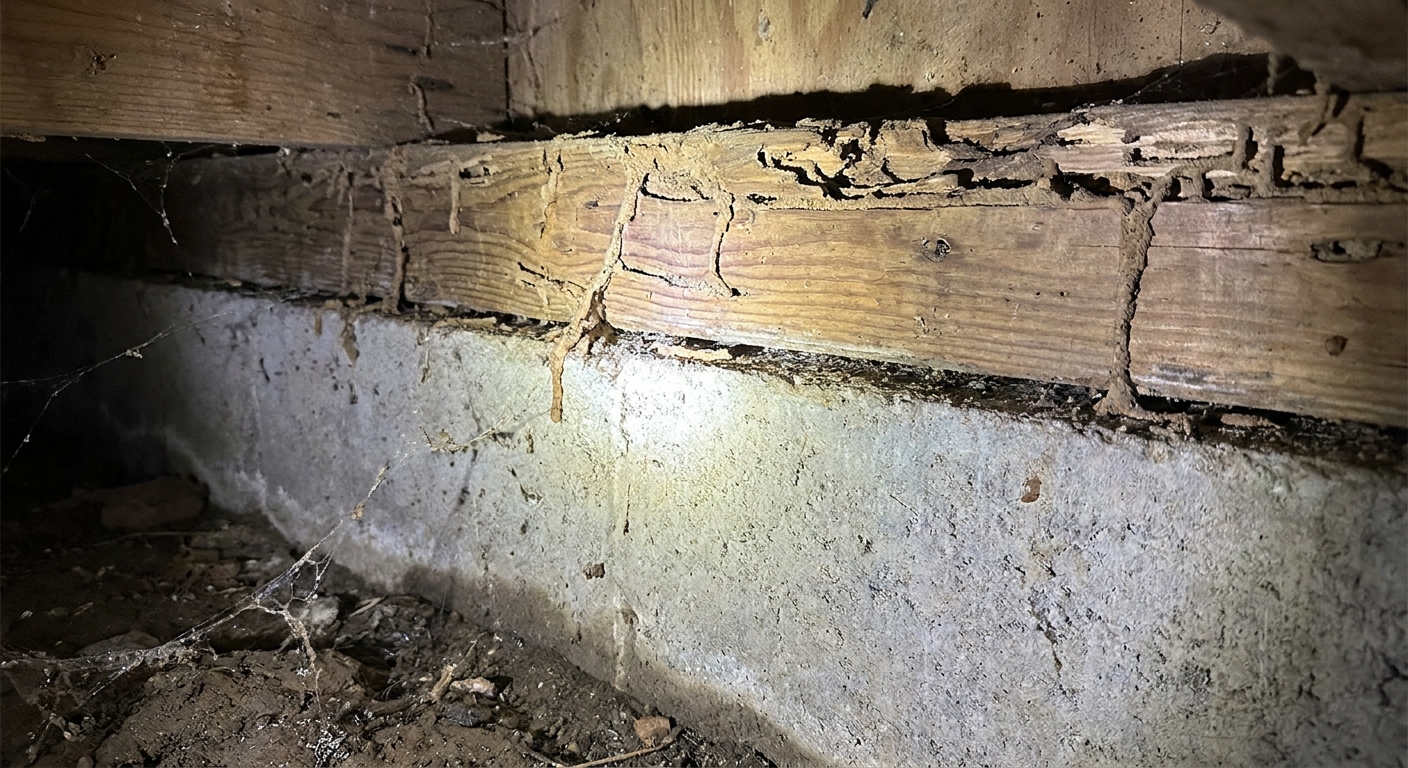
Rim joists and band boards tie joist ends together and support the edge of the floor system. Termite damage here can lead to bouncy floors and trouble spots around decks, porches, and entry doors.
- Check every joist end near the damaged area. Termites often work along the perimeter.
- Look for deck ledger issues if a deck attaches nearby. Damage plus a poorly flashed ledger is a bad combination.
- Plan for air sealing after repair, but do not trap moisture. Use appropriate materials for your climate and assembly.
Trim, jambs, and baseboards
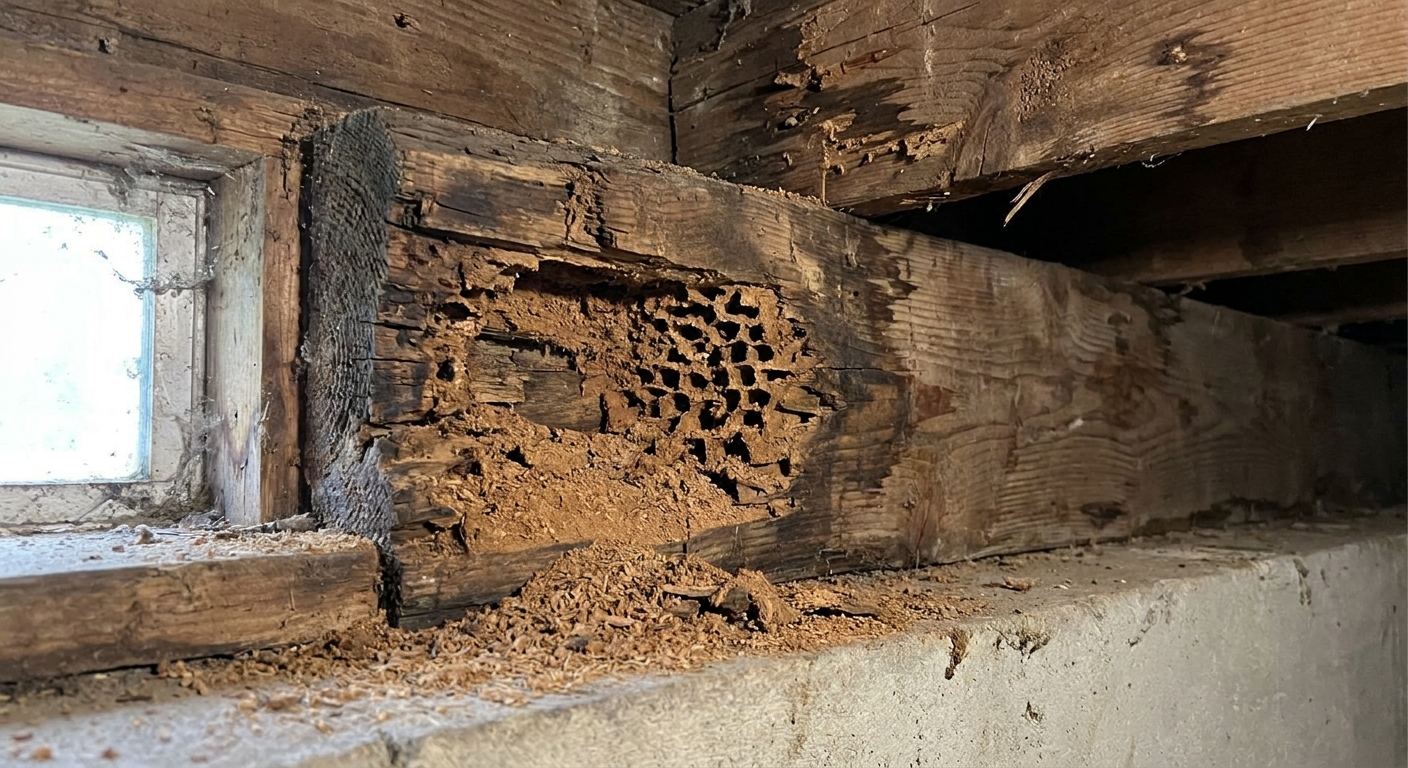
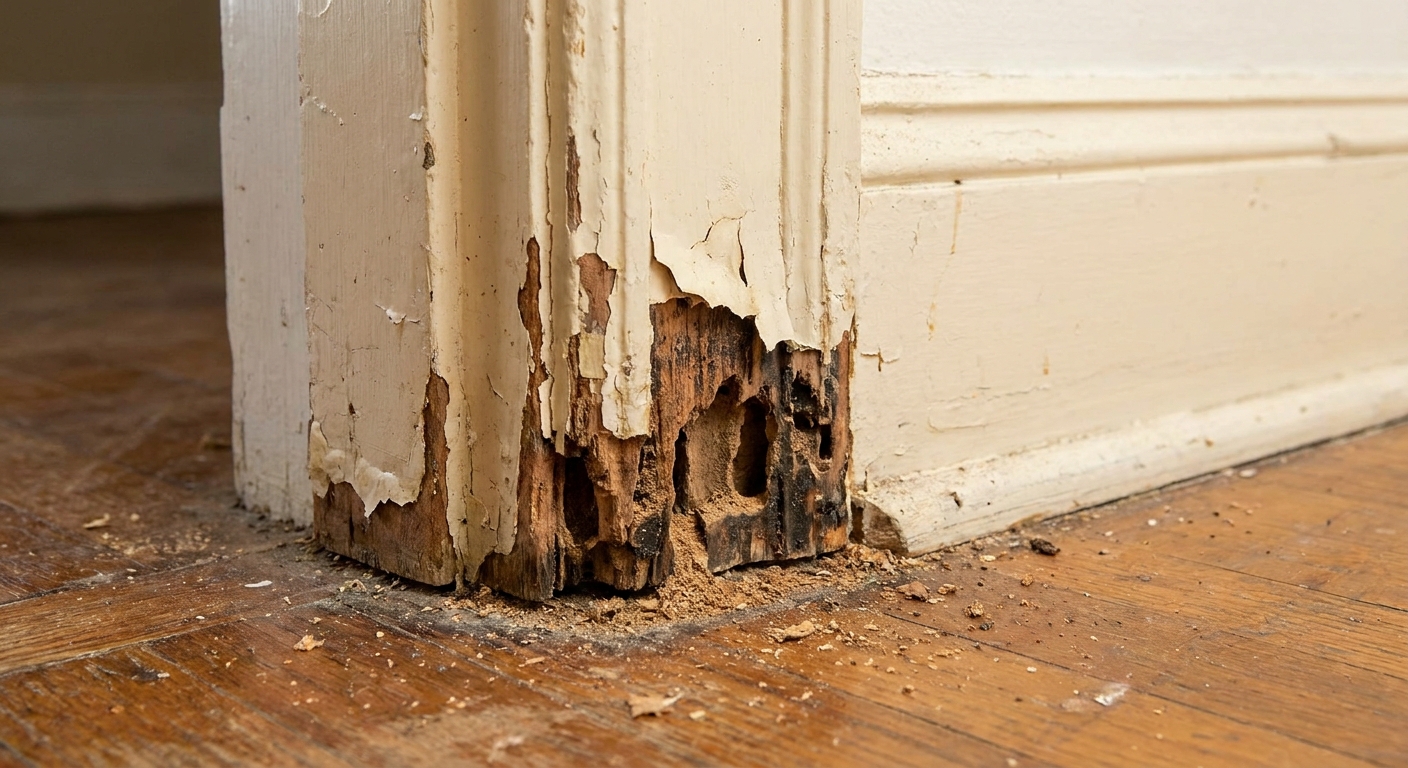
Interior and exterior trim gets chewed because it is easy access and often stays slightly damp near doors, windows, and slab edges.
Repair options for woodwork
- Replace the piece: often faster than rebuilding ornate profiles.
- Epoxy consolidate and fill: good for small areas where you want to keep the existing trim.
- Wood patches: cut out damaged sections back to sound wood and glue in a patch with the grain aligned.
Do not skip the moisture check
If exterior trim is damaged, look up and out for the cause: missing caulk, failed flashing, sprinklers hitting the wall, grade too high, or a gutter issue. Termites are the headline, but water is often the editor.
Materials and fasteners
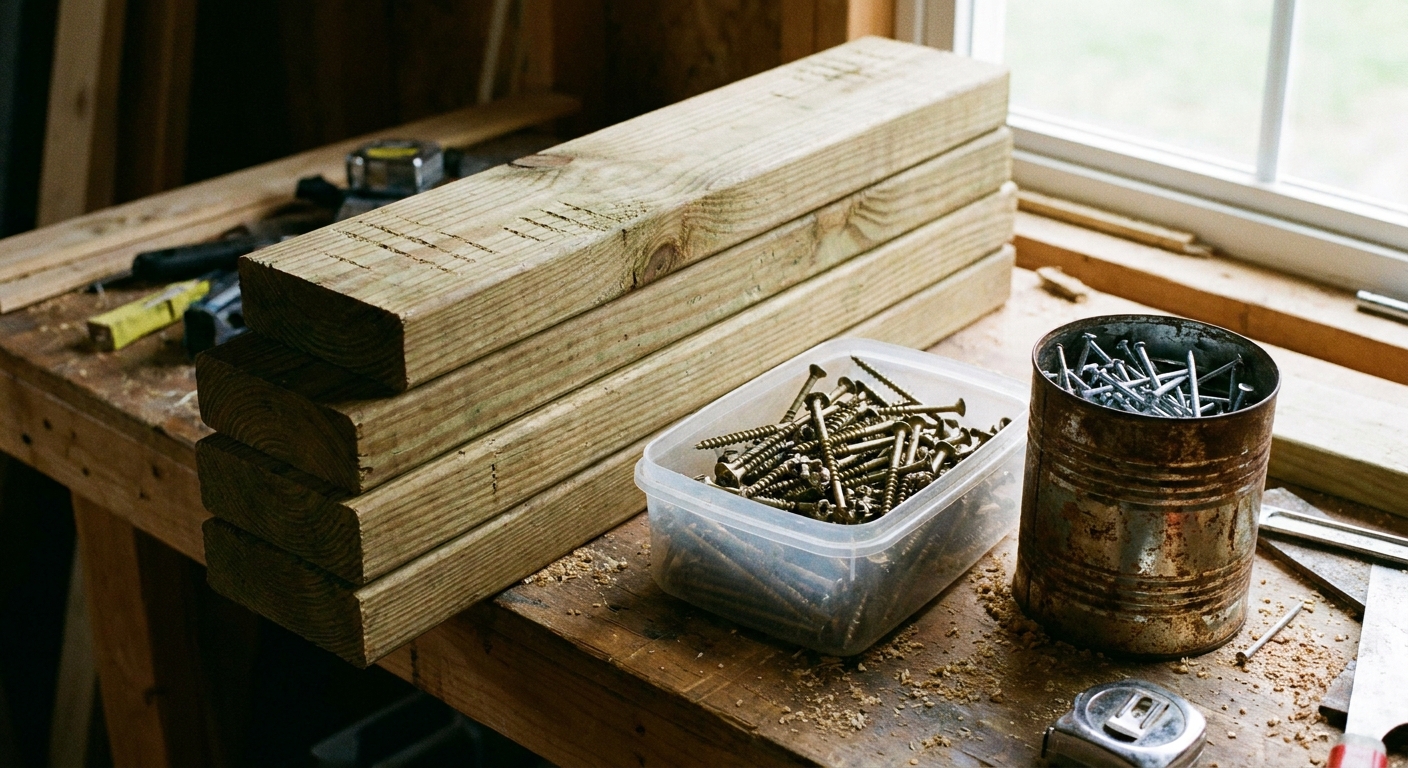
- Use pressure-treated lumber where code requires, especially for sill plates on concrete or masonry and for any wood that could stay damp.
- Separate wood from concrete as appropriate using a sill gasket or other approved capillary break in your assembly.
- Choose correct fasteners for treated lumber. Many treated products require hot-dipped galvanized or stainless fasteners.
- Improve drainage and drying around the foundation and crawlspace. Repairs last longer when the area stays dry.
Aftercare checklist
- Clearance: keep soil and mulch below siding and keep wood off the ground.
- Water control: clean gutters, extend downspouts, and slope grade away from the foundation.
- Stop soaking the walls: fix sprinklers that hit siding or trim.
- Deck details: confirm the ledger is properly flashed and that water is not trapped against rim areas.
- Crawlspace basics: control bulk water first, then decide on ventilation versus encapsulation based on your climate and local best practice.
- Recheck: schedule periodic inspections, especially after you repair and close cavities.
When to call a structural pro
Some termite repairs are clean, contained carpentry. Others are structural surgery. Call in a licensed structural engineer or a highly experienced framing contractor when any of these are true:
- The damage involves sill plates, beams, girders, or multiple joists in the same area.
- You see measurable sag, bouncing, or cracking above.
- You need to remove or alter load-bearing walls, posts, or beams to access the damage.
- Termites compromised connections such as joist hangers, ledger attachments, or anchor bolts.
- You are not sure what is structural and what is decorative.
Depending on where you live and what you are touching, structural repairs may require a permit and inspection. That is not red tape for fun. It is a second set of eyes on the stuff holding your house up.
Handing off at the right moment is not giving up. It is choosing a floor that stays where floors belong.
FAQ
Can I just fill termite holes with wood filler?
For trim and other non-structural wood, sometimes yes, after you remove loose material and consolidate soft wood if needed. For framing, no. Wood filler does not restore strength in joists, beams, rim boards, or sill plates.
How do I know if a joist needs replacement?
If the joist is badly hollowed at bearing points, cracked, sagging, or the damage runs through a large portion of the joist, replacement or an engineered repair is often the safer path. When in doubt, get a structural opinion before you close it up.
Should I seal or paint repaired wood?
Finish work is fine once the assembly is dry and the underlying moisture issue is corrected. Indoors, paint is typically about looks and durability. Outdoors, the real win is proper flashing, caulk strategy, and keeping water from getting behind trim.
The 30-Second Cheat Sheet
Essential takeaways for: How to Repair Termite-Damaged Wood
Fix termite damage in the right order
- Step 1: Do not rebuild until you have evidence the infestation is actively being addressed and the area can be rechecked.
- Step 2: Probe and map damage beyond what you can see. Termites hollow wood internally.
- Step 3: Decide the repair type: trim can often be patched or epoxied, but framing usually needs sistering or replacement.
What to sister vs replace
- Sister joists when damage is limited and you can fasten a long, solid member that actually carries load.
- Replace framing when damage is extensive, at bearing points, or the member is cracked or sagging.
- Avoid epoxy as “structure”. Use it for non-structural trim, not joists, beams, rim boards, or sill plates unless an engineer specifies a rated system.
Sill plate alert
- Termite-damaged sill plates are a common handoff point to a structural pro because they affect load transfer and anchorage.
Call a structural pro if
- Damage involves sill plates, beams, girders, multiple joists, or critical connections.
- You have sloped floors, bounce, cracks above, or you need temporary supports to work safely.
Make repairs last
- Fix moisture and access issues: leaks, poor drainage, wood-to-soil contact, wet crawlspaces.
- Use pressure-treated lumber and compatible fasteners where required, especially on concrete or masonry.
💡 Tip: Scroll up to read the full article for detailed, step-by-step instructions.
⬆️ Back to top
About Grit
Content Creator @ Grit & Home
Grit is Grit & Home’s little blue clay courier, delivering big questions about the place you call home. Expect practical ideas, a raised eyebrow, and a satchel full of curiosity.