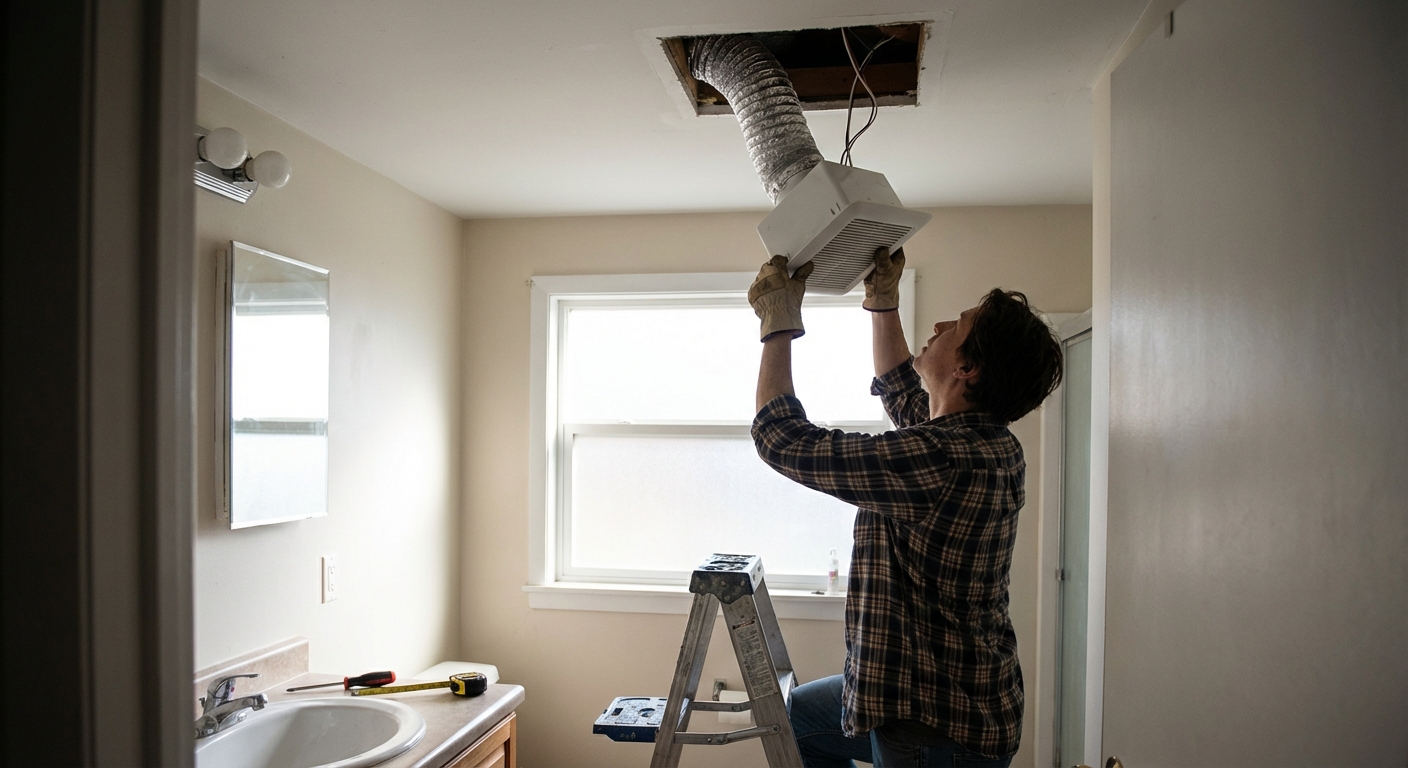
A bathroom exhaust fan is one of those small upgrades that pays you back every single shower. Less fog on the mirror, less moisture in the drywall, and a lot less chance of that musty smell creeping in. If your current fan sounds like a tired lawnmower or barely moves air, replacement is usually a very doable weekend project.
This guide walks you through two common scenarios:
- Same-size replacement (fastest): swap the old fan for a new unit that fits the same ceiling opening.
- Upgrade: increase CFM, move to a quieter fan, or install a fan/light combo which may require a bigger opening and different wiring.
Safety first
- Turn off power at the breaker, not just the switch.
- Verify power is off with a non-contact voltage tester at the fan wiring in the ceiling.
- Use a stable ladder and eye protection. You will be looking up at dust.
- If your house wiring is aluminum (common in some 1960s to 1970s homes) or you see scorched insulation, stop and call an electrician.
- If the fan is over a tub or shower, many codes require it to be on a GFCI-protected circuit. Verify your local requirements before you wire it.
Quick note on permits: Many areas allow like-for-like fan replacement without a permit. New circuits, new switches, or moving wiring may trigger permit requirements. When in doubt, check your local rules.
Before you buy
- Measure the opening: remove the grille and measure the rough opening and the housing size (length, width, and depth). A “same-size” swap only works if the housing truly fits.
- Check joist spacing: common spacing is 16 inches or 24 inches on center. Some housings need a specific span or bracket setup.
- Know the housing type:
- Remodel (retrofit) housings are designed to go in from below.
- New construction housings are typically installed from above before drywall, but can still work if you have attic access.
- Look at your duct: note the diameter (often 4 inches), material (flex or rigid), and where it exits. This affects which fan you should pick.
Pick the right fan
1) Size the fan by CFM
CFM is how much air the fan can move. Too small and your bathroom stays damp. Bigger is not always better either. Real-world performance depends heavily on duct length, bends, and how the fan is installed.
- Rule of thumb: bathroom square footage × 1 CFM per sq ft (with a 50 CFM minimum). Always check your local code and the manufacturer’s recommendations.
- Example: 8 ft × 10 ft = 80 sq ft, so you would look at roughly 80 CFM.
- Tall ceilings: if ceilings are 9 ft+, it can help to step up a size because you are ventilating more air volume. Think of it as a practical air-change tweak, not a strict rule.
If your bathroom has a jetted tub, multiple shower heads, or you fight persistent mildew, it is usually worth stepping up to 110 to 150 CFM, as long as the duct run is decent and sized correctly.
2) Check loudness by sone rating
- 0.3 to 1.0 sones: very quiet, you may forget it is on.
- 1.5 to 2.5 sones: normal, acceptable for most bathrooms.
- 3.0+ sones: noticeable, often what older builder-grade fans sound like.
3) Match the duct size the fan requires
Many bathroom fans use 4 inch duct, and some higher-capacity models call for 6 inch. The important part is this: follow the fan’s specified duct size and pay attention to allowable duct length and bends. Undersized or overly long duct runs can choke airflow and make even a “quiet” fan sound louder.
4) Decide: retrofit motor kit vs new housing
- Retrofit motor kit: you keep the existing metal housing in the ceiling and replace only the motor and grille. Easiest, but only works for certain models.
- Full replacement: you remove the old housing and install a new one. More work, but better for upgrading CFM and noise.
5) Check insulation clearance and ratings
If the fan sits under attic insulation, confirm whether the housing is rated for insulation contact (often labeled IC or “insulation contact”). If it is not, you may need to maintain clearance around the unit per the manufacturer instructions.
Tools and materials
- Non-contact voltage tester
- Screwdriver (Phillips and flat)
- Utility knife
- Needle-nose pliers
- Wire strippers
- Drill and bits
- Drywall saw or oscillating tool (for enlarging the opening)
- Foil HVAC tape (not duct tape)
- 4 inch or 6 inch duct connector if needed, plus hose clamp or zip tie depending on duct type
- Wire connectors (wire nuts) and a cable clamp if your new housing needs one
Nice to have: headlamp, shop vac, and a small piece of plywood to kneel on if you are working in the attic.
Same-size replacement
If you are keeping the same opening size and your fan is in roughly the same spot, this is the cleanest DIY path.
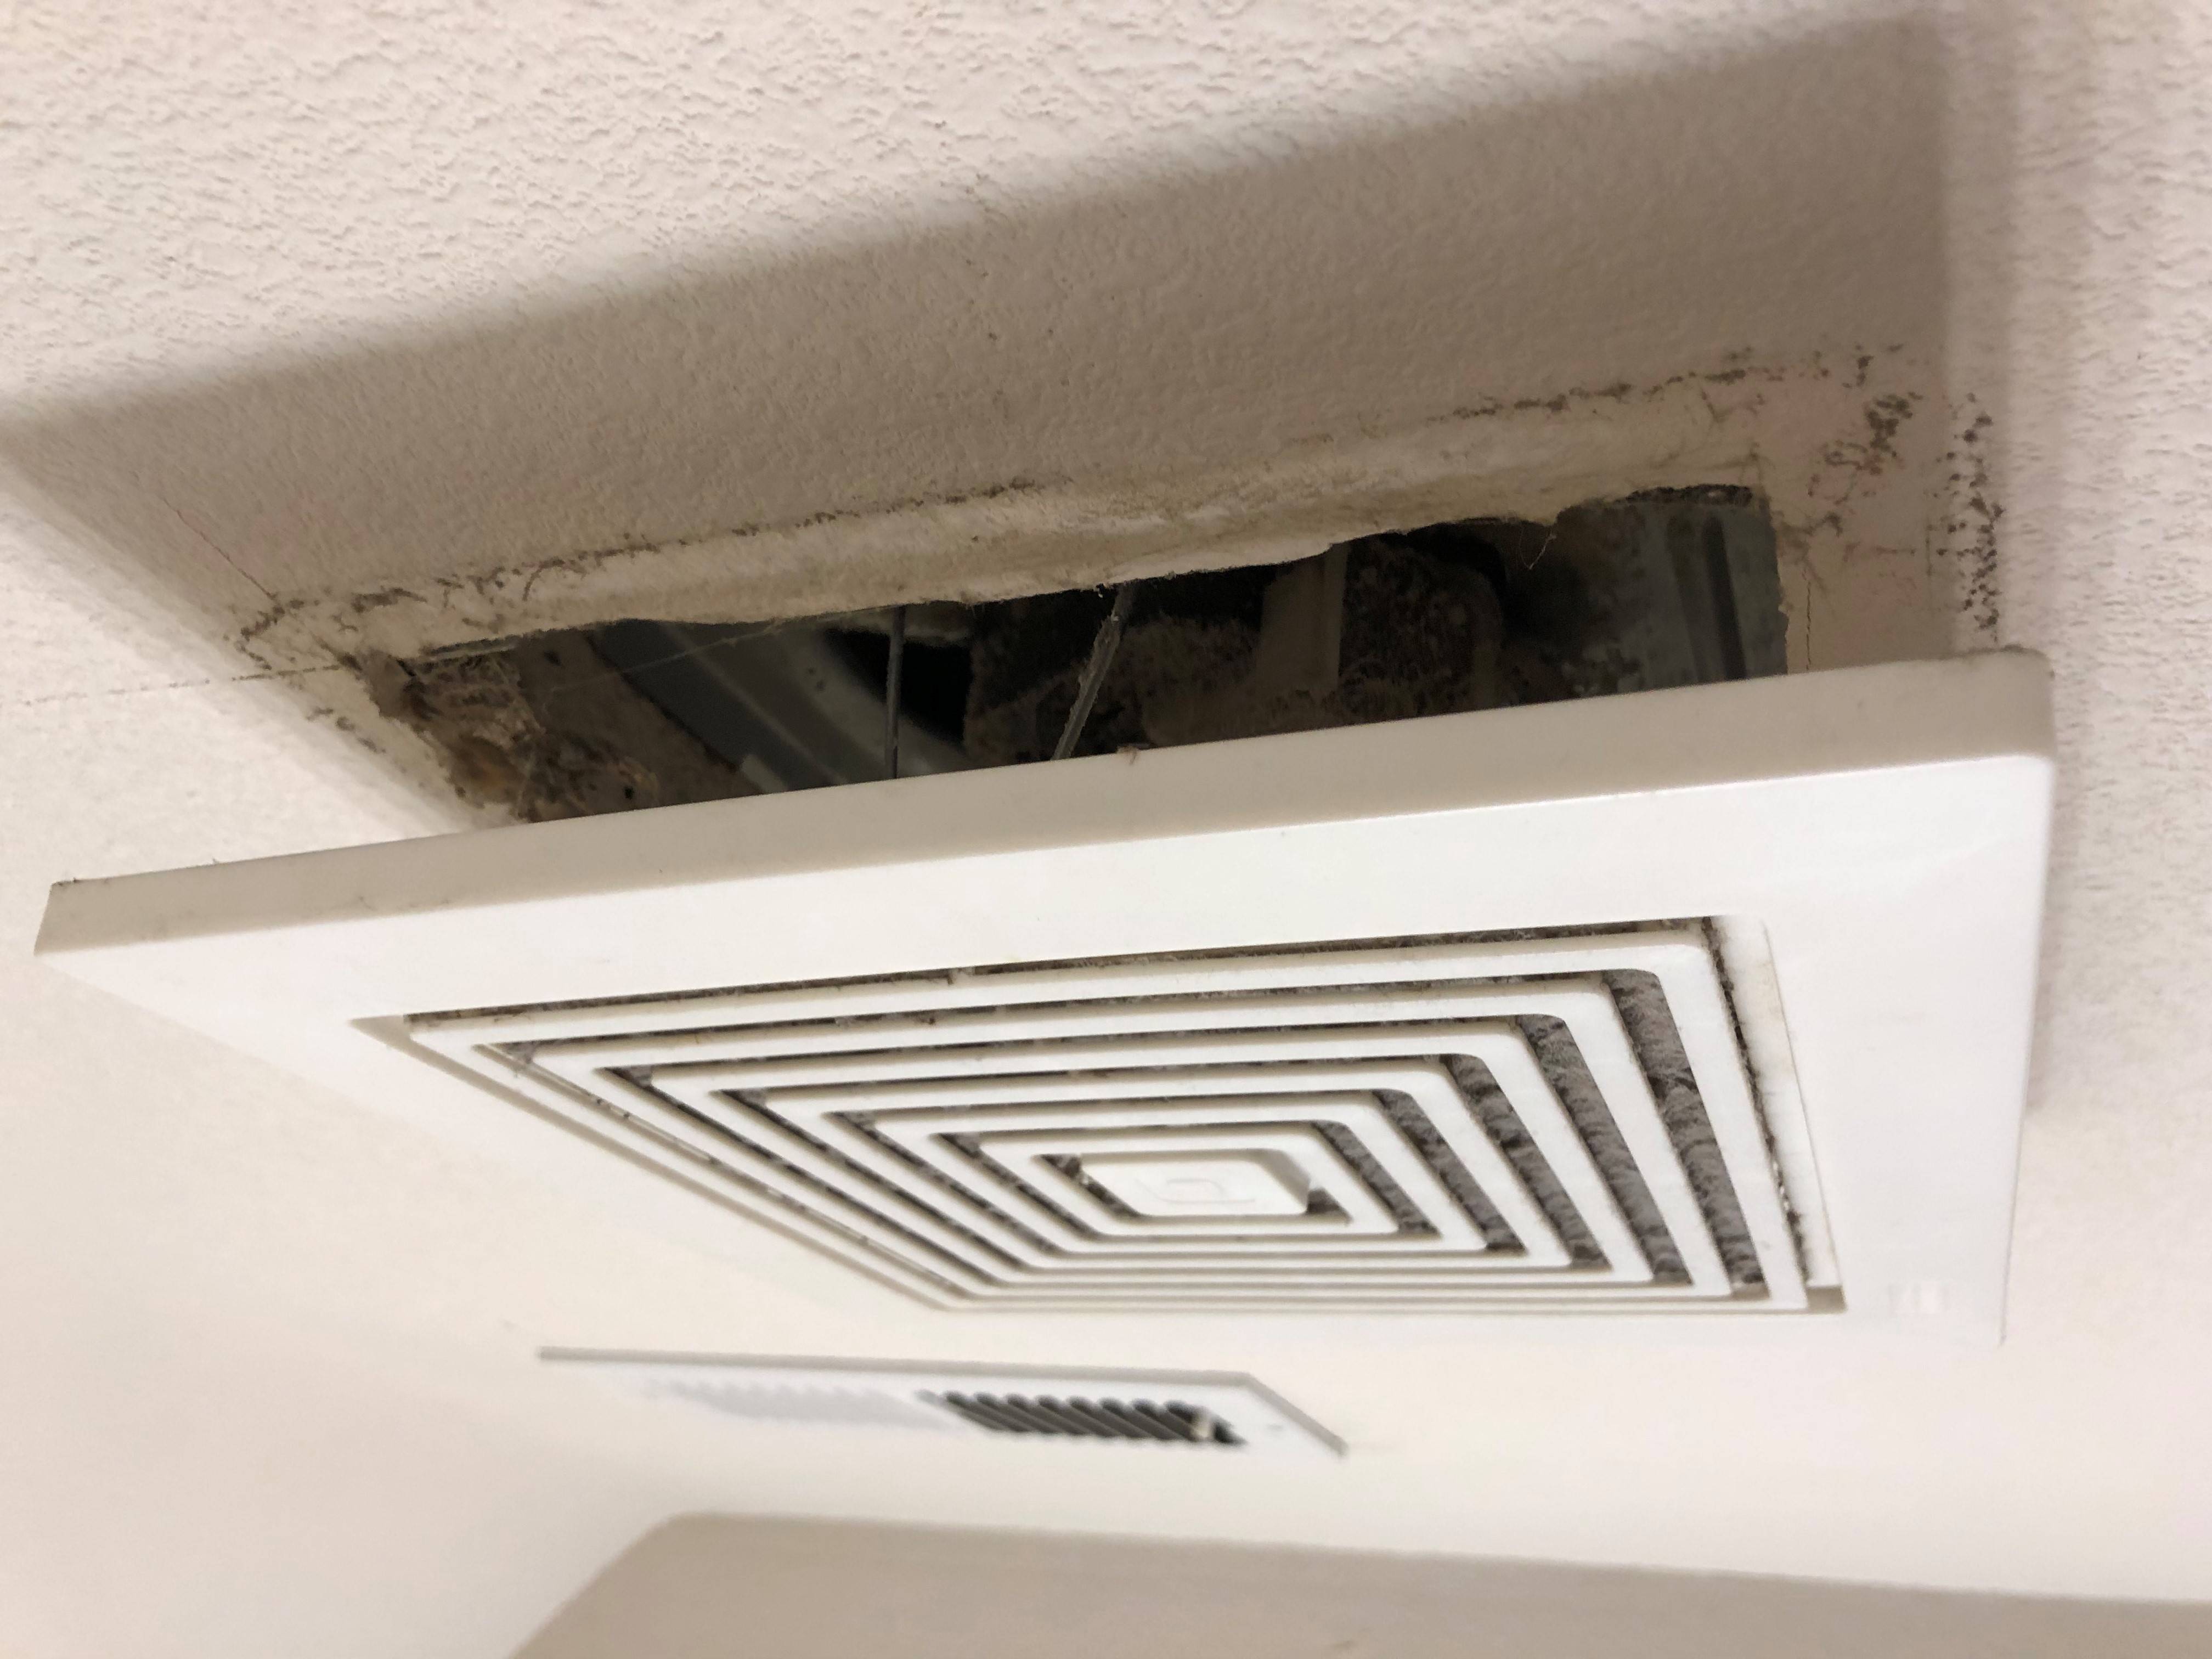
1) Remove the grille and unplug or disconnect the motor
- Pull the grille straight down a couple inches.
- Squeeze the two spring clips inward and remove the grille.
- Some fans have a plug-in motor. Others are hardwired inside a small wiring compartment.
2) Confirm power is off at the fan
With the grille down, test the wires or the plug area with your voltage tester. No beep, no light, no voltage.
3) Remove the old housing
This part varies by brand and by whether the fan was installed from below or from above in the attic.
- From below: look for screws through the housing flange into a joist or mounting bracket. Remove them and carefully lower the housing.
- From attic: you may see nails or screws into a joist and a bracket system. Remove fasteners and slide the housing free.
If the housing is nailed in and refuses to budge, an oscillating tool can cut stubborn fasteners. I have been there. Go slow and protect the drywall edge.
4) Disconnect the duct
- For flexible duct, remove the clamp or tape.
- Pull the duct off the fan’s duct collar gently so you do not tear it.
- If the duct is rigid metal, you may have a sheet metal screw or foil tape to remove.
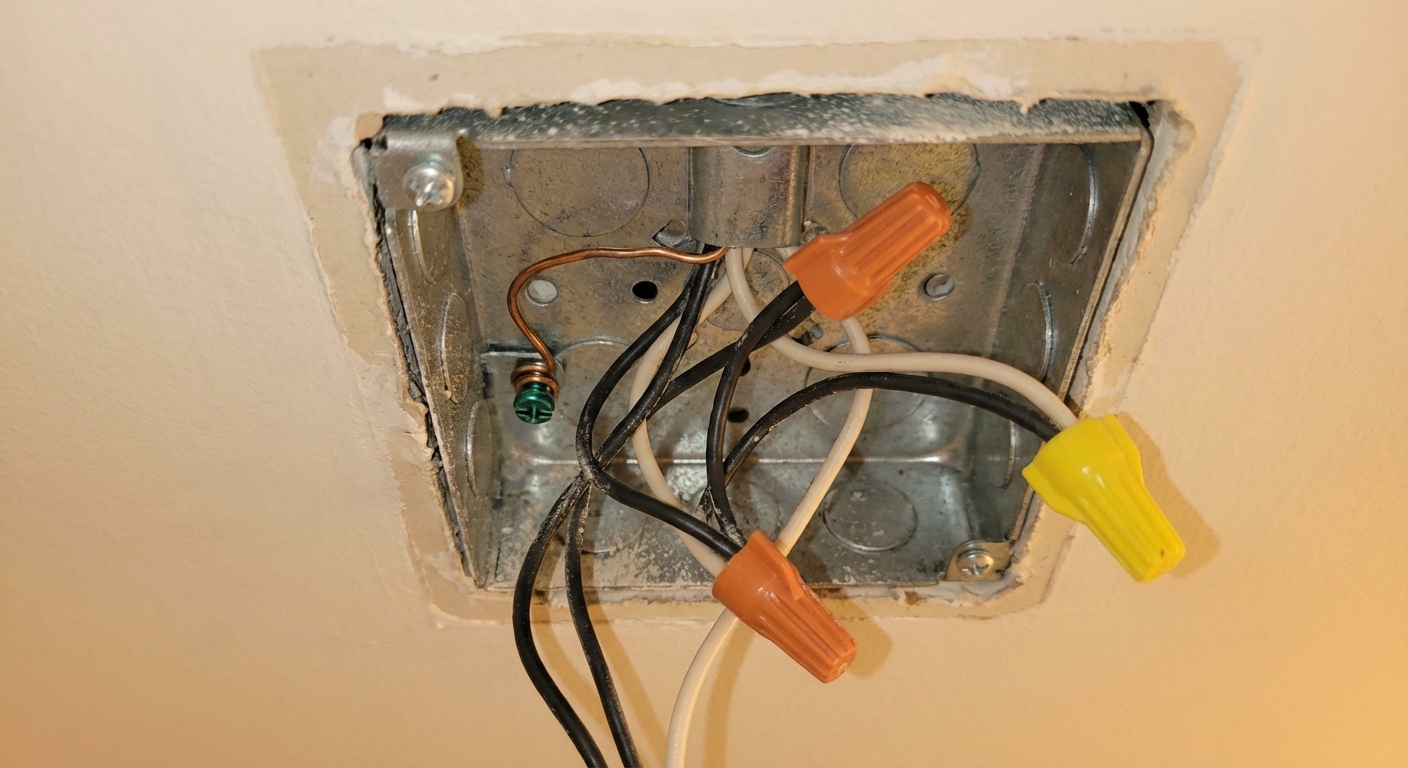
5) Disconnect the wiring
- Open the fan’s wiring compartment cover.
- Note how it is wired (a quick phone photo helps).
- Remove wire nuts and free the cable clamp.
Typical colors in the U.S.: black = hot, white = neutral, bare/green = ground. If yours does not match, stop and investigate before guessing.
6) Set the new housing in place
- Dry-fit the housing in the ceiling opening.
- Attach to the joist or bracket per the manufacturer instructions.
- Make sure the housing sits flush with the finished ceiling so the grille will clip in tight.
7) Reconnect the duct correctly
- Push the duct fully over the fan collar.
- Secure with a clamp or zip tie as appropriate.
- Seal the joint with foil HVAC tape.
Tip from my own mistakes: If the duct sags, moisture can collect in the low spot. Support flexible duct with straps so it slopes gently toward the exterior.
8) Wire the new fan
- Feed the cable into the fan’s wiring box through the proper knock-out and clamp.
- Connect black to black, white to white, and ground to green/bare.
- Tuck wires neatly and reinstall the wiring cover.
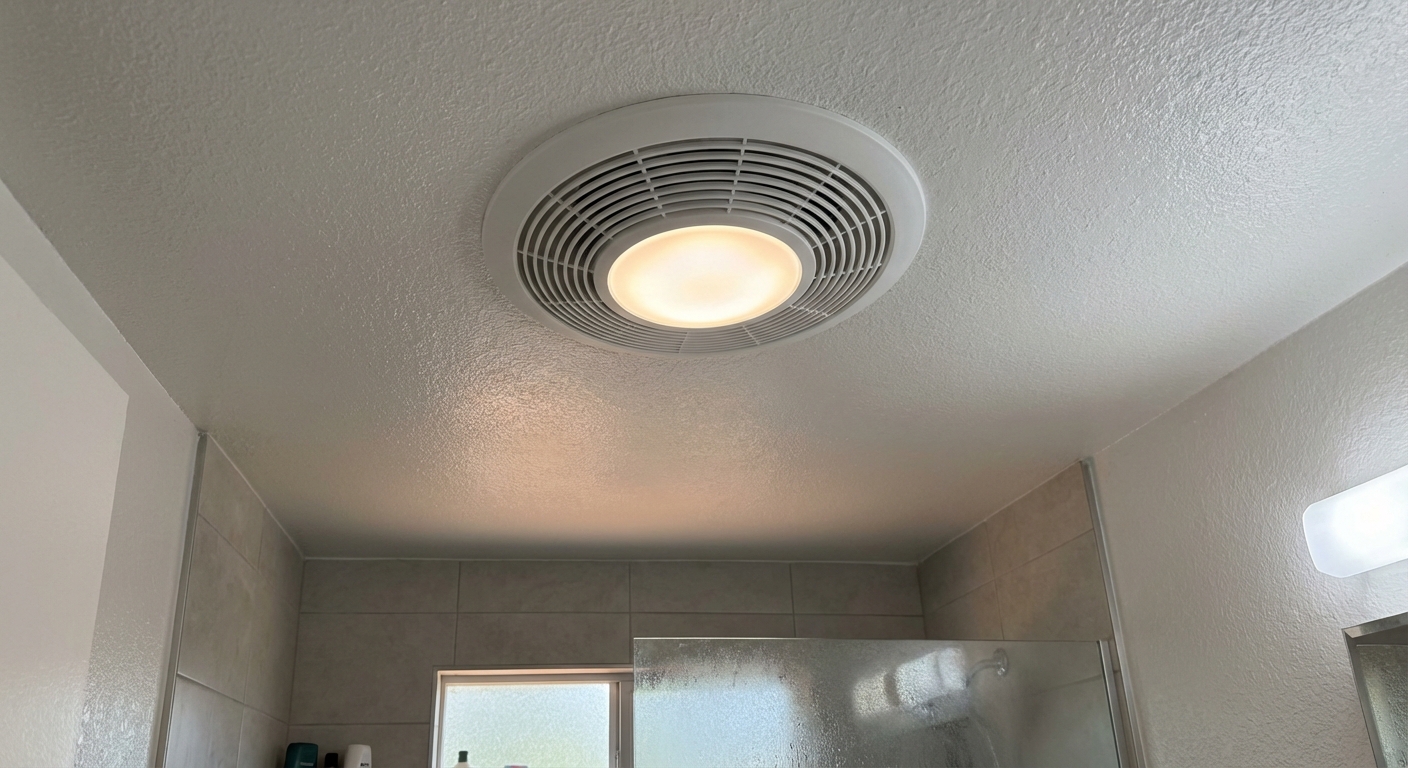
9) Install the motor and grille
- Install the fan motor or blower assembly per instructions.
- Plug it in if applicable.
- Reinstall the grille with the spring clips.
10) Test it
- Turn the breaker back on.
- Switch the fan on and listen for rubbing or rattling.
- Hold a single square of toilet paper near the grille. It should pull and hold it in place.
Note: the toilet-paper test is a quick sanity check, not a true airflow measurement. If the fan “passes” but your mirror still stays foggy for ages, look hard at the duct run and the exterior cap.
Upgrade path
Upgrading is absolutely doable, but it is where homeowners get surprised by two things: the ceiling opening and the wiring.
1) Expect to adjust the drywall opening
Fan/light combos and ultra-quiet fans often need a larger housing. If the new template is bigger:
- Trace the new housing outline on the ceiling.
- Cut slowly with a drywall saw or oscillating tool.
- Keep your cuts tight. A slightly oversized hole is harder to hide.
2) Understand your switch and cable situation
Here is the common reality:
- Fan only: usually one switch leg (one hot switched wire) plus neutral and ground.
- Fan/light combo with one switch: the fan and light will come on together unless you add wiring and or controls.
- Fan/light combo with two switches: typically needs separate switched hots (often a 3-wire cable with red and black) plus neutral and ground.
If you currently have a single switch and want separate fan and light control, you may need to run new cable from the switch box to the fan. That can be easy in an unfinished attic and a real headache in a finished ceiling. Be honest about access before you buy.
Code note: requirements for GFCI and AFCI protection vary by location and what you are modifying. If you are adding a new circuit, changing the switch location, or tying into a bathroom receptacle circuit, check local rules or ask an electrician.
3) Consider a timer or humidity sensor
This is one of my favorite quality-of-life upgrades. A simple countdown timer switch helps you actually use the fan long enough to clear moisture.
4) Confirm the duct can support the upgrade
- Long duct runs, lots of bends, or a squished flex duct can reduce real-world airflow.
- If you are jumping in CFM, inspect and improve the duct so the fan can do its job.
- When in doubt, follow the manufacturer’s duct diameter and equivalent-length guidance.
Attic and venting checks
A bathroom fan must exhaust to the outside, not into the attic. Venting into the attic is a common cause of moldy roof sheathing and damp insulation.
What to look for
- Duct connected to a roof cap, gable vent cap, or wall cap designed for bath fans.
- Foil tape sealing at joints.
- Insulated duct in cold climates to reduce condensation.
- A damper at the fan or at the exterior cap to prevent backdrafts.
Exterior termination tip: a soffit vent cap can work in some layouts, but it can also send moist air right back toward soffit intake vents. If your soffit is used for intake ventilation, a roof cap or wall cap is often the safer choice. Use a proper hood with a backdraft damper, and a pest screen where appropriate, and keep it clean.
If you discover the duct just ends in the attic, this is the moment to fix it. It is not glamorous work, but it is one of the best mold-prevention moves you can make.
Troubleshooting
The fan runs but barely pulls air
- Check for a disconnected or crushed duct.
- Look for too many tight bends in flexible duct.
- Confirm the exterior vent flap opens freely.
- Confirm the duct size matches what the fan requires.
Rattling or vibration
- Housing not tight to the framing. Add screws where allowed.
- Grille not seated. Reinstall the springs.
- Duct touching framing. Reposition and strap it.
Fan does not turn on
- Breaker and switch check first.
- Verify neutral connection in the wiring compartment.
- Check the fan’s internal plug connection if it has one.
- If it is a fan/light and only one function works, you may have the switched hot on the wrong lead.
Checklist before you close it up
- Power tested off before touching wiring
- Housing mounted solid and flush to ceiling
- Duct fully seated, clamped, and foil-taped
- Wiring clamped, wire nuts tight, ground connected
- Damper moves freely
- Grille fits tight, no gaps
- Quick airflow sanity check done
If you do those things, you end up with the best kind of DIY result: the kind you stop noticing because it just works.
Maintenance
Once a year, pull the grille, vacuum the dust, and wipe the blades and housing edge. A clean fan moves more air and usually gets noticeably quieter.
When to call a pro
- You need to run new wiring through finished walls or there is no neutral in the switch box for a timer or sensor
- You suspect aluminum wiring or find damaged insulation
- The fan location must move to hit a joist bay or to improve duct routing
- You want to add a dedicated circuit or multiple new switches
- The fan is located over a tub or shower and you are not sure about GFCI protection requirements
There is zero shame in calling for backup. The goal is a safe, dry bathroom that stays that way for years.
About Marcus Vance
Content Creator @ Grit & Home
Marcus Vance is a lifelong DIY enthusiast and self-taught home renovator who has spent the last decade transforming a dilapidated 1970s ranch into his family's dream home. He specializes in budget-friendly carpentry, room-by-room renovations, and demystifying power tools for beginners. Through his writing, Marcus shares practical tutorials and hard-learned lessons to help homeowners tackle their own projects with confidence.