If your toilet sounds like it is constantly trying to refill, takes forever to fill, or makes a steady hissing noise, the fill valve is usually the culprit. The good news is this is one of the most beginner-friendly plumbing fixes out there. It is also one of the highest payoff repairs because a running toilet can waste a surprising amount of water.
I have replaced more fill valves than I can count in our 1970s ranch. The first time I did it, I over-tightened the plastic nut under the tank and cracked it. Learn from my mistake: snug is plenty.
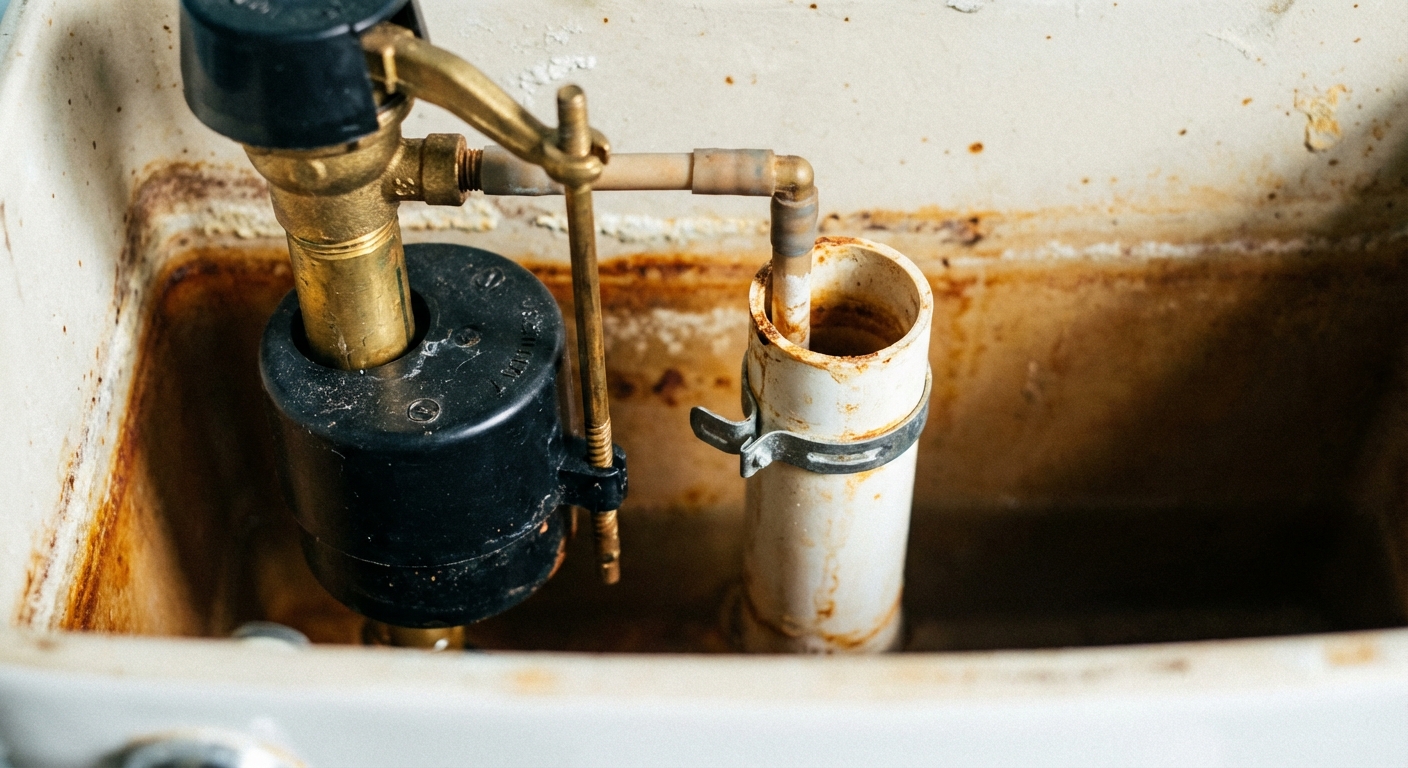
What a fill valve does (and why it fails)
The fill valve is the part that refills the tank after a flush. It shuts off when the water reaches the set level. Over time, rubber seals wear out, debris builds up, and internal parts get stiff. When it cannot shut off cleanly, water keeps running into the tank and down the overflow tube.
Symptoms of a bad fill valve
- Toilet keeps running even when nobody has flushed it.
- Hissing sound from the tank that does not stop.
- Slow tank fill after a flush.
- Random refills every few minutes (sometimes this is the flapper, but a leaking fill valve can also cause it).
- Water level too high and spilling into the overflow tube.
Quick checks before you buy parts
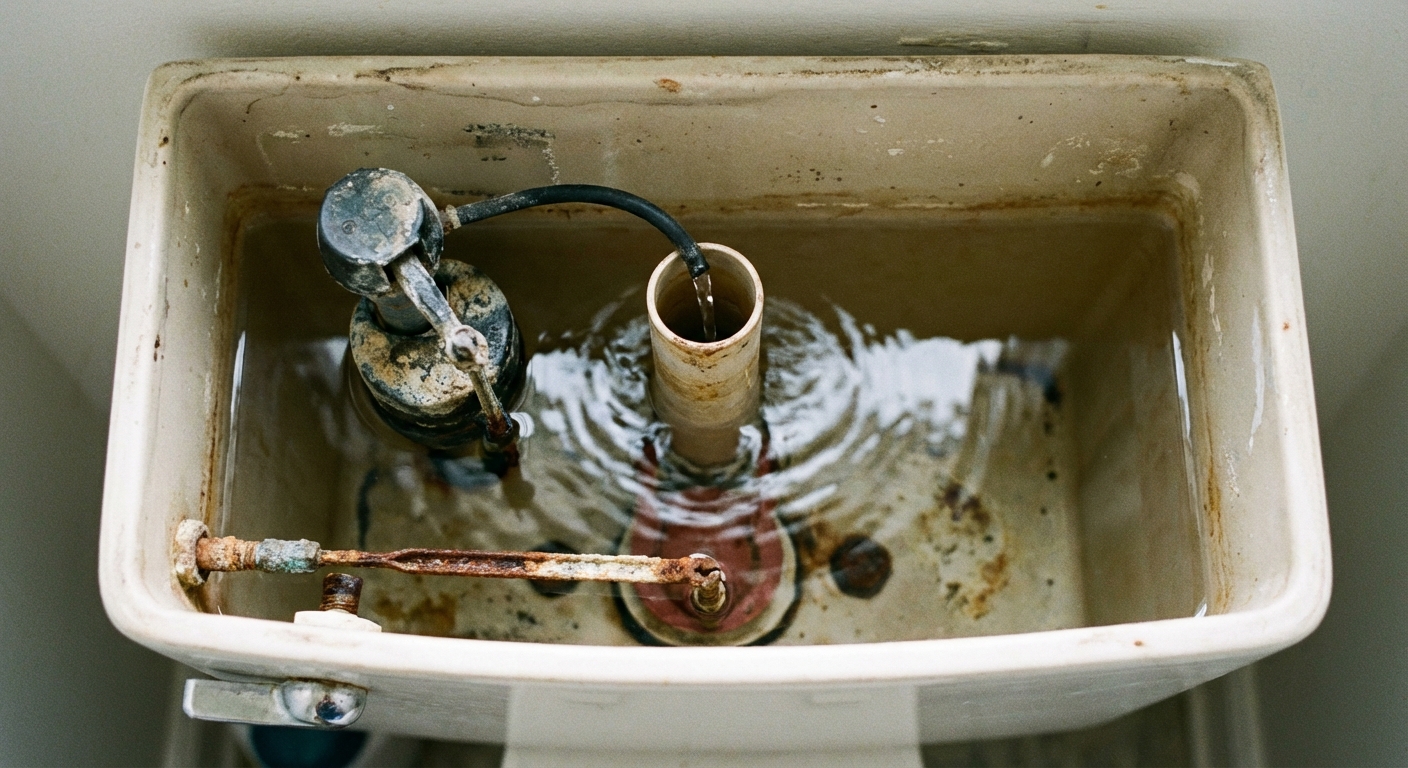
1) Check if the tank is overfilling
Remove the tank lid and watch the water level after the toilet finishes filling. The water should stop about 1 inch below the top of the overflow tube (or at the waterline mark if your tank has one). If water is spilling into the overflow tube, the fill valve is not shutting off or it is set too high.
2) Confirm it is not just the flapper
A worn flapper lets water leak from the tank into the bowl, which makes the fill valve kick on to “top off” the tank. Here is a simple test:
- Put a few drops of food coloring in the tank.
- Wait 10 to 15 minutes without flushing.
- If color shows up in the bowl, the flapper is leaking.
If the flapper is fine but you still have hissing, slow fill, or overfilling, replacing the fill valve is the right move.
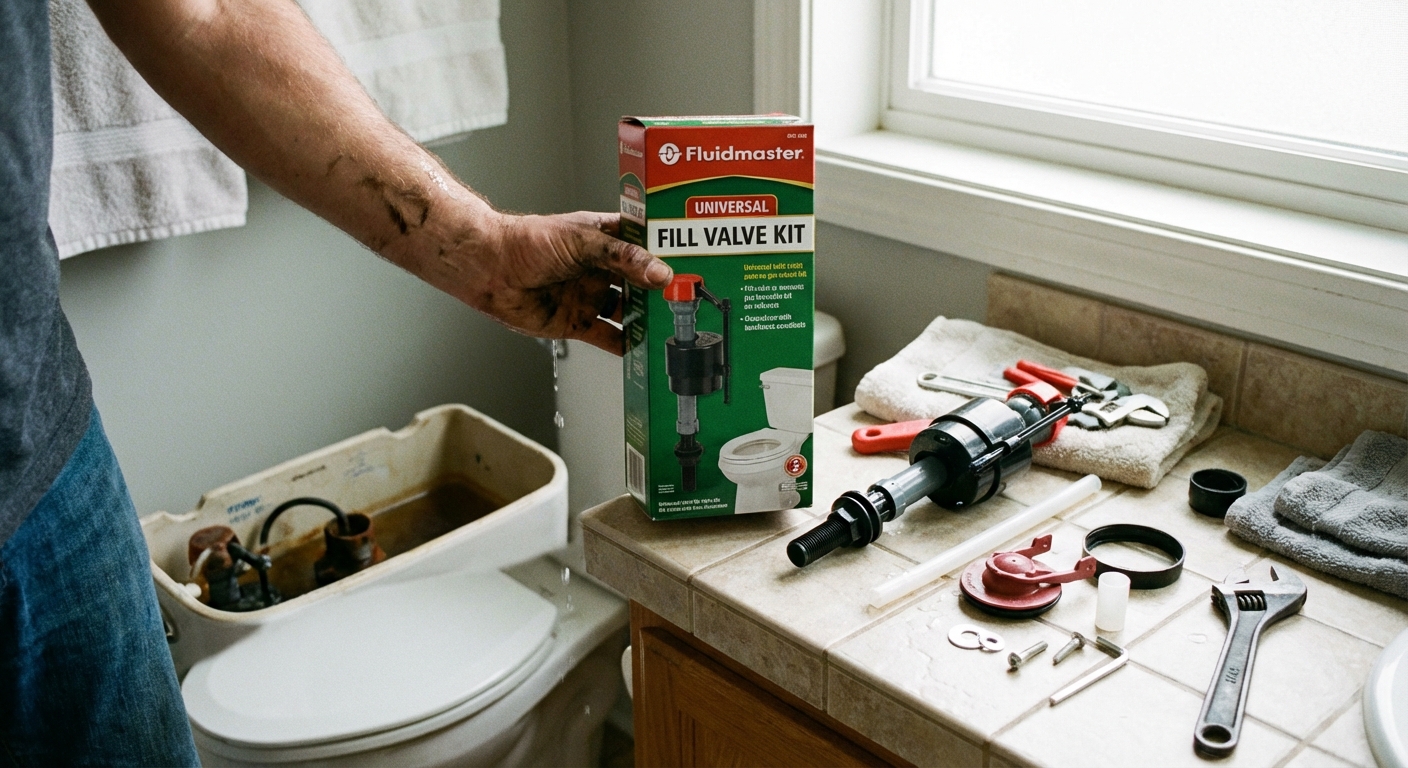
Tools and parts you will need
- Universal toilet fill valve (Fluidmaster-style universal valves fit most toilets)
- Adjustable wrench or channel-lock pliers
- Small bucket or shallow pan
- Towels or a rag
- Sponge (for getting the last bit of water out of the tank)
- Optional: New braided stainless toilet supply line (nice upgrade if your line is old or crusty)
Tip from the thrifty department: If your shutoff valve works well and your supply line looks good, you can often reuse the supply line. If the nut is corroded or the line is stiff or cracked, replace it while you are here.
Step-by-step: Replace the toilet fill valve
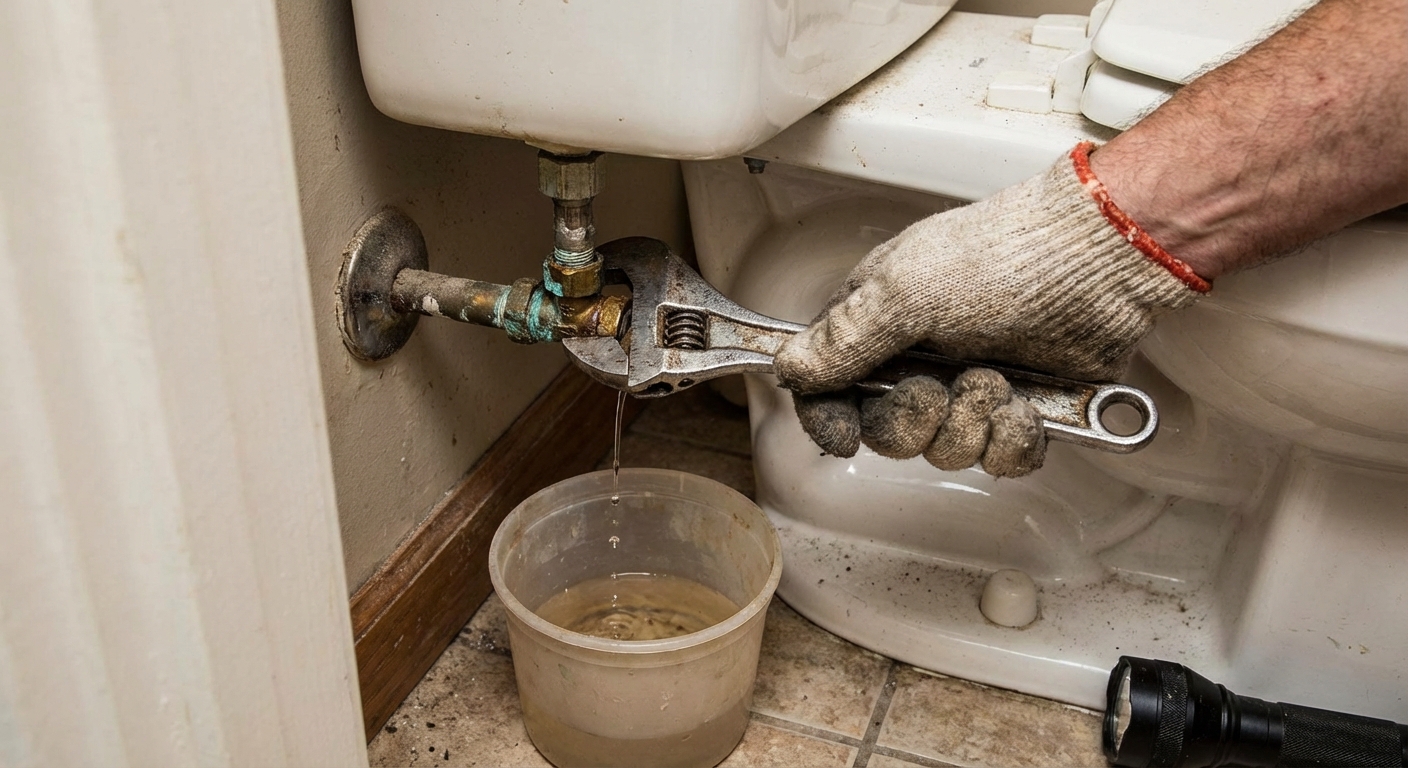
Step 1: Shut off the water
Find the shutoff valve behind the toilet (usually on the wall). Turn it clockwise until it stops.
If the valve will not turn or you do not trust it, stop and address that first. A stuck shutoff is common in older homes and can turn a small project into a bigger one fast.
Step 2: Flush and drain the tank
Flush the toilet. Hold the handle down to let as much water leave the tank as possible.
Use a towel, sponge, or rag to soak up the small amount of water left in the bottom of the tank. This keeps the job cleaner and drier.
Step 3: Disconnect the supply line
Place a bucket under the supply line connection at the bottom of the tank. Unscrew the supply line nut where it connects to the bottom of the tank. A little water will spill, that is normal.
Step 4: Remove the old fill valve
Inside the tank, unclip the small refill tube from the overflow tube.
Under the tank, remove the large plastic lock nut that holds the fill valve in place. Once the nut is off, lift the old fill valve straight out from inside the tank.
Step 5: Set the height on the new fill valve
Most universal fill valves adjust by twisting or sliding the shaft. Follow your valve’s instructions, but the general goal is:
- The top of the fill valve should sit above the overflow tube.
- The critical level mark (often stamped “CL”) should be at least 1 inch above the top of the overflow tube.
This is important for backflow protection and proper operation.
Step 6: Install the new valve
Drop the new fill valve into the hole in the bottom of the tank. Make sure the rubber gasket is seated correctly. From under the tank, thread on the lock nut.
Hand-tighten the plastic lock nut only. Most major fill valve makers specifically say no tools here. Using pliers is how people crack the nut, the valve shank, or even the porcelain. If it is not leaking, stop tightening.
Step 7: Reconnect the supply line
Thread the supply line nut onto the bottom shank of the new fill valve. Tighten snugly. If you are installing a new braided line, follow the same approach: snug, not heroic.
Step 8: Connect the refill tube correctly
Attach the refill tube from the fill valve to the overflow tube using the included clip. The tube should point into the overflow tube opening, but it should not be shoved far down inside it.
Why this matters: If the tube is pushed down into the overflow tube, it can create a siphon effect that wastes water.
Step 9: Turn the water back on and check for leaks
Slowly turn the shutoff valve counterclockwise to restore water. Watch the connections under the tank and at the shutoff valve for drips.
If you see a slow drip at a threaded connection, tighten the fitting slightly and recheck.
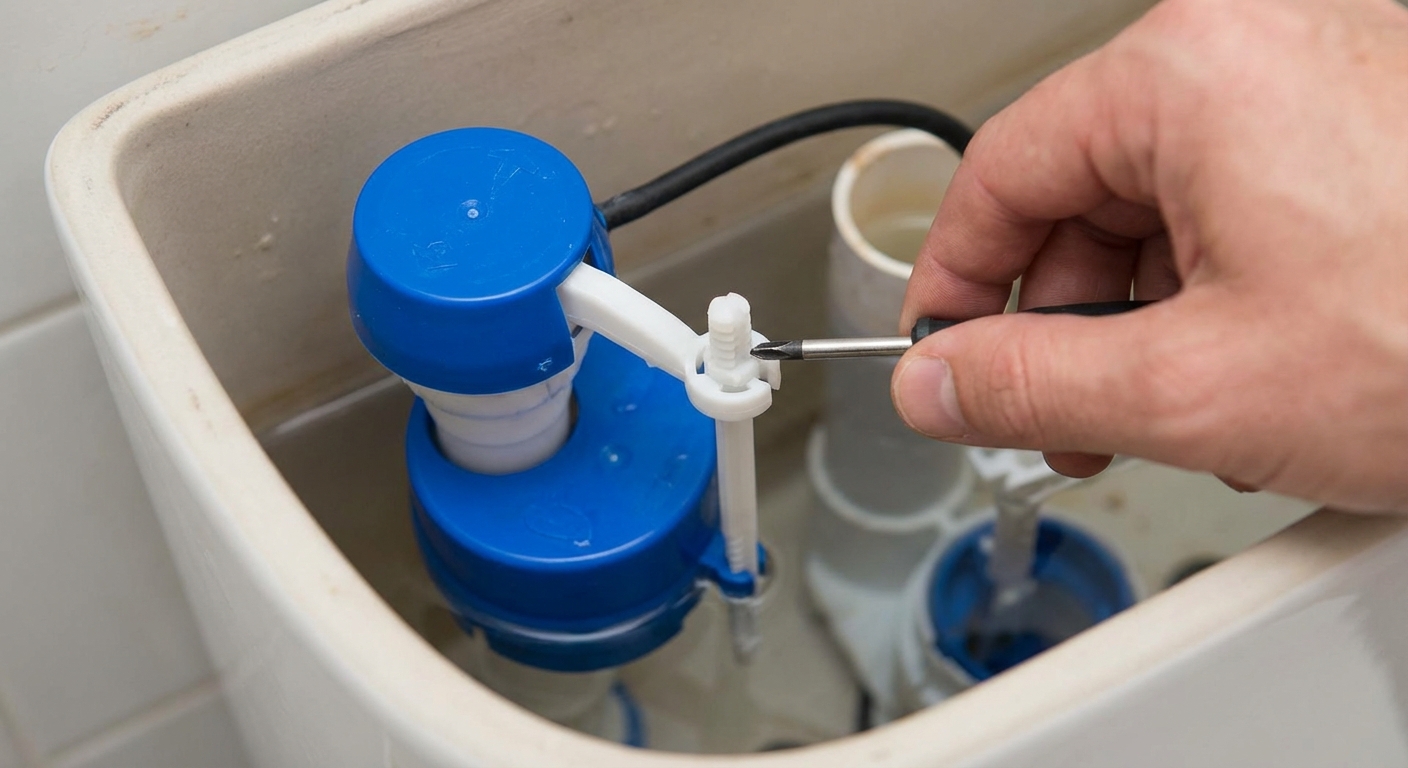
Step 10: Adjust the water level
Let the tank fill completely. Adjust the water level using the fill valve’s adjustment screw or clip so the water stops about 1 inch below the top of the overflow tube.
Step 11: Test flush a few times
Flush 2 to 3 times. You want to see:
- A strong refill
- No running after the tank fills
- No water pouring into the overflow tube
- No leaks at the supply line connection
Troubleshooting after replacement
The toilet still runs
- Check the flapper and chain. If the chain is too tight, the flapper may not seat fully.
- Lower the water level. If water is reaching the overflow tube, adjust the fill valve down.
- Inspect the refill tube. Make sure it is clipped above the overflow tube opening, not shoved inside.
The tank fills very slowly
- Open the shutoff valve fully. Sometimes it is only partially open after the repair.
- Debris in the shutoff or supply line. Old valves can release bits of mineral scale when turned. If flow is weak, consider replacing the supply line and, if needed, the shutoff valve.
Leaking from under the tank
- Turn water off, drain the tank, and reseat the rubber gasket.
- Make sure the lock nut is hand-tight. If you cannot stop a leak without tools, something is likely crooked, cross-threaded, or the gasket is not seated.
When to call a pro
Replacing a fill valve is a great DIY project, but I recommend calling a plumber if:
- Your shutoff valve will not fully close or is leaking around the stem
- You see cracks in the porcelain tank
- You have signs of water damage under the toilet or around the base
Final checklist
- No drips at the supply line connection under the tank
- Refill tube clipped properly to overflow tube
- Water stops about 1 inch below top of overflow tube
- No hissing or refilling after the tank is full
Once you hit those four, set the tank lid back on and enjoy the sweetest sound in DIY: silence.
Time and cost
- Time: 20 to 45 minutes for most beginners
- Typical cost: $12 to $25 for a universal fill valve (plus $10 to $20 if you replace the supply line)
About Marcus Vance
Content Creator @ Grit & Home
Marcus Vance is a lifelong DIY enthusiast and self-taught home renovator who has spent the last decade transforming a dilapidated 1970s ranch into his family's dream home. He specializes in budget-friendly carpentry, room-by-room renovations, and demystifying power tools for beginners. Through his writing, Marcus shares practical tutorials and hard-learned lessons to help homeowners tackle their own projects with confidence.