If you can turn a screwdriver, you can replace a toilet seat. This is one of those small upgrades that makes a bathroom feel cleaner and more “put together” immediately. I have also learned the hard way that the secret is not strength. It is choosing the right size seat and tightening it the right way so it does not wiggle loose a week later.
Here is a beginner-friendly process, plus fixes for the most common snag: rusted bolts that refuse to budge.
What you need
- New toilet seat kit (seat, lid, hinges, bolts, washers, nuts)
- Tape measure (for round vs elongated)
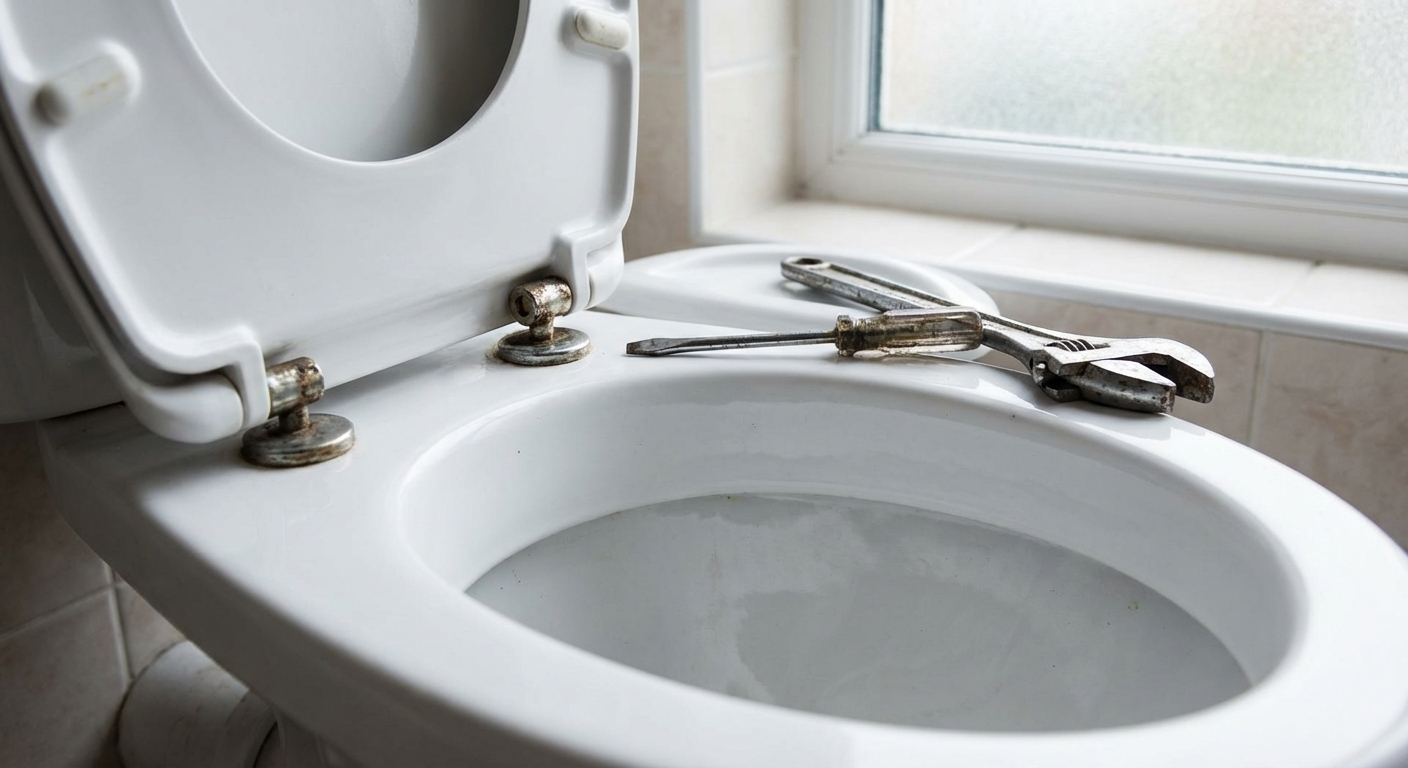
- Flathead screwdriver (often used to pop hinge caps)
- Phillips screwdriver (common for top screws)
- Adjustable wrench or deep socket (for nuts under the bowl)
- Penetrating oil (for rusted hardware)
- Rags or paper towels
- Disinfecting cleaner
- Optional: wire brush or rough sponge (to clean threads before oil)
- Optional: mini hacksaw blade, oscillating tool, or bolt cutters (last resort)
- Optional safety gear: gloves and eye protection (especially if cutting)
Good news: You do not have to turn off the water supply for a typical seat replacement. You are not touching the plumbing. Just work carefully around the tank and supply line.
Step 1: Buy the right size
Most “this seat does not fit” problems come down to bowl shape. Toilets are typically round or elongated, and the measurements are approximate. Some brands vary a little.
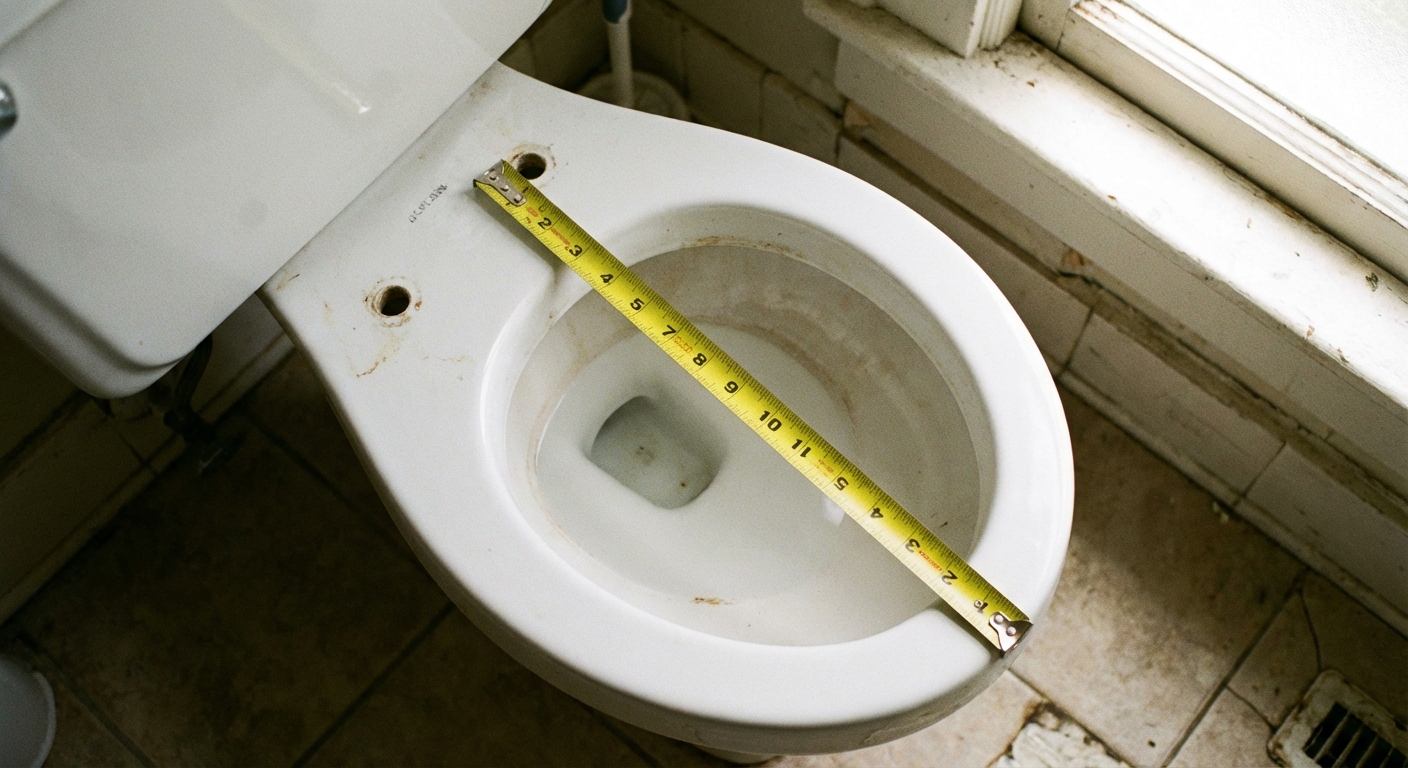
How to measure
- Find the seat bolt holes at the back of the bowl (under the hinge caps on most seats).
- Measure from the center of the bolt holes straight to the very front tip of the bowl.
- Round is usually about 16.5 inches.
- Elongated is usually about 18.5 inches.
If you are right around the border, trust the toilet’s current seat shape or look up the toilet model number (often stamped inside the tank) and confirm the bowl type.
Quick fit checklist
- Bolt spacing: Most toilets in the US use 5.5 inches center-to-center between bolt holes. Most seats fit this, but some one-piece or specialty models can be quirky.
- Hinges: Decide if you want top-mount (access from above) or traditional hardware with nuts underneath. Top-mount is a lifesaver on skirted toilets where you cannot reach underneath. Also note that some “regular” toilets still use blind/top-mount hardware, so follow your kit instructions.
- Quick-release: Some seats pop off with a button or levers for easier cleaning. It is a nice feature, just make sure the hinge style matches your bowl and hardware.
- Color: “White” is not always the same white. If matching matters, bring the old seat or a clear photo in daylight.
Step 2: Remove the old seat
1) Pop the hinge caps
Most seats have little caps at the back that flip up with your fingers or a flathead screwdriver. Under those caps you will see the screw heads.
Quick-release note: If your seat has a release button, you may be able to remove the seat from the hinges first, then remove the hinges from the bowl. Check for a button or tabs near the hinge.
2) Hold the nut underneath and loosen the screw
On a standard setup, you loosen from the top while holding the nut underneath the bowl with a wrench.
- Turn the top screw counterclockwise.
- Keep the wrench snug on the nut so it does not spin.
Once both bolts are out, lift the whole seat off.
3) Clean the mounting area
This is the perfect time to clean the porcelain around the bolt holes and under where the hinges sit. A little grime here can keep a new seat from sitting flat.
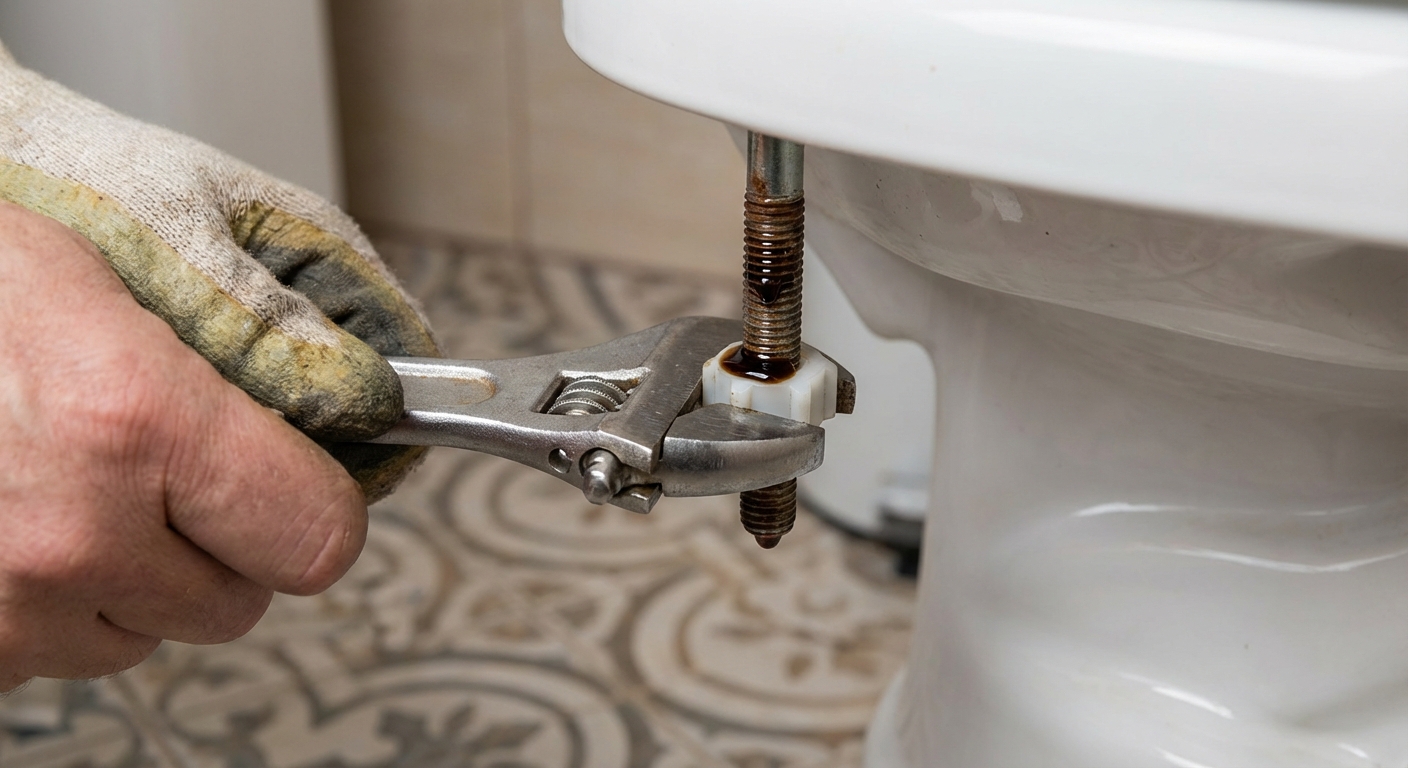
If bolts are stuck
Old hardware can fuse itself together with rust and mineral buildup. Do not crank harder right away. That is how you strip plastic nuts or snap bolt heads.
If you are using penetrating oil, open a window or run the fan. The smell can linger.
Try these fixes in order
- Scrub first: Wipe away surface grime and crust with a rag, wire brush, or rough sponge so the oil can actually reach the threads.
- Penetrating oil: Spray the nut and bolt threads from underneath. Wait 10 to 15 minutes. Try again.
- Stabilize the bolt: If the top screw just spins, press down on the hinge while turning. That added pressure increases friction so the bolt head is less likely to free-spin.
- Use a deep socket: A socket grips more evenly than an adjustable wrench and can help on stubborn nuts.
- Cut it off (last resort): If it is hopeless, cut the bolt between the hinge and the bowl, or cut the nut off from underneath. Protect the porcelain with a thin piece of cardboard and go slow. Wear eye protection, and be extra careful with power tools. If an oscillating blade touches porcelain, it can chip or crack it.
My real-world tip: If you are cutting, plan on replacing everything anyway. Most new seats come with fresh hardware, and it is worth starting clean.
What to cut, practically: On many setups you have a screw from the top and a nut underneath (sometimes plastic, sometimes metal). If you can reach the nut, cutting the nut off is often easiest. If you cannot, cutting the bolt shaft between the hinge and bowl is usually the cleanest path.
Step 3: Pick a new seat
Toilet seats look similar on the shelf, but the feel and durability can be very different. Here is the quick breakdown.
Plastic seats
- Pros: Affordable, lightweight, does not absorb moisture, easy to clean.
- Cons: Basic ones can feel a little flexy.
Wood or molded wood seats
- Pros: More solid feel, often quieter when closing (non soft-close versions can still slam).
- Cons: Finish can chip over time, can swell if water gets into cracks, heavier.
Soft-close seats
- Pros: No slamming, safer for kids’ fingers, feels like a “nice” upgrade.
- Cons: Costs a bit more, hinges can eventually wear out after years of use.
If your current seat slams and drives you nuts, soft-close is the upgrade I notice every single day.
Bidet seat note
If you are installing a bidet seat (or any seat that connects to the water supply), that is a different project. You will likely need to shut off the water, add a T-valve, and follow the manufacturer’s instructions.
Step 4: Install the new seat
1) Dry fit and align
Set the new seat on the bowl with the bolts loosely in place. Before tightening, align it so the seat opening is centered and even around the rim.
2) Install hardware in order
Follow the seat kit instructions, but most go like this:
- Bolt goes down through the hinge and bowl.
- Washer and nut go on from underneath.
If your kit includes rubber washers, they usually go against the porcelain to help grip and resist loosening.
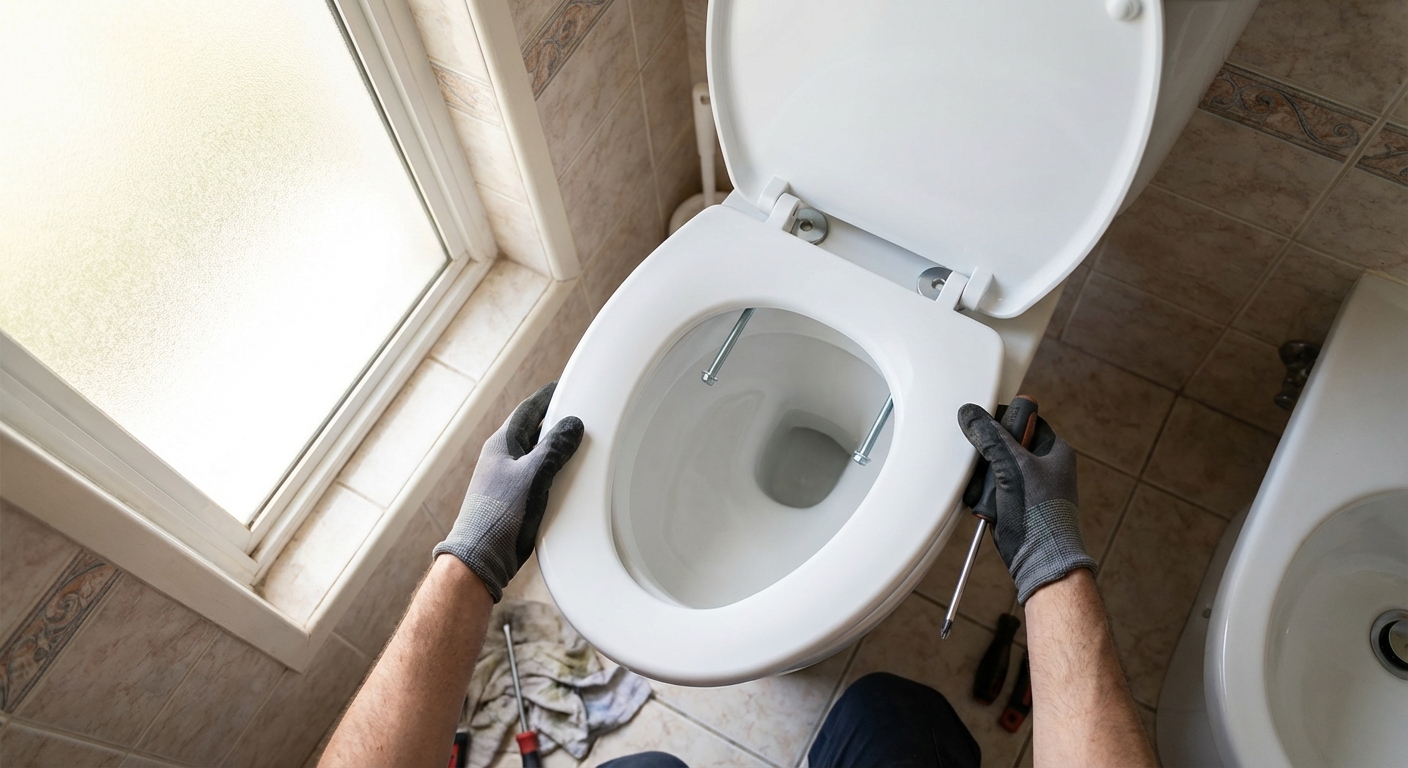
3) Tighten evenly
Tighten each side a little at a time, alternating left and right. This keeps the hinges sitting flat and helps the seat stay centered.
- Snug first: Get both sides snug, then check alignment.
- Final tighten: Give each side a final small turn.
Do not over-tighten. Porcelain is strong but it can crack, and plastic hardware can strip. What you want is firm with no wiggle, not maxed out.
4) Test for shifting
Grab the seat near the front and gently try to wiggle it side to side. If it moves, tighten both sides a touch more. If it still shifts, the bolts may not be seated correctly or the rubber washers may be missing or upside down.
Tightening tips
- Use rubber washers if provided: They add grip and reduce loosening from movement.
- Alternate tightening: A few turns on one side, then the other.
- Recheck after a few days: Seats can “settle” slightly. A quarter-turn snug-up later is normal.
- Consider top-mount hardware: If you cannot access the nuts easily or you have a skirted toilet, top-mount systems lock down better with less frustration.
Quick troubleshooting
It is centered but it slides
- Check that the bolts are not bottoming out before the hinges clamp tight.
- Make sure the rubber washers are installed and against the porcelain.
- If your seat has adjustable hinges, lock them per the instructions.
The bolt spins
- Hold the nut underneath with a wrench while turning the screw from above.
- If it is a top-mount system, make sure the expansion anchors are seated and oriented correctly.
The lid will not stay up
- Many soft-close lids are designed to close slowly and may not “stand up” as firmly as old-school lids. If it drops immediately, the hinge may be defective or installed wrong.
No-stress timeline
- 5 minutes: Measure and confirm round vs elongated (before you buy).
- 10 minutes: Remove old seat (longer if bolts are rusted).
- 5 minutes: Clean the mounting area.
- 10 minutes: Install and align the new seat.
If you hit rusted bolts, add 15 minutes for penetrating oil and patience. That time is still cheaper than calling a plumber for something you can absolutely handle.
Safety and cleanup
- Wear gloves if you prefer, especially when cleaning.
- Wash hands and disinfect tools after working around the toilet.
- Dispose of the old seat responsibly. If it is in good shape, some donation centers may accept it, but many do not for hygiene reasons.
Once it is tightened and stable, you are done. Enjoy the small win. These are the kinds of upgrades that build confidence fast.
About Marcus Vance
Content Creator @ Grit & Home
Marcus Vance is a lifelong DIY enthusiast and self-taught home renovator who has spent the last decade transforming a dilapidated 1970s ranch into his family's dream home. He specializes in budget-friendly carpentry, room-by-room renovations, and demystifying power tools for beginners. Through his writing, Marcus shares practical tutorials and hard-learned lessons to help homeowners tackle their own projects with confidence.